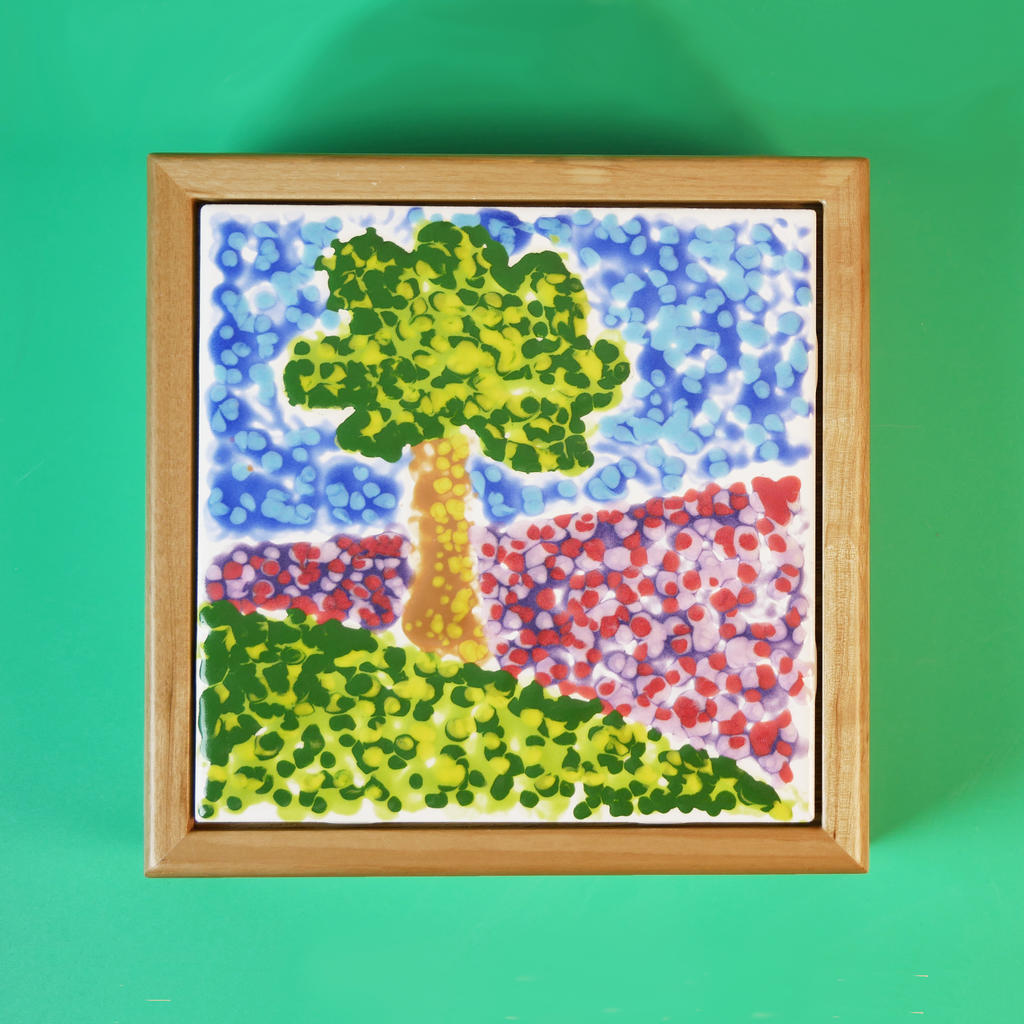
Weathered Sign
Make a decorative sign for your home or garden!


 Play Video
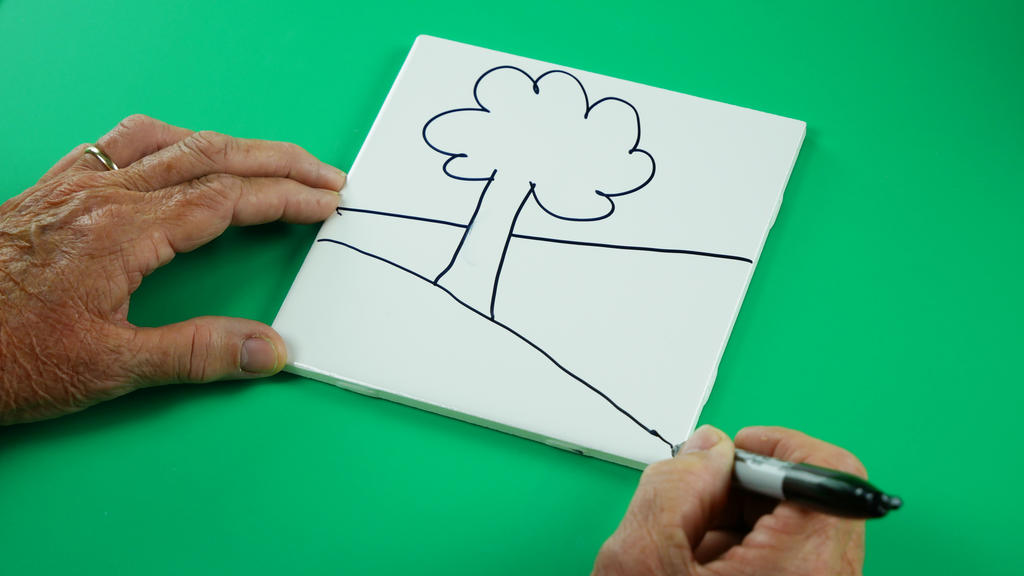
Draw your design on a glazed tile with a permanent marker. This process is most successful with simple forms, so avoid excessive detail.
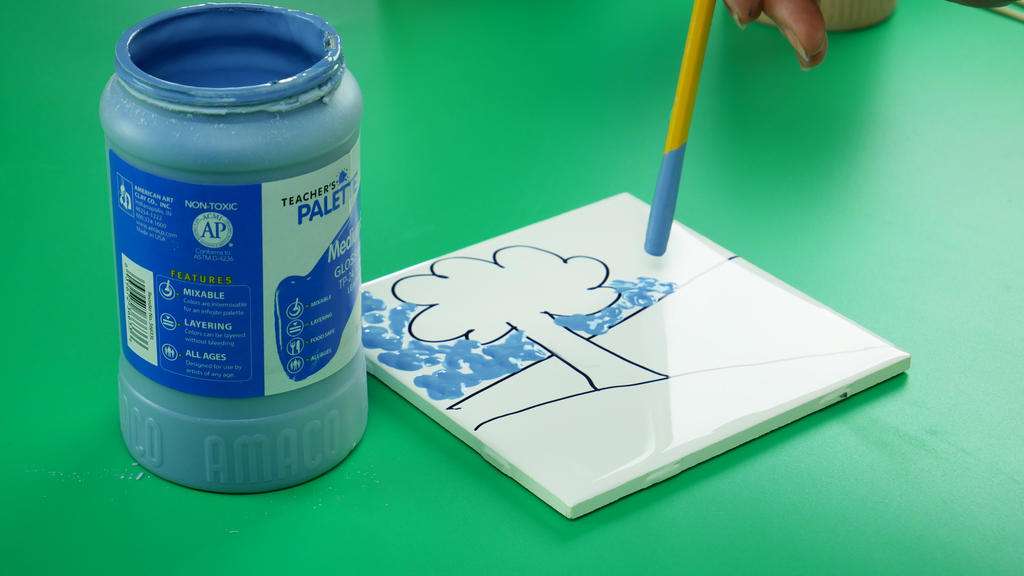
Dip the eraser end of the pencil into the glaze and use it to make dots on the glazed surface. You do not need to fill the entire space.
Use applicator to apply an analogous color.
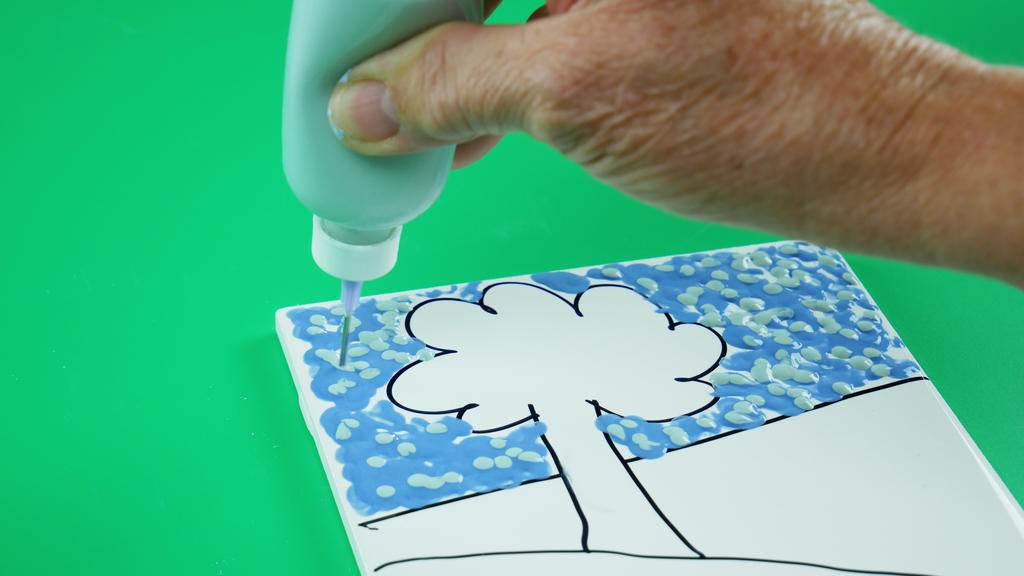
Enhance your design by using a lighter or darker value of one of your colors. Teacher's Palette glazes can be mixed to achieve these results.
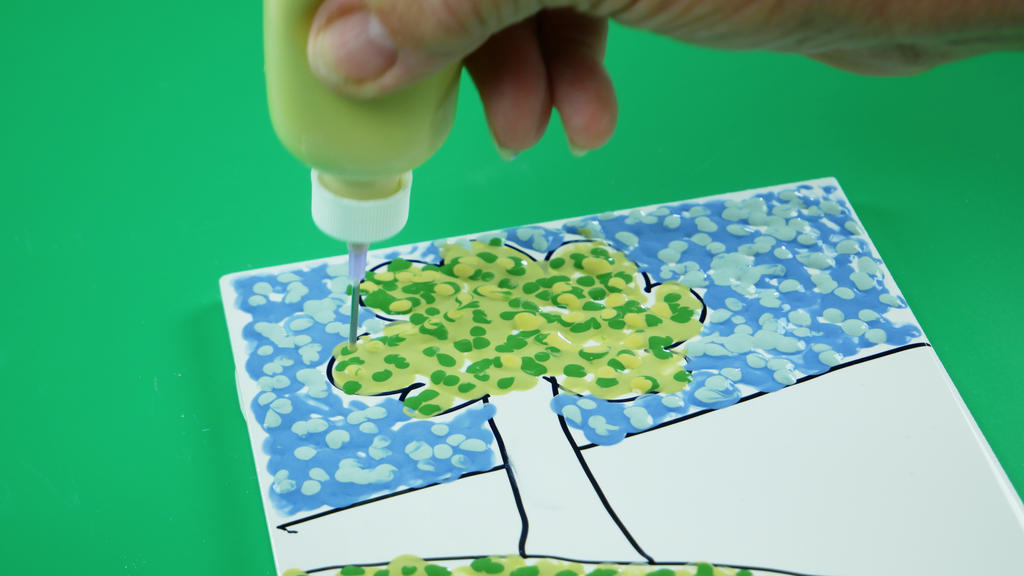
Complete your other sections by repeating steps 2-4.
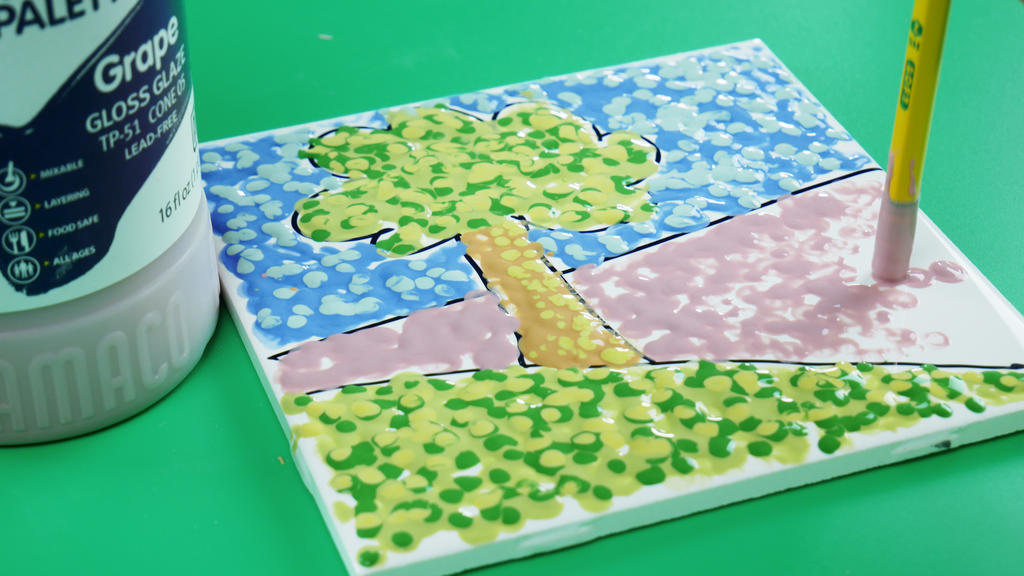
Fire to Cone 05 at medium speed. The marker lines will burn out in this step, leaving only the glaze dots.