

Weathered Sign
Make a decorative sign for your home or garden!


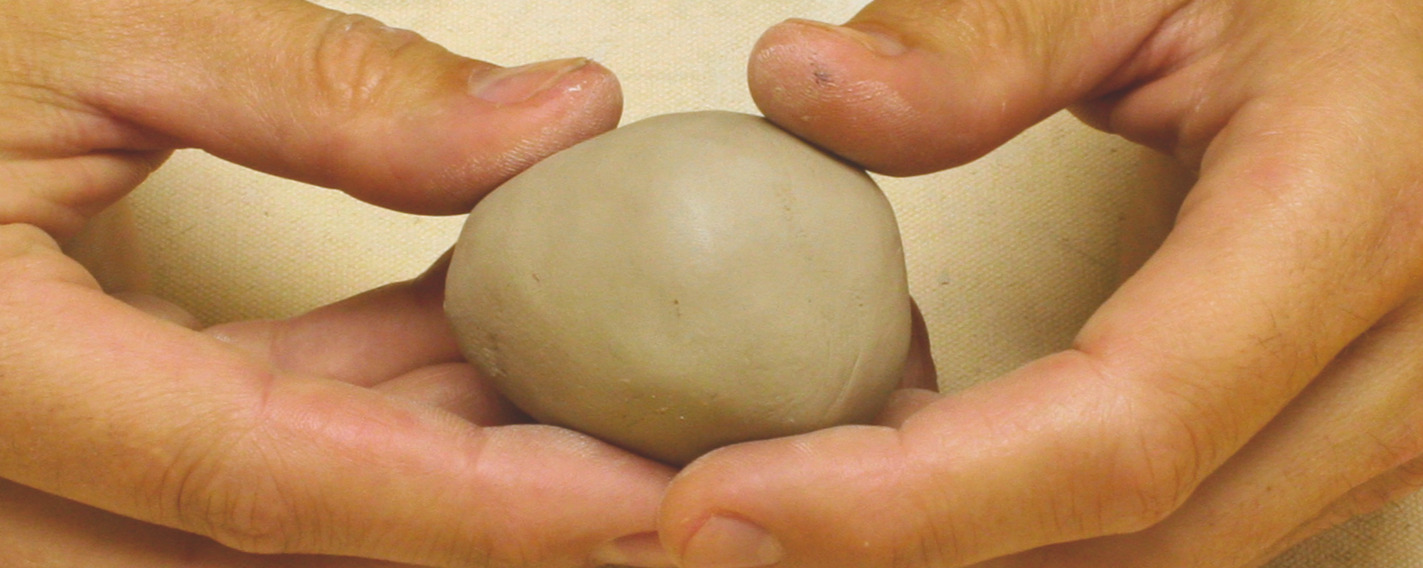
For head, roll a piece of AMACO® White Art Clay No. 25 into a small golf ball sized egg shape.
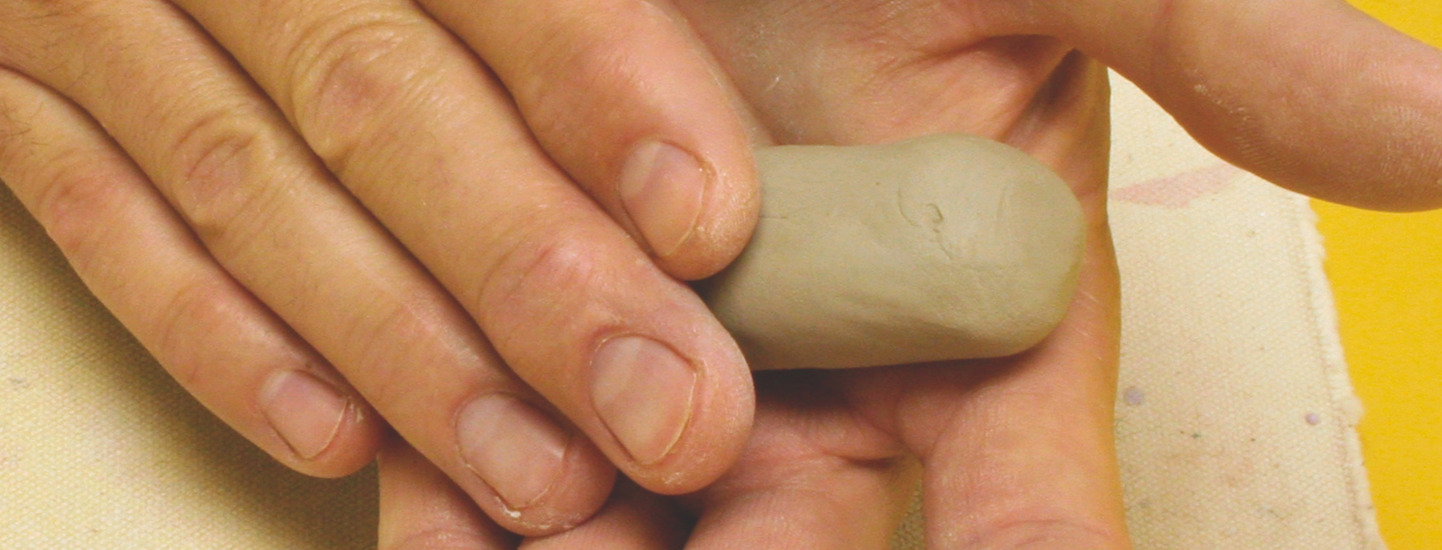
For neck, roll out another piece of clay into a carrot shape that is 1 1/2" to 2" long.
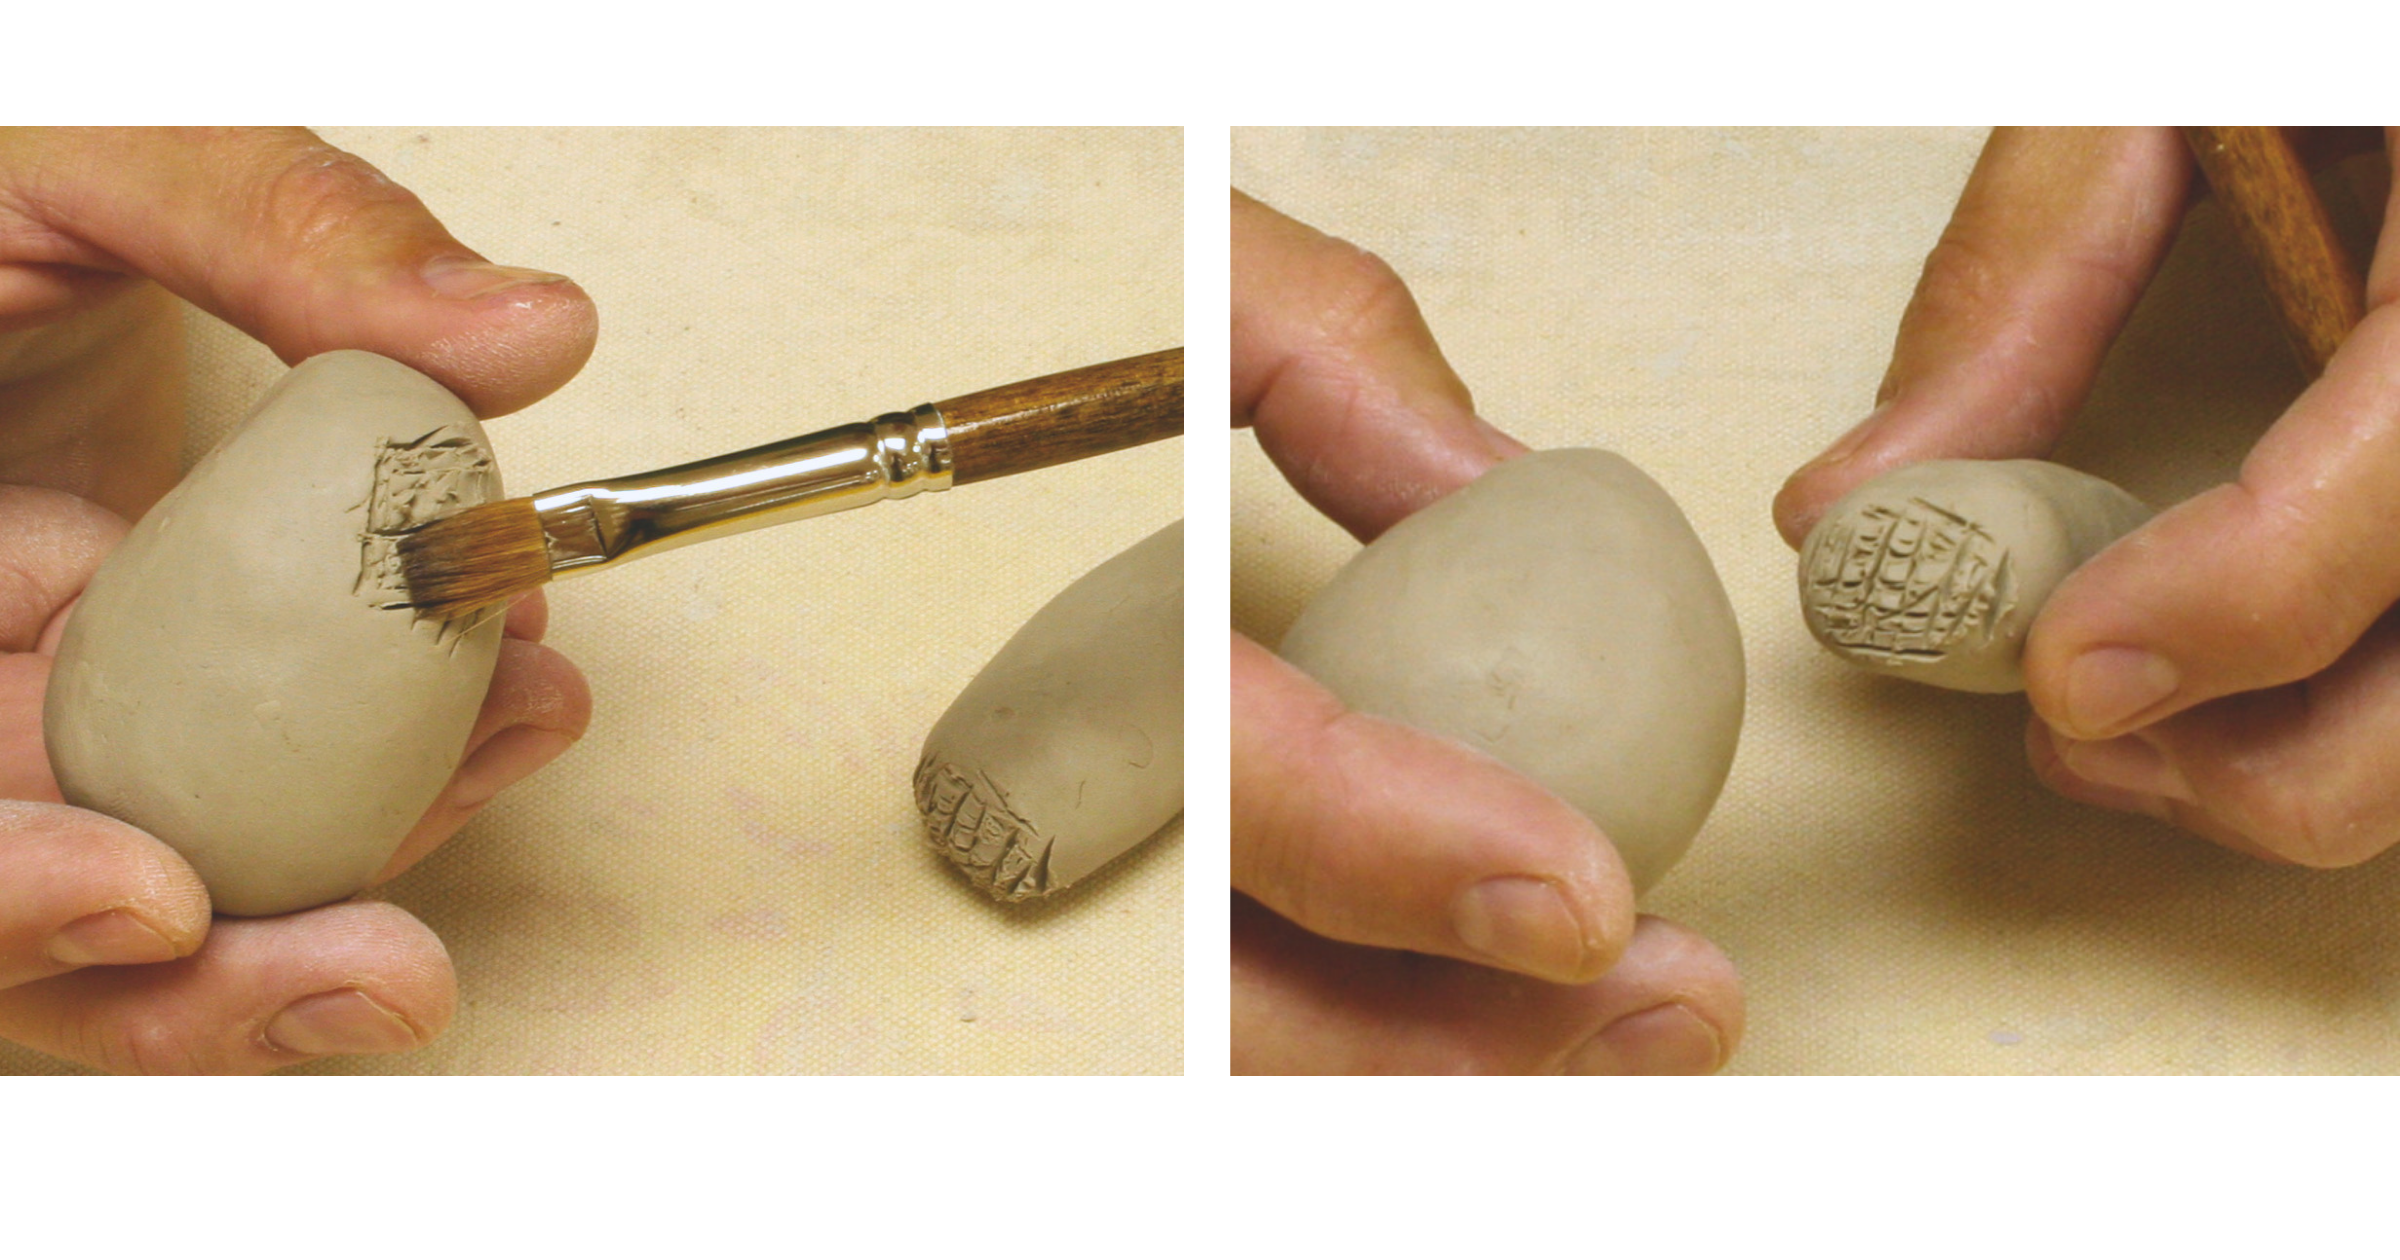
Think of the head as a clock with the narrow part being the bottom. Make a mark at 7 o’clock. Score and slip the marked area along with the fat end of the carrot.
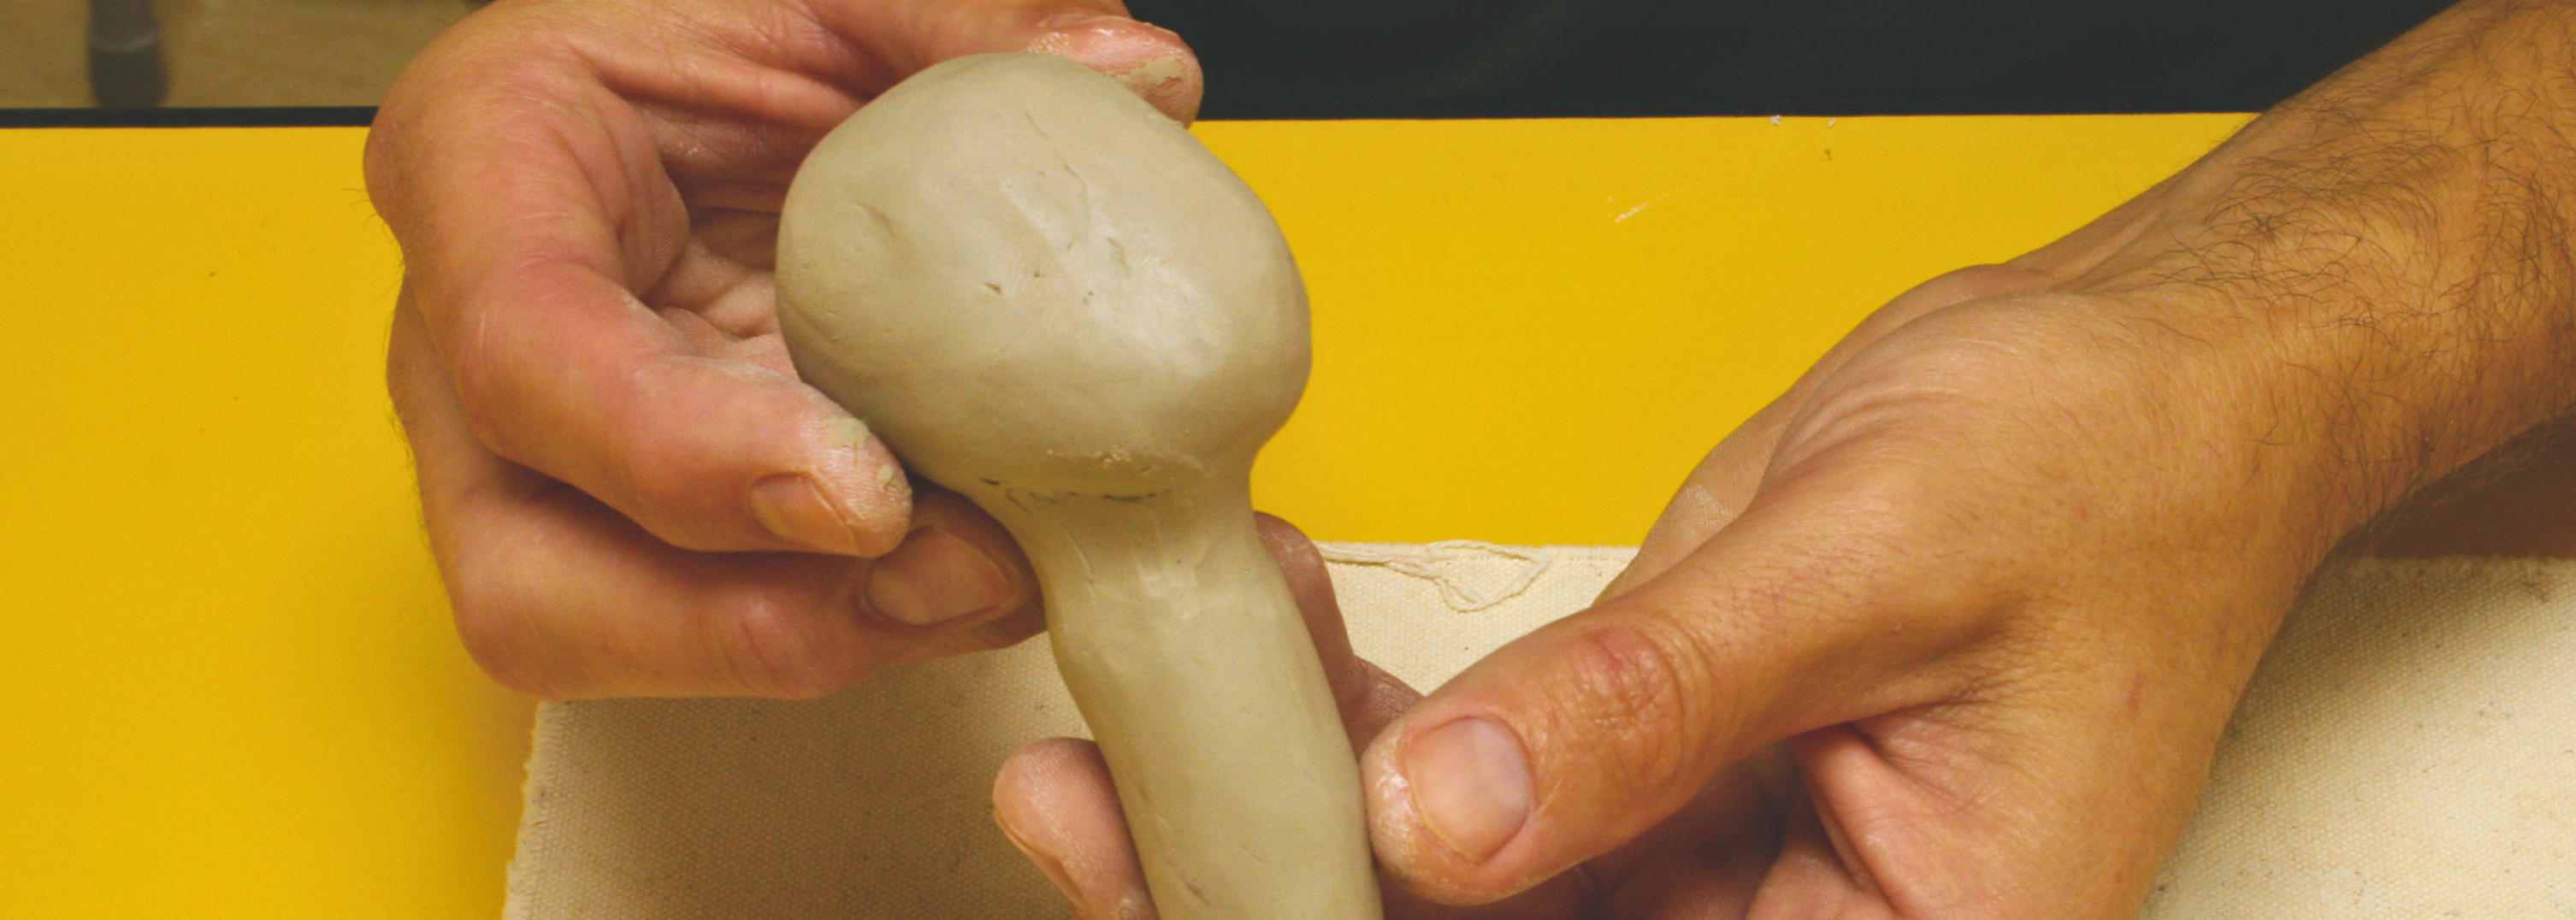
Attach the neck to the head at an angle where you have slipped and scored.
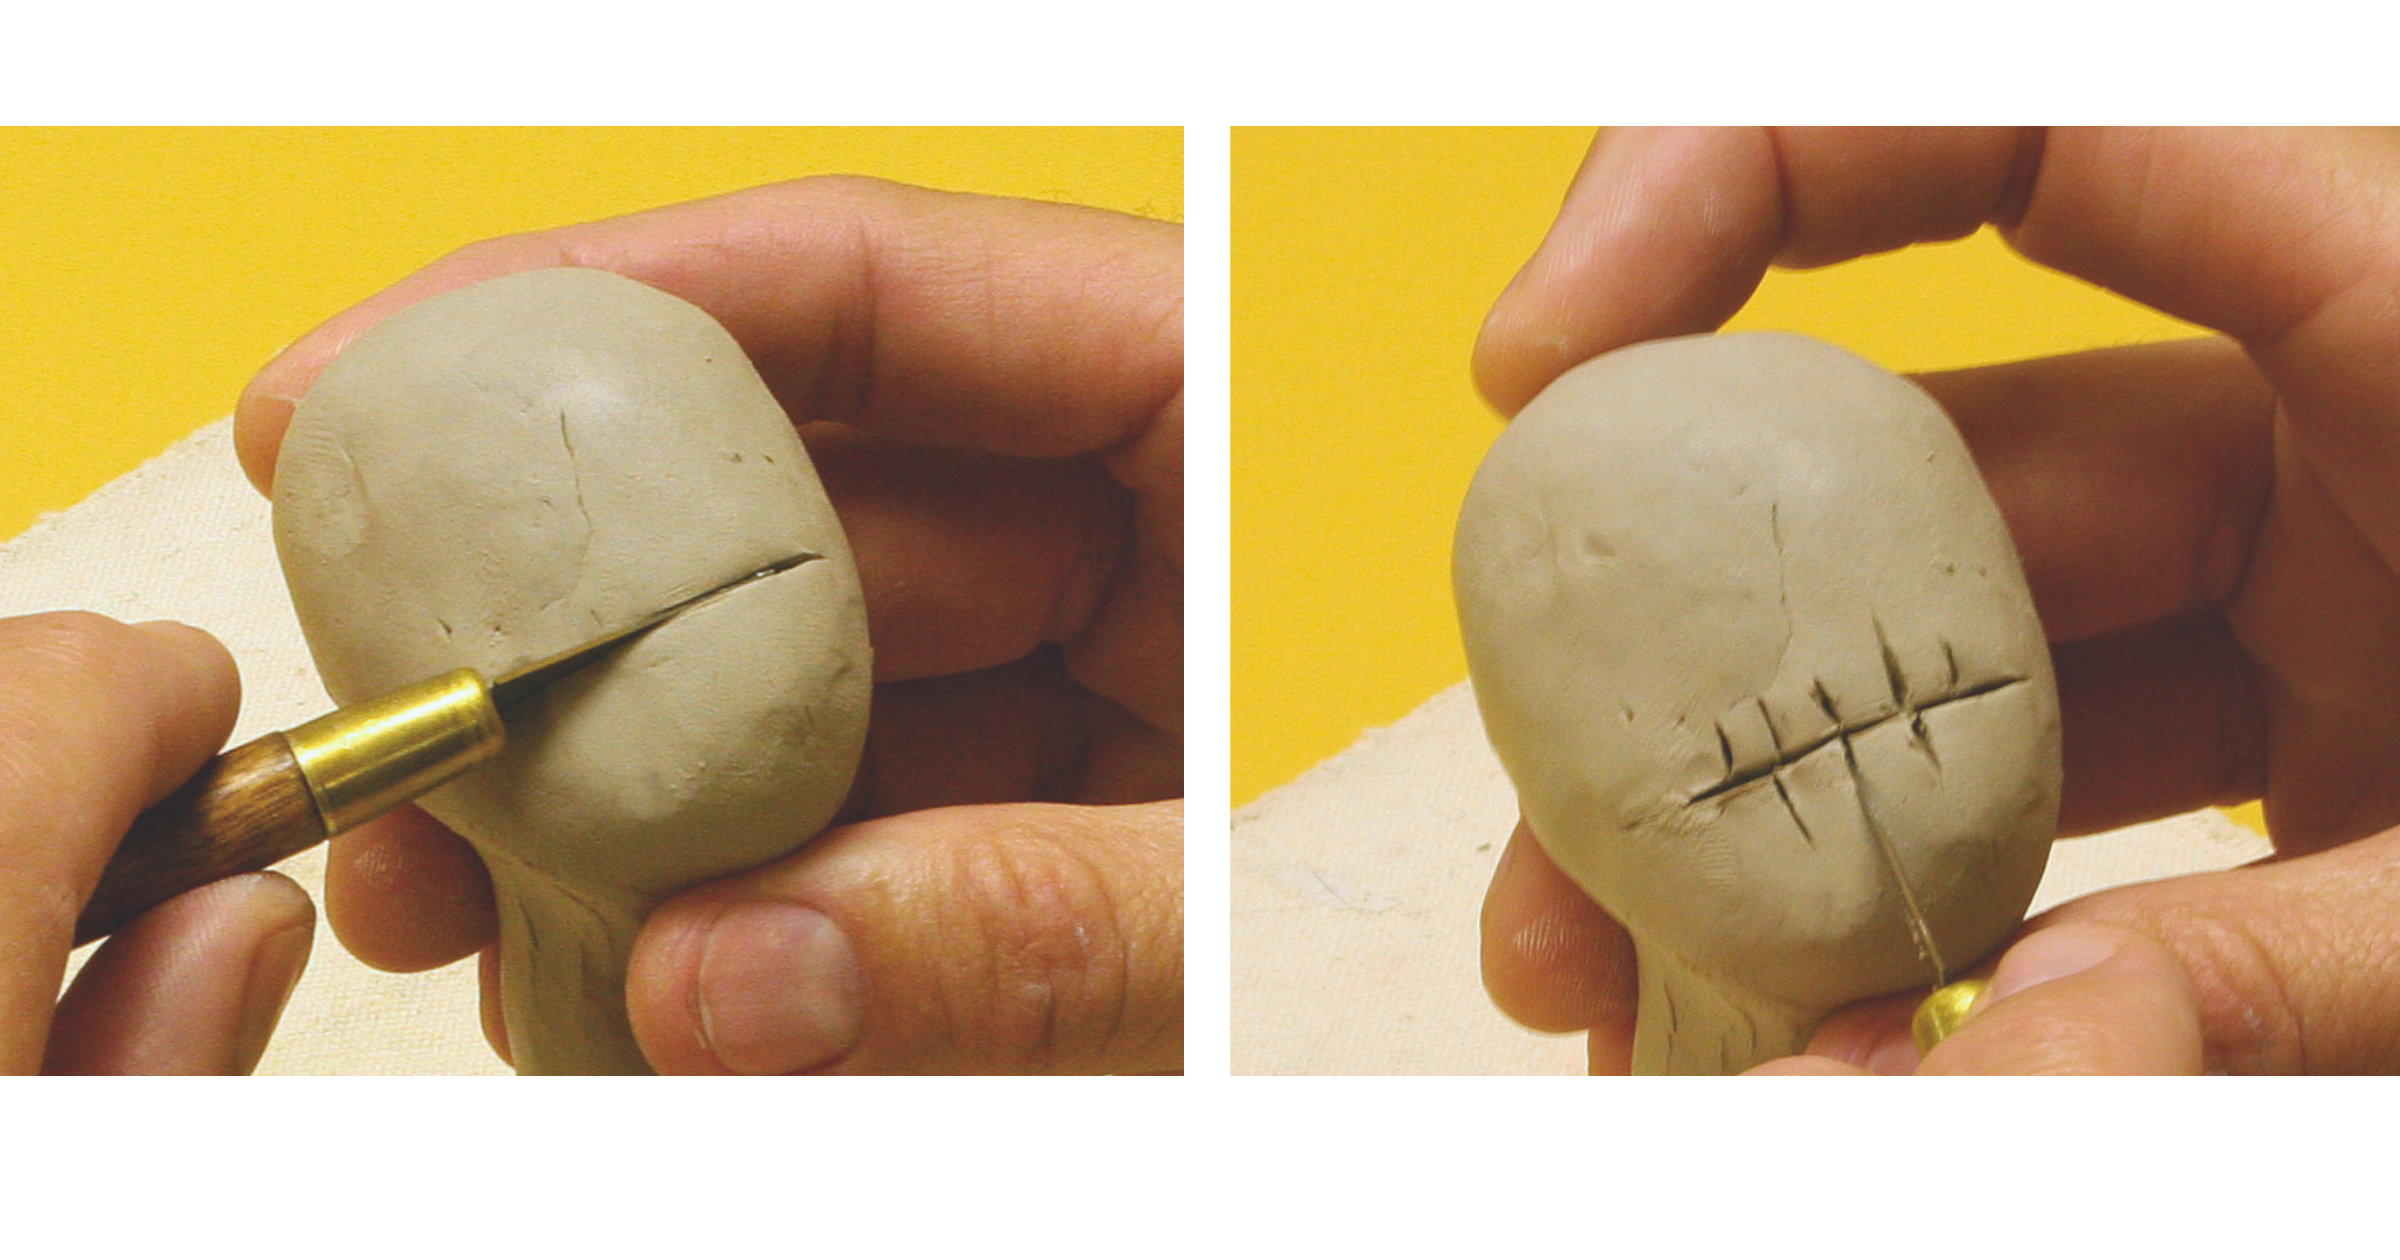
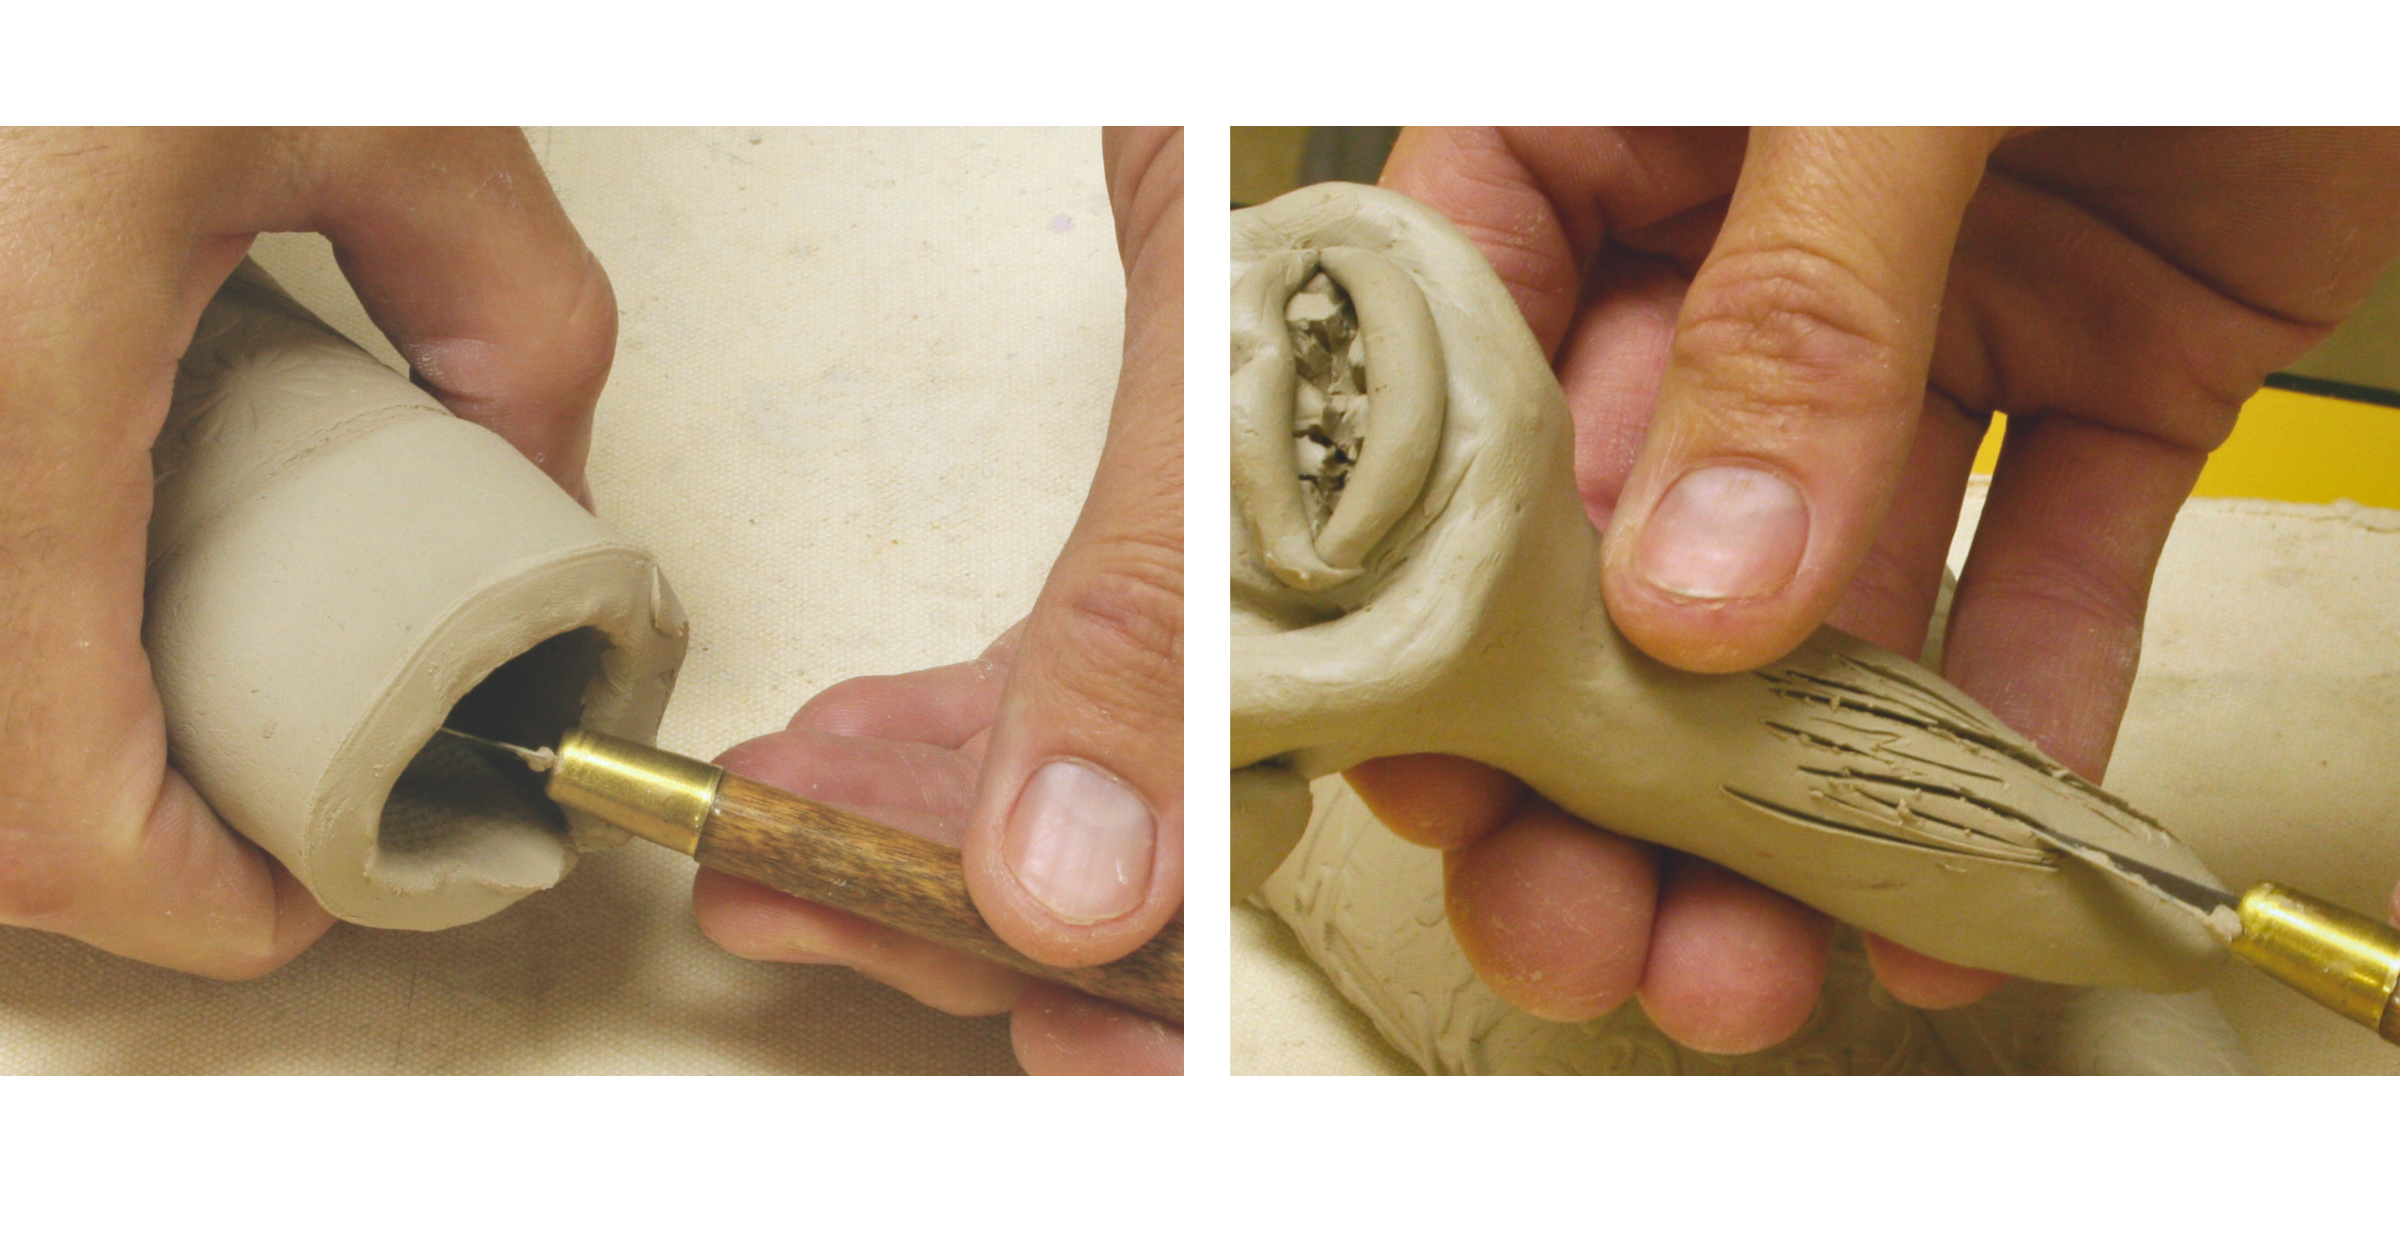
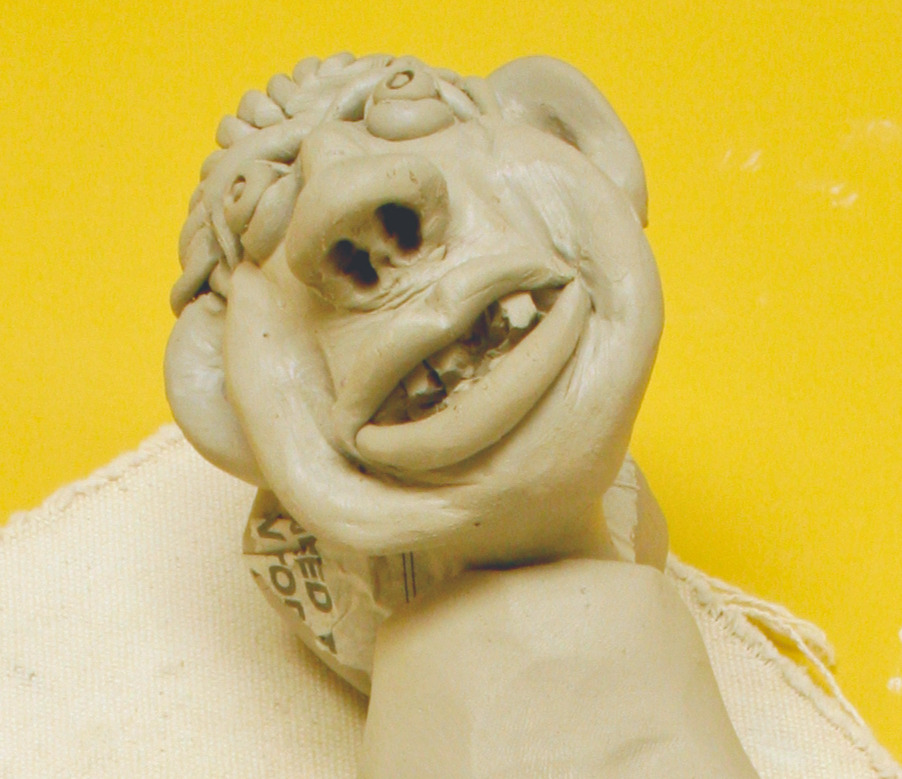
Make a horizontal cut for the mouth, then small vertical cuts to create the teeth.
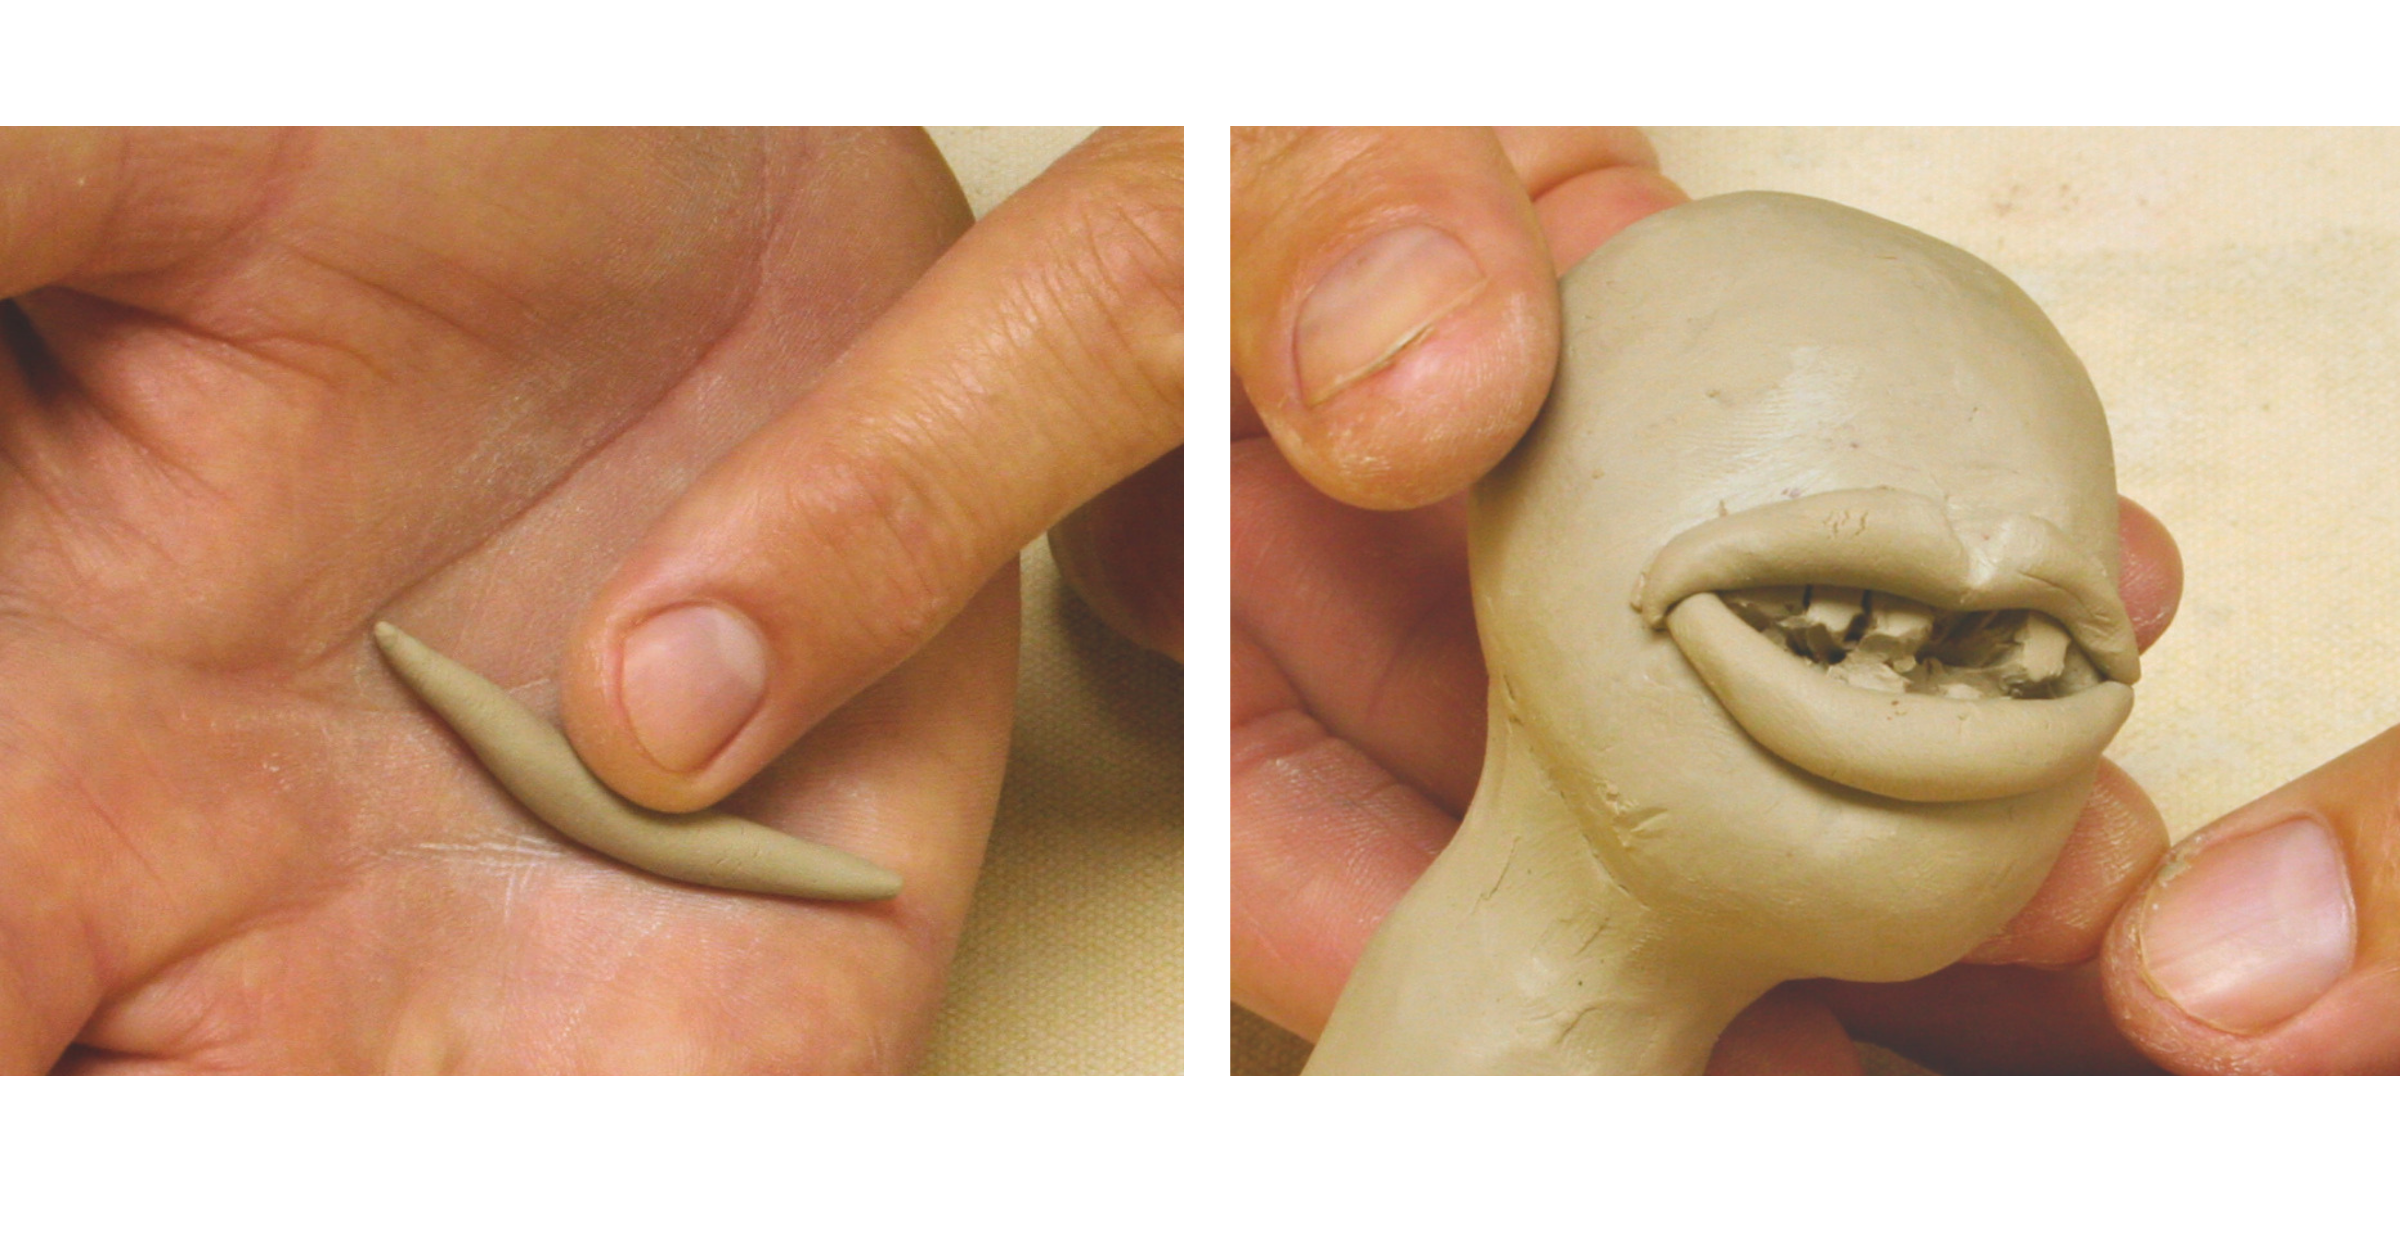
Roll two pea-sized pieces of clay into small coils. Lay them along the teeth to create the impression of lips, one above the teeth and one below. Smooth outside edges of lips into the head.
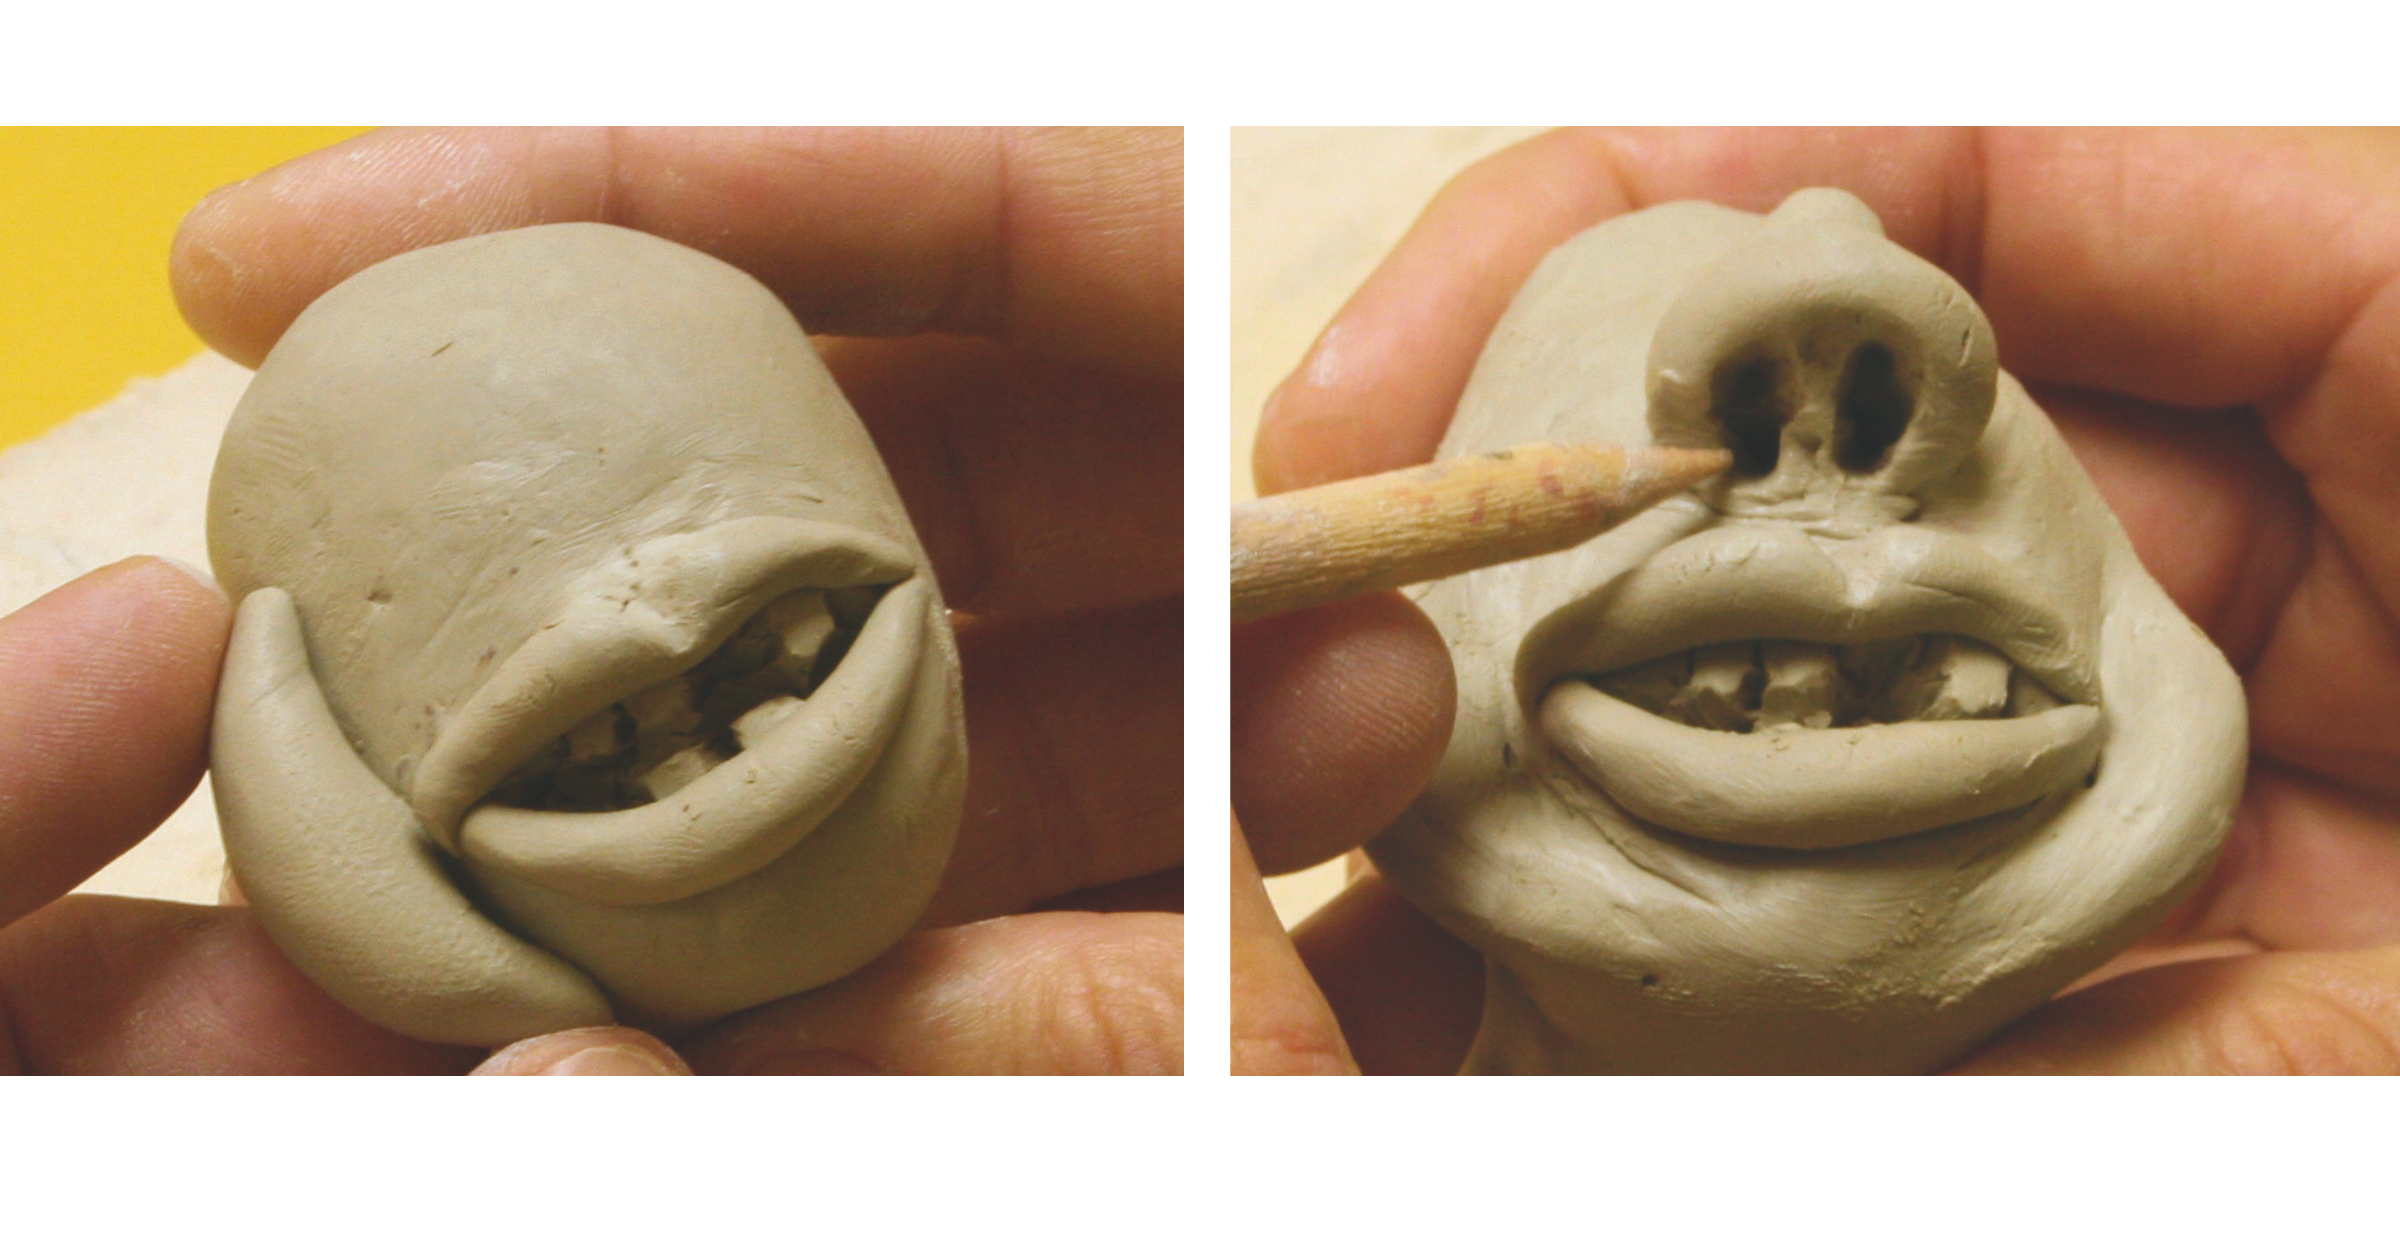
Smooth two small pea-sized balls along each side of the mouth to create cheeks. Form another piece of clay into a nose and attach above the mouth. Use needle tool to create nostrils.
Push depressions into the clay for eyes. Roll out two pea-sized clay balls and two more slightly smaller. Moisten sockets then place one pea-sized ball into the depression and cut it in half horizontally.
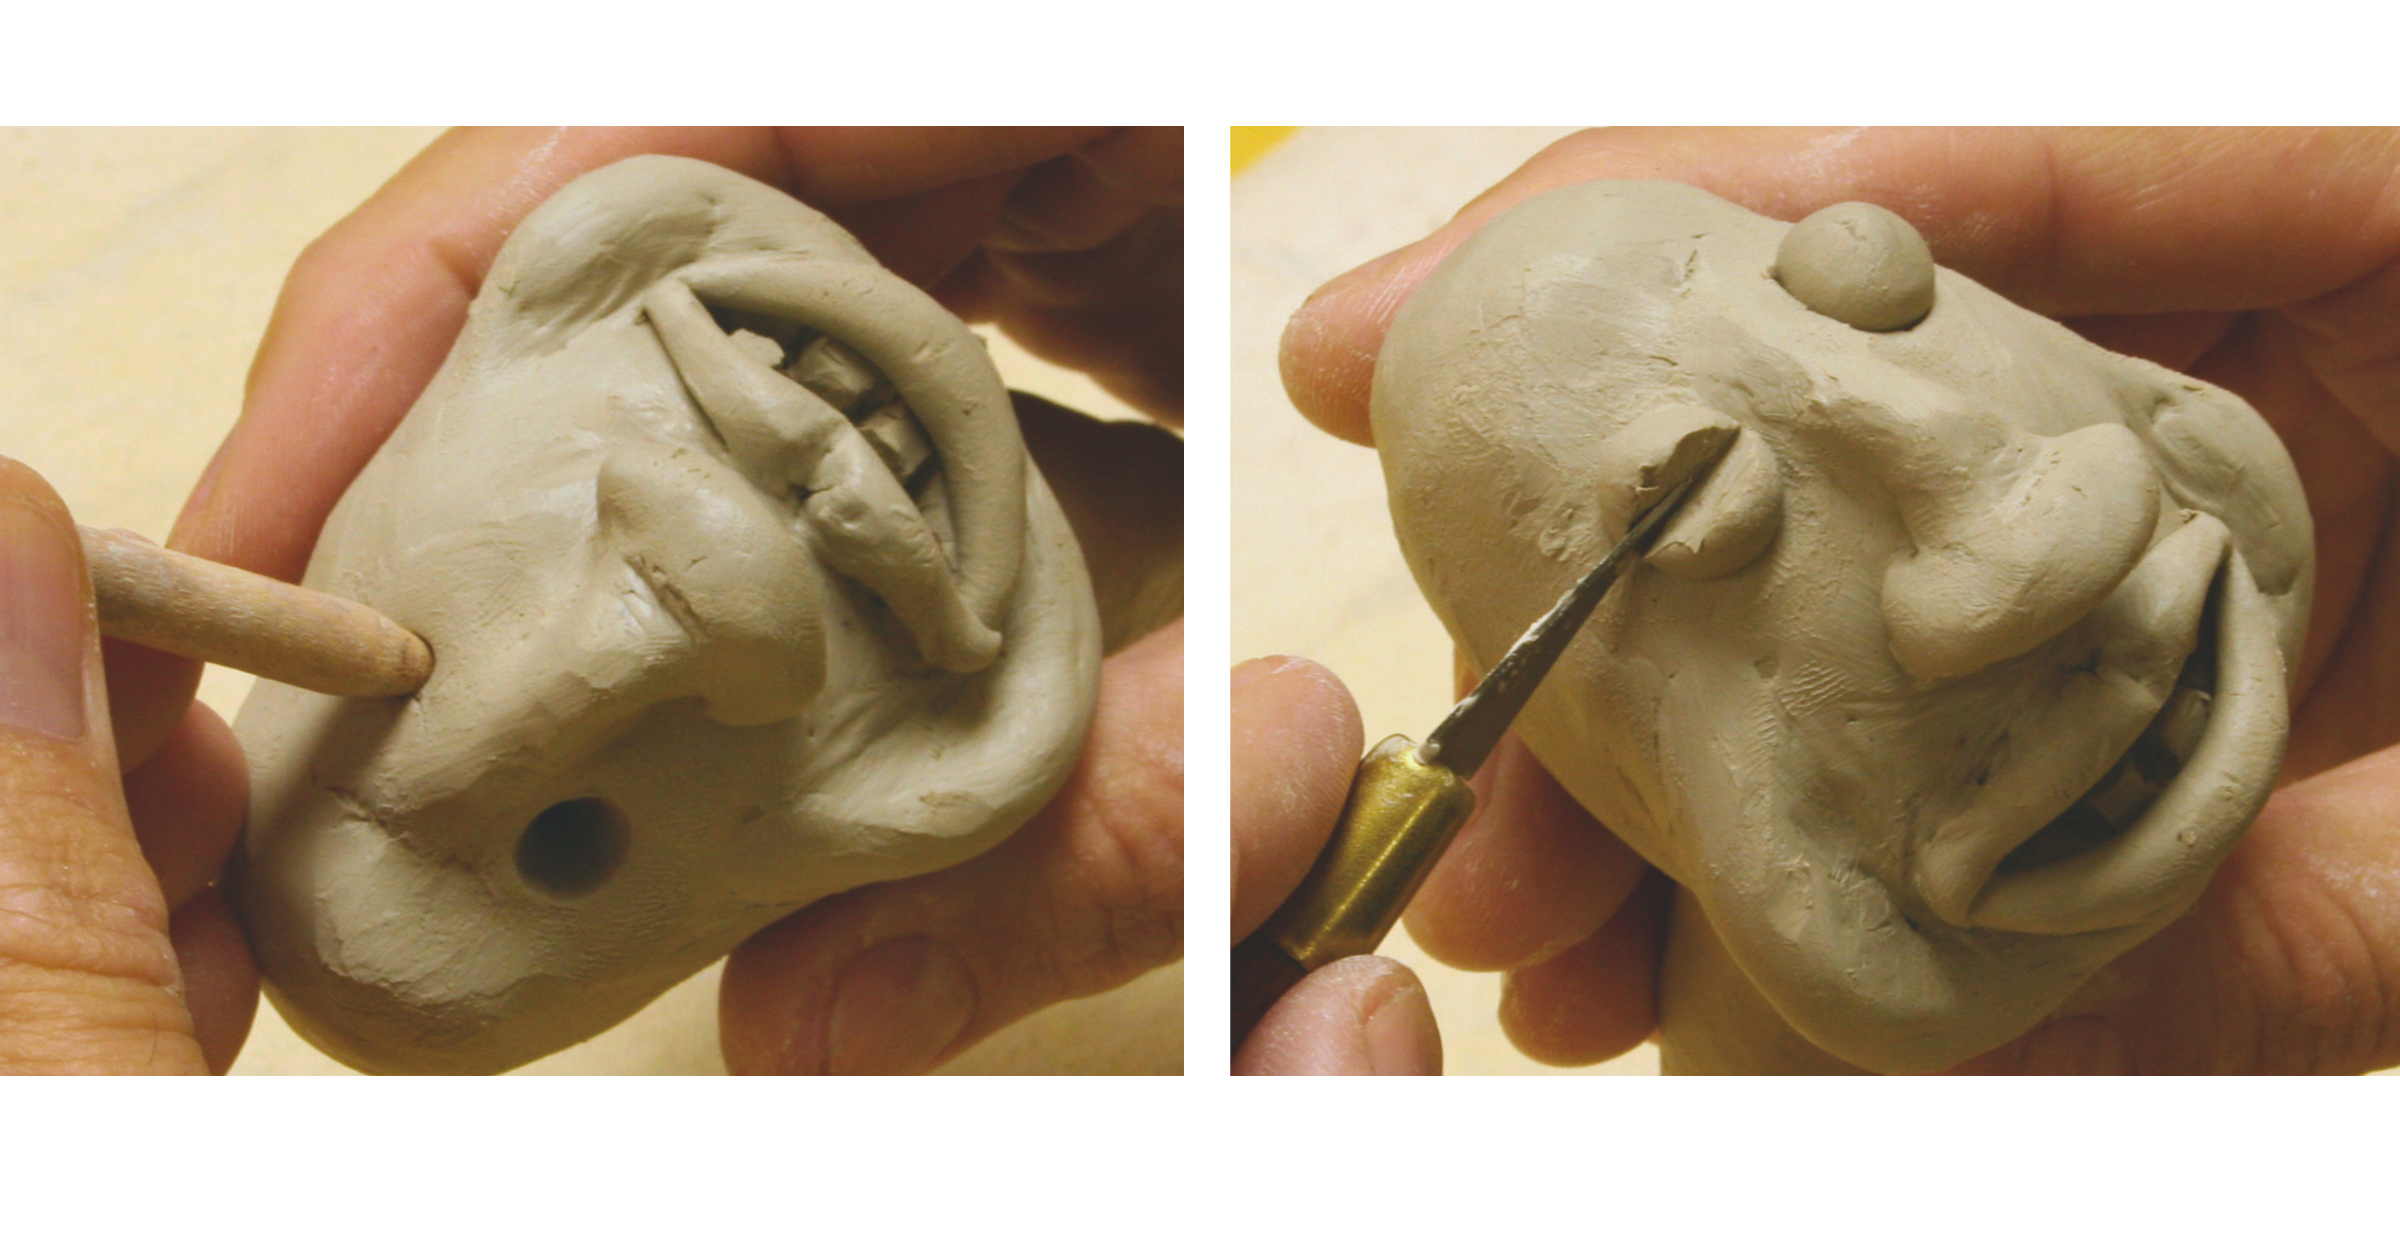
Next, push one of the smaller clay balls into the slit to create the eyeball with an upper and lower eyelid. Repeat for the second eye. Use a needle tool to define details within the eyes.
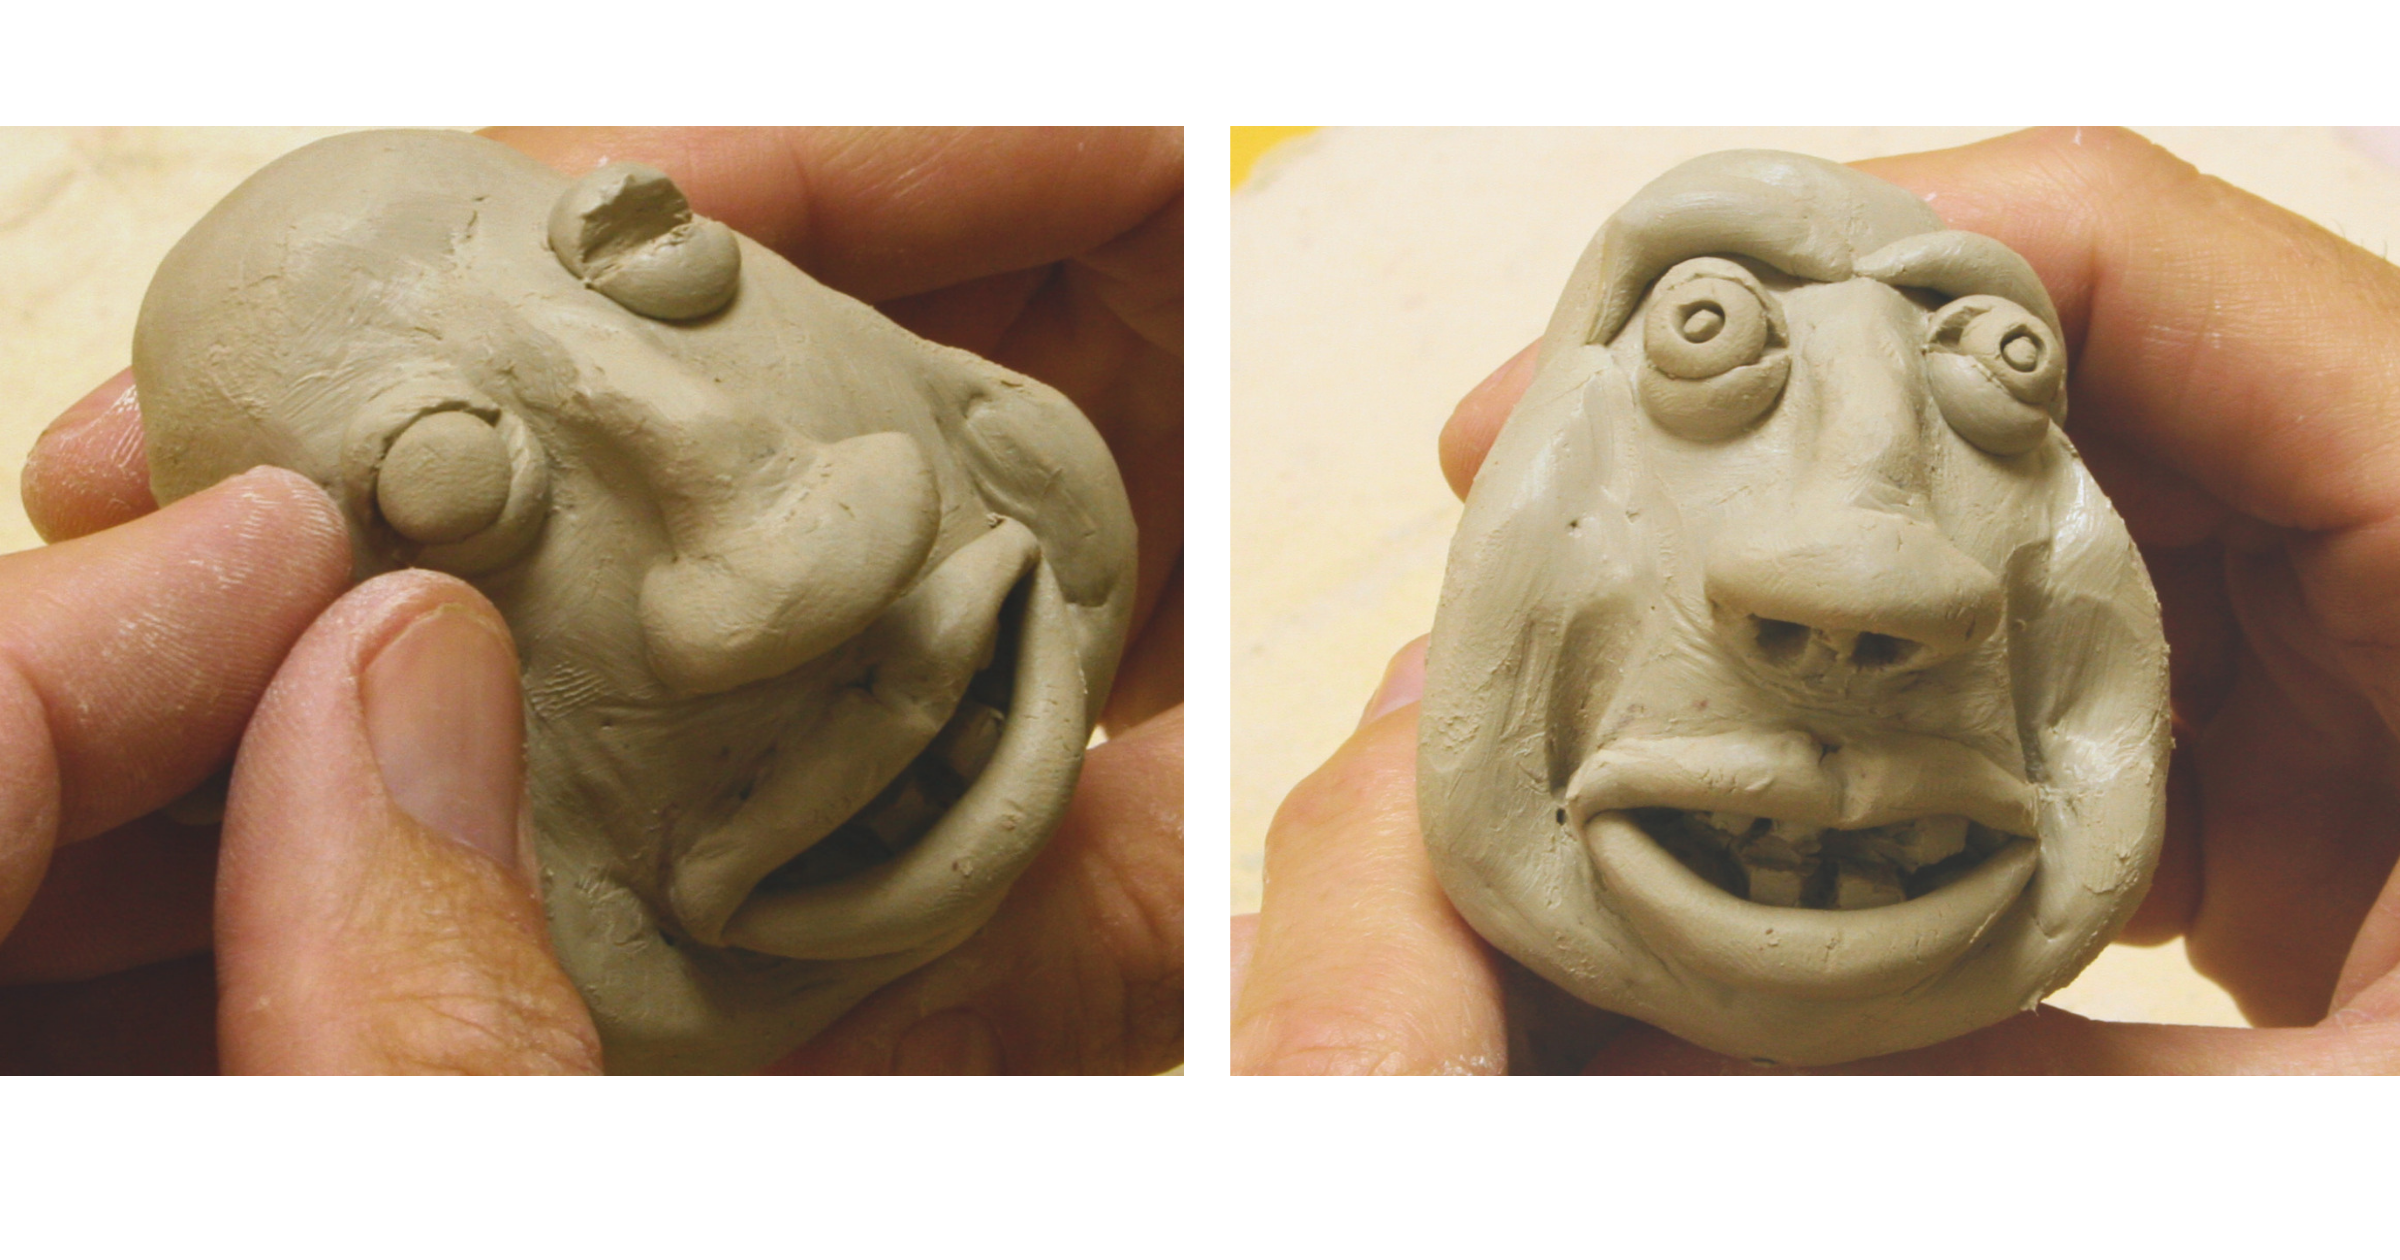
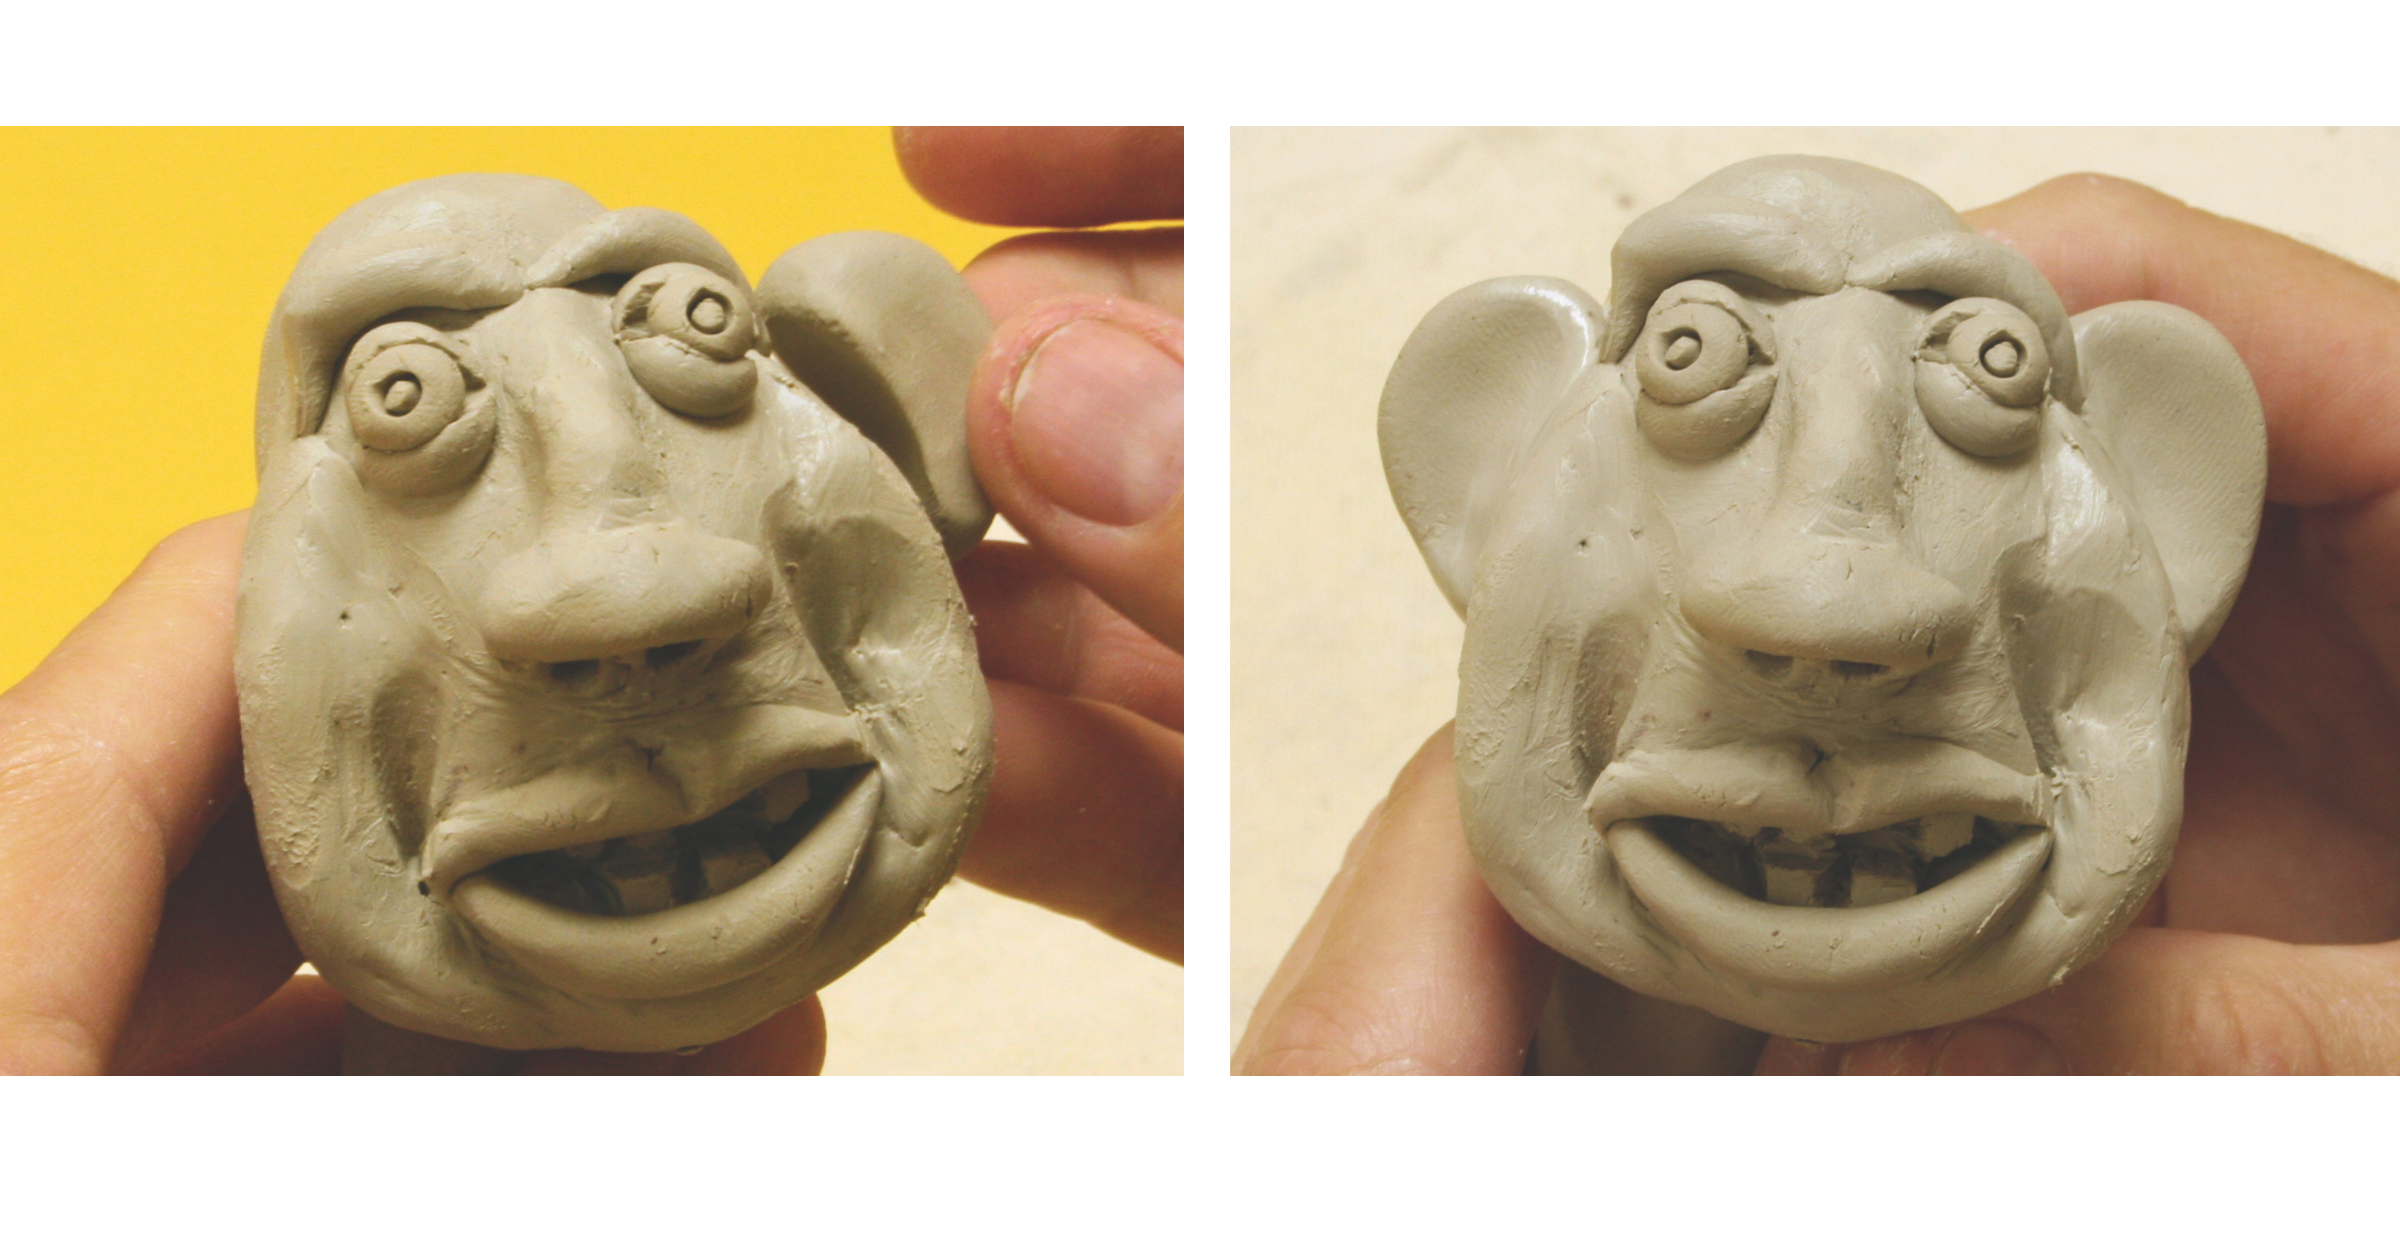
Roll two pea-sized clay balls into an egg shape. Squeeze slightly then attach to sides of head for ears. Use a clay tool to add detail. Wrap finished head in plastic and set aside.
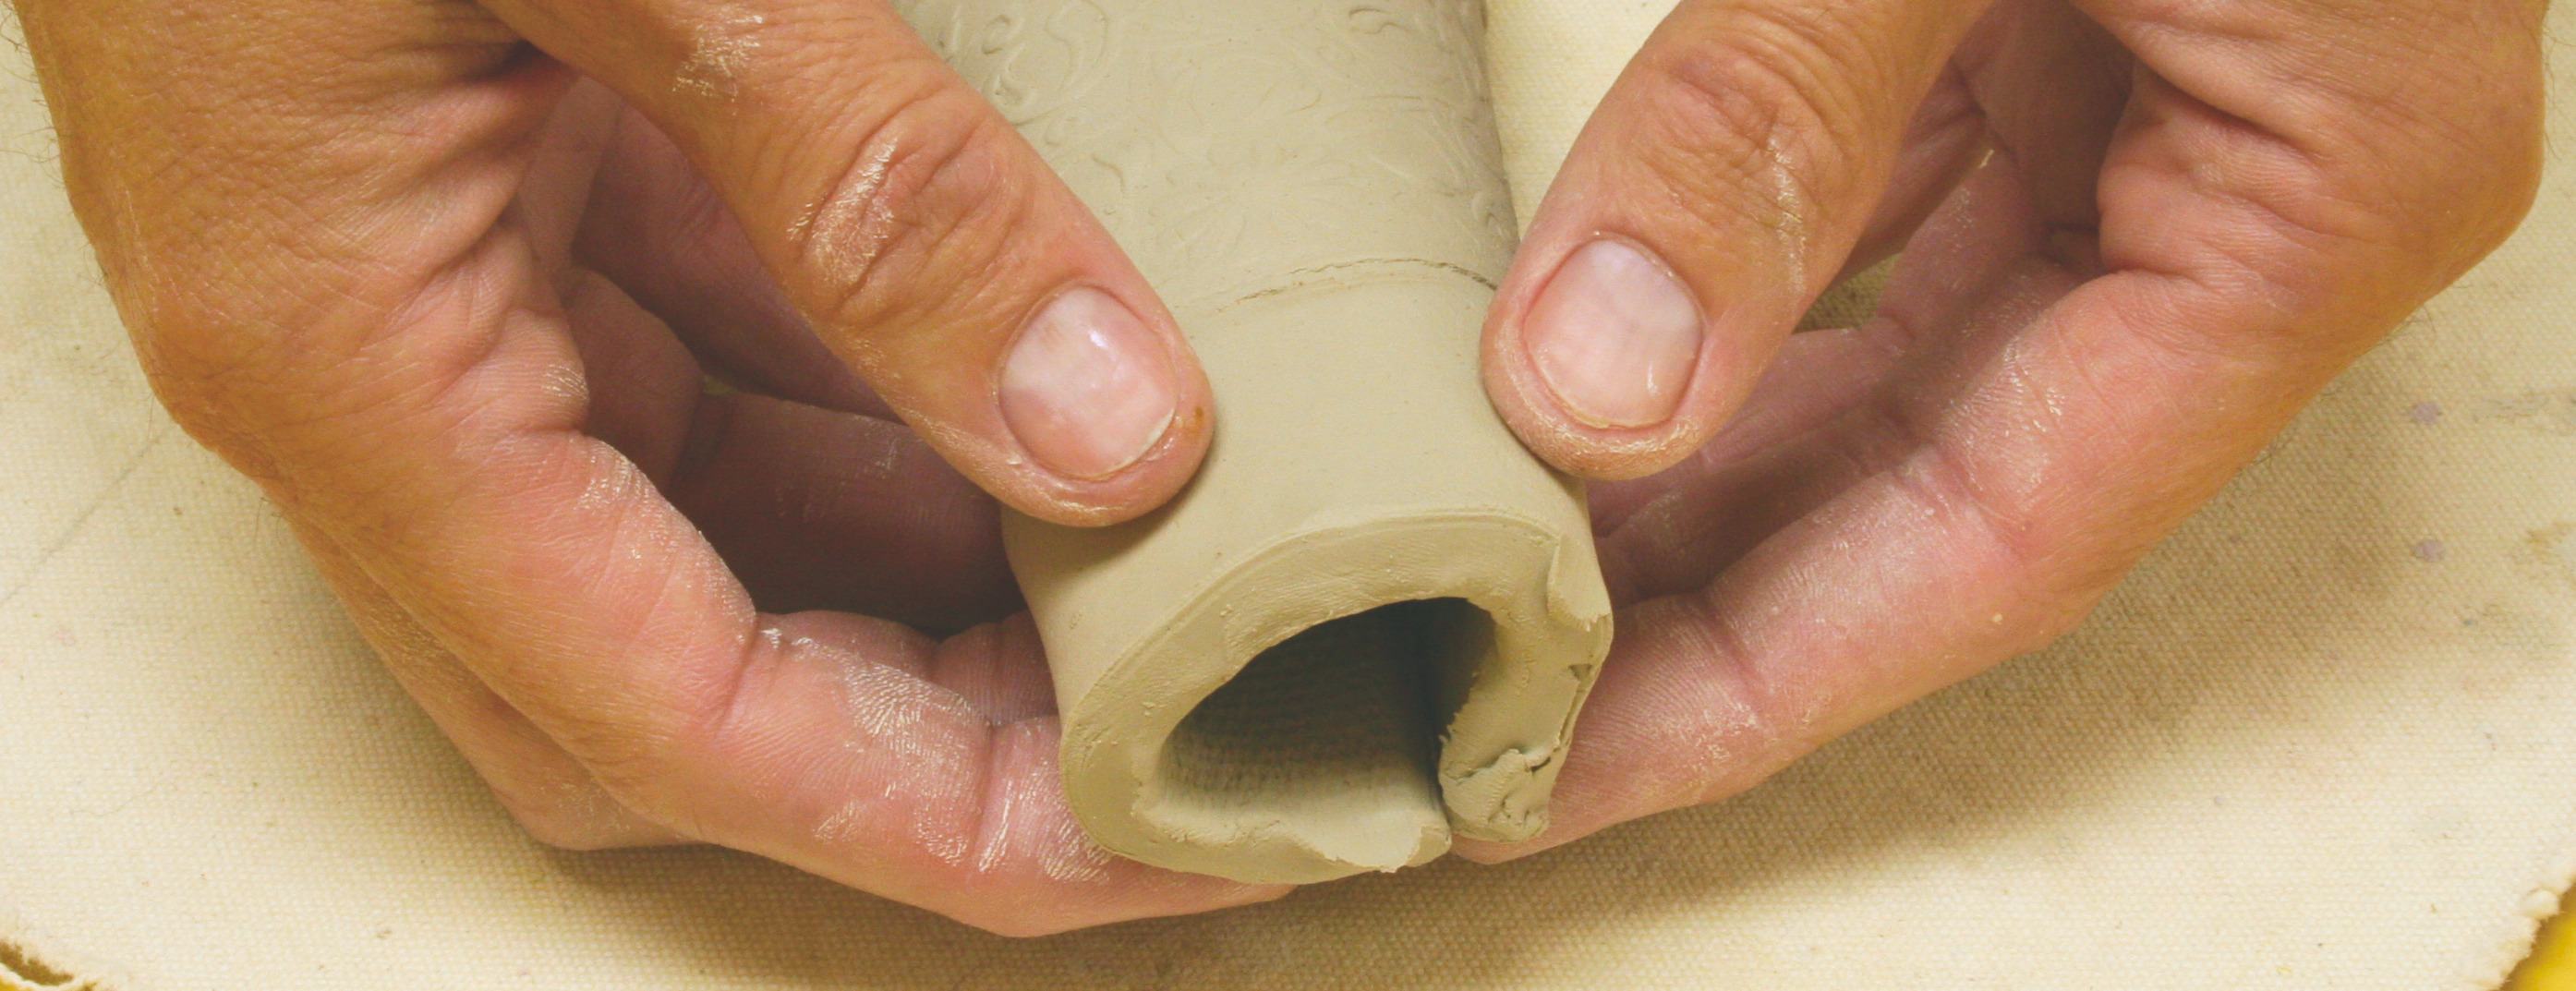
Roll out a tapered slab of clay 6" x 10" and 1/4" thick. Texture slab with AMACO® clay texture molds. Form slab into robe by rolling the outer edges underneath itself. The robe should be narrower at the top.
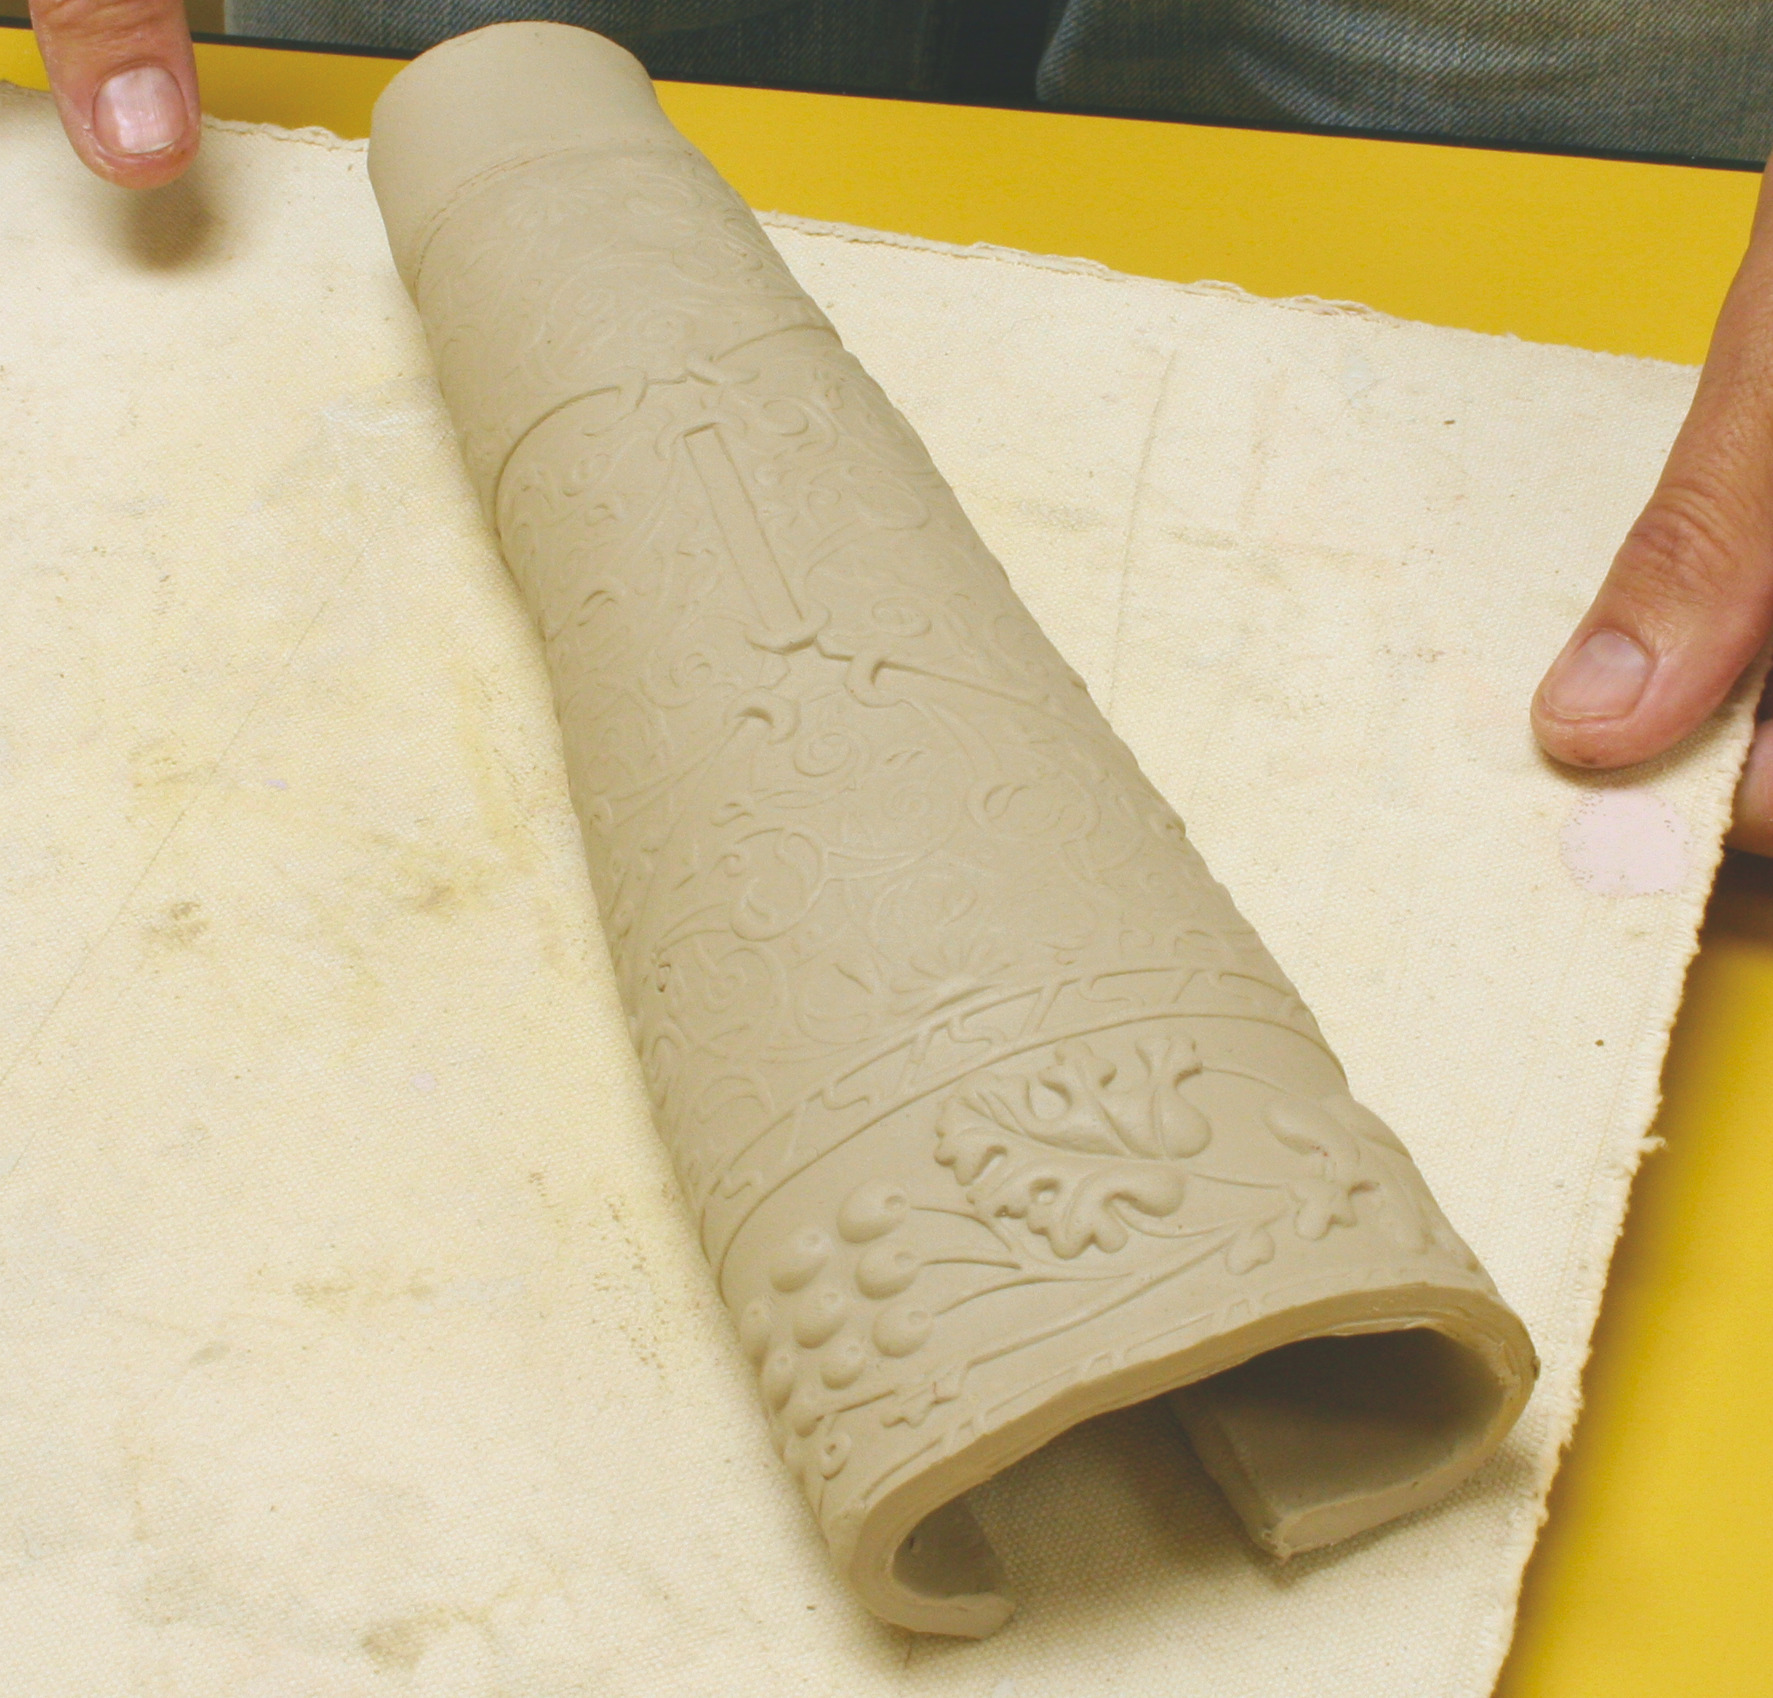
Once robe is formed, leave it on the work-board to prevent over-handling. Move the robe by handling the board and not the actual textured clay.
Score and slip back of robe and front of neck then attach. Attaching the head allows the artist to create personality by having the figure looking in any direction.
A small ball of clay may be needed as support to prevent head from drooping. Place a small piece of paper towel between head and support and leave during the firing process.
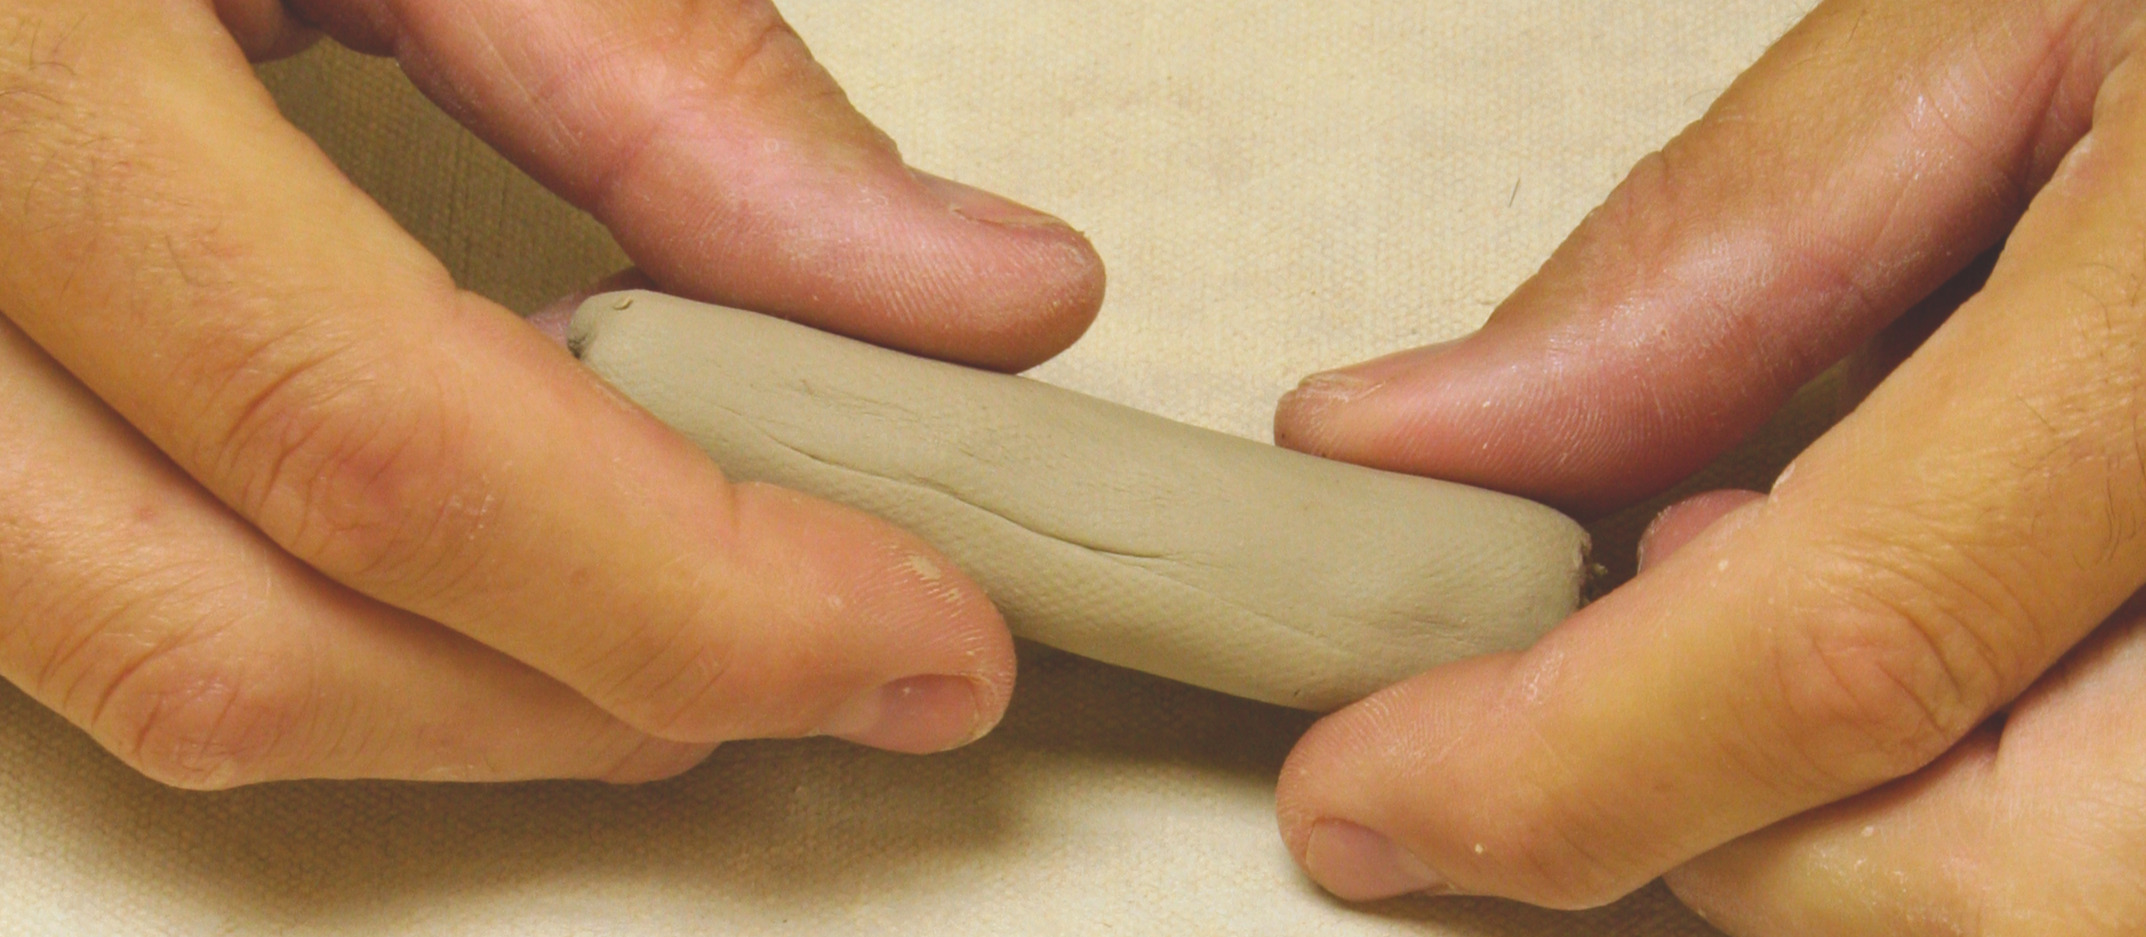
Roll out two carrot-shaped pieces of clay approximately 1 1/2" long for the arms.
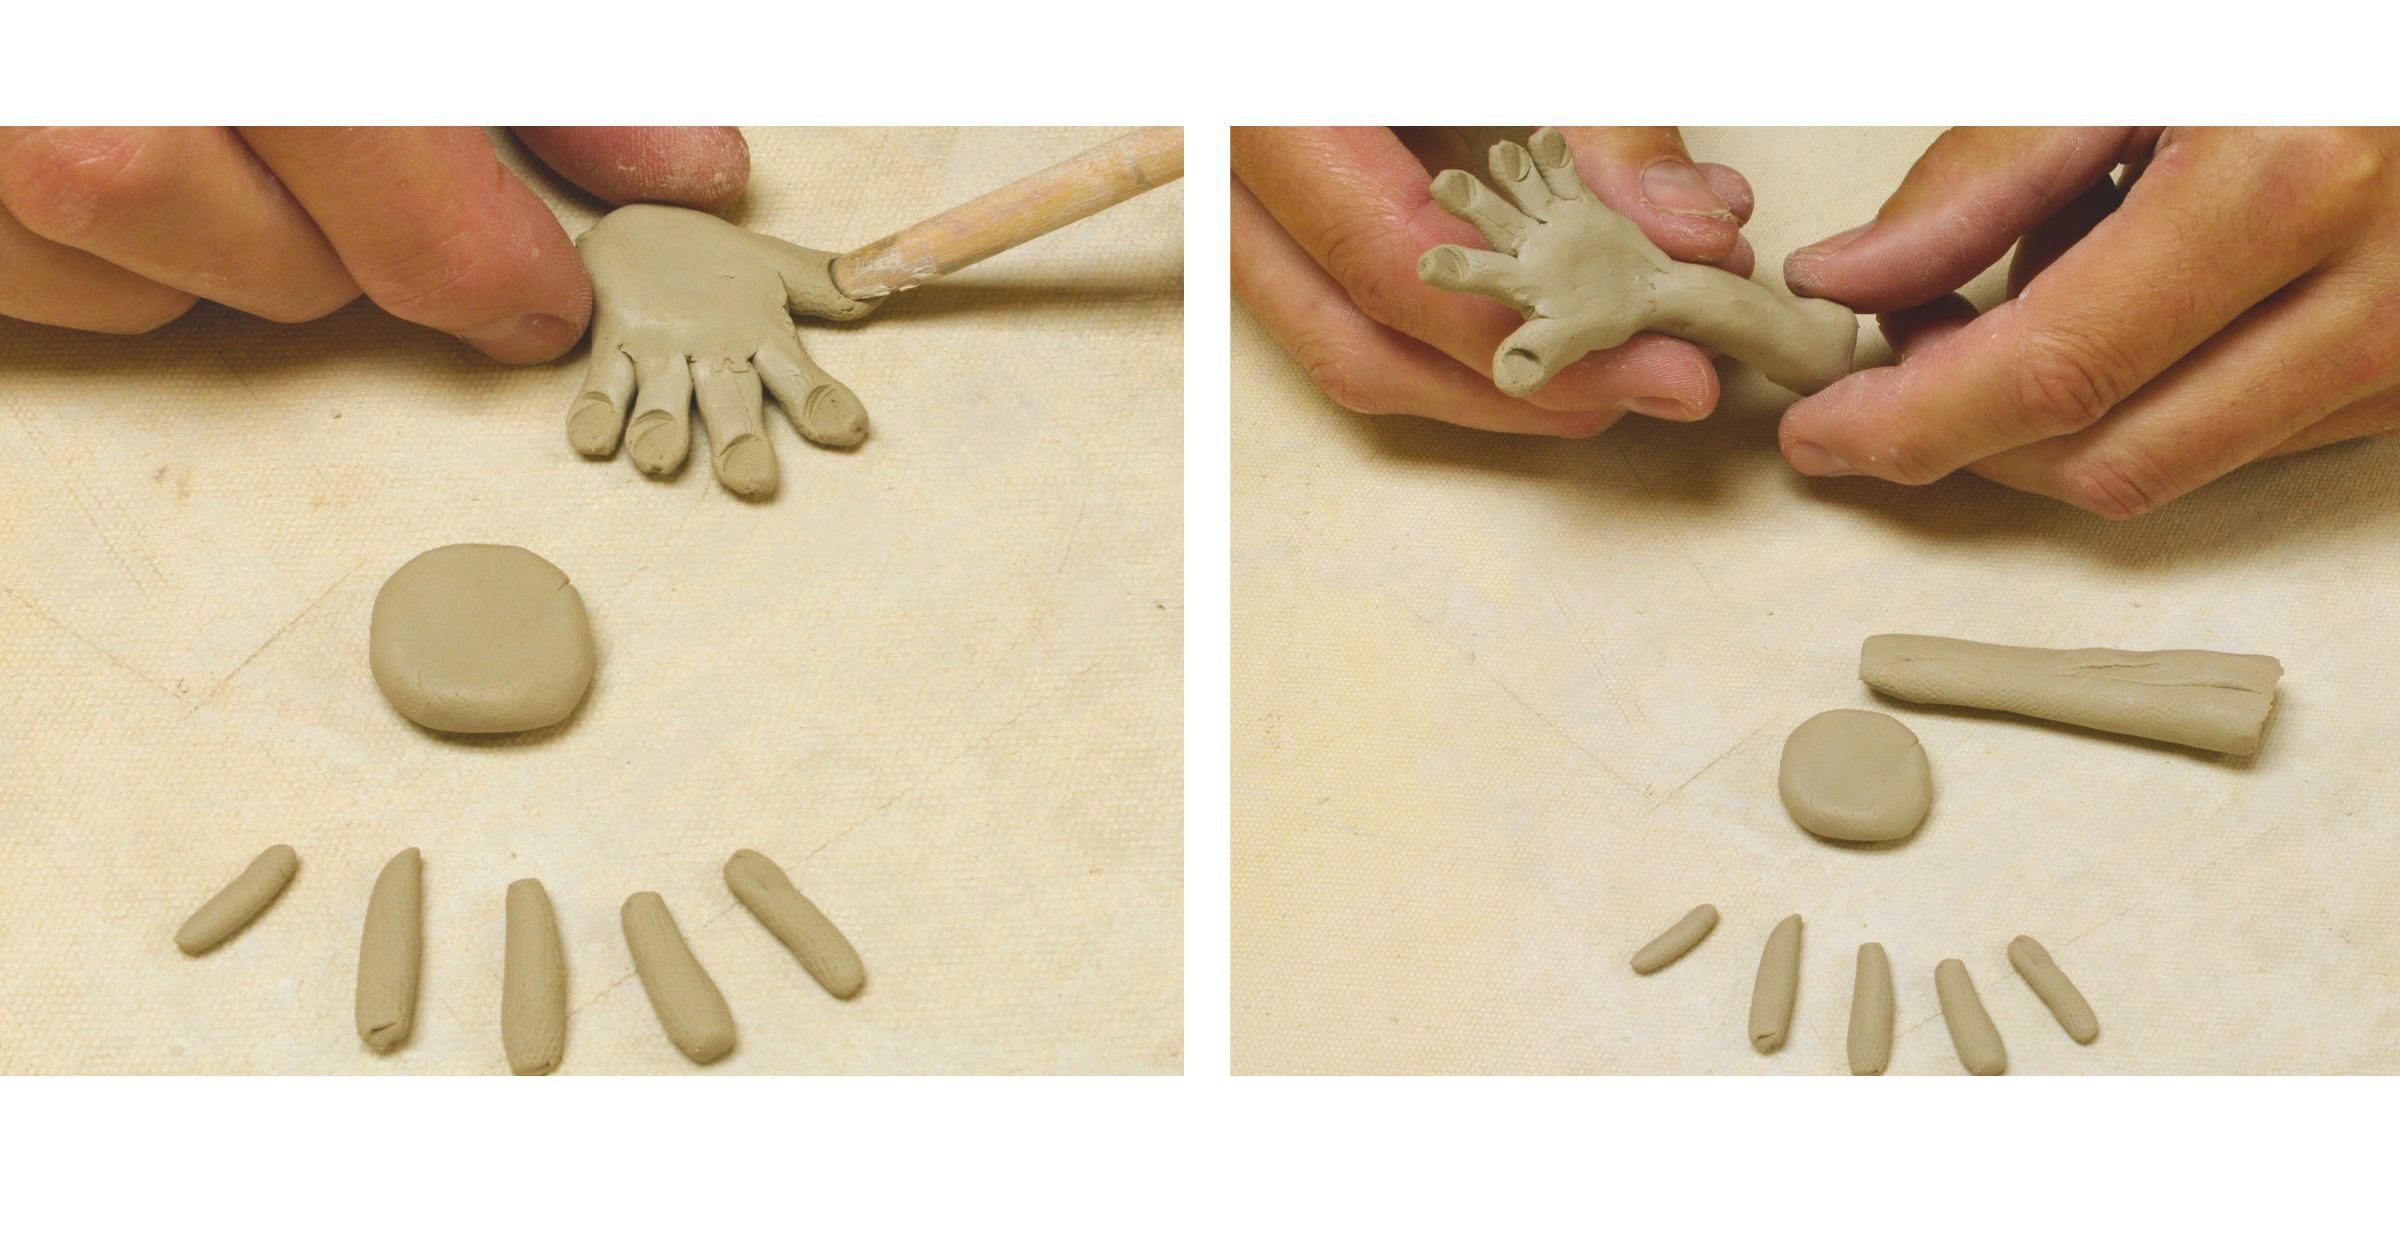
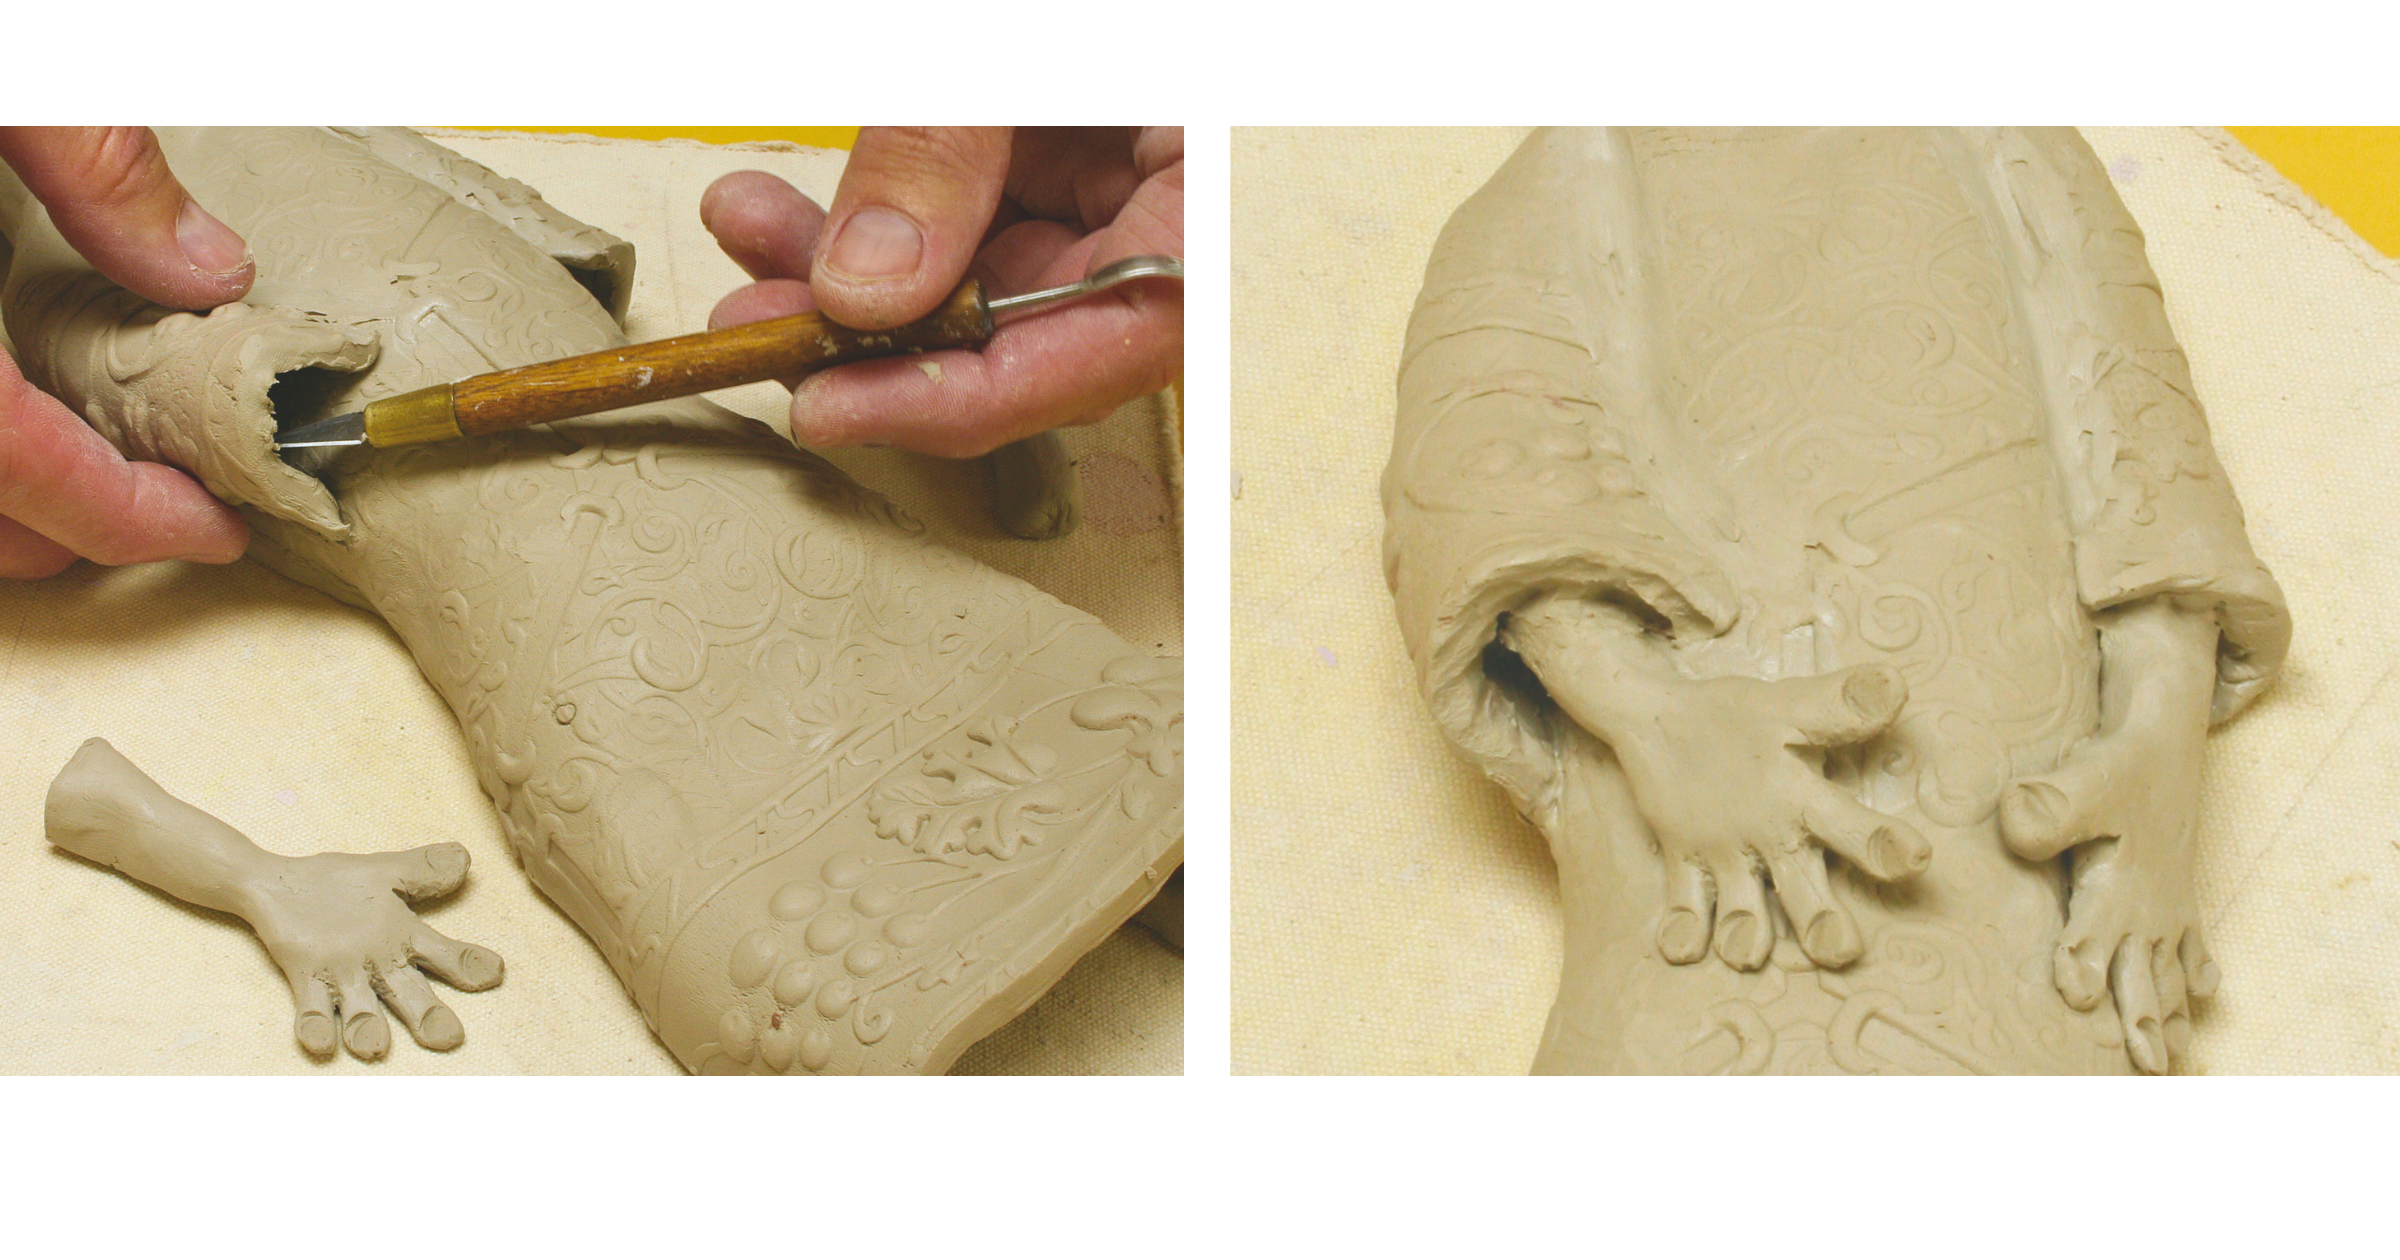
Roll two clay balls the size of small grapes. Squish flat. Roll out small coils for each finger. Attach fingers to hand, then attach hand to arm. Add details such as fingernails and jewelry if desired. Set aside.
Cut out two textured slabs about 2" x 1 1/2". Attach one end of sleeve to robe near neck and taper it down toward waist. Repeat for other sleeve.
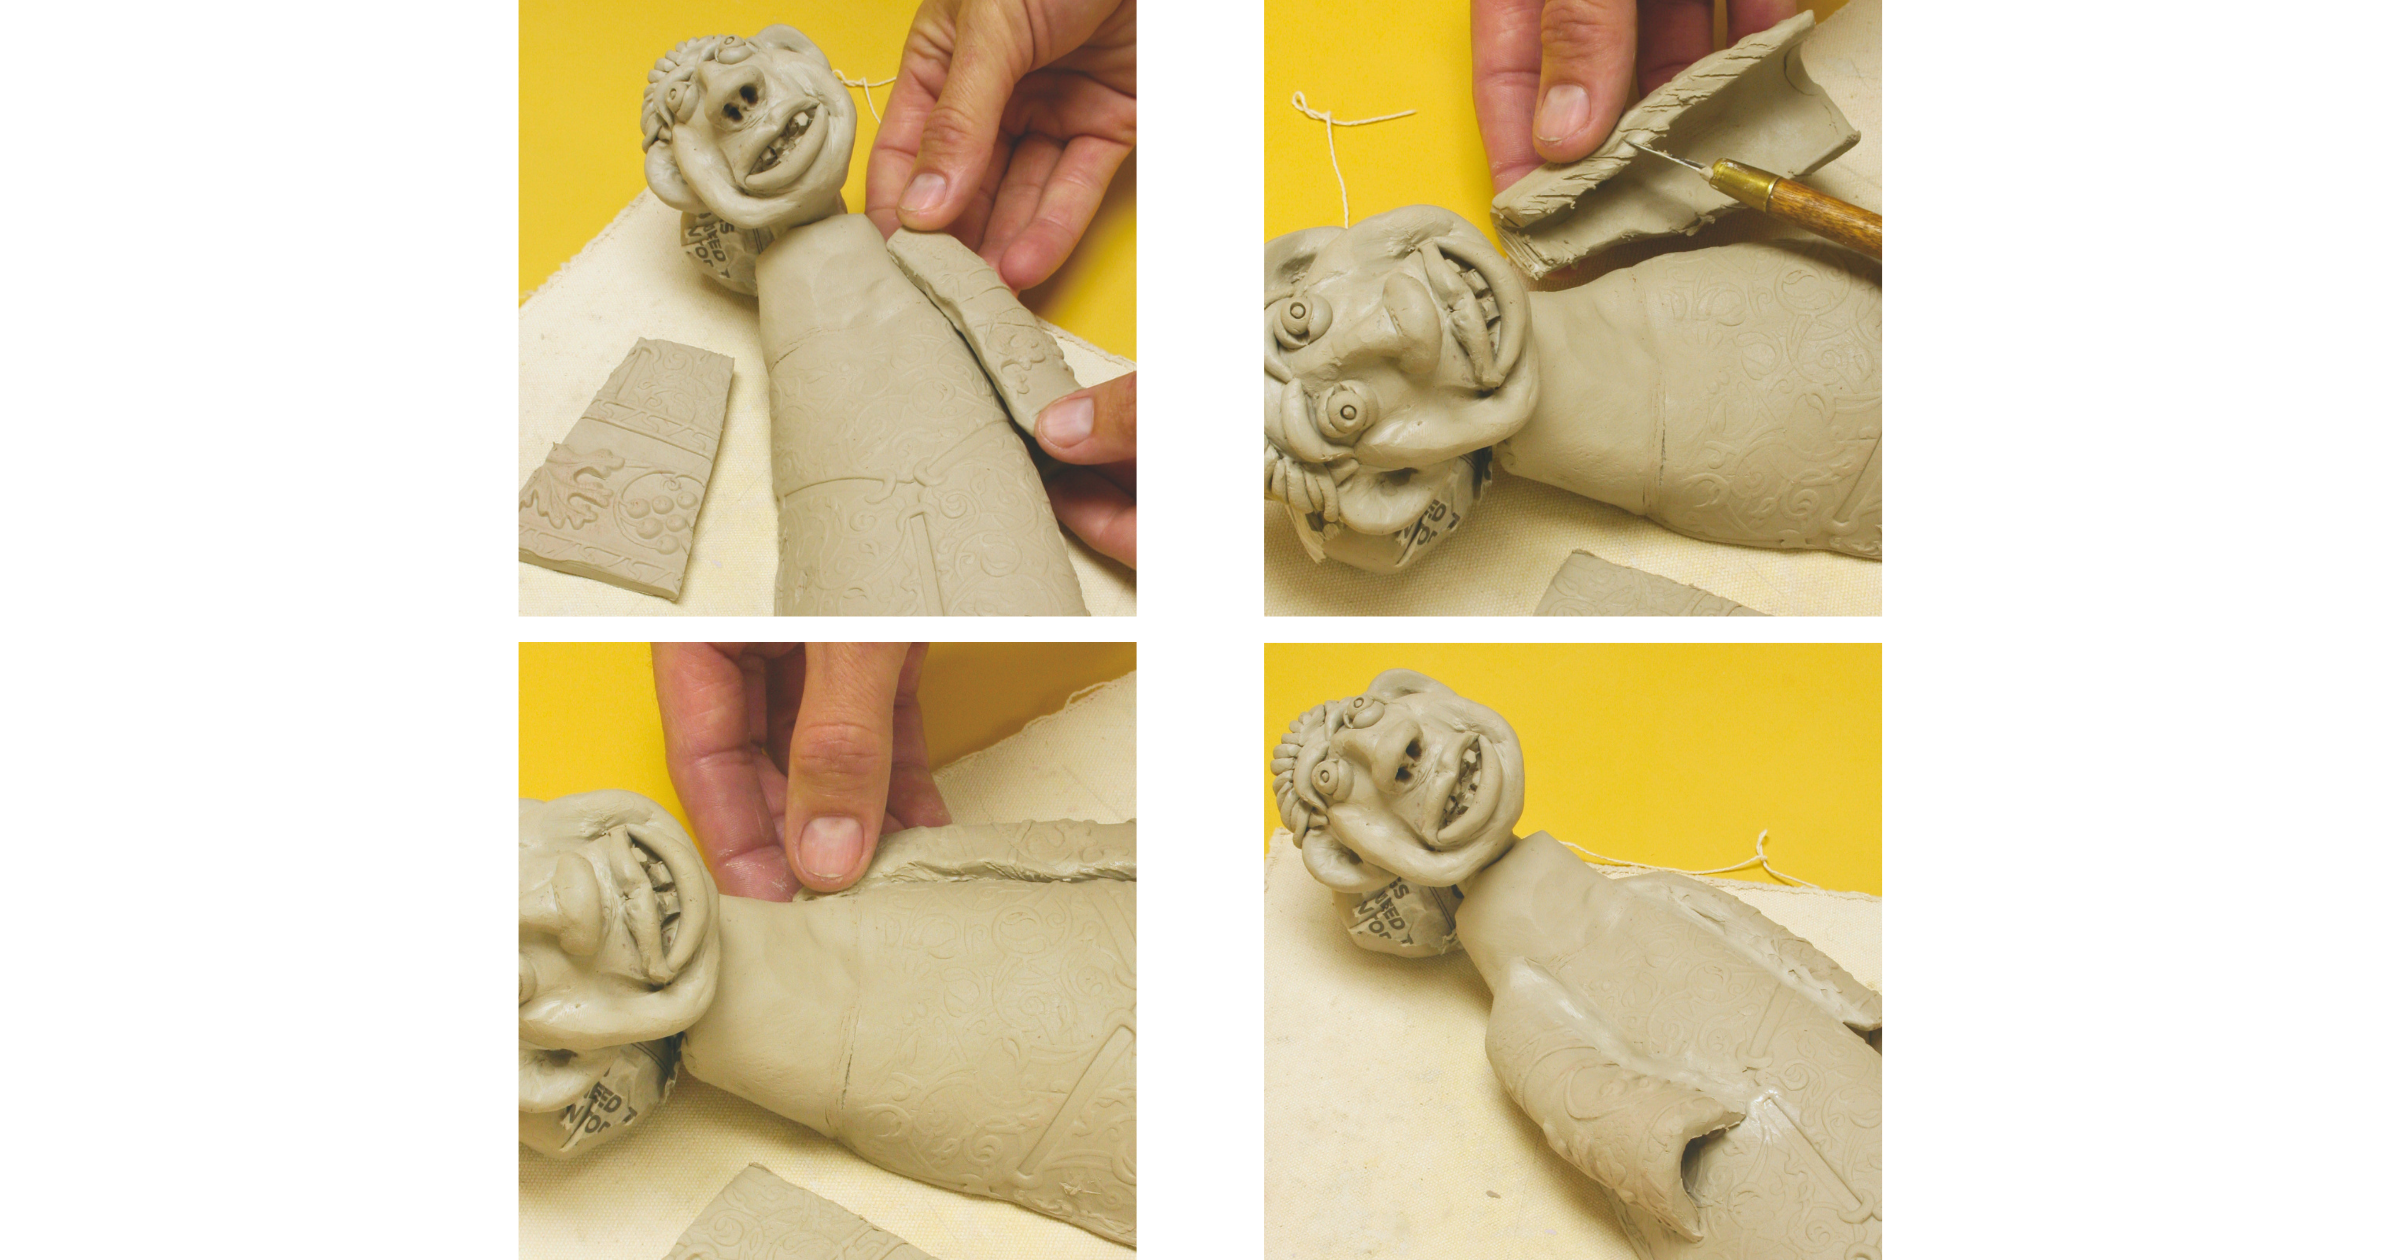
Score and slip the bottom of the sleeve to the top of the arm and attach.
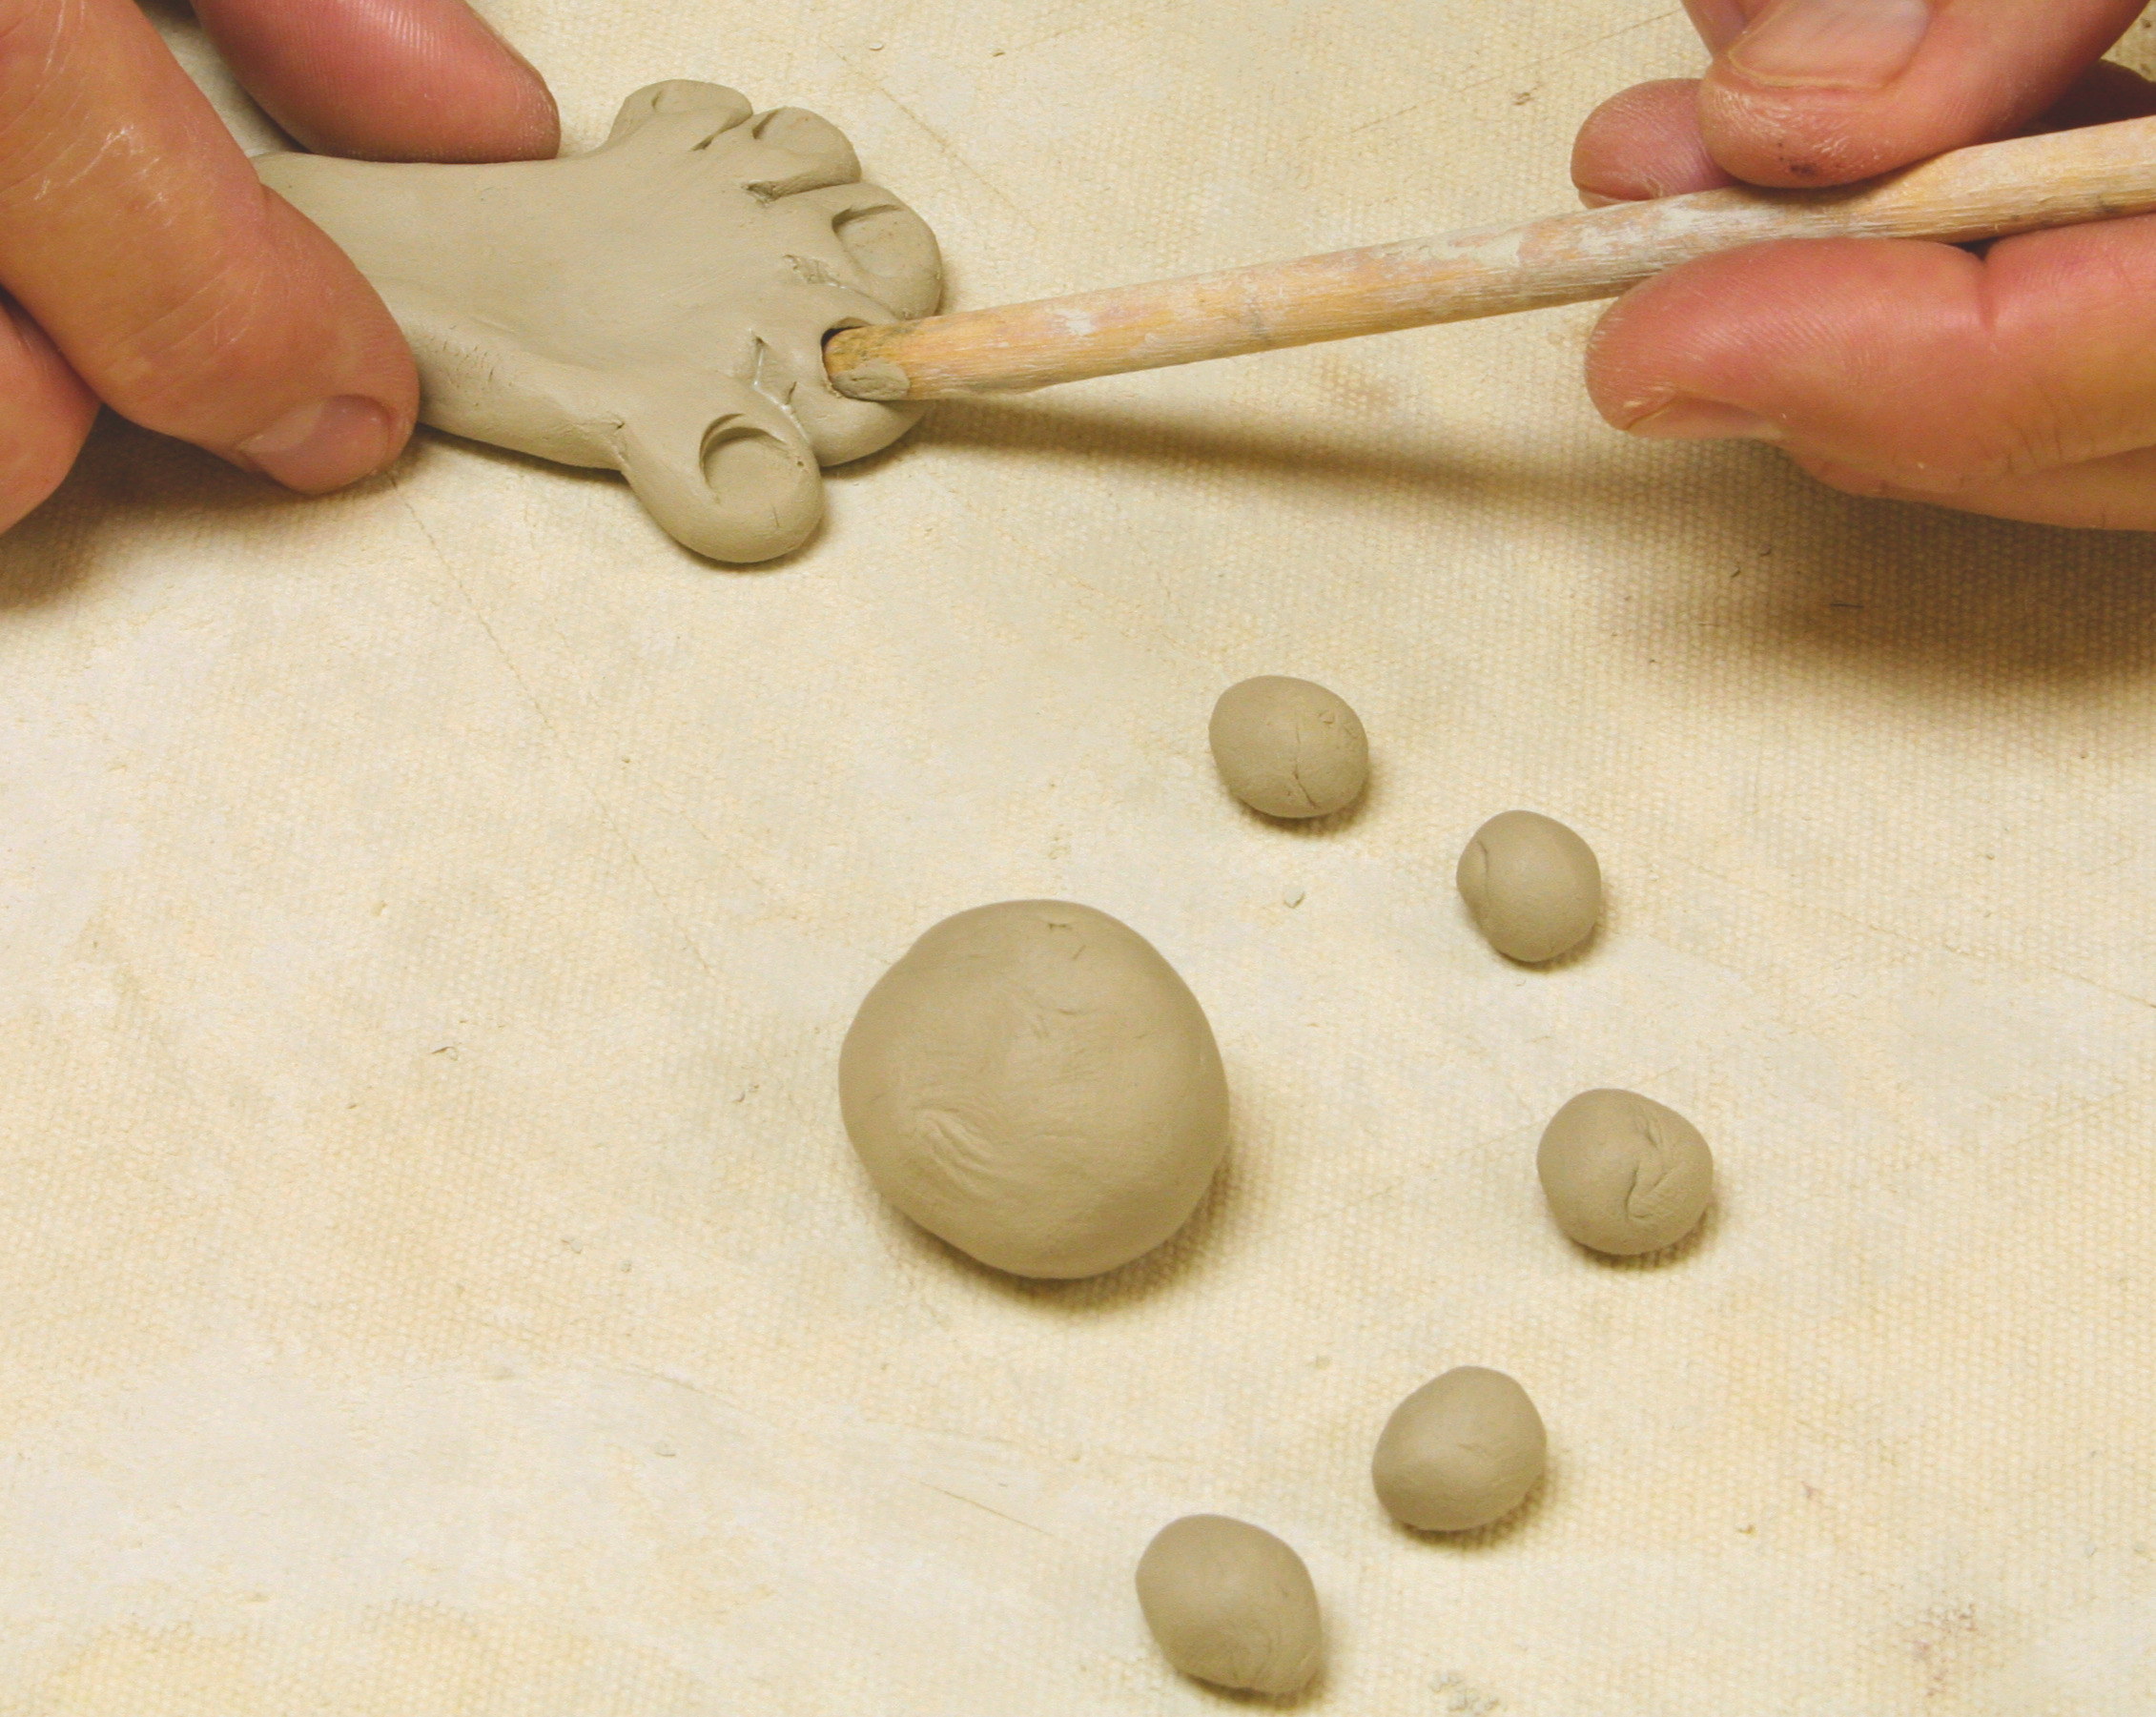
Create the feet like the hands. Roll two egg-shaped balls of clay the size of a grape. Squish flat. Roll out small fat eggs of various sizes and attach them to the feet to create toes.
Score and slip the bottom of the robe and the top of the foot and attach.
Add details to further the figure‘s personality. Use a garlic press to create hair. Create jewelry or top your figure off with a hat. The possibilities are endless.
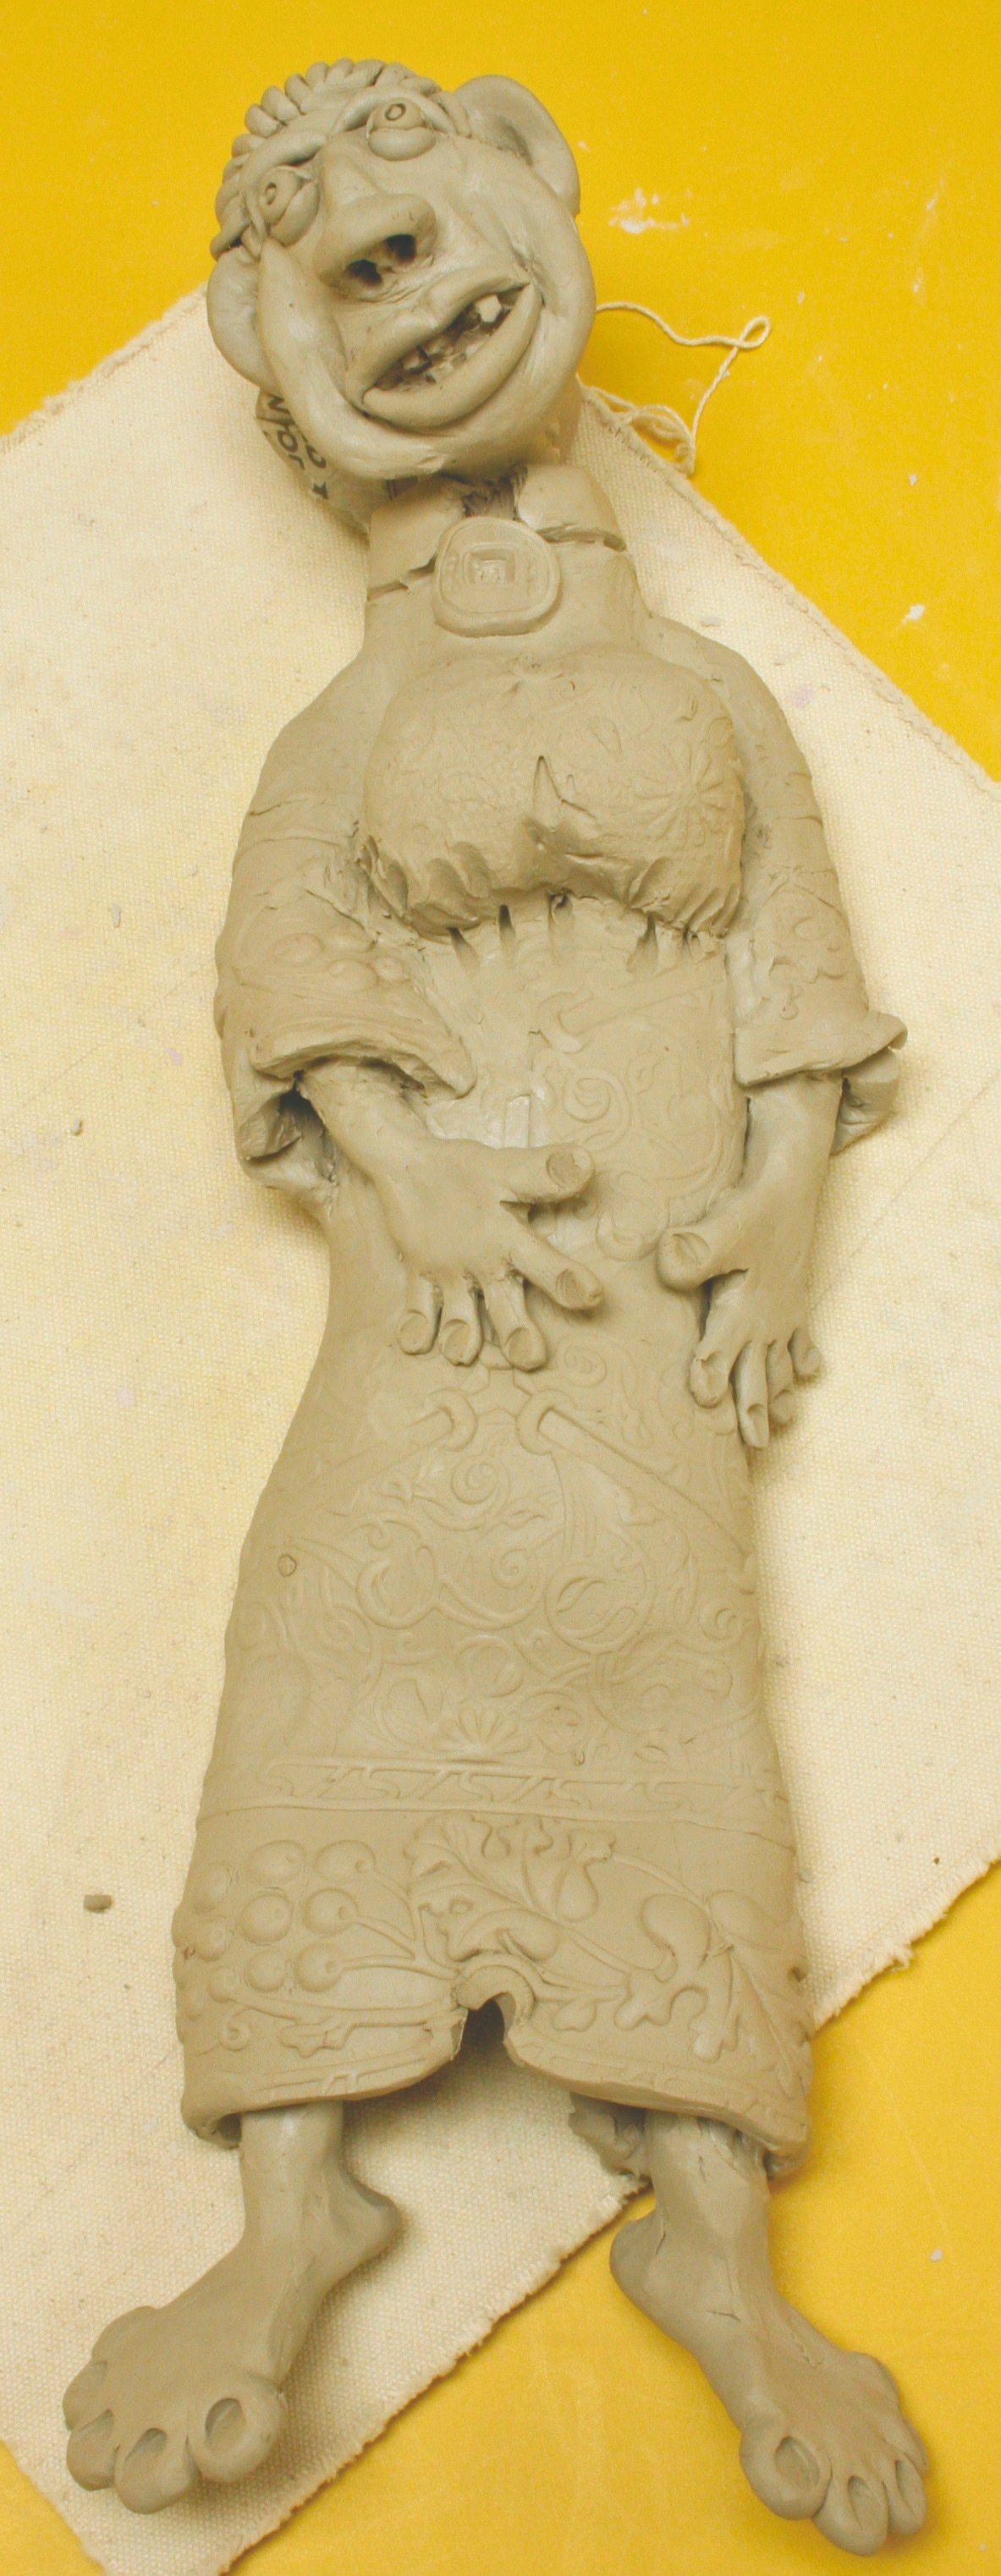
Allow the figure to completely dry then bisque fire to witness Cone 04.
Coat entire figure with a wash solution of 50% AMACO® black underglaze and 50% water to enhance the texture. Once applied, use damp sponge to wipe the underglaze off the high spots. Color any remaining areas you choose with AMACO® Velvet underglazes and fire again to Cone 05. Apply AMACO® LG-10 Clear Gloss if a gloss finish is desired on certain areas.


