Weathered Sign
Make a decorative sign for your home or garden!


 Play Video
Discuss monster ideas with students. What makes something a monster rather than a regular face? Texture, eyes, teeth, claws, etc. Have students come up with attributes of the monster they want to recreate as a mug. Optional: have students draw numbers and attributes out of a hat as a random monster generator.
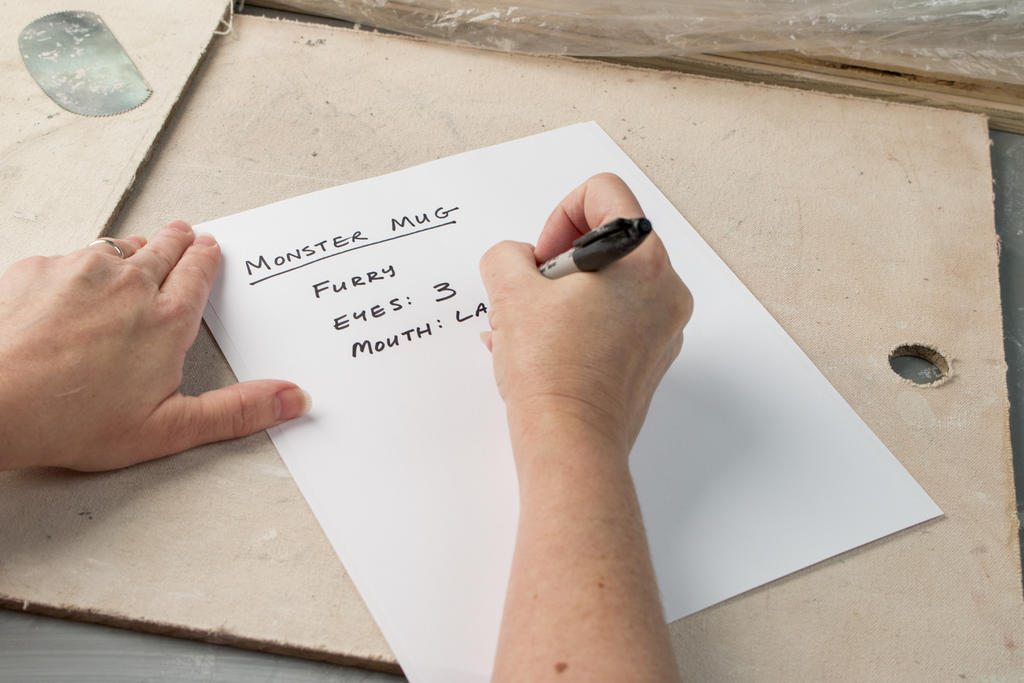
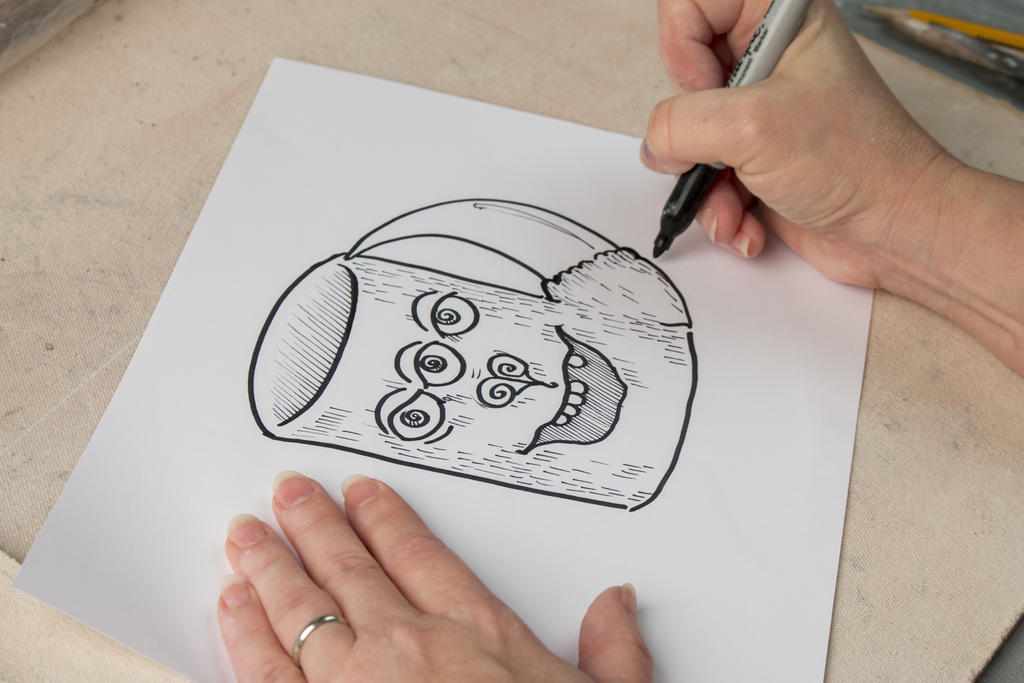
Have students draw their monster as a mug, including planning the handle.
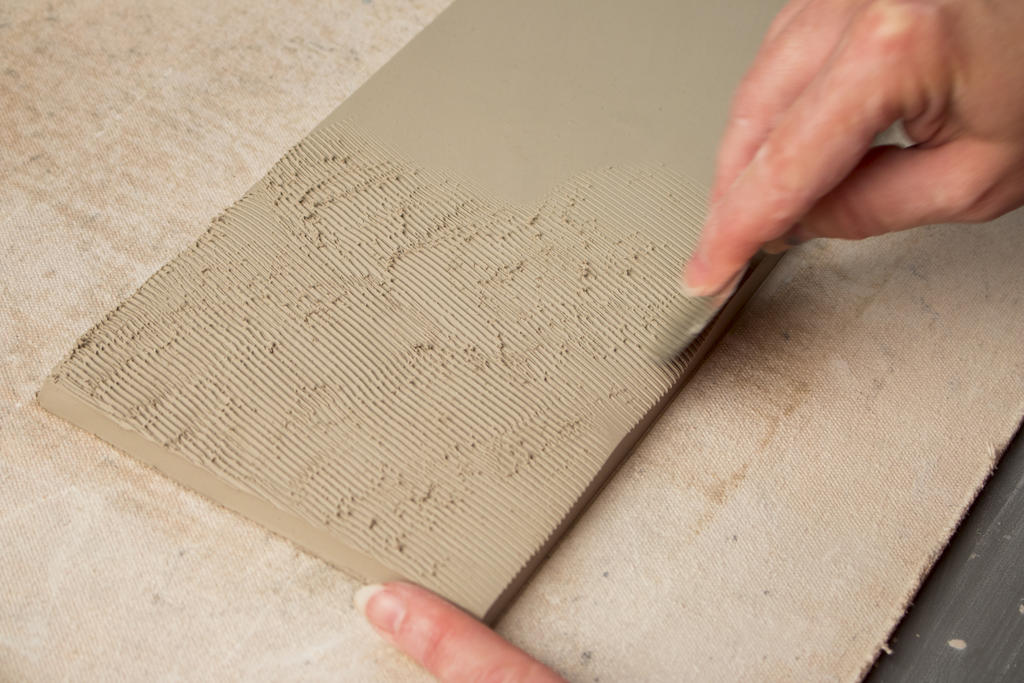
Cut out and texture a slab 11.5” x 5”. Fur can be imitated with a comb, scales with net fabric or a roller stamp. Try out different items, like pine cones or rocks, to see what kind of textures you can make.
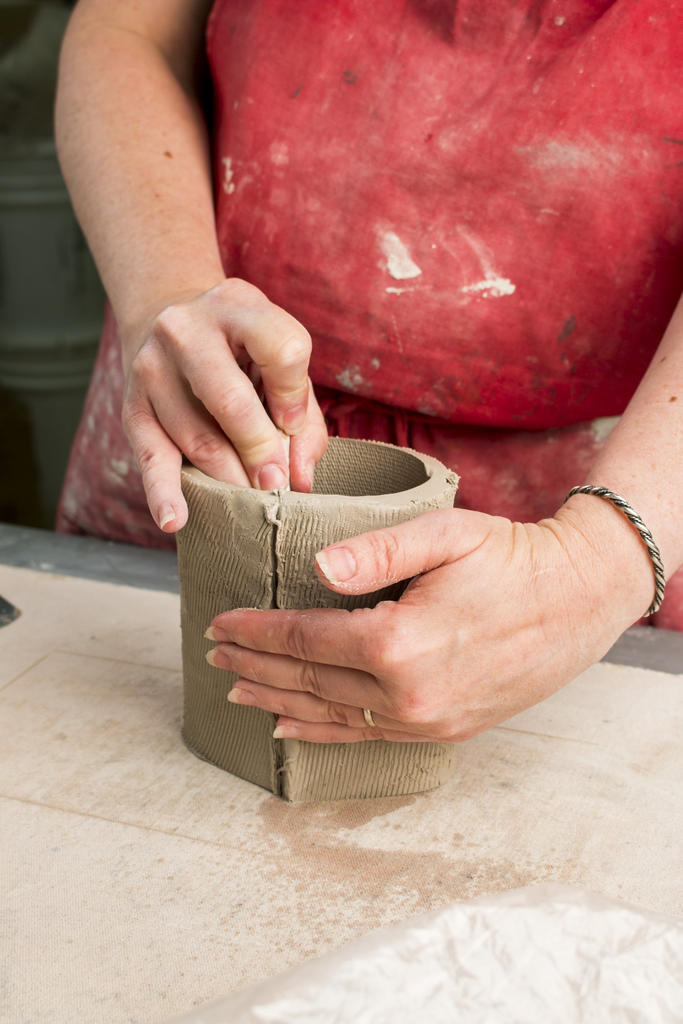
Curl slab into a cylinder with the texture on the outside. Slip and score the ends of the cylinder.
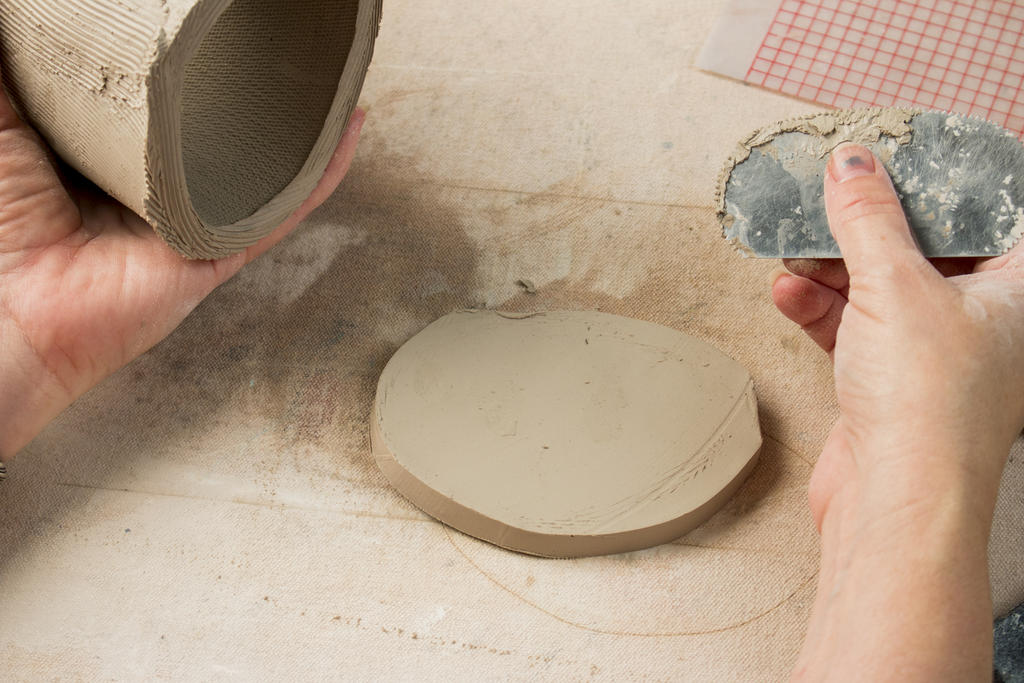
Cut a circle from a slab for the base and score and slip to cylinder.
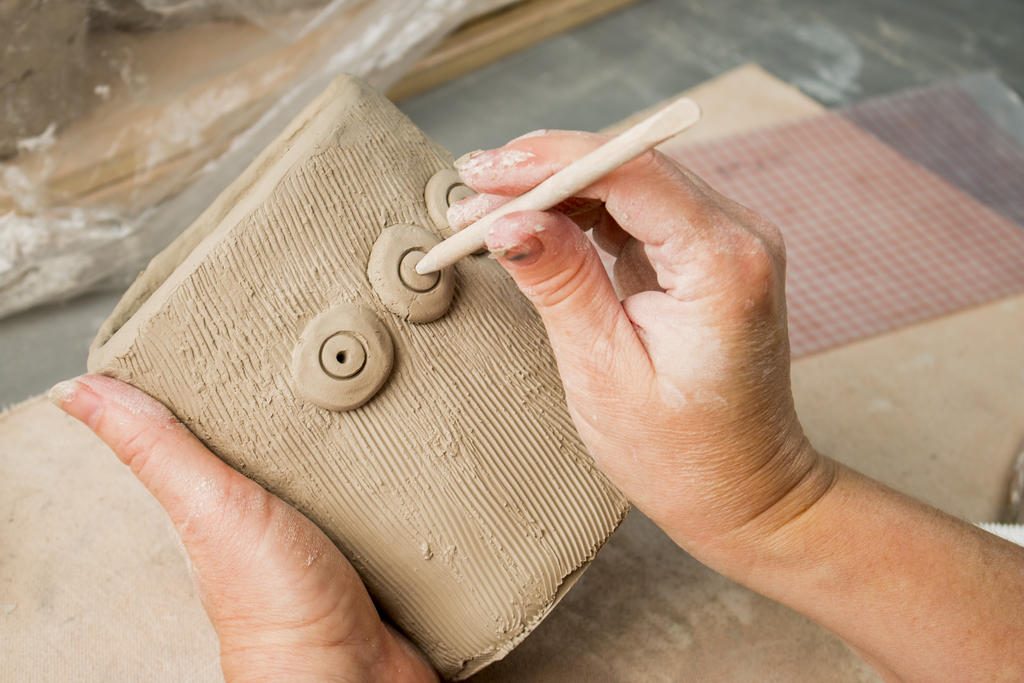
Make eyes. Roll balls of clay, score and slip and press gently into the mug. Use hollow tool or texture stamp to make iris and pupil.
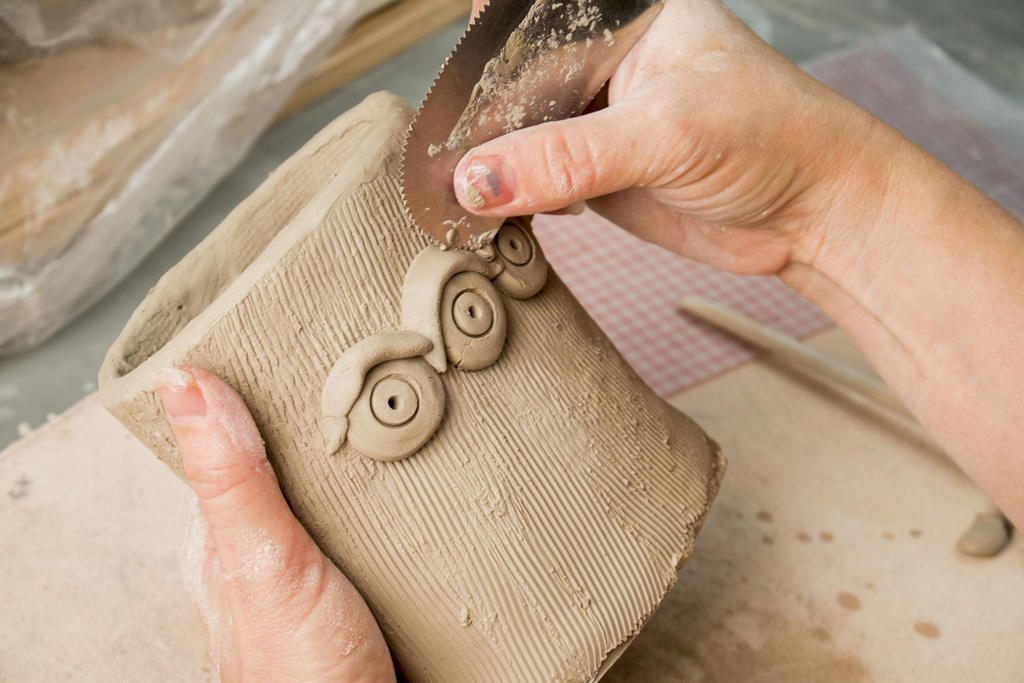
Use small coils for eyelids, if desired.
Make a mouth. If it’s an open mouth, lightly press the clay inward, and smooth.
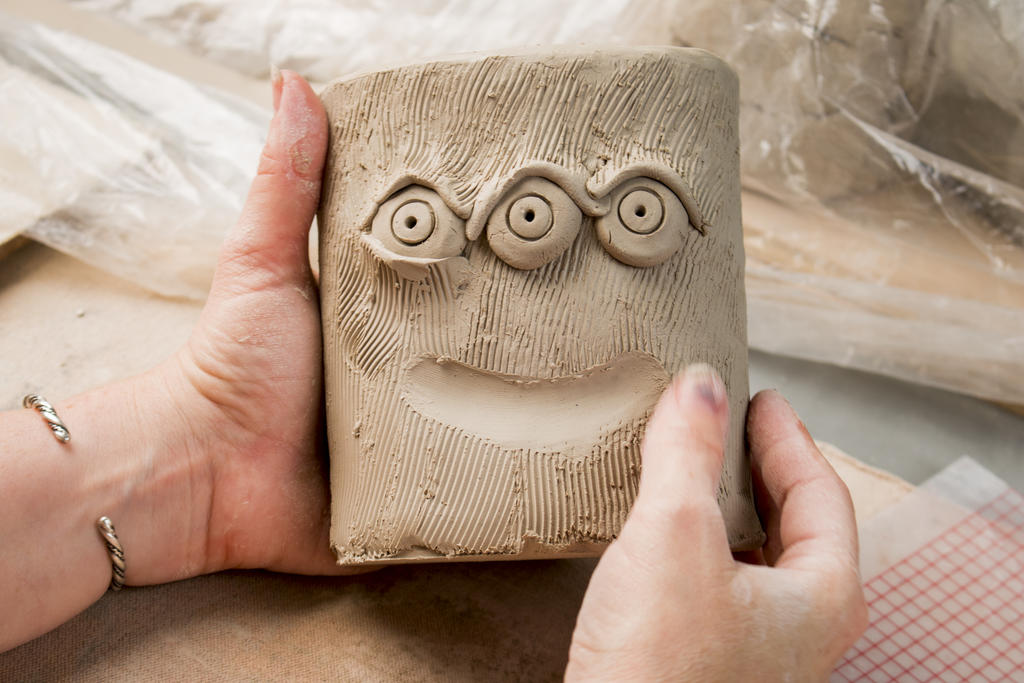
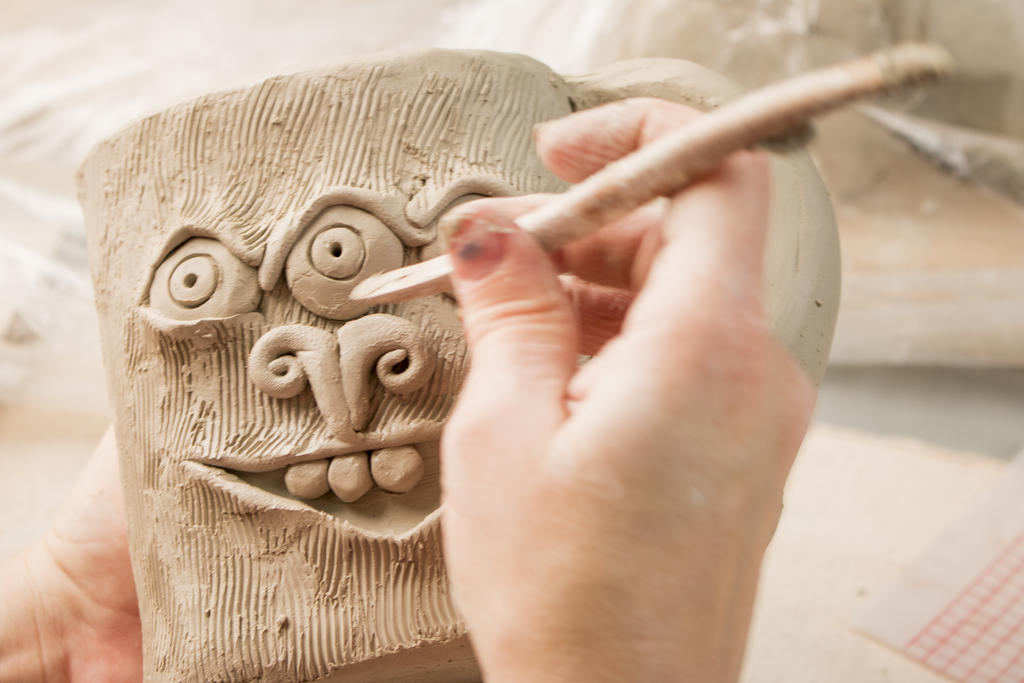
If there will be teeth, make those and attach them before making the lips. Make lips with thin coils of clay. Score and slip.
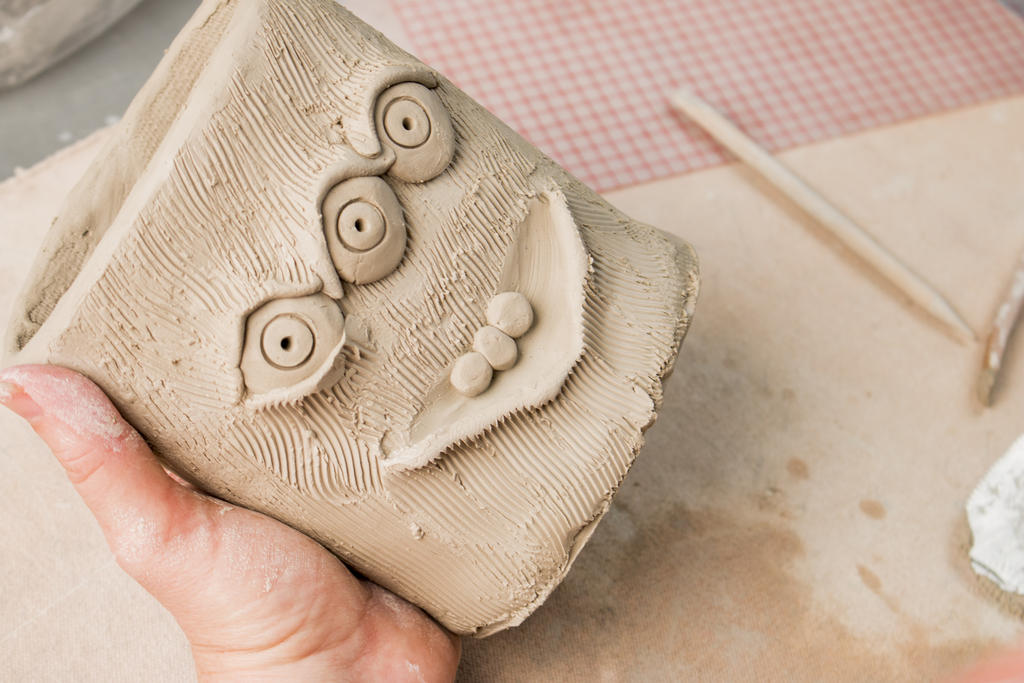
Make a nose, if desired. Nose can be any shape. If it will be large, make it hollow and poke a hole it to vent in firing.
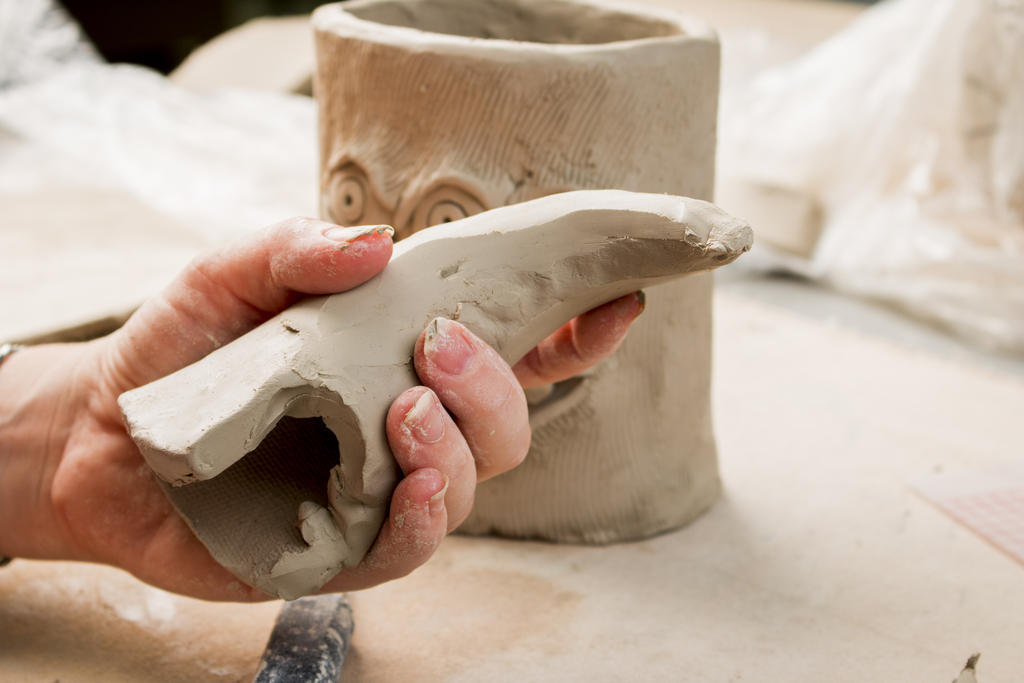
Make a handle. If the handle will be more than ¾” thick (like the claw / horn handle pictured) make it hollow and be sure to include a hole in the base to allow it to vent in firing. For a tentacle type handle, it can be solid. Texture the handle to match the mug.
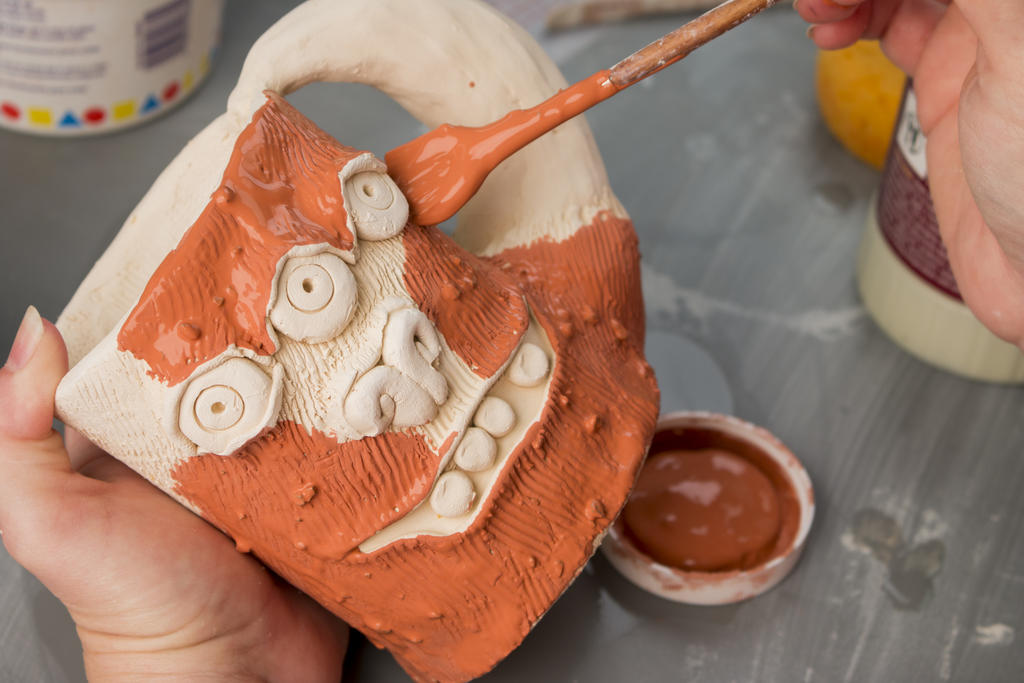
Dry slowly and bisque fire to cone 04. Glaze with CTL, LG or TP glazes, fire, and enjoy.