Weathered Sign
Make a decorative sign for your home or garden!


 Play Video
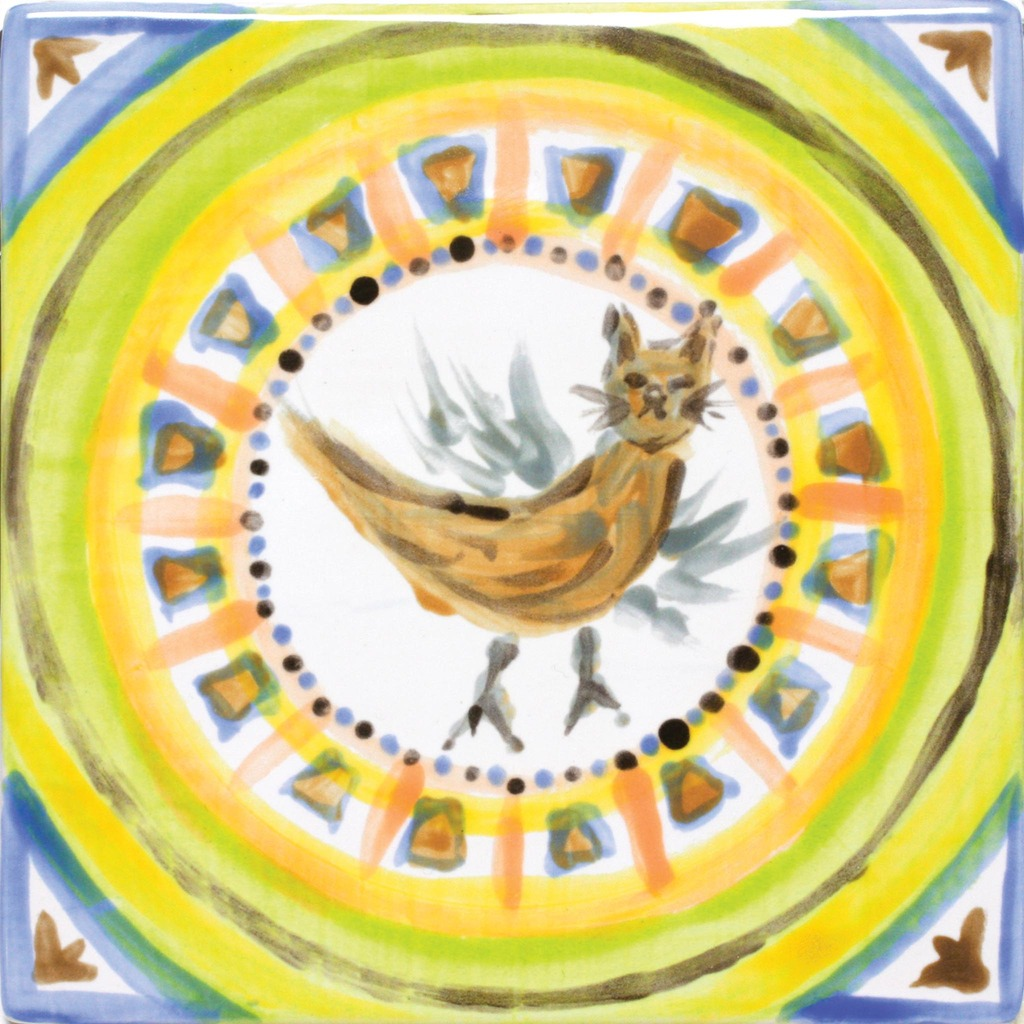
Show students images of both historical Majolica wares and contemporary ceramic art using the Majolica process. Have students loosely sketch their desired symmetrical designs, and a mythical animal of their choice for the center of their tiles. They may create their own imaginary creature by combining two different animals together.
Lightly wipe bisque surfaces with a clean damp sponge to remove any dust before glazing.
Write each student’s name on the back with underglaze by brush, an Applicator bottle or an AMACO® underglaze pencil.
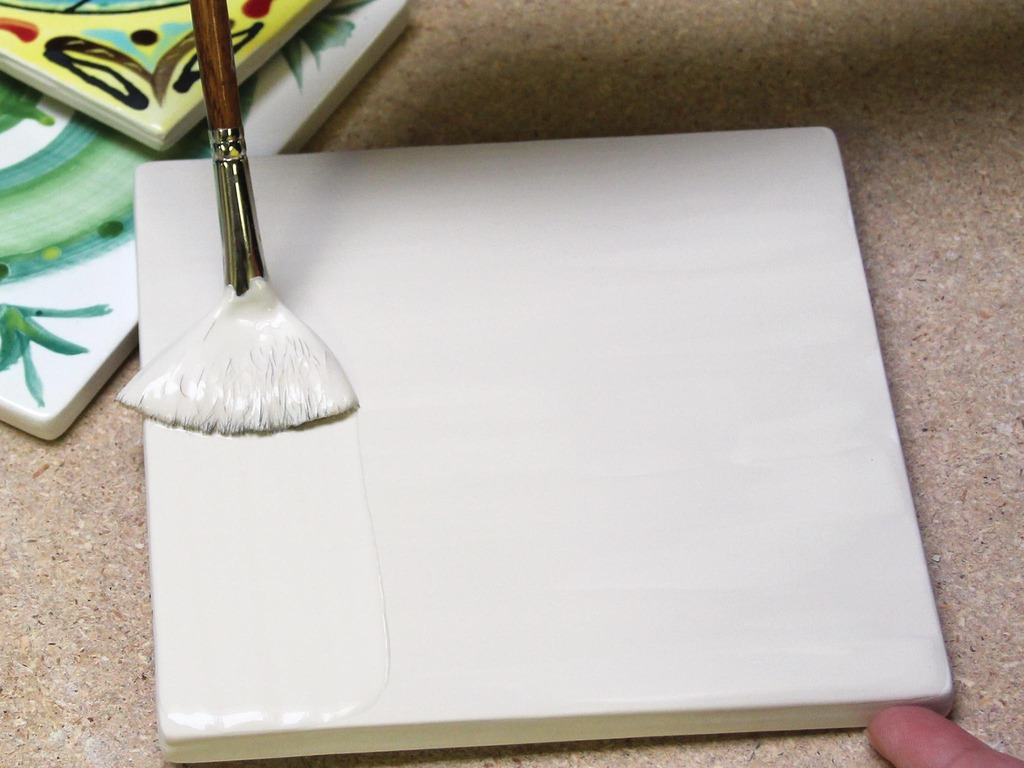
Glaze each tile with 2-3 even coats of TP-11 Cotton glaze (allow glaze to dry between coats).
Use template (link basics lesson) to divide tile into quadrants and position circle.
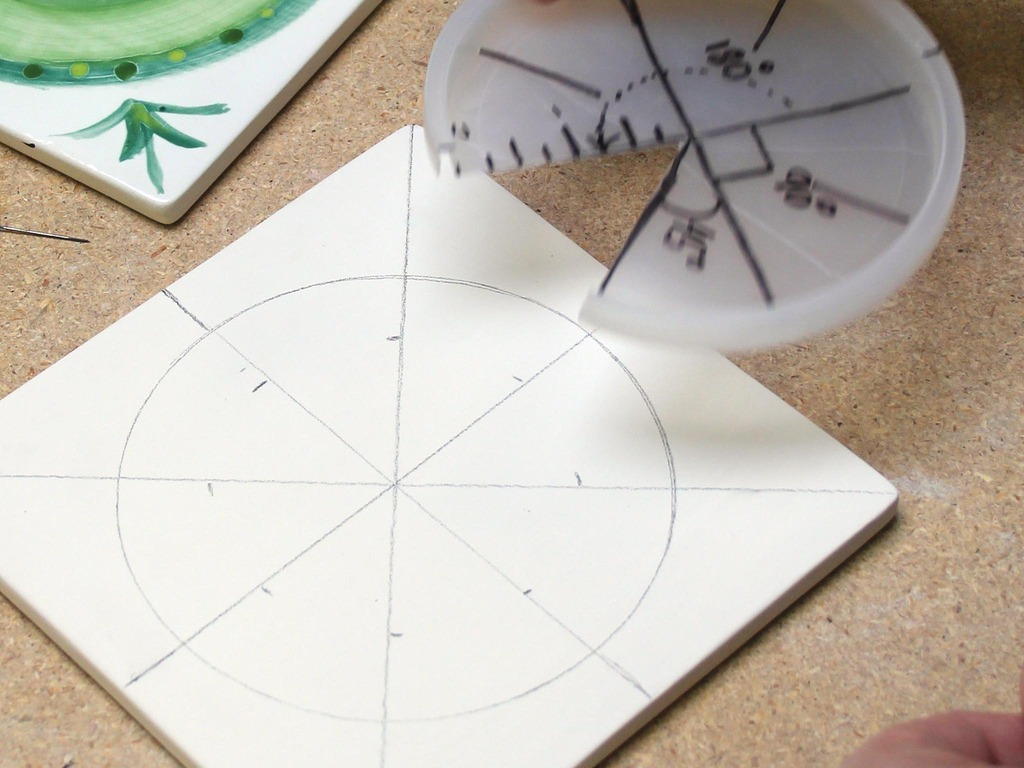
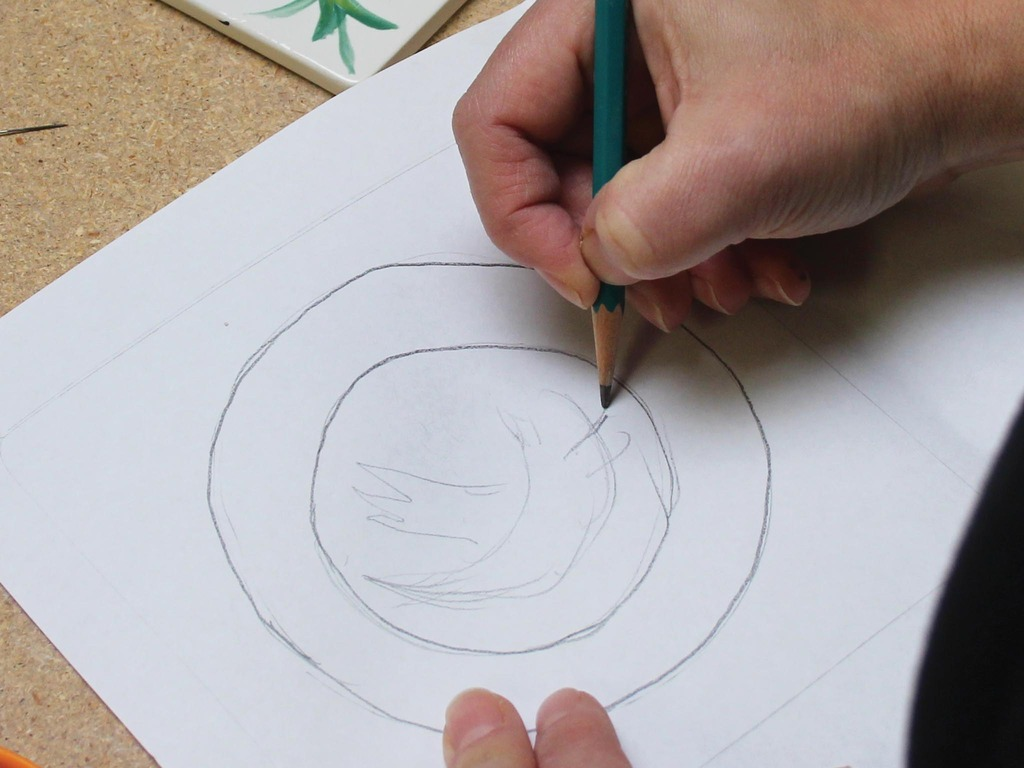
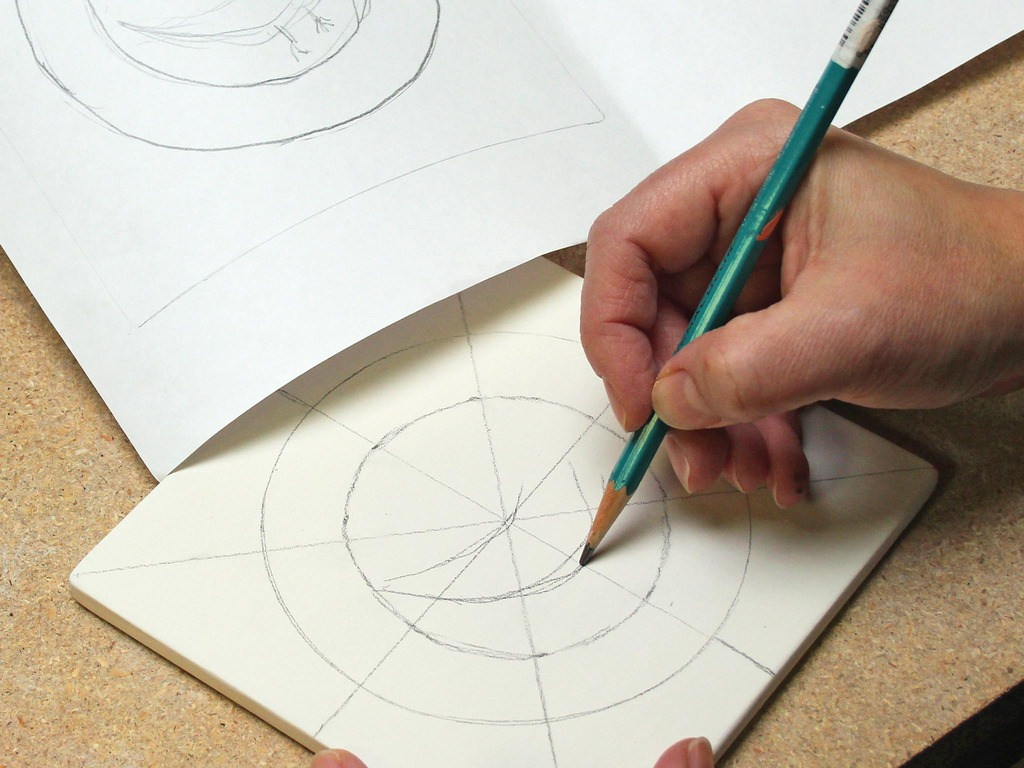
Have students sketch their design onto the tile. All pencil marks will fire out. The inner circle can be a frame for the mythical animal.
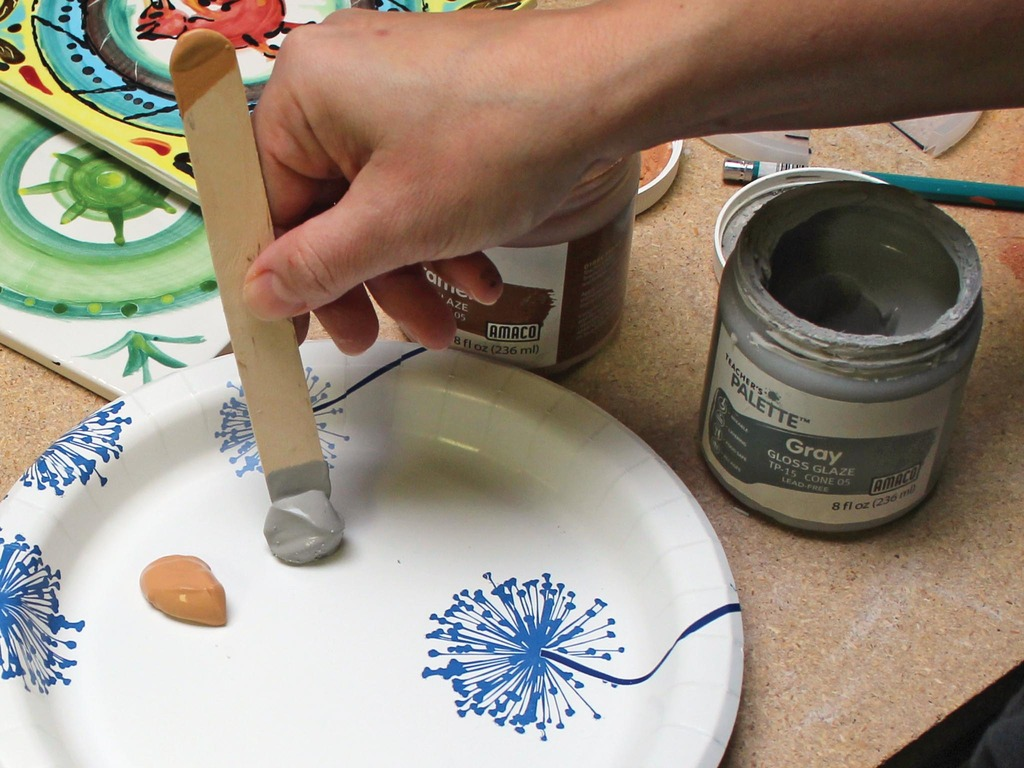
Use paper plates as a mixing palette. Have students select their color schemes by placing a dollop of each desired TP glaze color onto their plate.
Instruct students to start with the lighter and background colors first, and begin to fill in design.
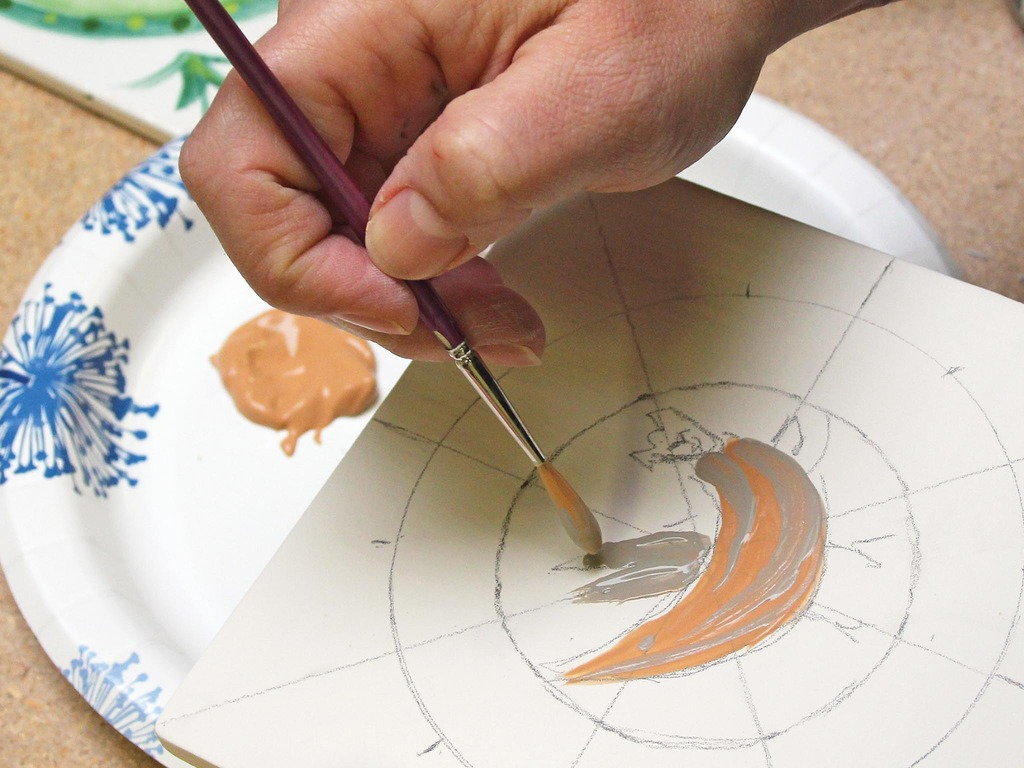
Use darker colors or outlines last.
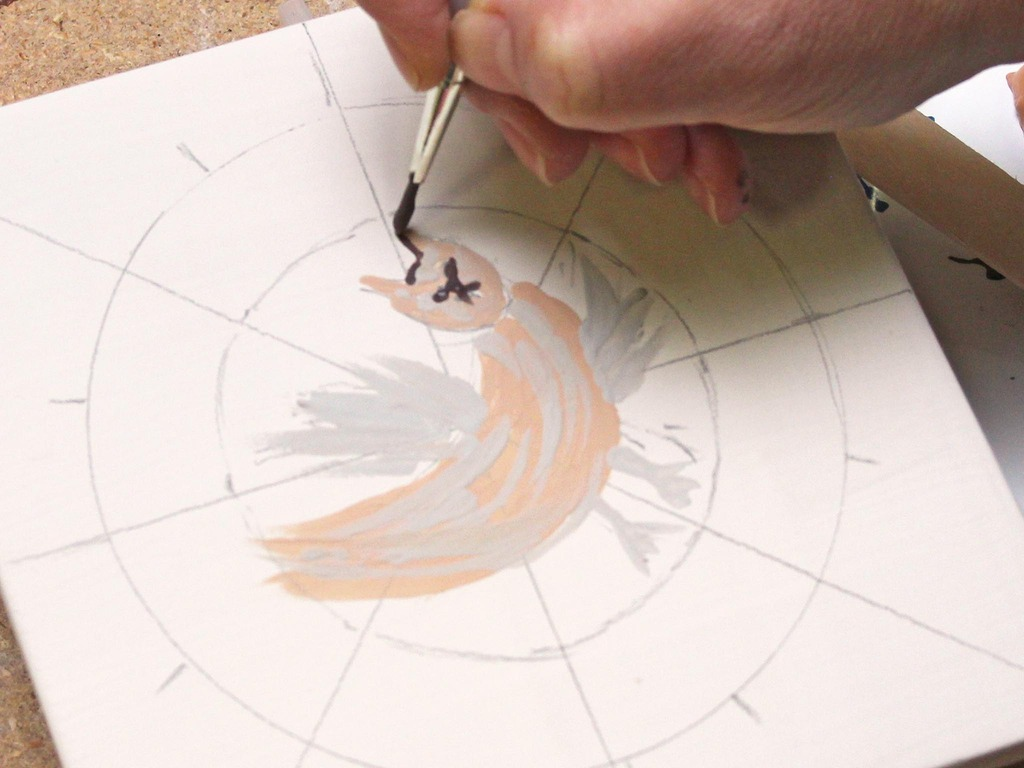
Dilute colors with water on the palette to create longer, flowing brushstrokes.
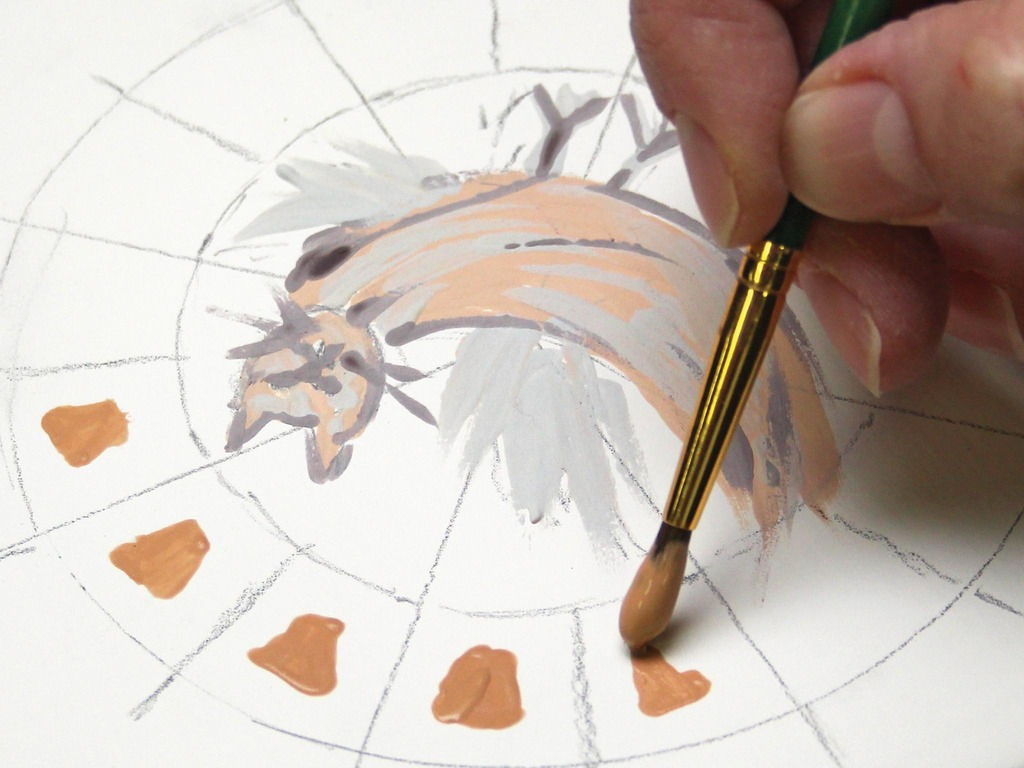
Use an appropriate size brush.
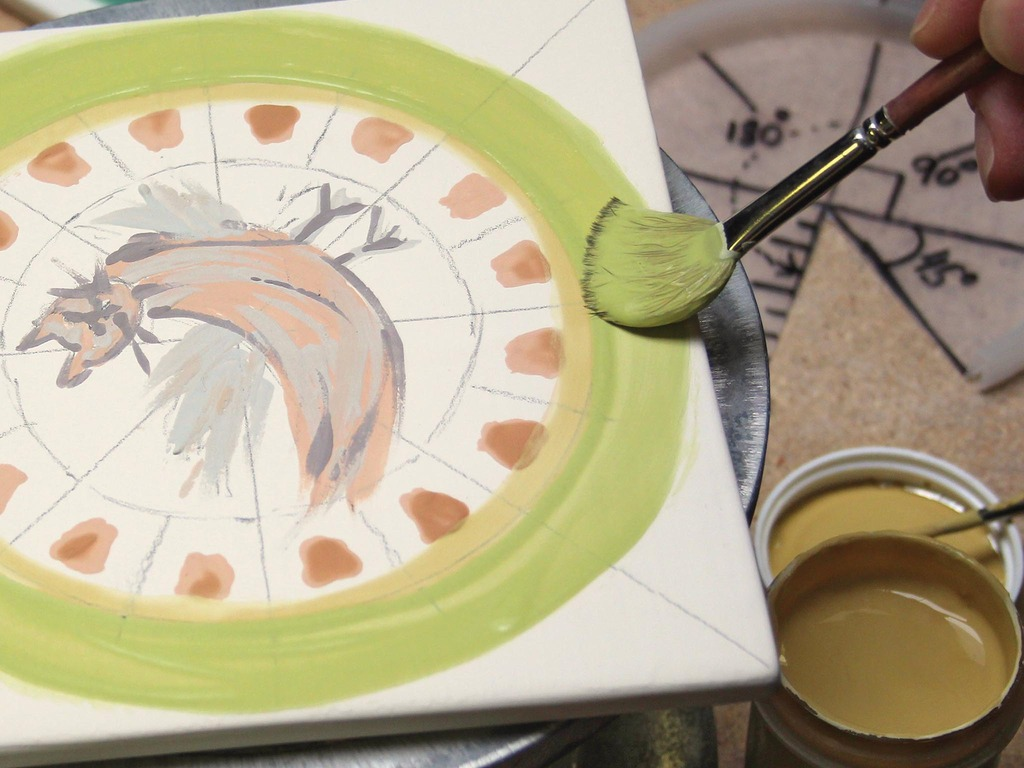
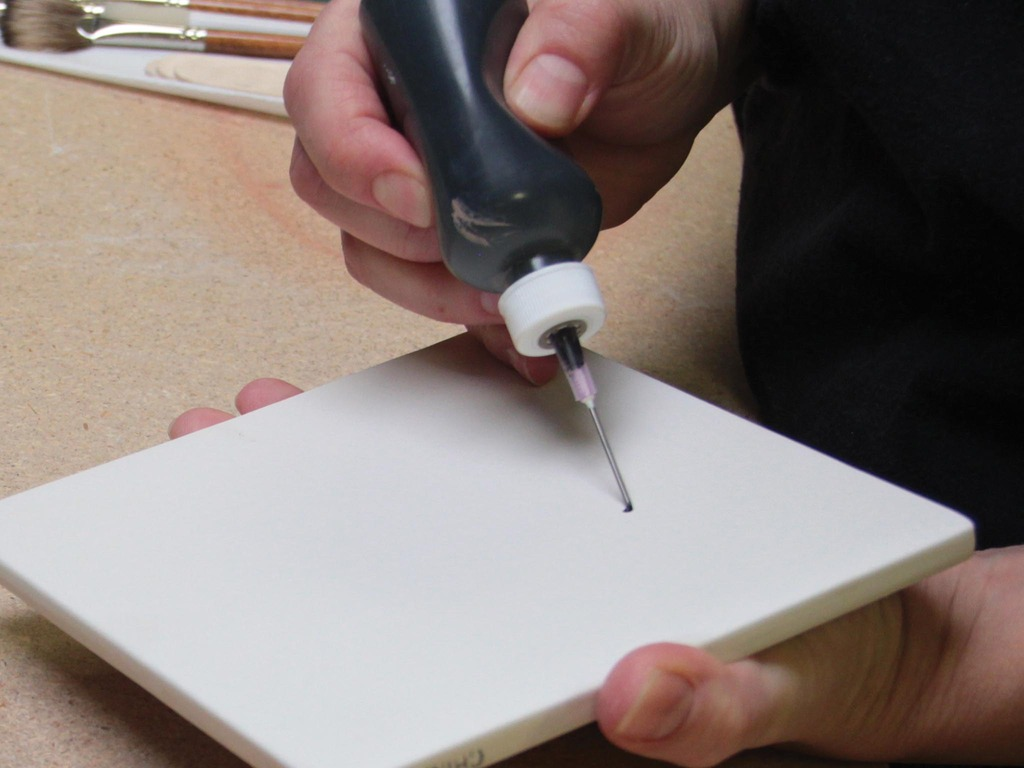
If desired, black underglaze may be painted last to create a matt outline or definition to the design. Use brush or an 18 gauge Underglaze Applicator containing the underglaze.
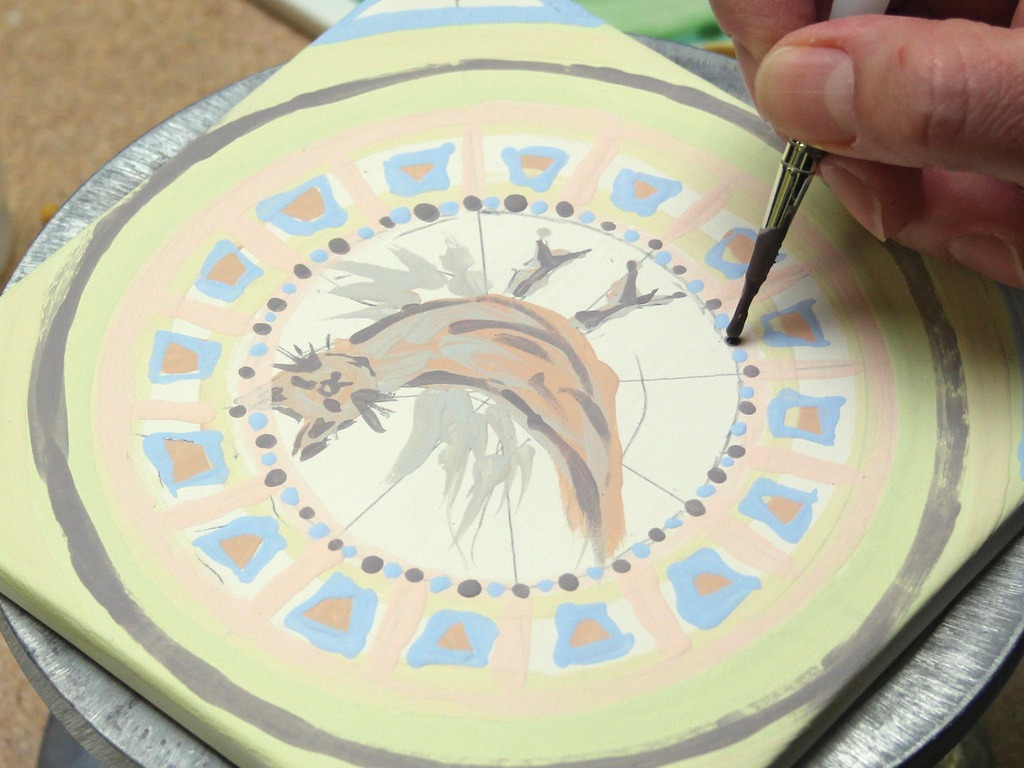
Completed tiles should be fired to cone 05 at medium speed.