

Weathered Sign
Make a decorative sign for your home or garden!


 Play Video
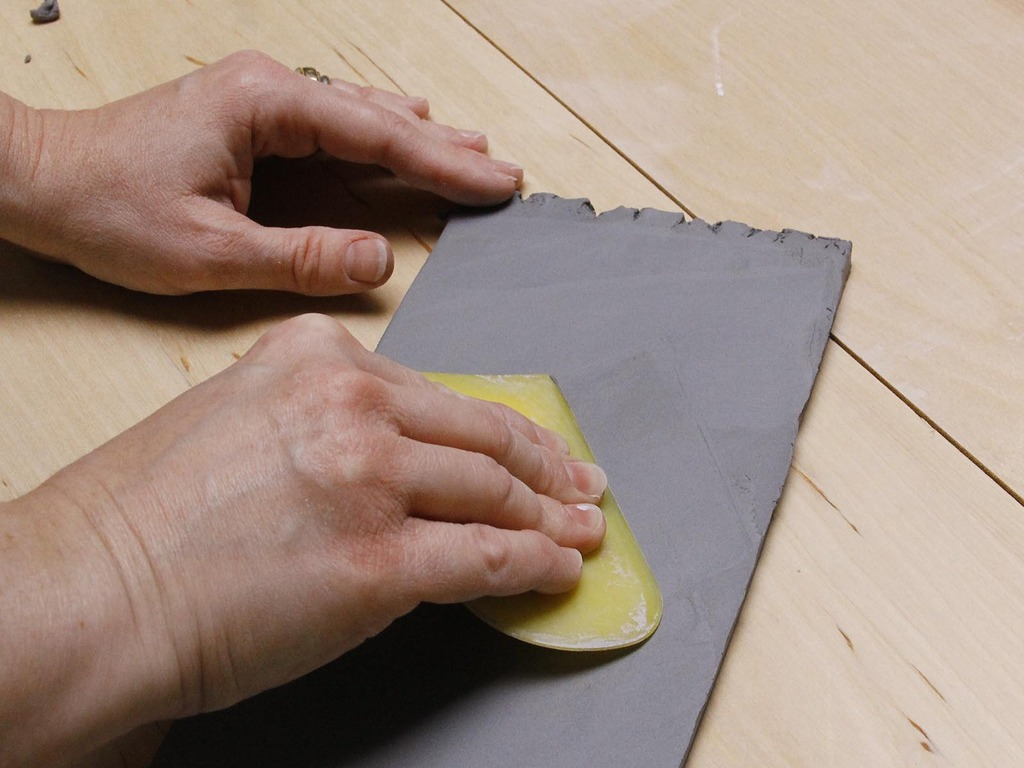
Roll slabs between 1/4 and 3/4 inches thick. Smooth with rubber rib.
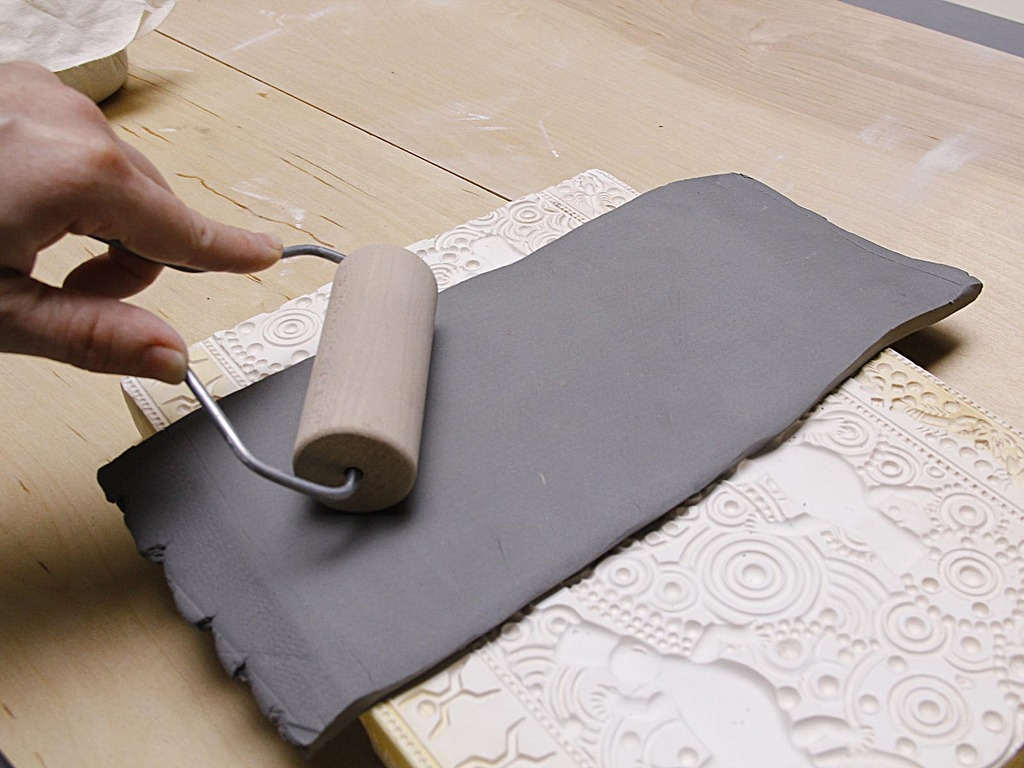
Lay smooth side down on textured plaster mold, then press with small sand bag using a firm rolling motion from center to edges. Use Pony Roller to press clay further into mold.
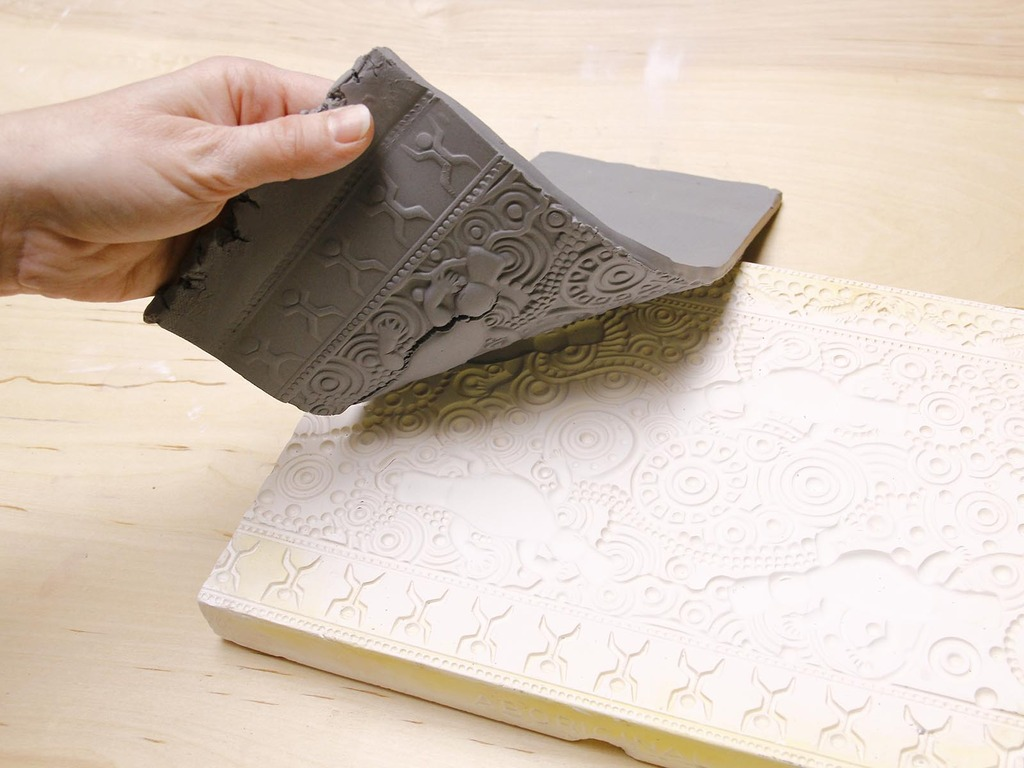
Remove slabs from mold before cutting.
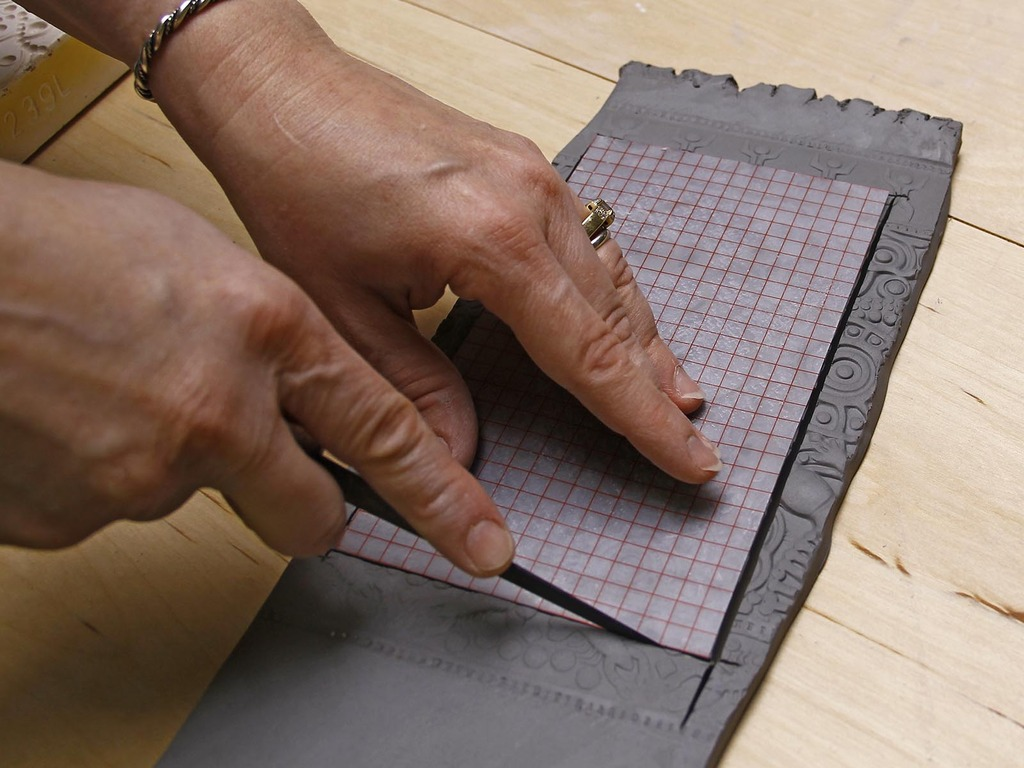
Measure or use template to cut four rectangles (4" x 8") and one square (4" x 4") from textured clay. Or use the bevel tool to “miter” the 8" length on the untextured side.
Let slabs set up by allowing to dry evenly while flat until barely leather hard. Clay should be soft enough to join, but firm enough to stand up without support.
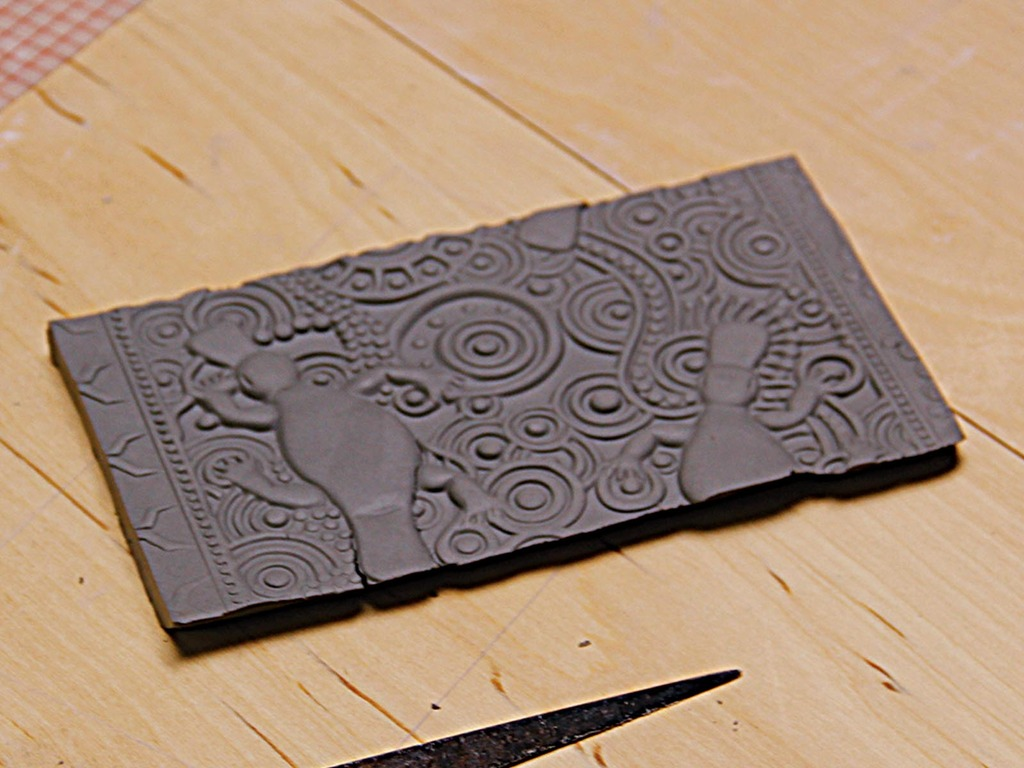
Use knife to cut the inside edges (untextured side) at a 45° angle (miter) of the 8" sides of the rectangles. If you used the bevel tool in Step 4 you can skip this step.
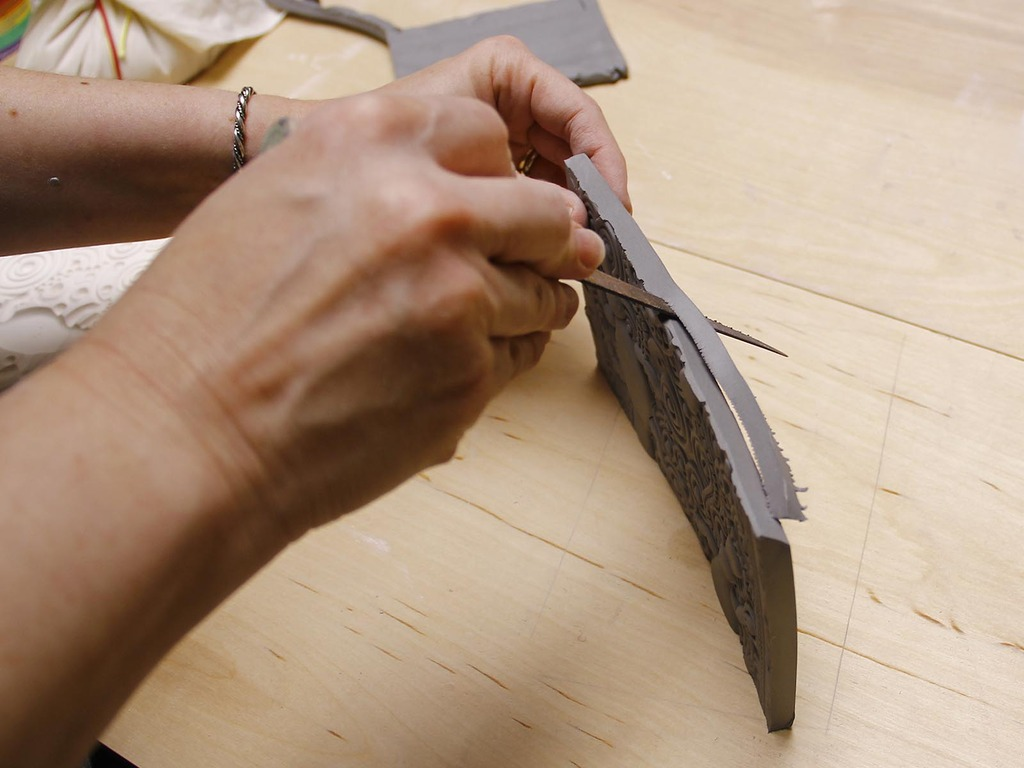
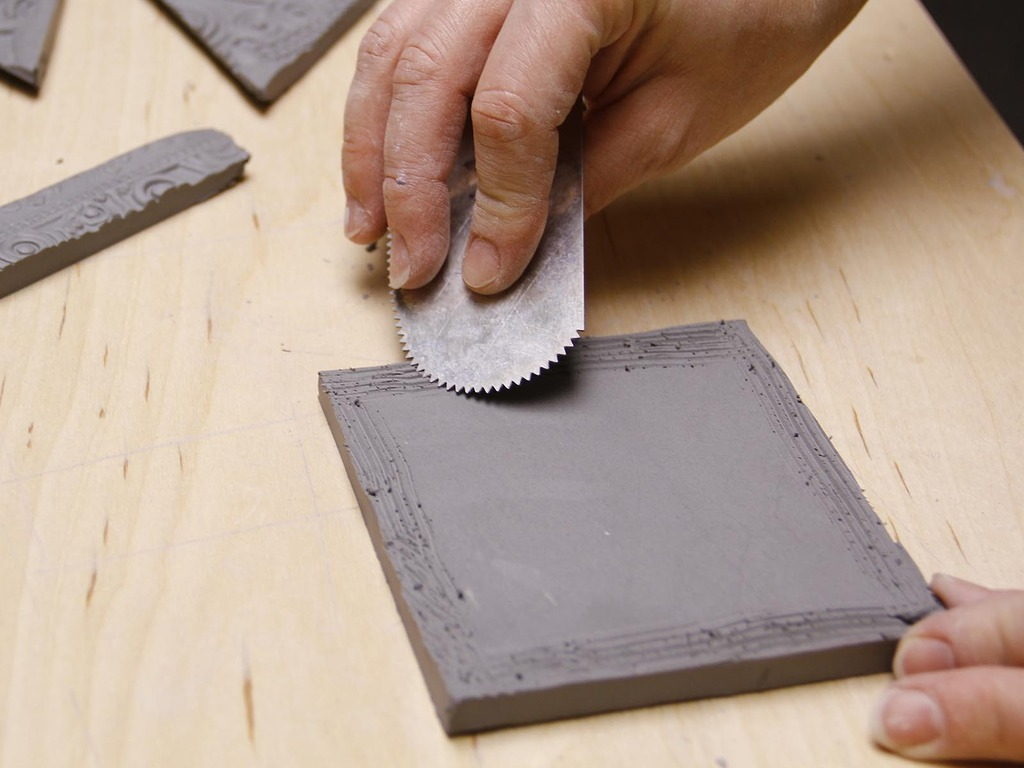
Score seams, and use water, slip, or vinegar to join walls to base with textured sides facing out.
Use a wood tool to “stitch” the seams on the inside of the form and press a thin damp snake of clay into each seam. Smooth inside seams.
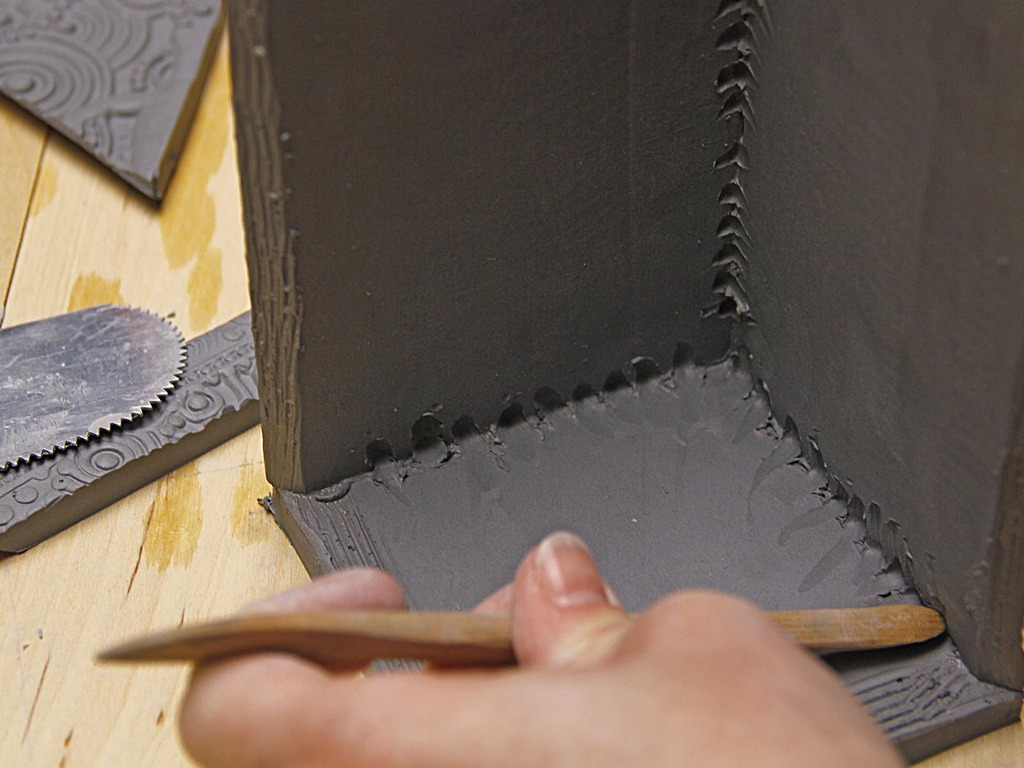
With the sides mitered, seams are invisible and the texture goes all the way to the corners of the lantern. Score, slip, then gently press edges together without blending or “erasing” the texture.
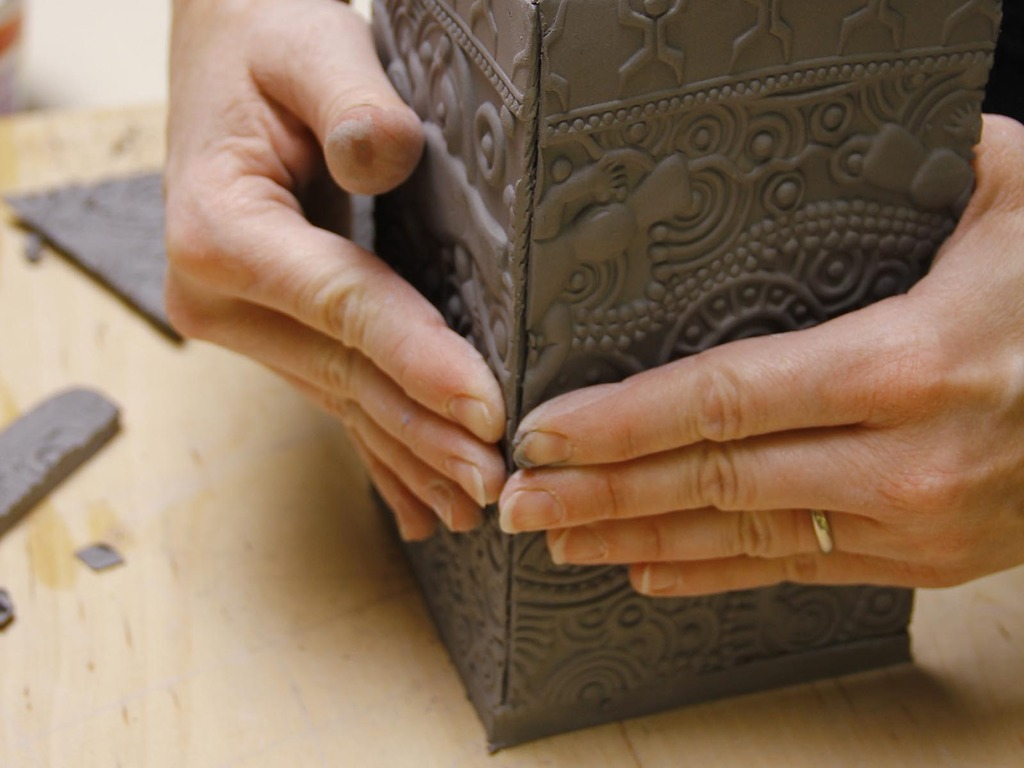
Cut triangles from textured slab approximately 4 1/4" bottom, 4 1/2" sides. Miter sides of triangles (not bottom) and join. Use constructed lantern to hold lid as you join the parts.
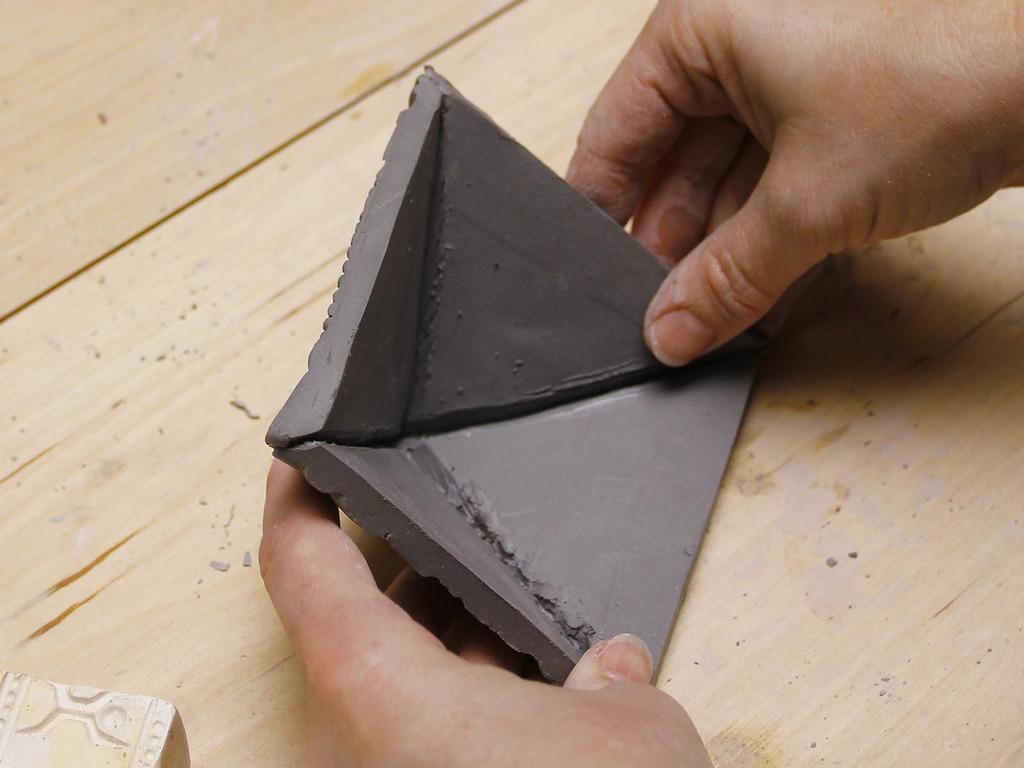
Score, slip, and use a coil of clay to join seams. The coil will also help to fill any gaps between the slabs.
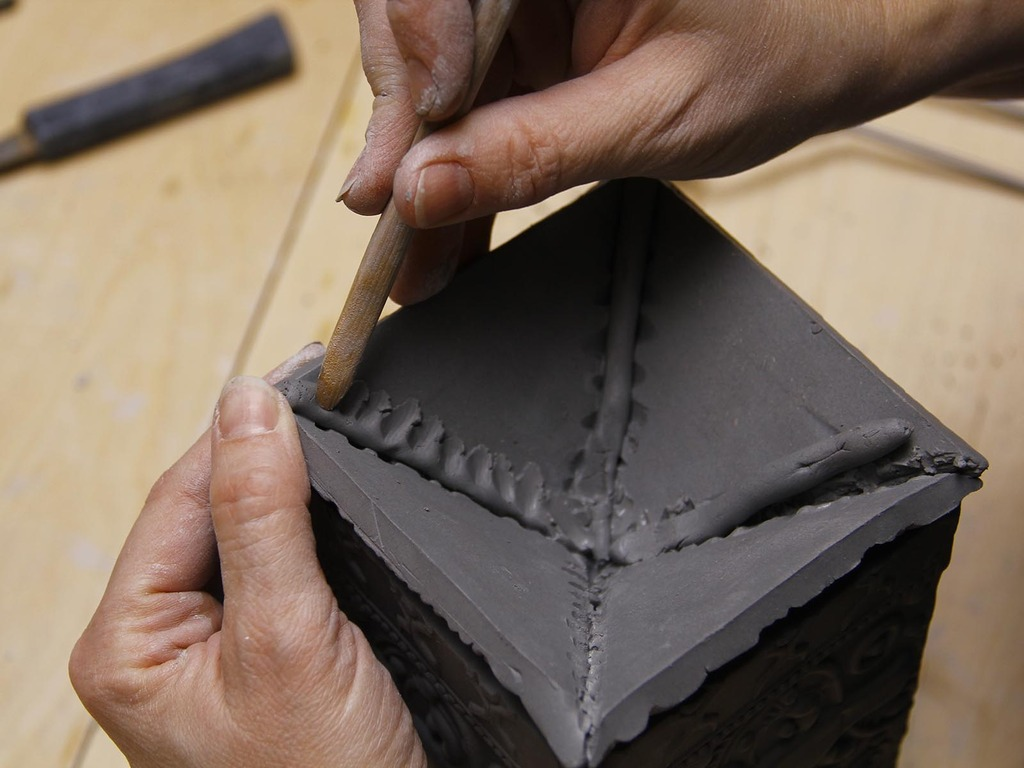
Make a slab flange to sit down inside the lantern and join to the lid.
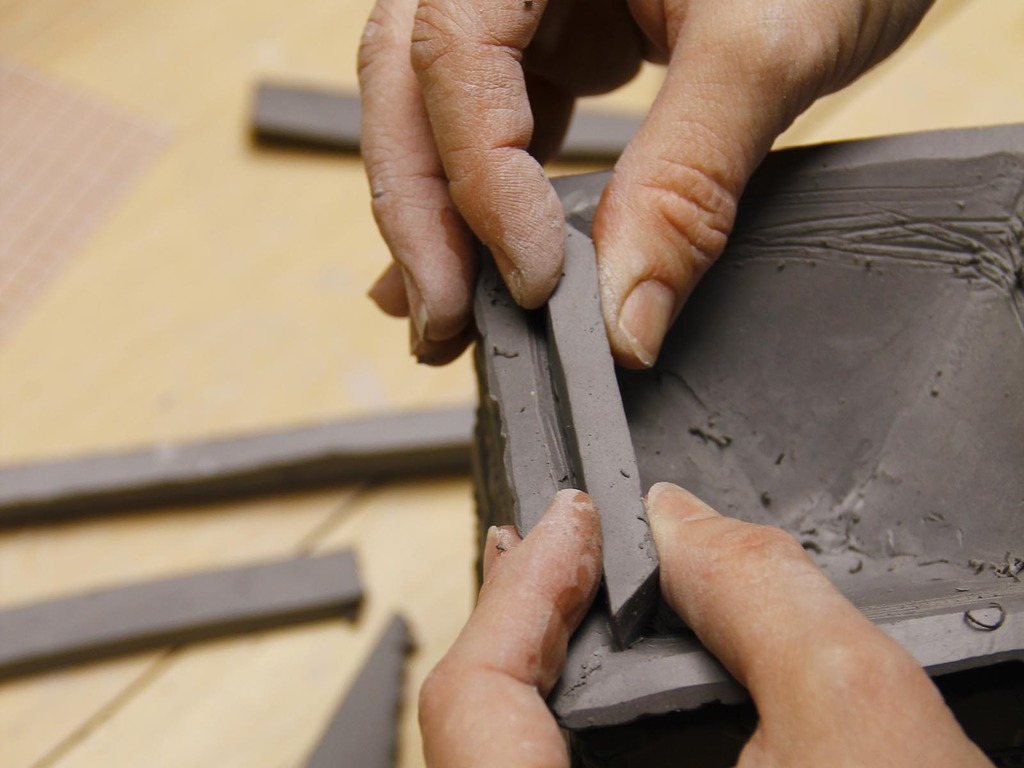
To add a decorative element, make a finial for the lid which is consistent with your design. Either use a press mold or hand build. Join securely by scoring and slip.
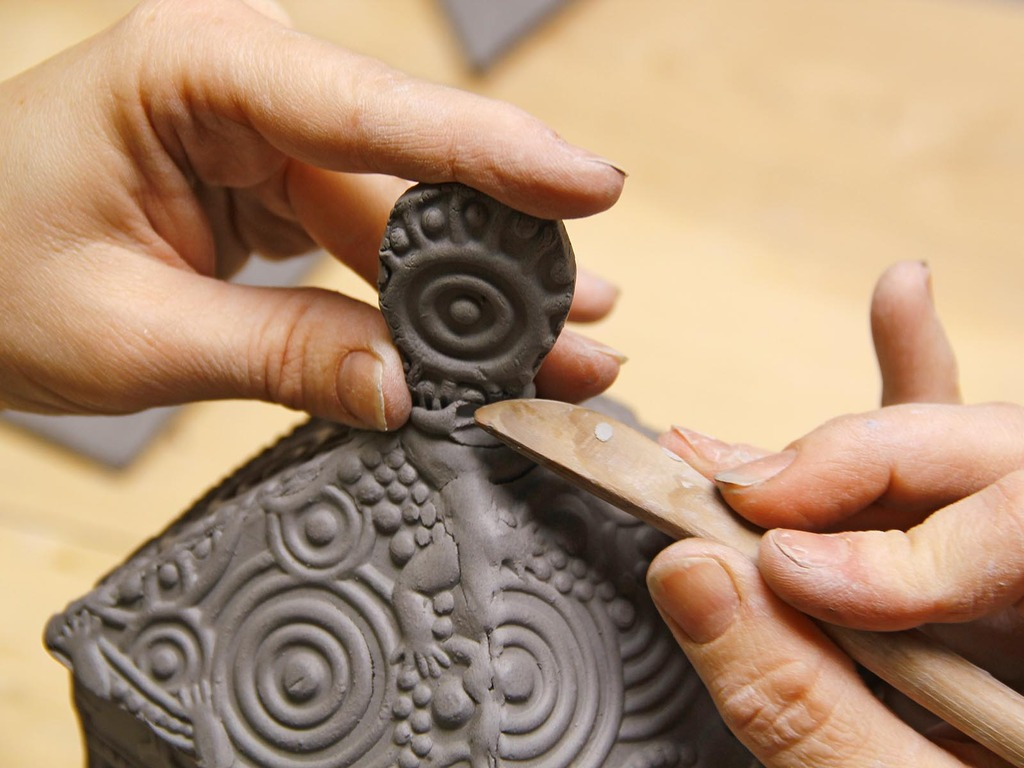
Use a sharp knife or hole cutter to cut openings in the sides and lid of the lantern. Make sure to leave at least 1/2 inch uncut around corners to maintain the structural integrity of the lantern.
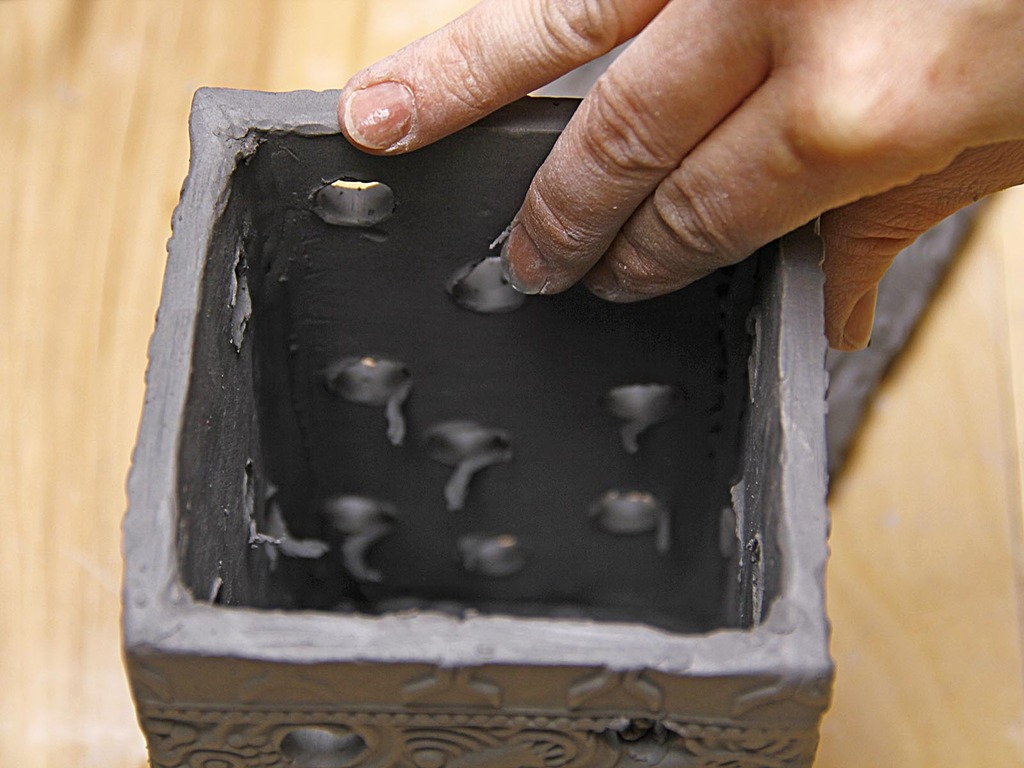
Once the lantern is leather hard, use rubber scrubber or slightly damp sponge to soften the edges of the cut openings.
Allow to dry slowly and completely. Bisque fire to Cone 04.
Brush 3 coats of desired glaze onto Cone 04 bisque. Taper off the application of the glaze near the bottom. Do not glaze inside of lid or edges that will touch.
Glaze fire to Cone 05. Do not fire with the lid on the lantern or they will stick together.
This project can be simplified by leaving out the lid and scalloping the top edge of the lantern.
For a smaller project, or for younger students, a candle-holder can be made with one slab, 11" x 3", made into a cylinder.
The textured clay can be wrapped around a cardboard tube for stability.
Score, slip, and join the parts the same way as the lantern.
When the clay is firm to the touch, shapes can be cut out for a candle-holder.


