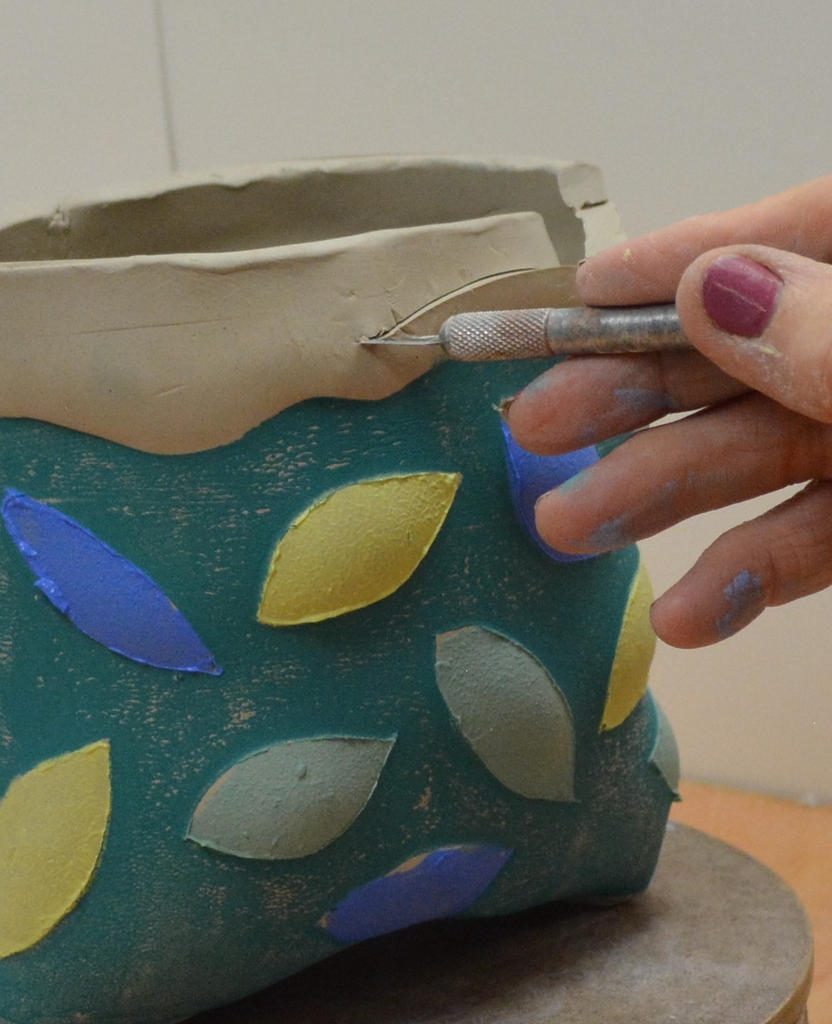
Weathered Sign
Make a decorative sign for your home or garden!


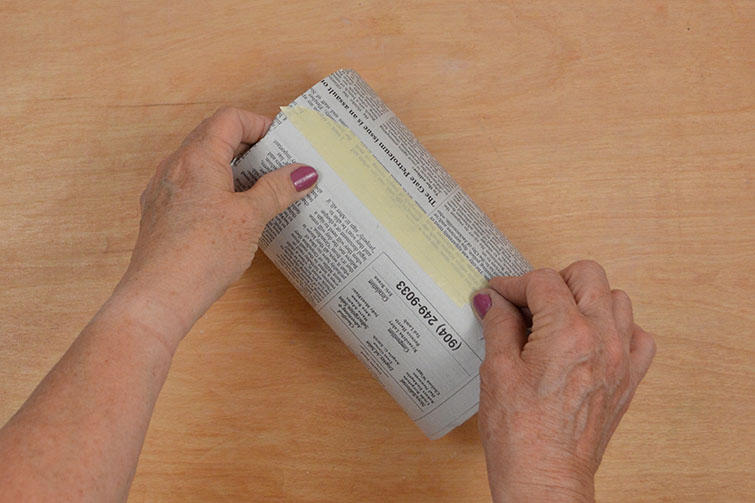
Wrap newspaper around a heavy cardboard cylinder or plastic PVC pipe. Avoid taping the newspaper to the cylinder so it can be removed later.
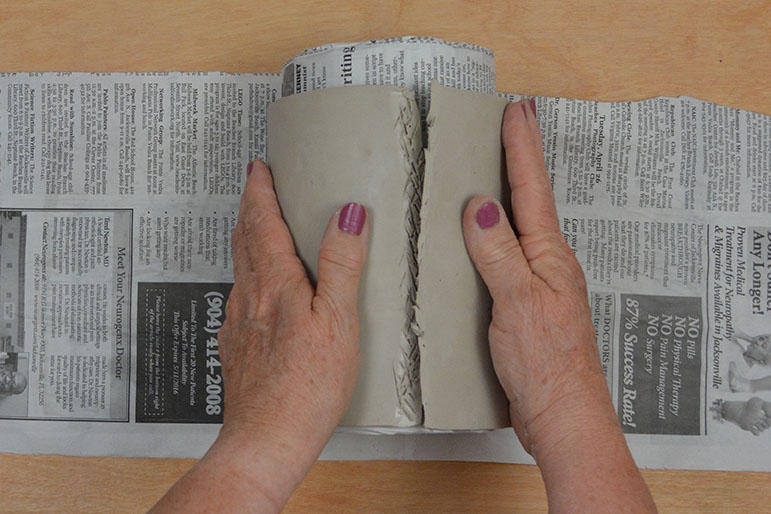
Roll a smooth slab that fits snugly around the cylinder. Cutting the seam at an angle will create a secure attachment.
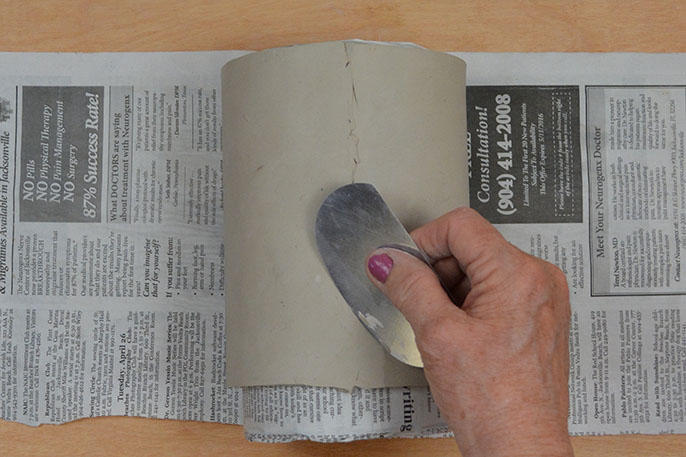
Smooth the seam so it is well attached and invisible.
Cut the 3mm craft foam sheet so it fits snugly around the clay cylinder. Sheets that are too large or overlap will making printing difficult later.
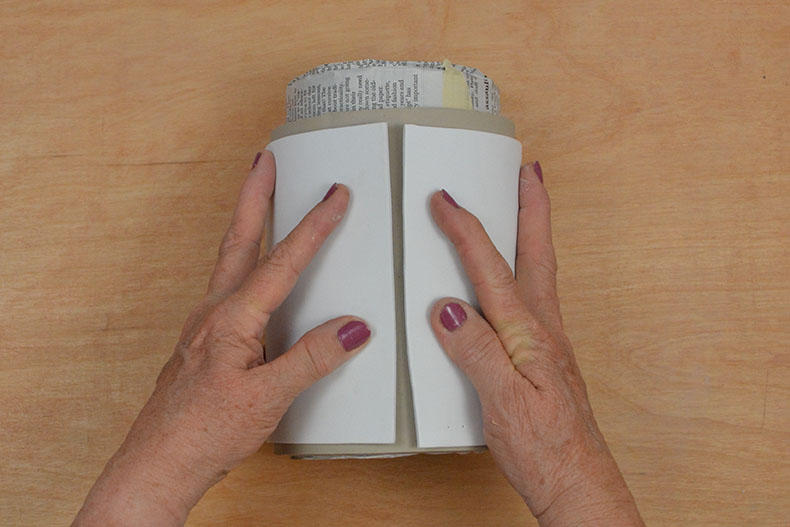
Draw the design with a pen or marker and cut out the shapes.
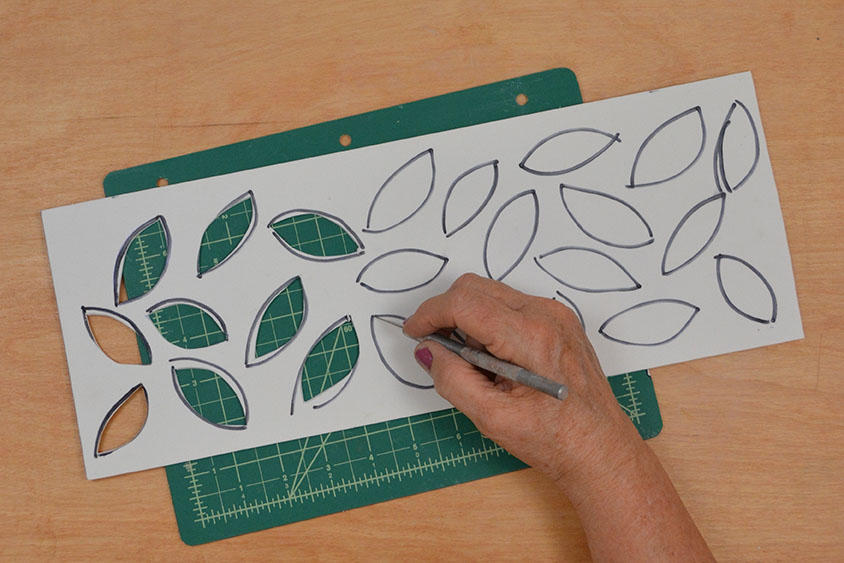
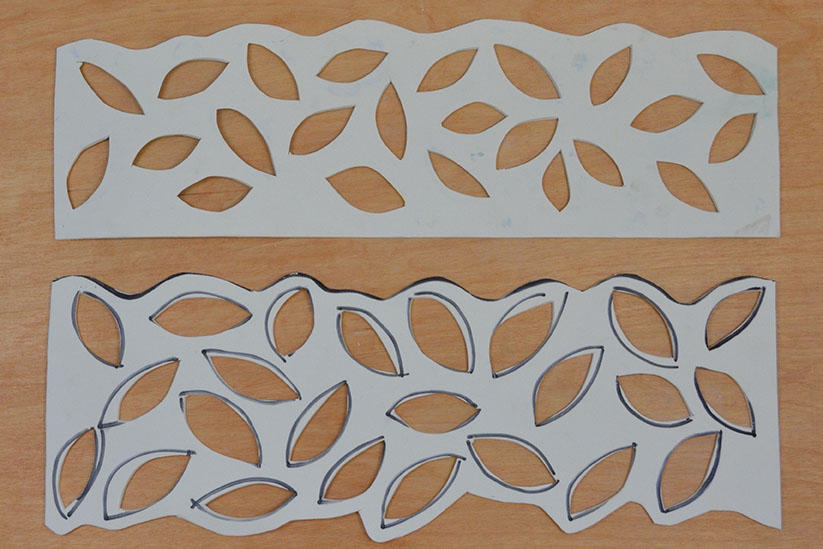
Leave the edges straight or cut them to suit the design.
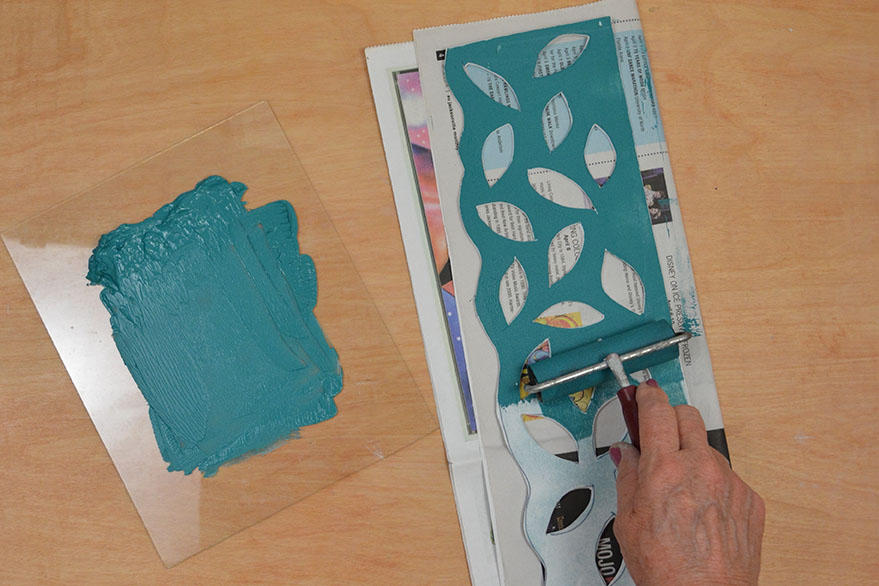
Use AMACO Ceramic Printing Inks and a brayer to roll the ink onto the craft foam.
Wrap the inked foam sheet around the clay cylinder and secure it with tape.
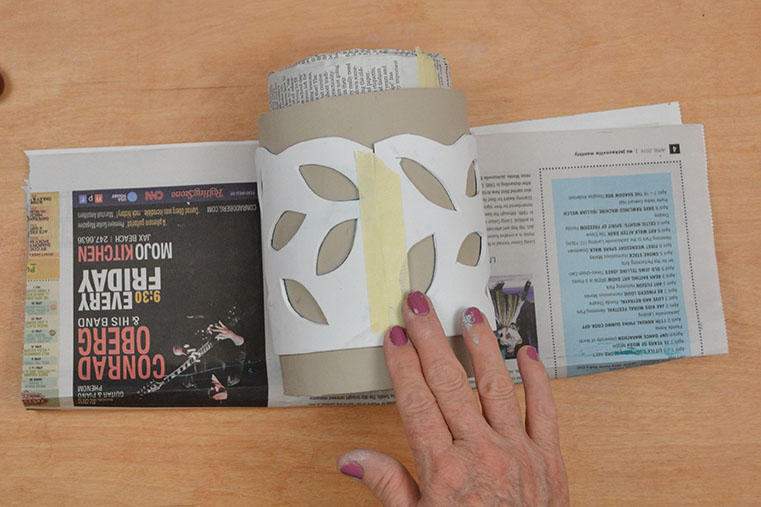
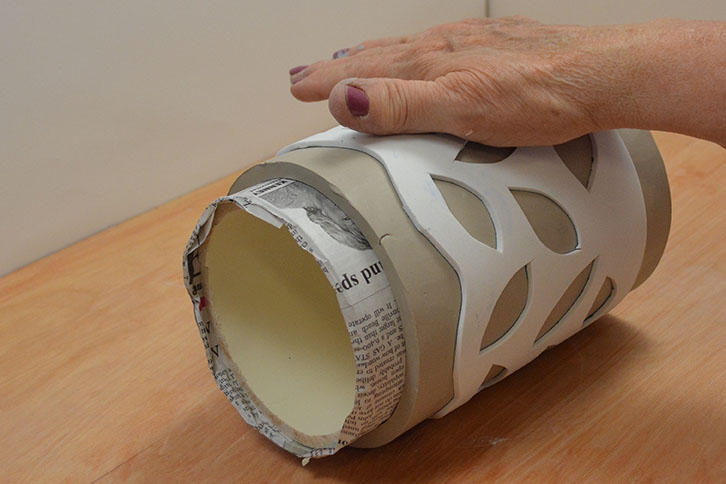
The foam sheet must make contact with the entire clay surface to get a good print. This can be done with a clean brayer or by simply rolling the cylinder on the table.
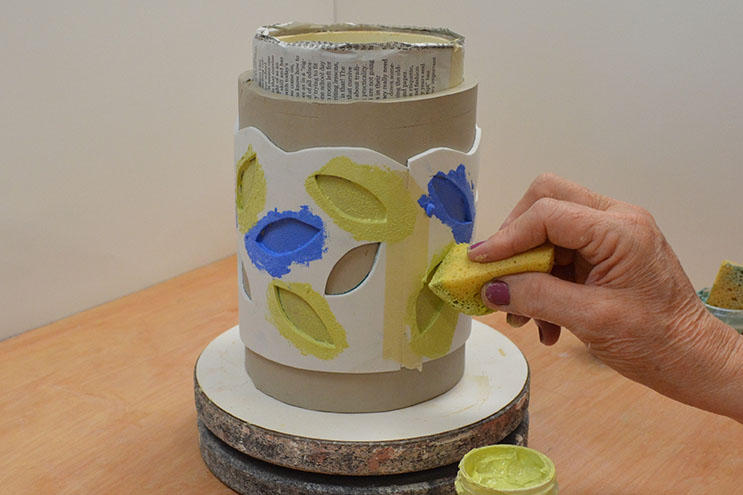
Apply AMACO Ceramic Printing INKs with a sponge or brush. Using an INK will give better coverage on moist clay.
Remove the cylinder and paper.
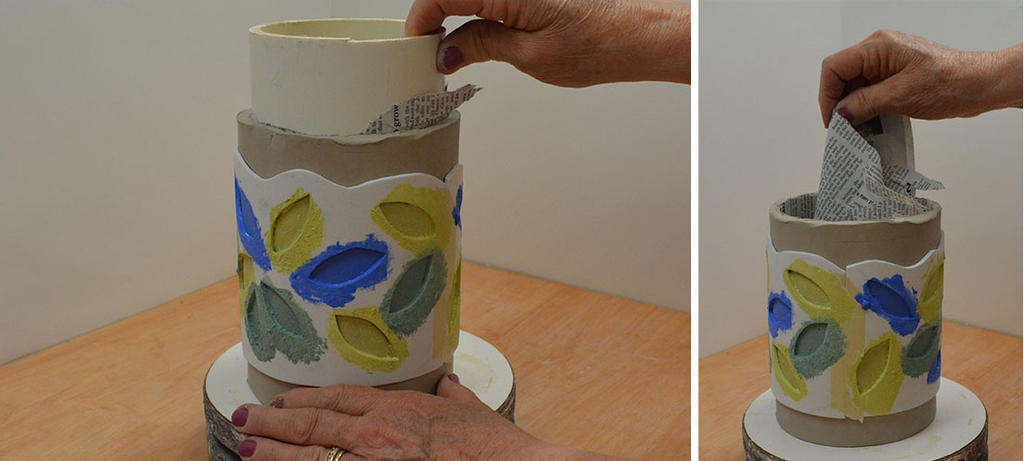
Smooth the inside seam.
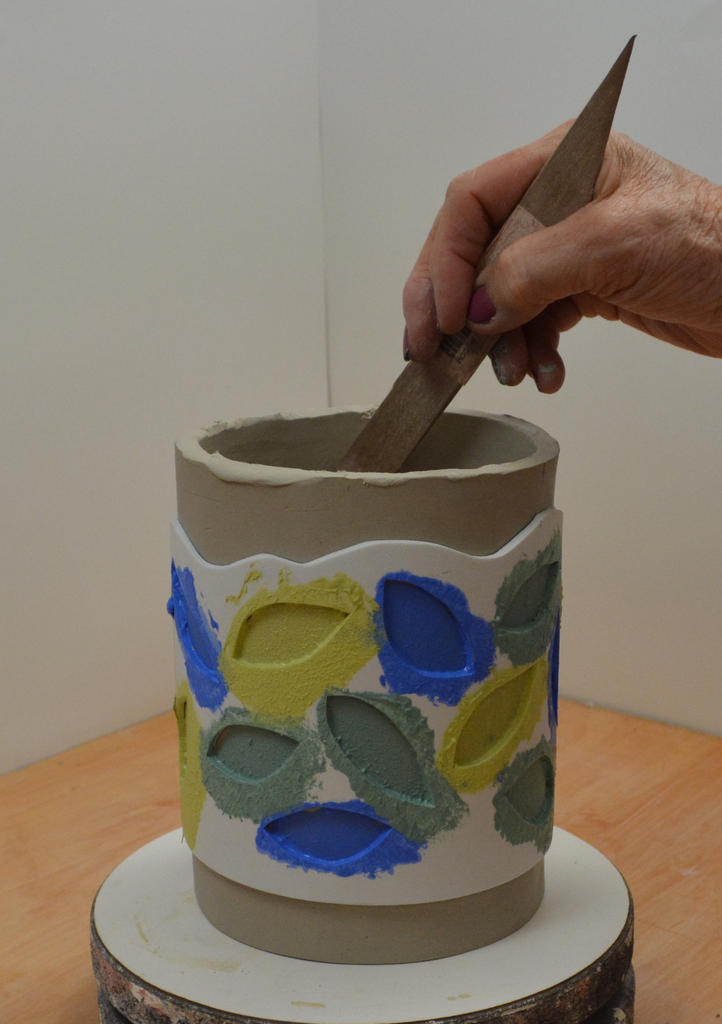
Rub the clay from the inside so it protrudes through the openings.
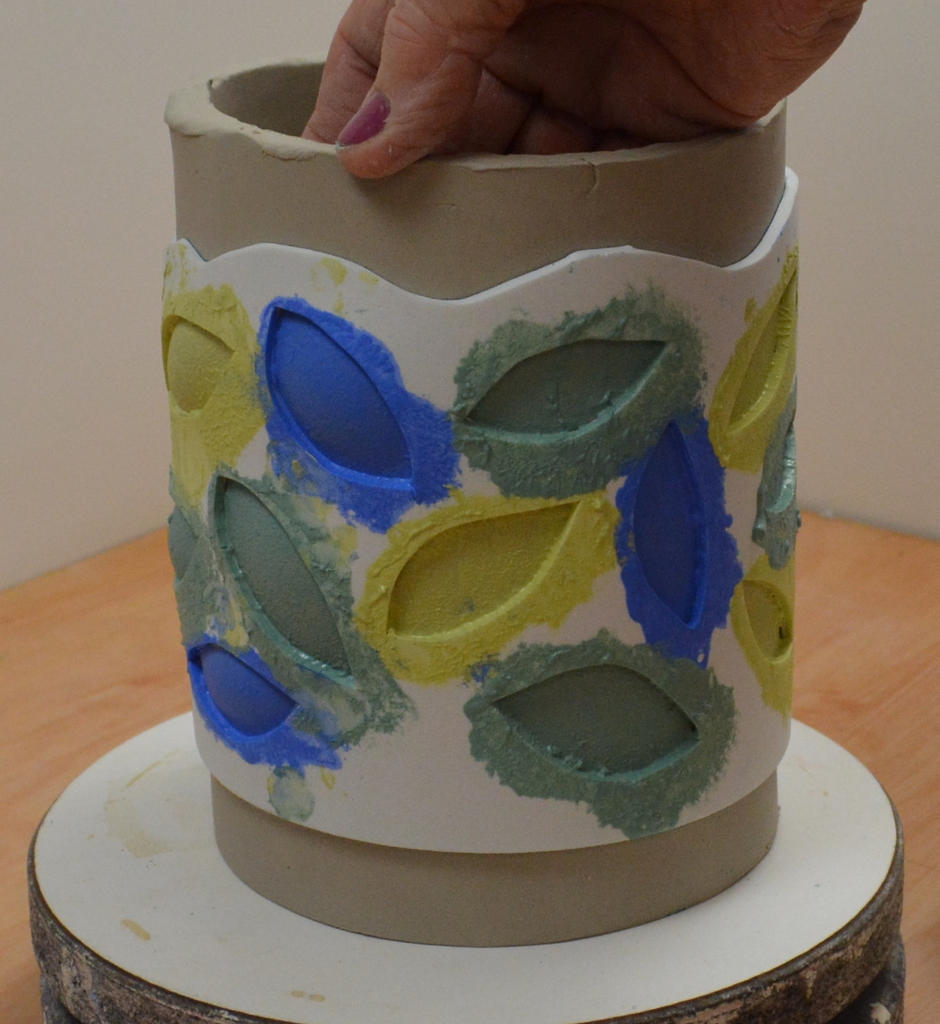
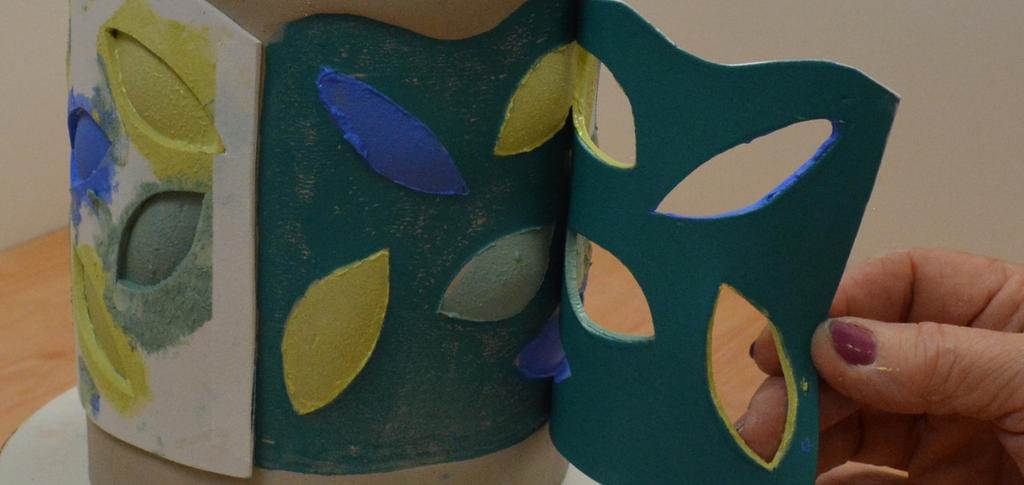
Remove the craft foam sheet. This can be washed and used later.
The clay can be kept round or shaped. Score and add slip if needed before completing the bottom. A slab can be added to create a bottom or simply pinch the clay together. Smooth the outside and inside base. Score and add a coil to the inside seam that will help the form stay together when it’s fired.
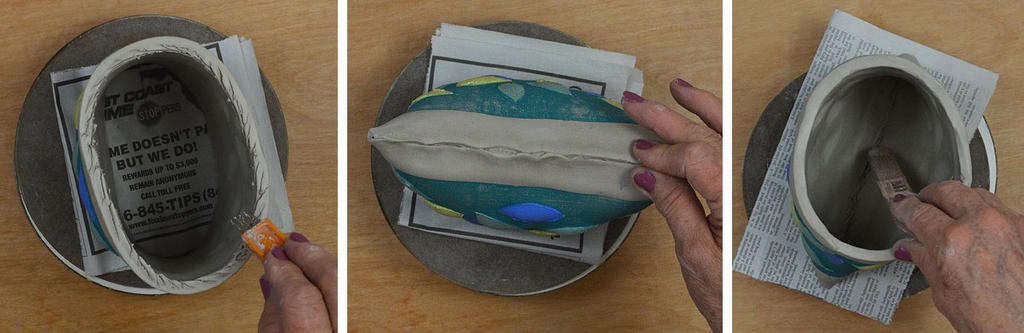
Turn the form over to add feet or make them out of existing clay.
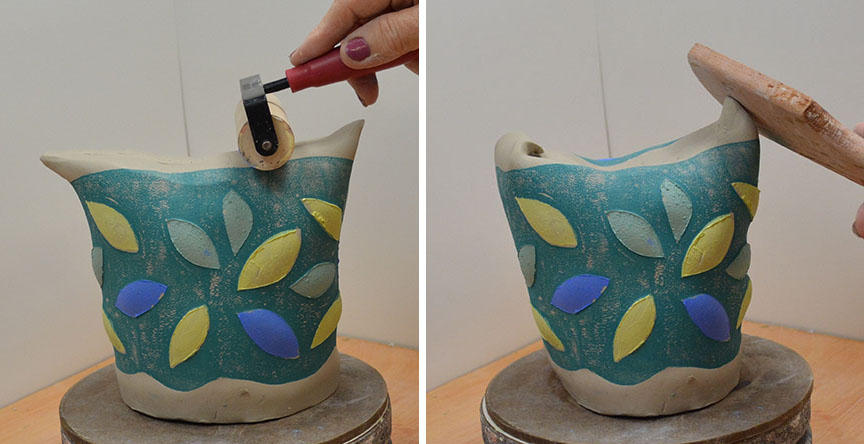
The top can be cut straight or trimmed to follow the design.