Weathered Sign
Make a decorative sign for your home or garden!


 Play Video
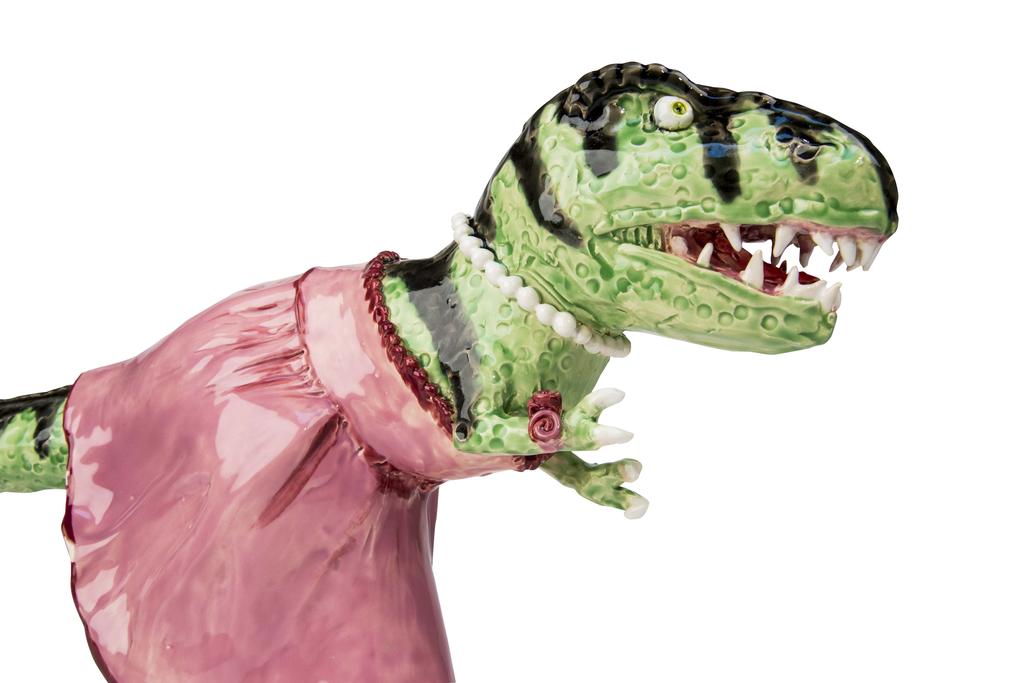
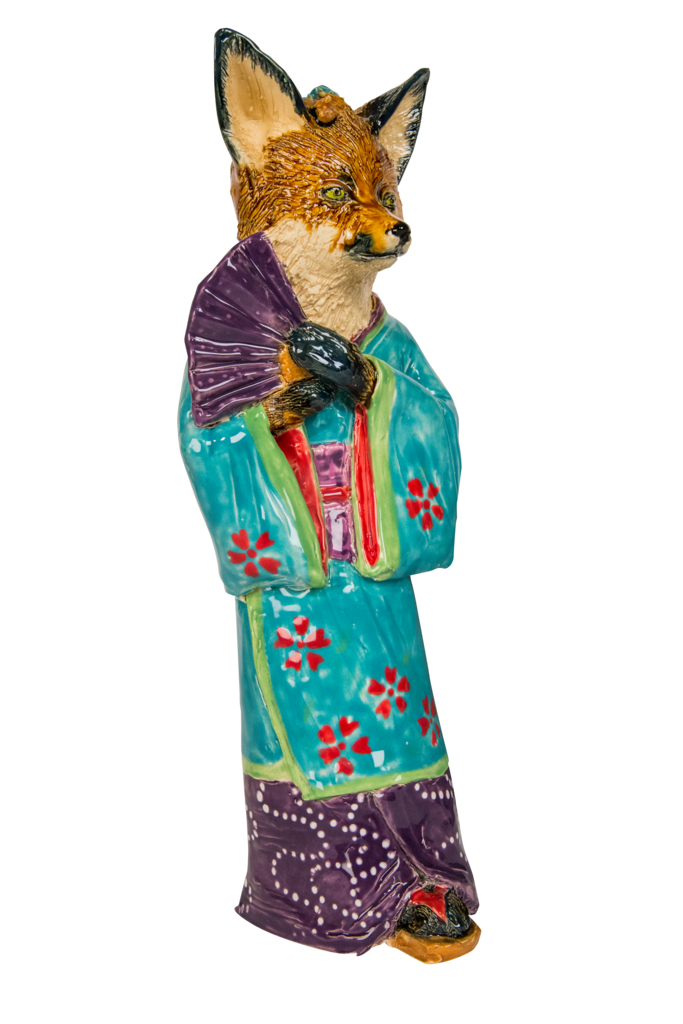
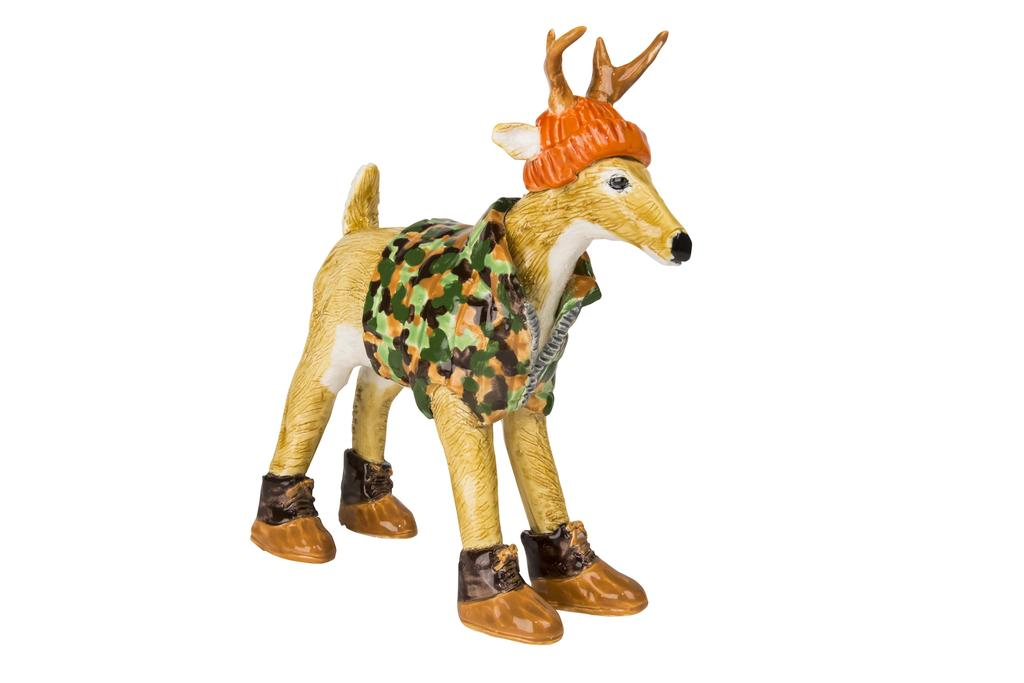
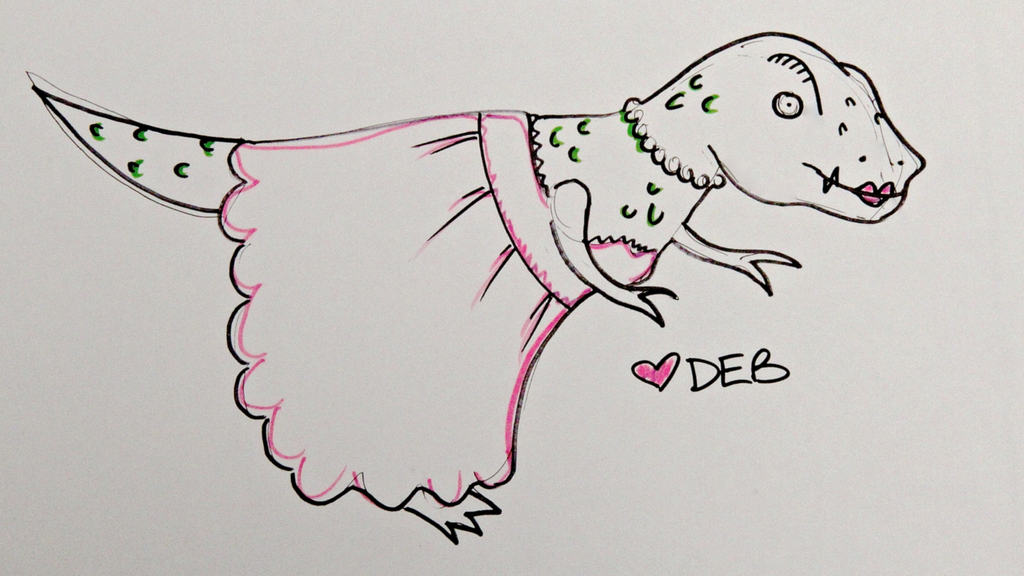
Start with a sketch or copied image of the chosen animal and give it a persona through clothing. Examples include a Tyrannosaurus Rex in a Prom Dress, a Cat in Biker leather, a Rabbit in Pirate hat and Eyepatch, or a Deer in Hunting Clothing.
Make a second sketch planning out the construction of the figure. Reduce the piece to it's most basic shapes, cylinders, spheres, etc. Rather than trying to make an animal and add "clothing", which can lead to uneven drying and air pockets that might blow out in the kiln, make the clothing part of the form.
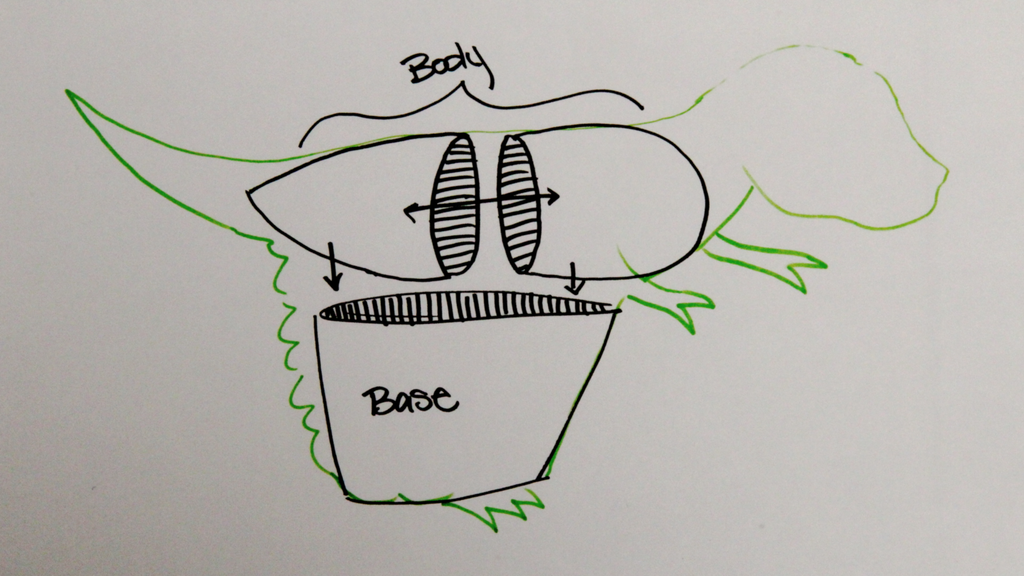
Pinch Shapes that can be joined for the body. Set aside and allow to become a little firmer (just under leather hard).
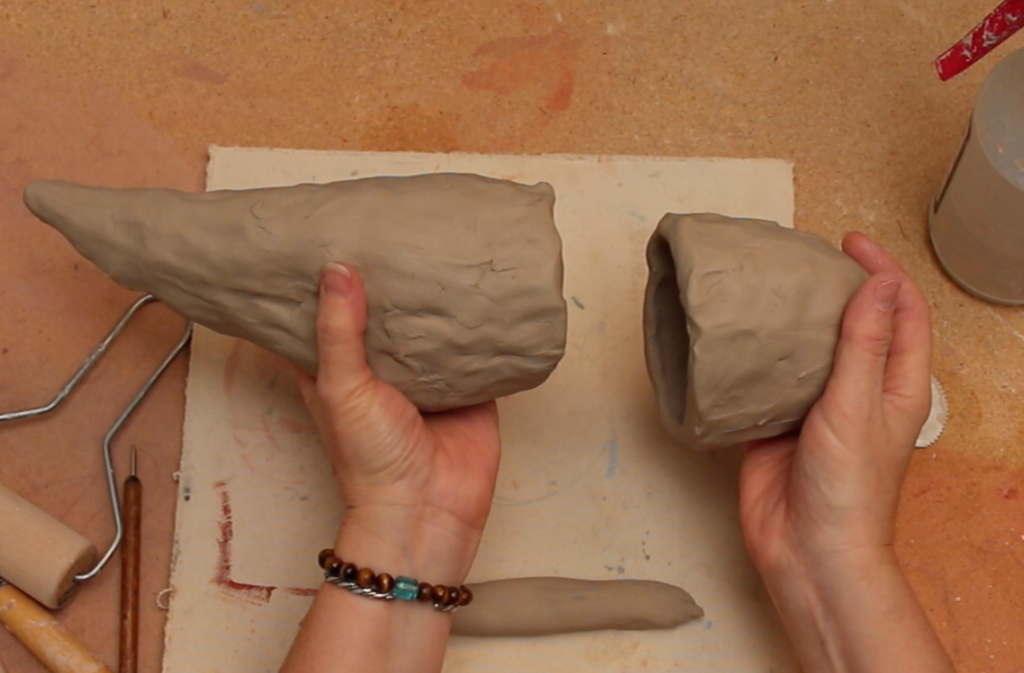
Roll out slabs. Cut base or bottom. Figures don't need to have a flat base, but some might. It's a good idea to make the air hole in the base at this time.
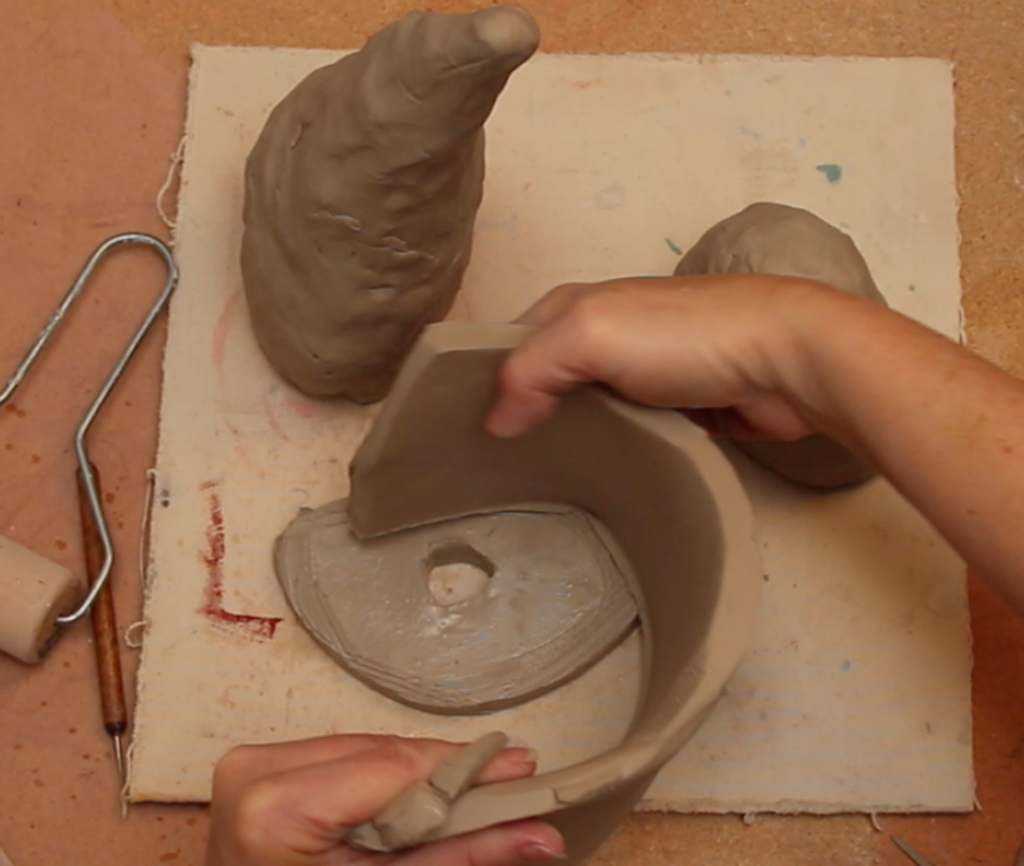
Make a support slab if needed.
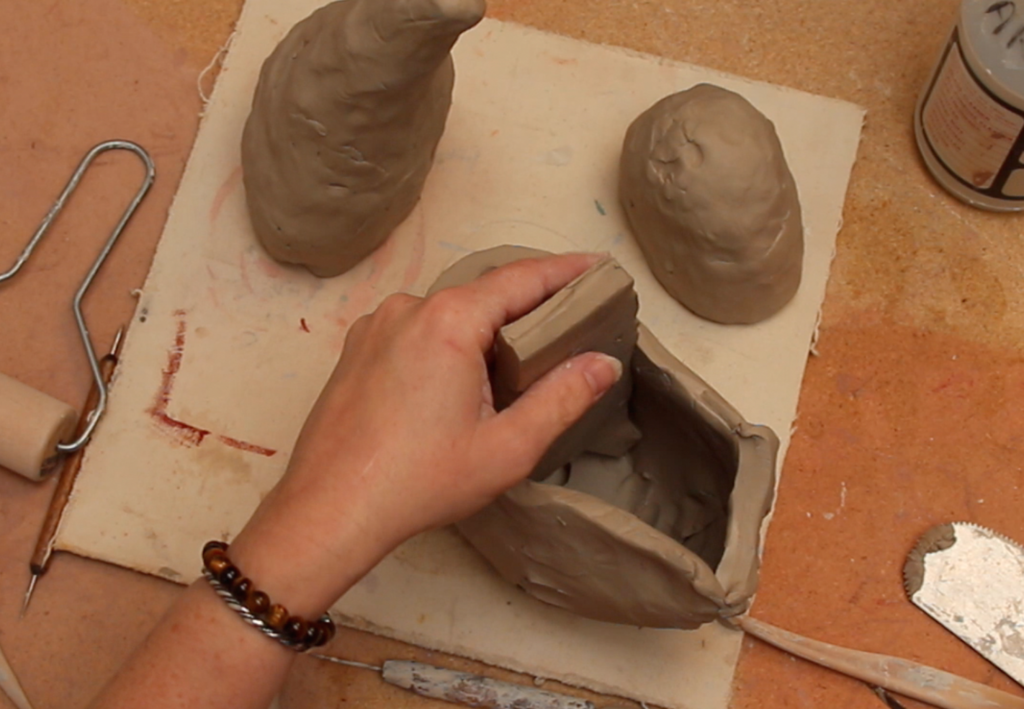
Join pinch forms to make body. Score and slip and use a coil to join. Make sure to cut a hole that allows air flow between body and base.
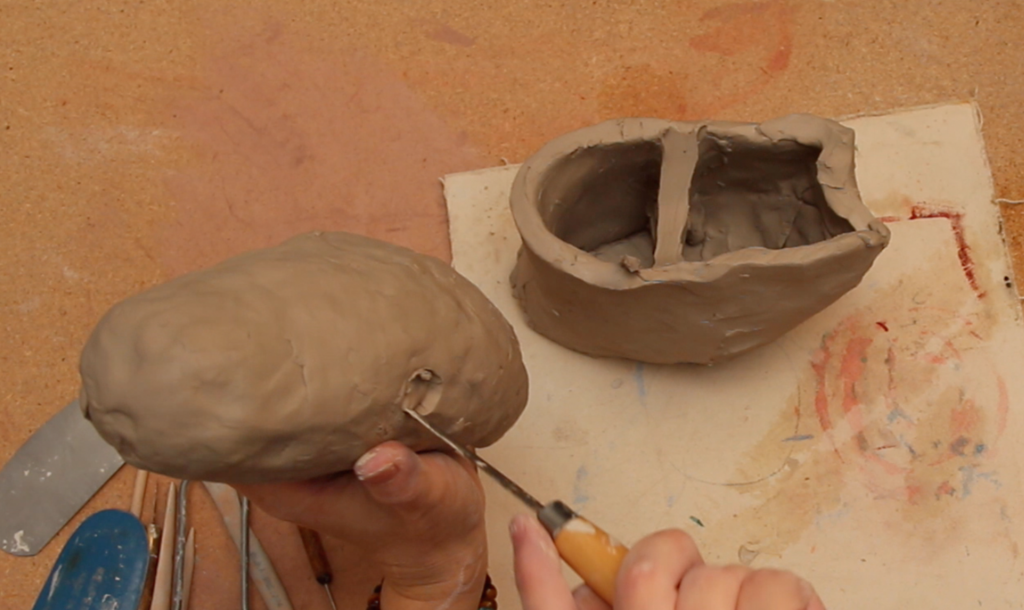
Use fingers or tools to give the body its general form, show musculature under clothing, etc. If needed, cut a hole to work from the inside.
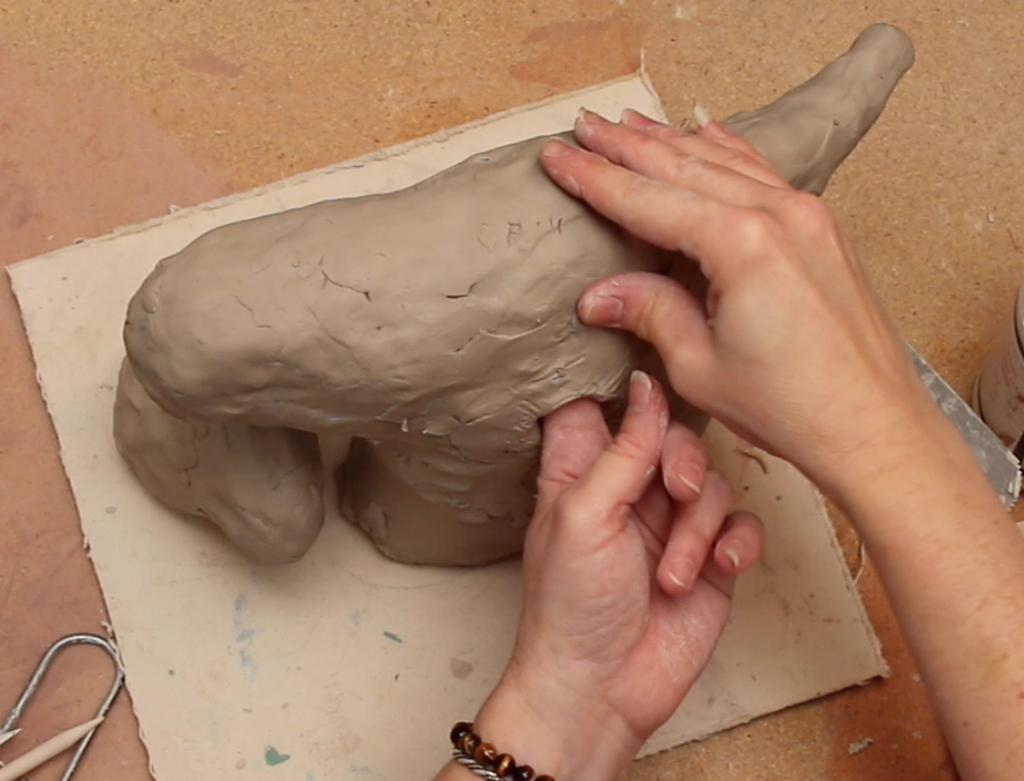
Use a thin slab to patch openings made to manipulate the form. Don't add slabs on top of closed clay, as you might trap air that can blow out in the firing.
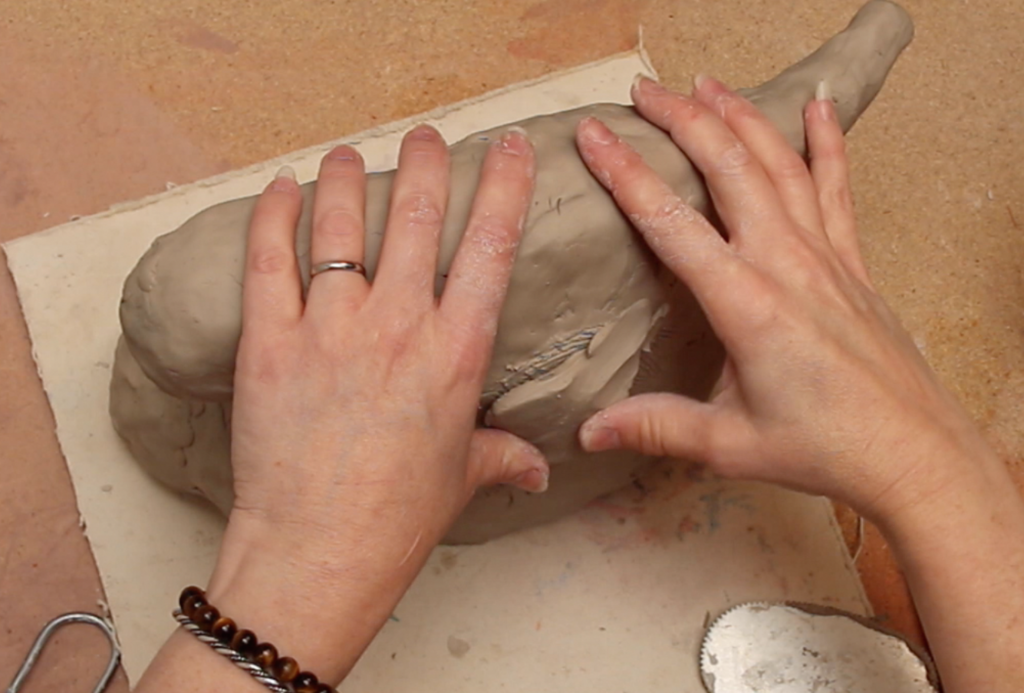
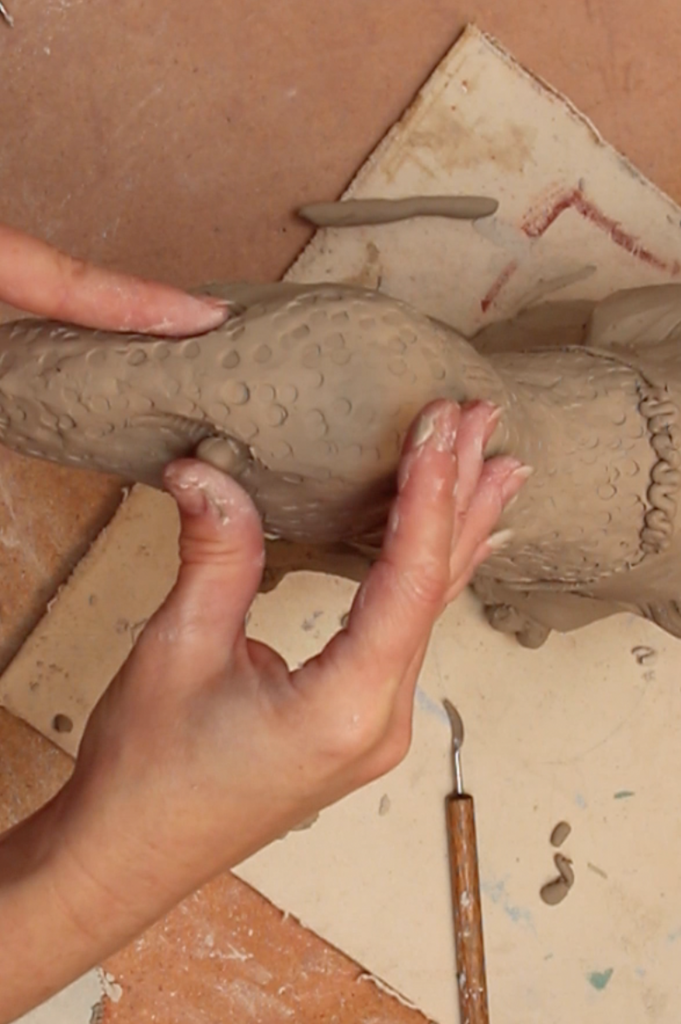
Gently paddle to shape.
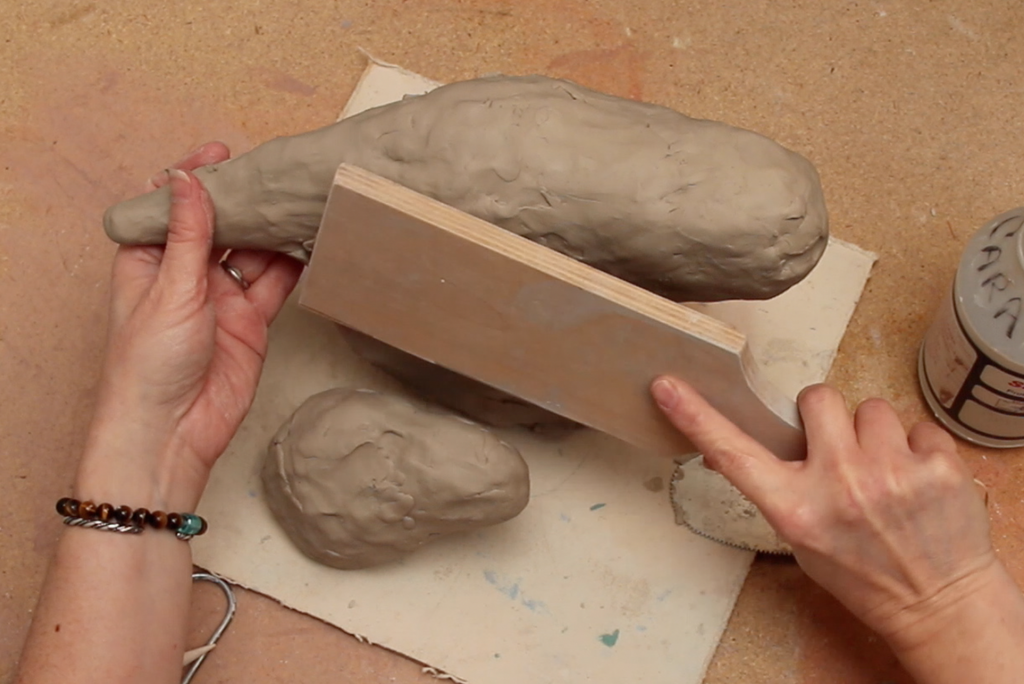
Make head hollow is larger than 3/4" thick. Make as a pinch pot. Hold up to body for scale. Cut mouth to open.
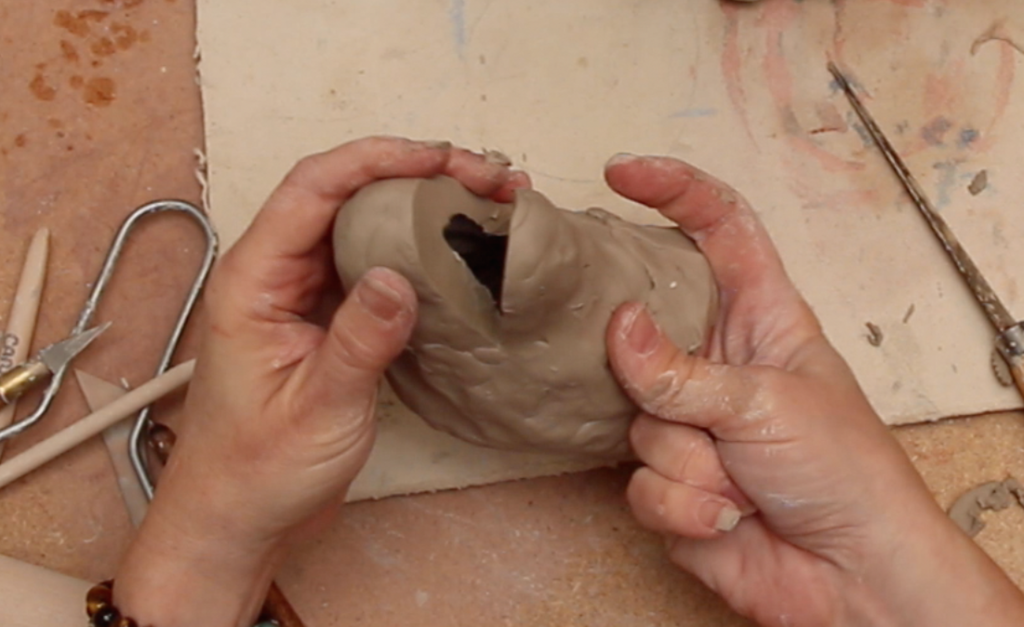
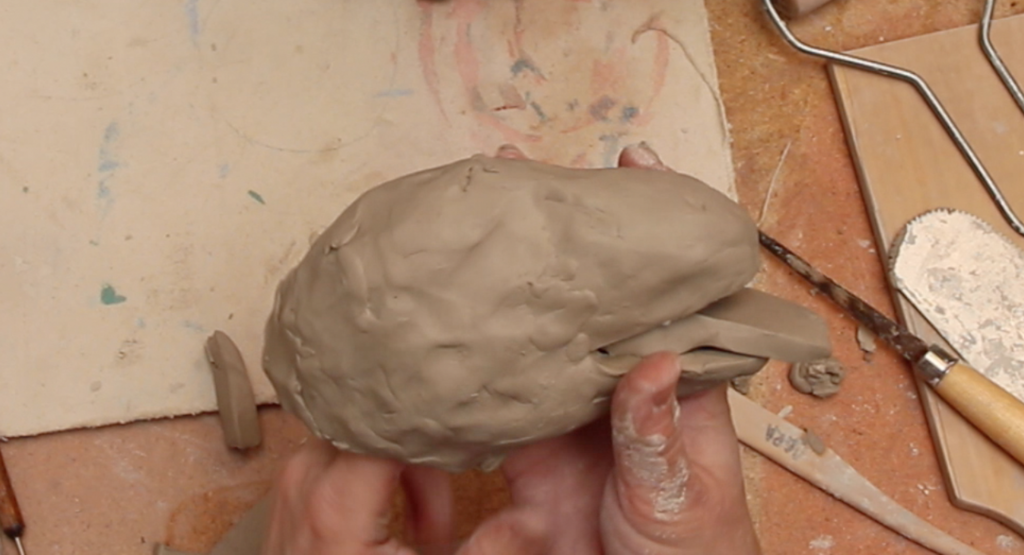
Use a slab to make mouth and tongue. Make teeth and join with slip.
Make arms solid and attach to body by scoring and slipping and sealing seam with a small coil. Toes and legs can be attached the same way. Add extra clay for the tail.
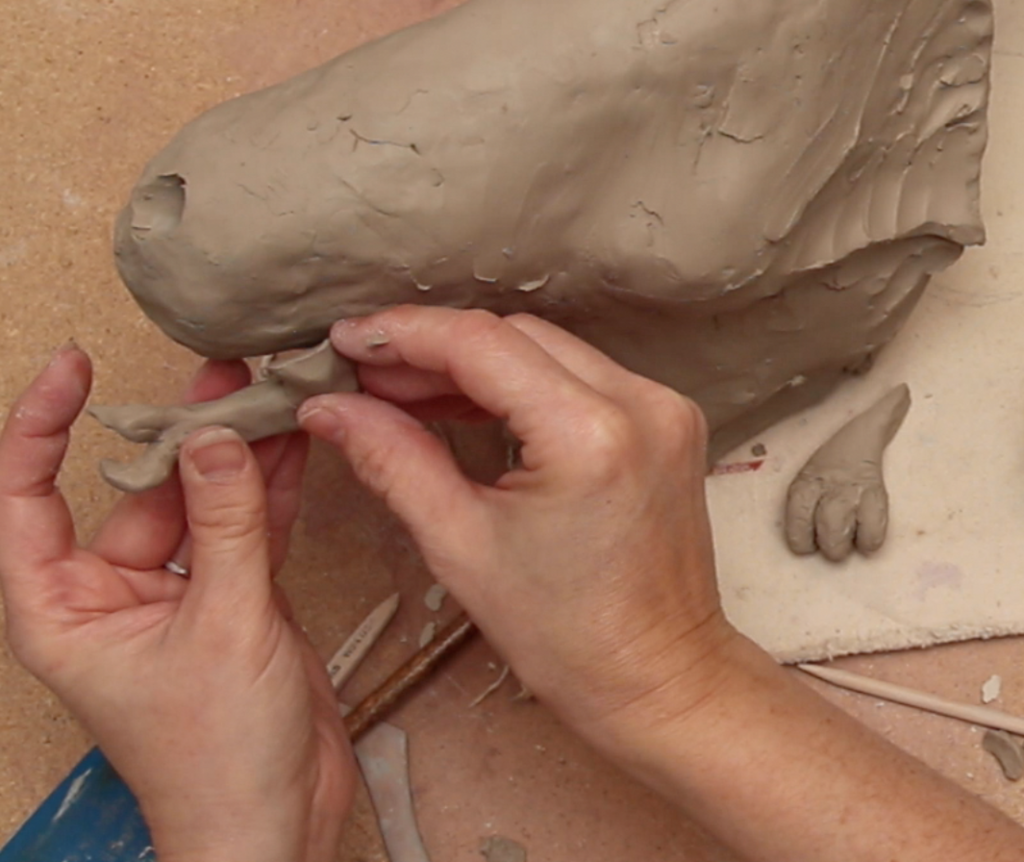
Cut hole and score
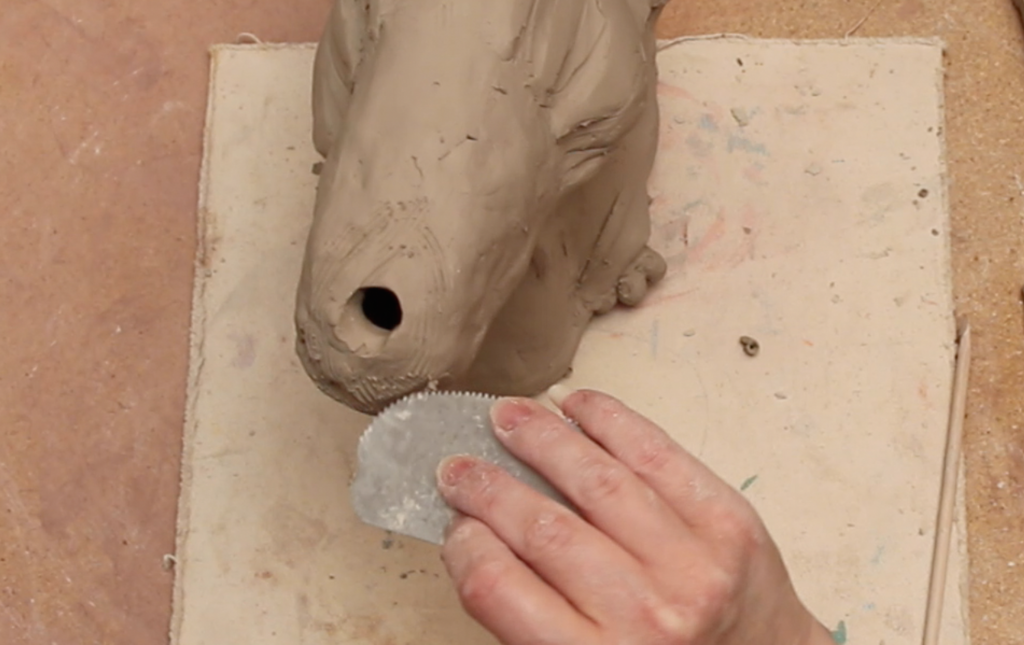
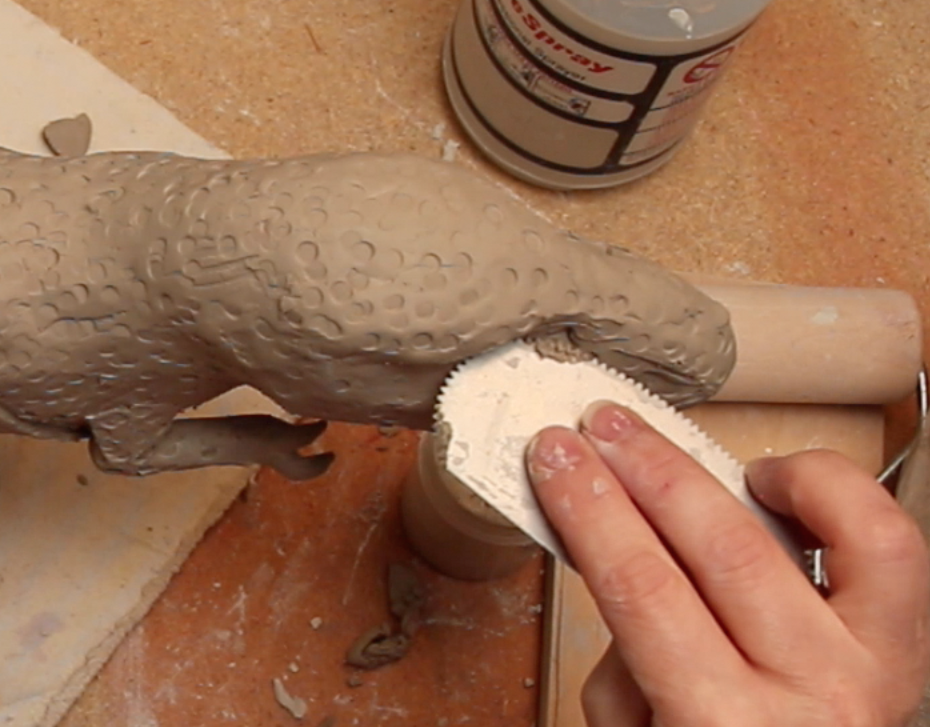
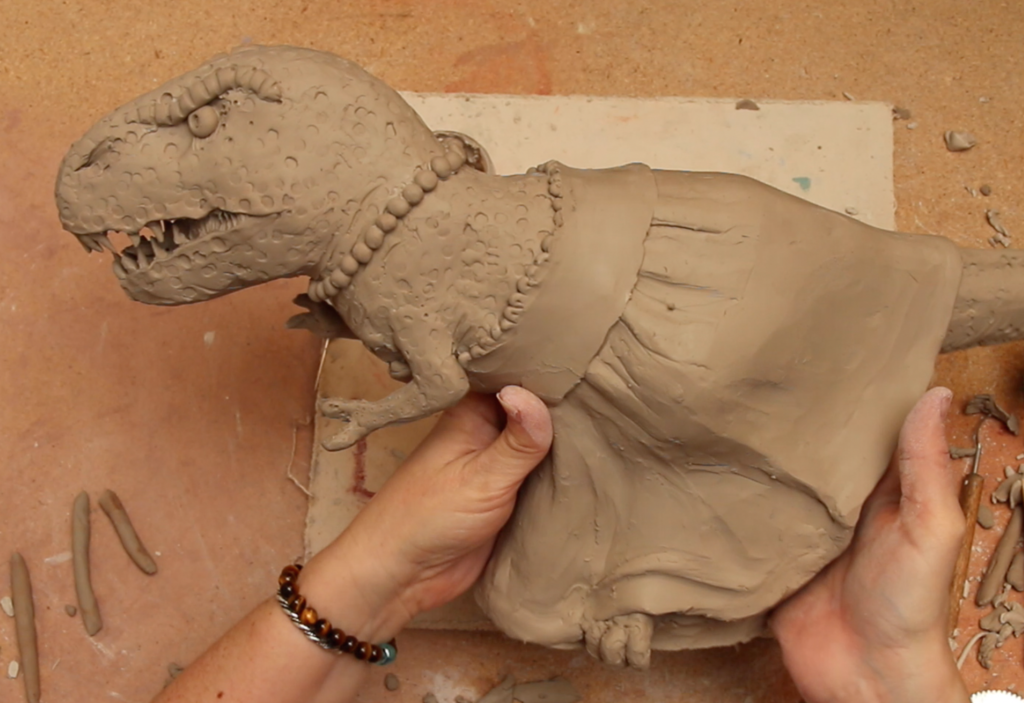
Smooth using a metal scraper or rubber rib. Drape of fabric is made by adding small coils.
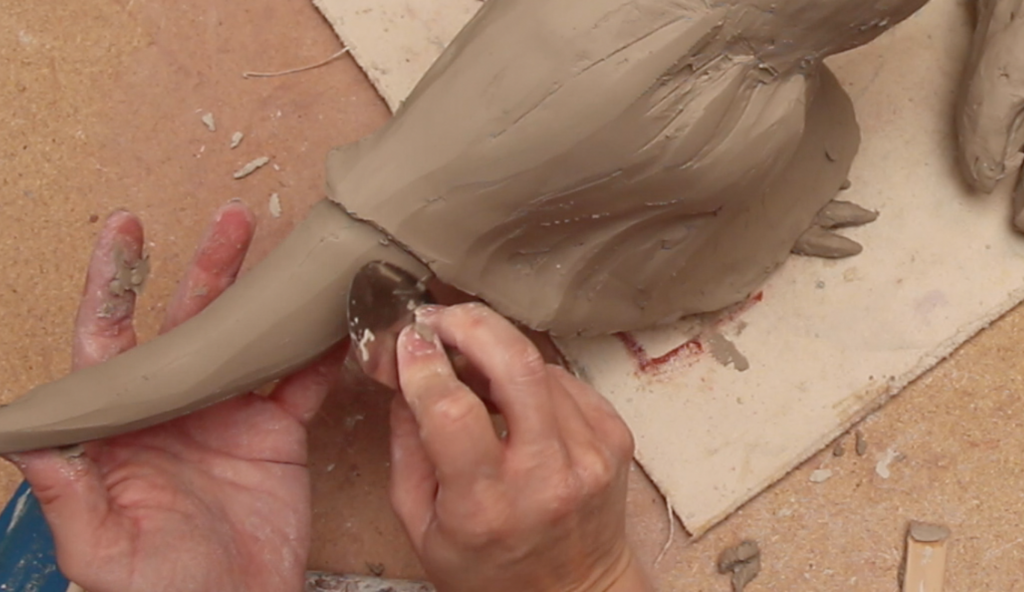
Edges of fabric are made with a small coil smoothed on one side. Ruffles are made with small coils crumpled to make a wiggle, then scored and attached.
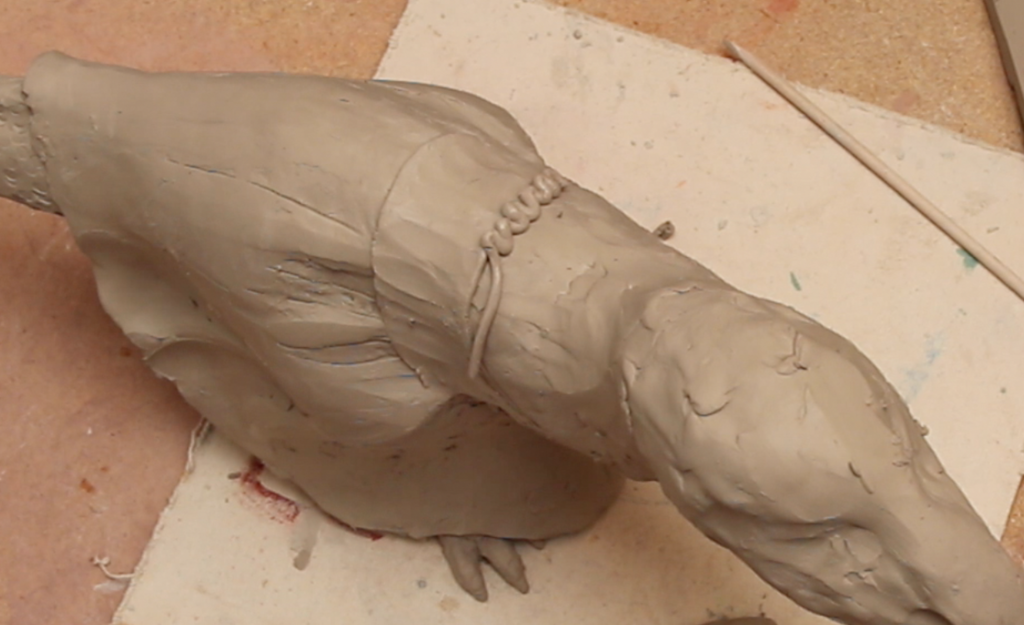
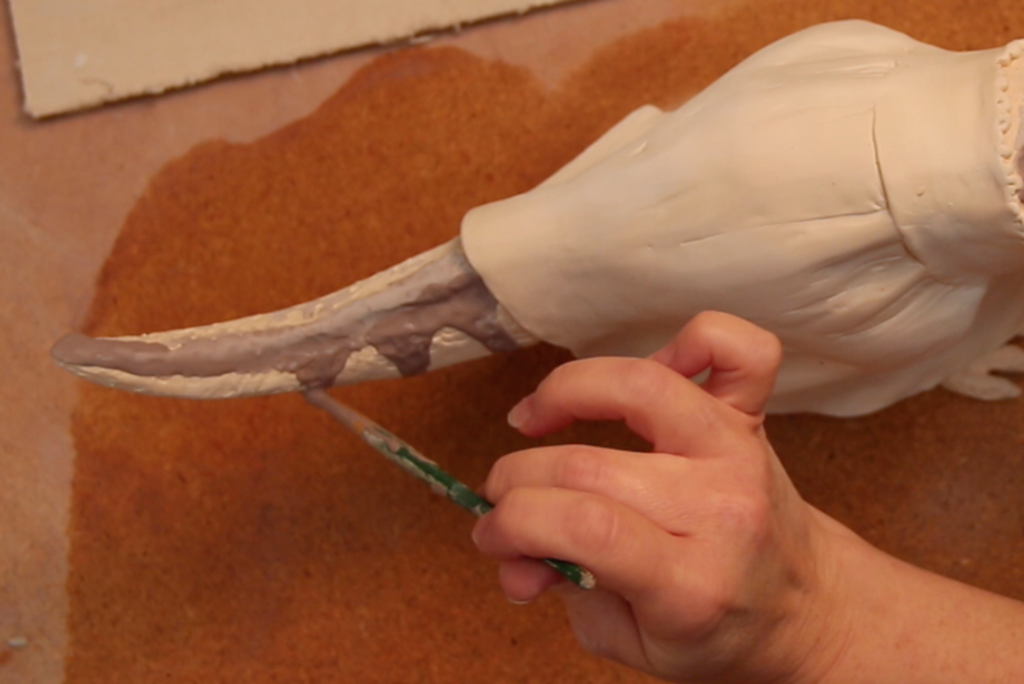
Use a tool to give a texture. Fur might need a scoring tool or stiff brush, scales might require a round or cylindrical tool. Here a scaly texture is made with a wooden dowel.
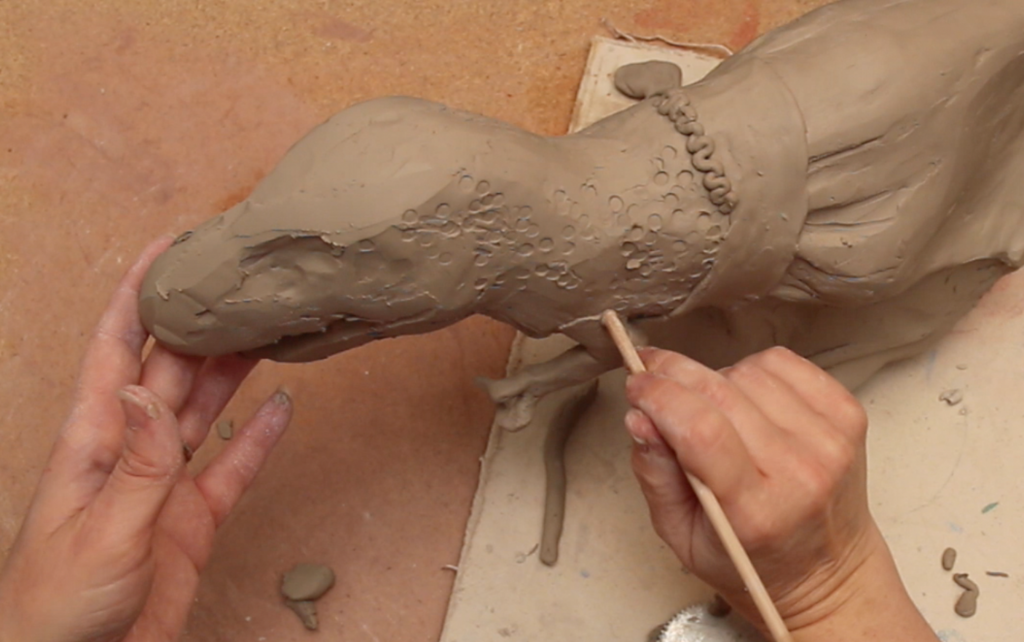
Press in for the eye socket and score.
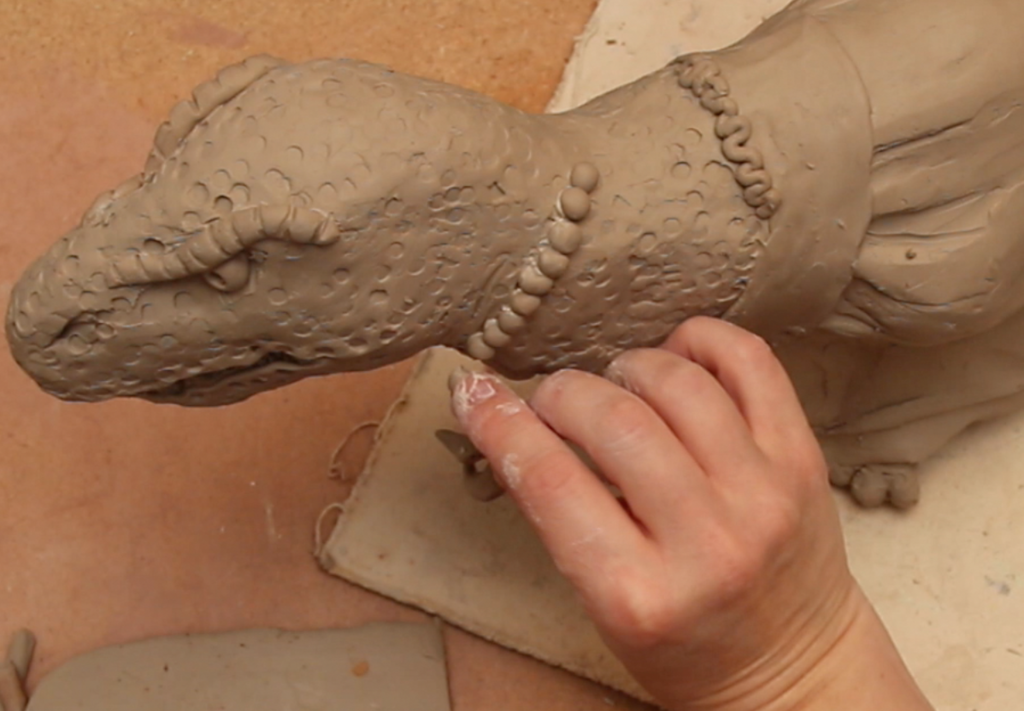
Eyeball is made with a small ball, pressed into eye socket gently. Use a pen lid or a small tool to make pupils in eyes.
Eyelids are optional depending on the animal. Here An eye ridge is made with a coil, textured with a wood tool.
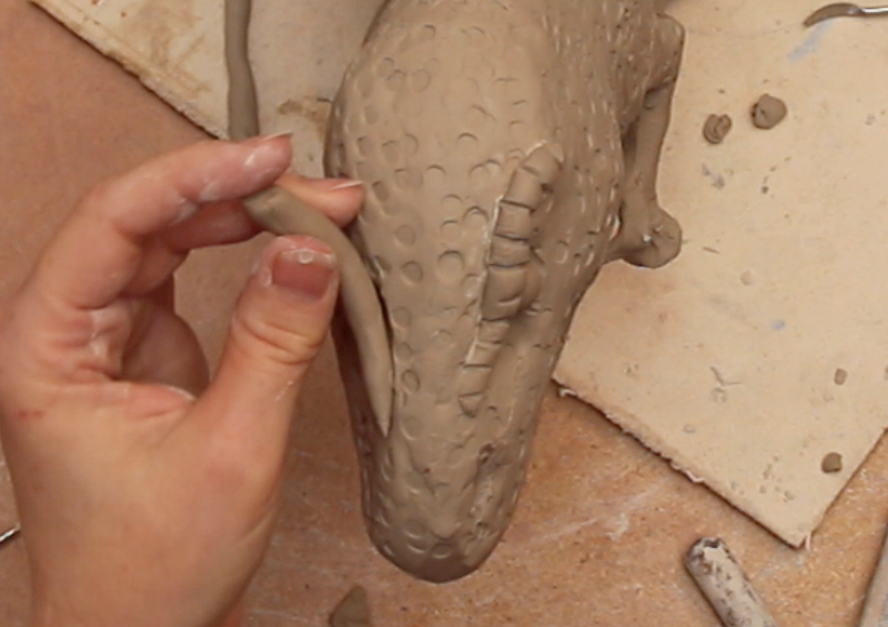
Many details are added by sprigging -- making small parts and joining. Liberally use thick slip and press gently to join.
Finished Deb ready to dry and fire. Dry slowly and thoroughly before bisque firing.
Glaze with glazes which will suit the textures and patterns of the chosen animal. We used LG series glazes for Debs body, and Teachers Choice / Teachers Palette for her dress, teeth, and eyes.