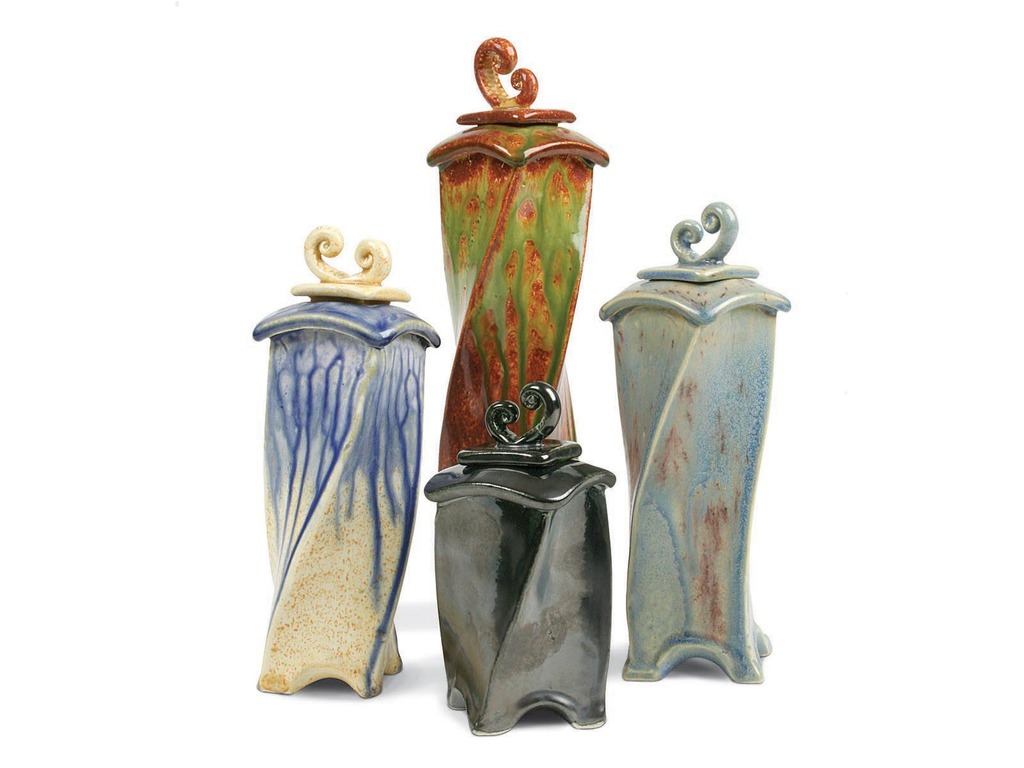
Weathered Sign
Make a decorative sign for your home or garden!


 Play Video
Load 2" square die and 1 1/2" interior die and spider into extruder end cap. Shape and load clay into extruder.
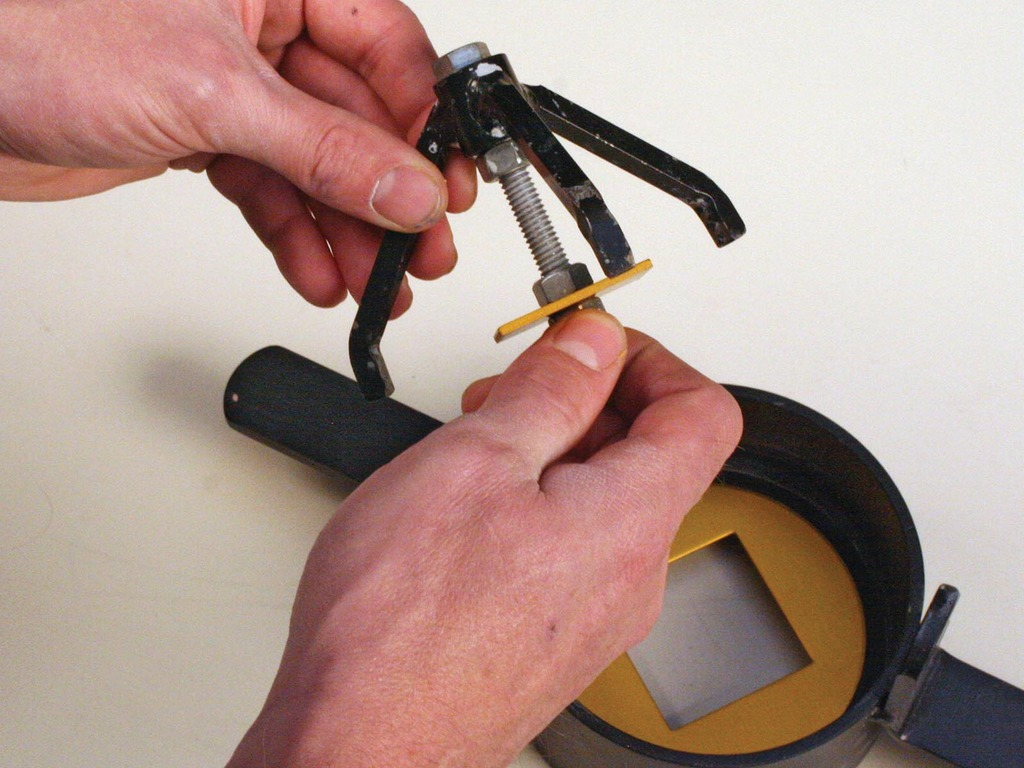
Less space between clay and wall of extruder barrel equals less air bubbles in extrusion.
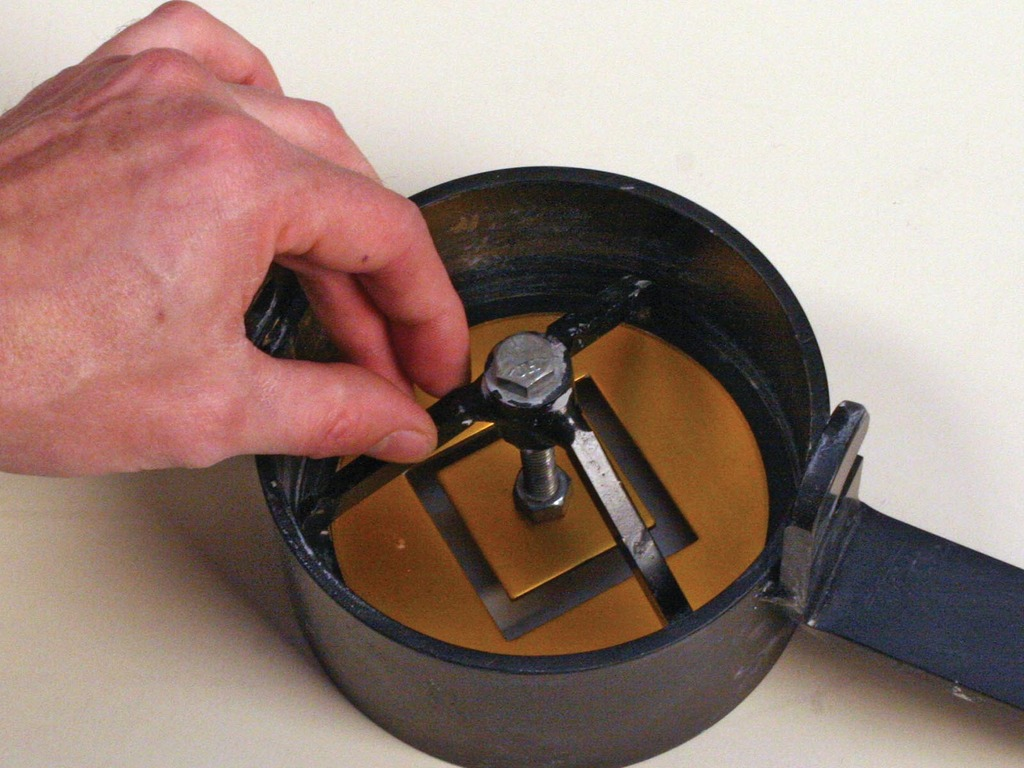
Pull down on the lever of the extruder with one hand, while twisting the clay as it exits the end cap with the other hand.
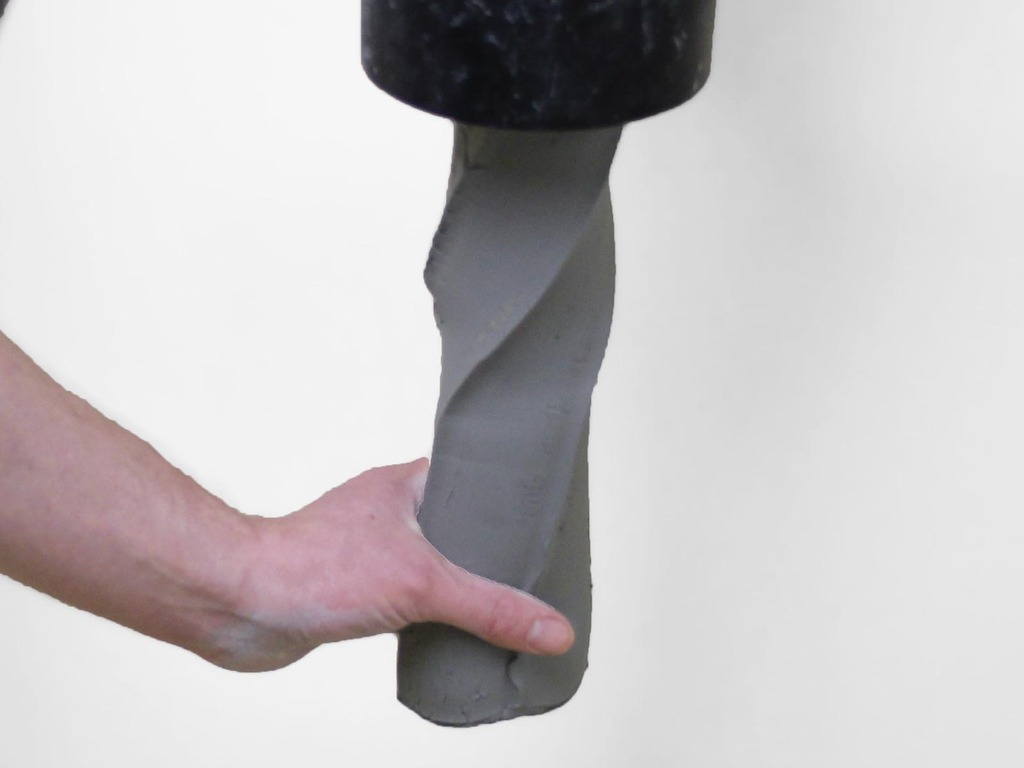
Use wire cutter to slice extrusions at 6" to 12" intervals from the end cap. Stand cut extrusions on a table to dry until leather hard (about 1-2 hours) or wrap in plastic to use during next class period.
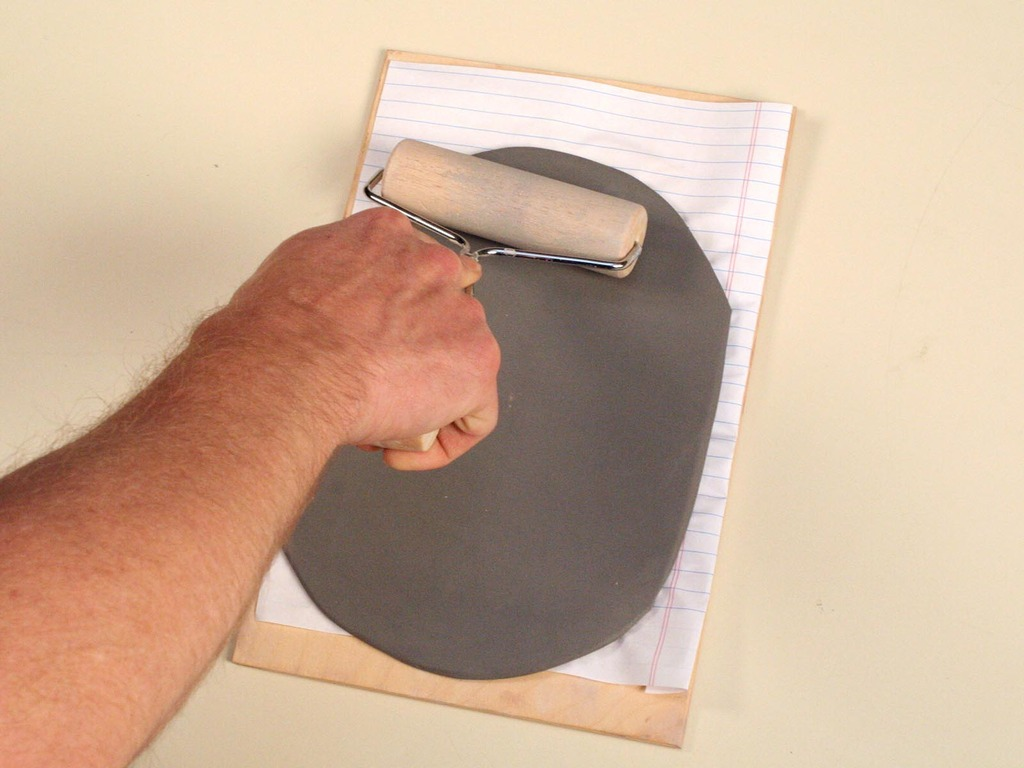
Roll slabs for tops and bottoms of the vessels. Make slabs the same thickness as the walls of extruded pieces. Allow to dry until leather hard.
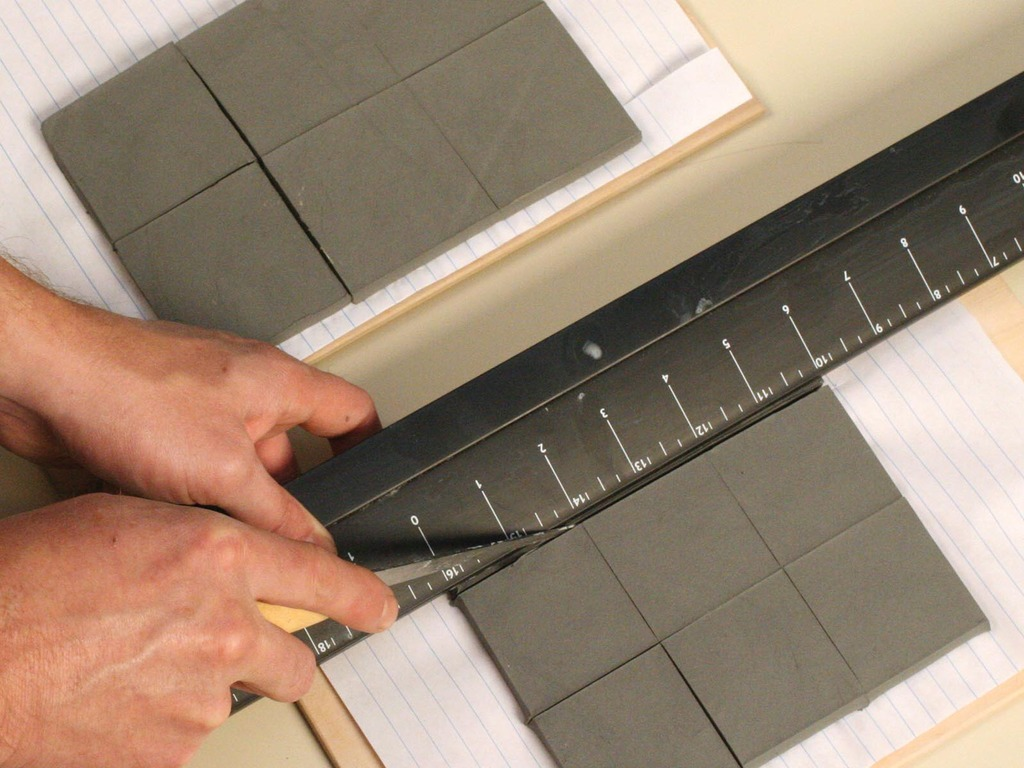
Cut one slab into 2" squares (bottom) and the other into 2 1/2" squares (top). Set aside. You will use one of each size for each vessel. Cover squares with plastic so they don’t get too dry.
Choose one of the extruded pieces and cut to size to square up the top and bottom ends. Carve the top into a slight arch.
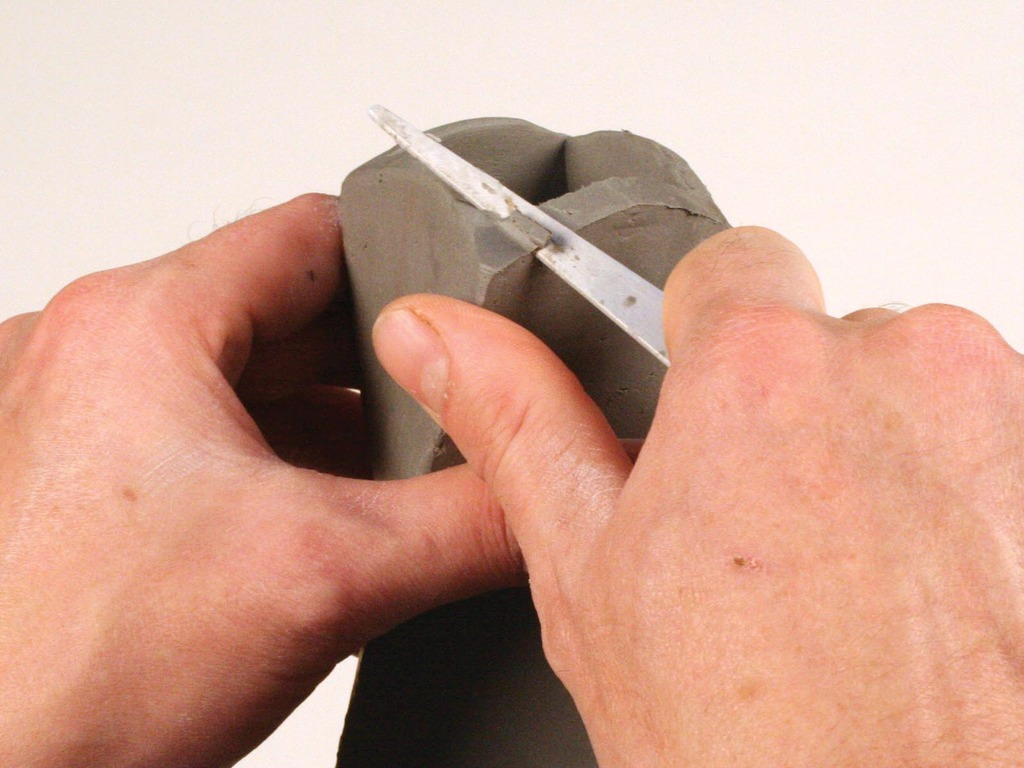
Cut deep arches on the bottom sides so the four corners become the feet.
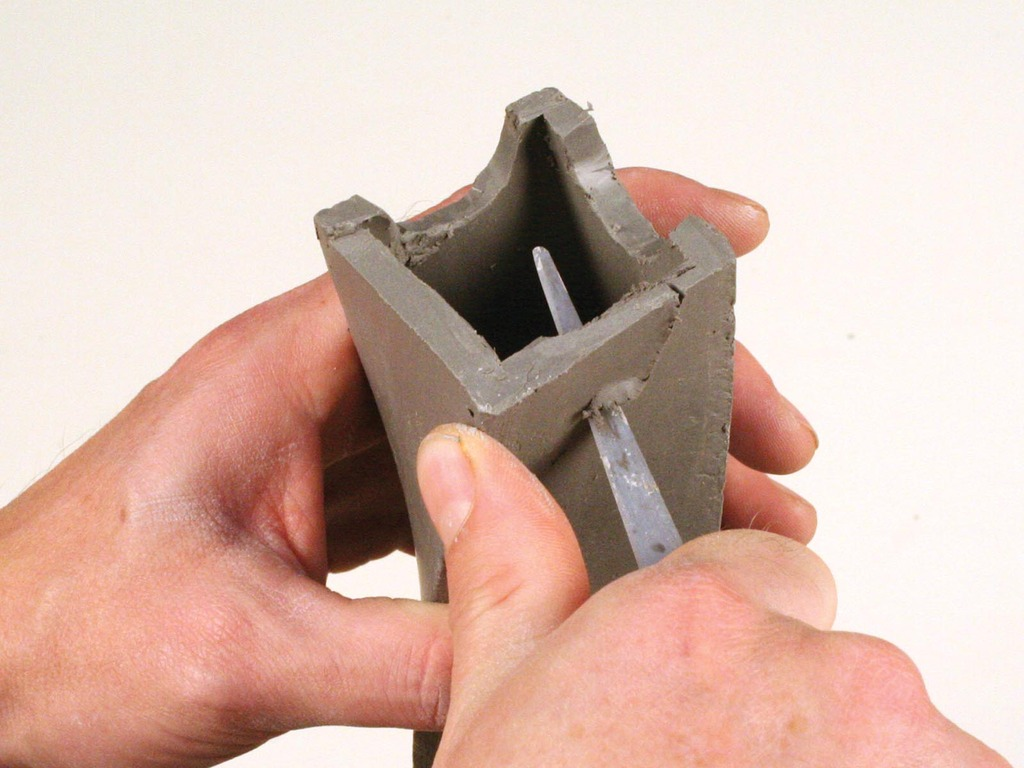
Score and slip the bottom edges and attach the bottom slab (one of the 2" x 2" squares).
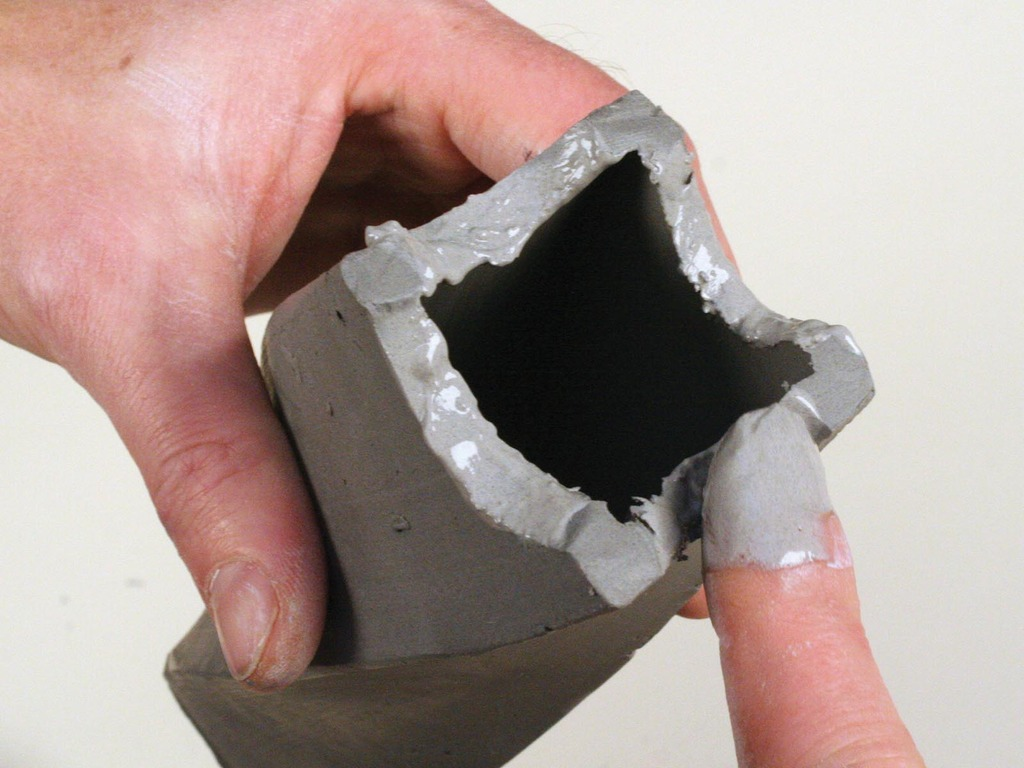
Push bottom slab up into the arches with thumb.
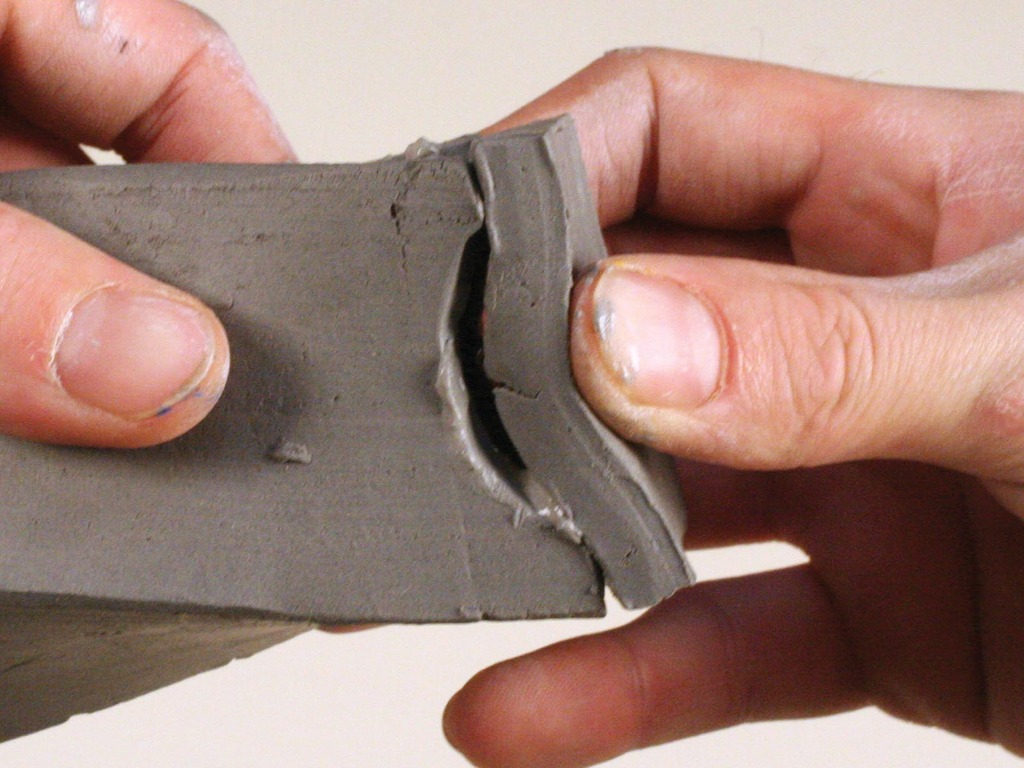
Roll fettling knife handle along the edges to reinforce the seam. Trim any excess clay, then smooth the edge with a wet sponge.
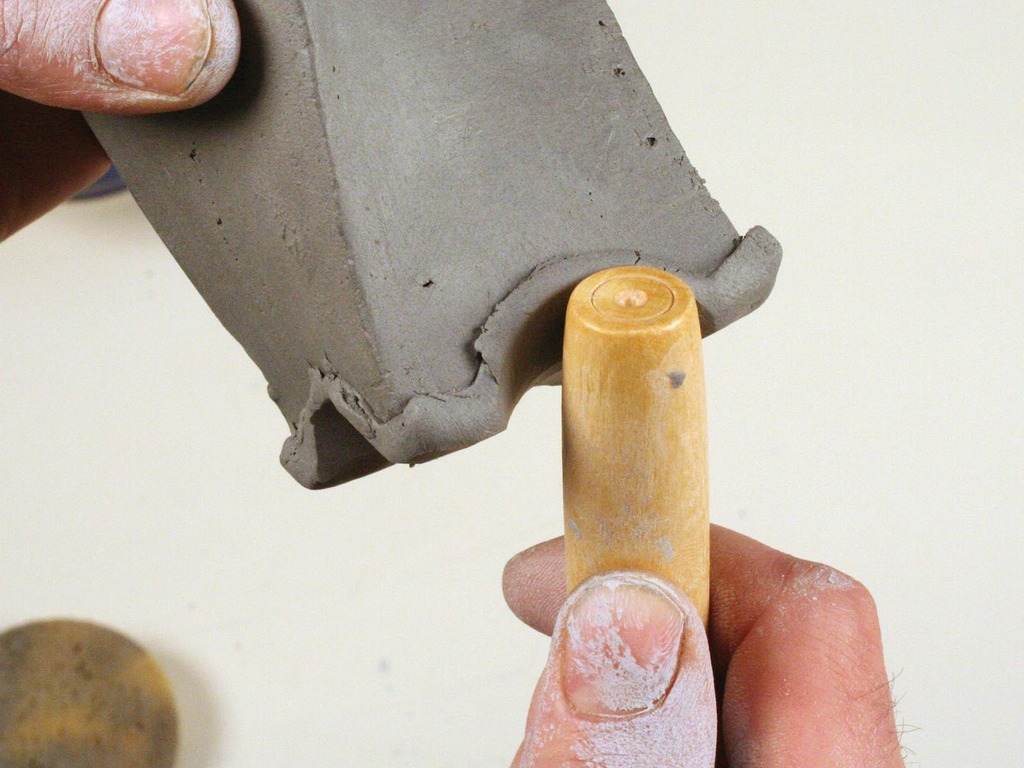
Round and smooth the corners of a 2 1/2" square with a wet sponge. Score and slip the top edges of the extruded piece, then add the slab to the jar. There should be a slight overhang.
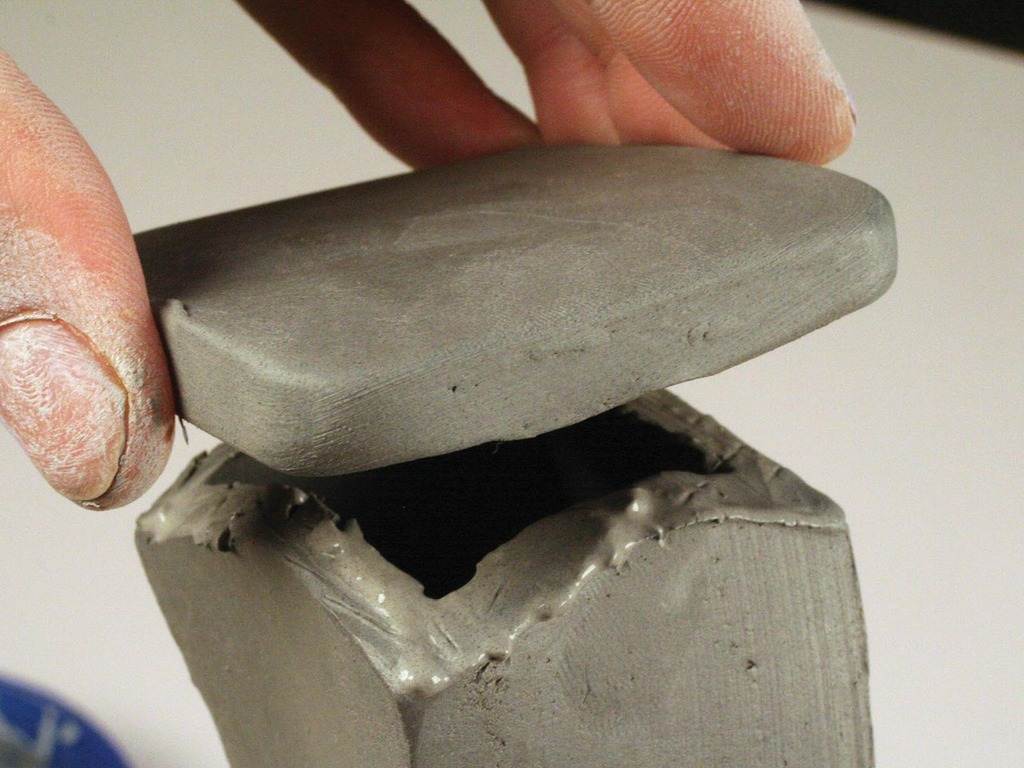
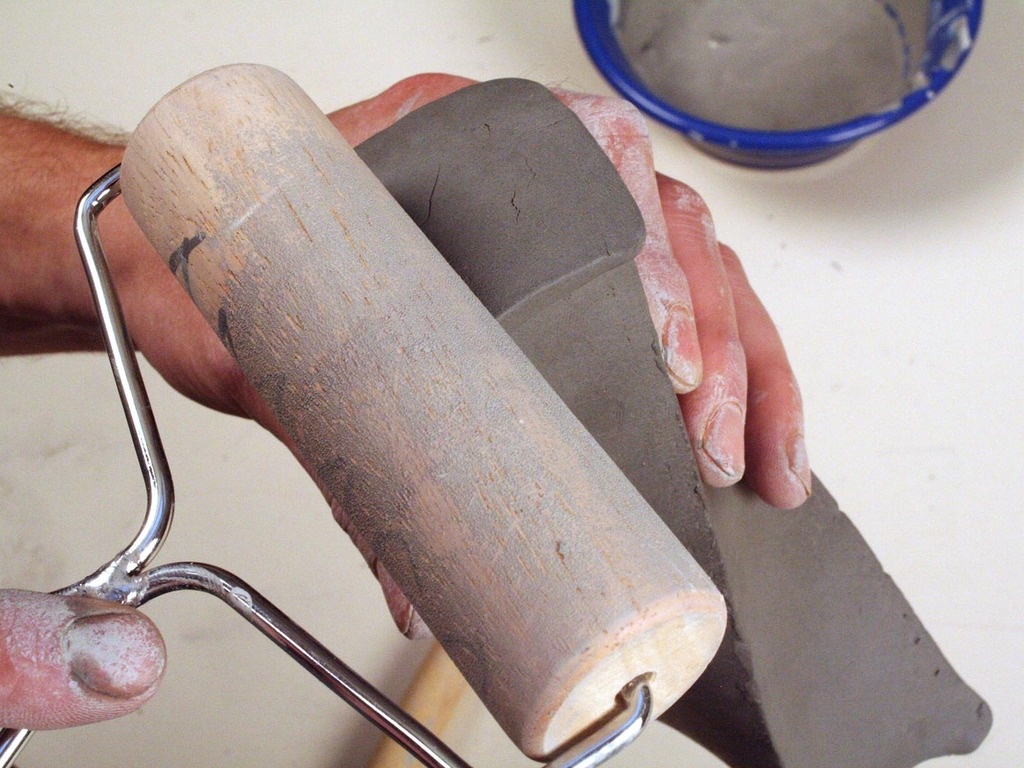
Use the Pony Roller to roll lightly over the slab to make it tight and conform to the arch.
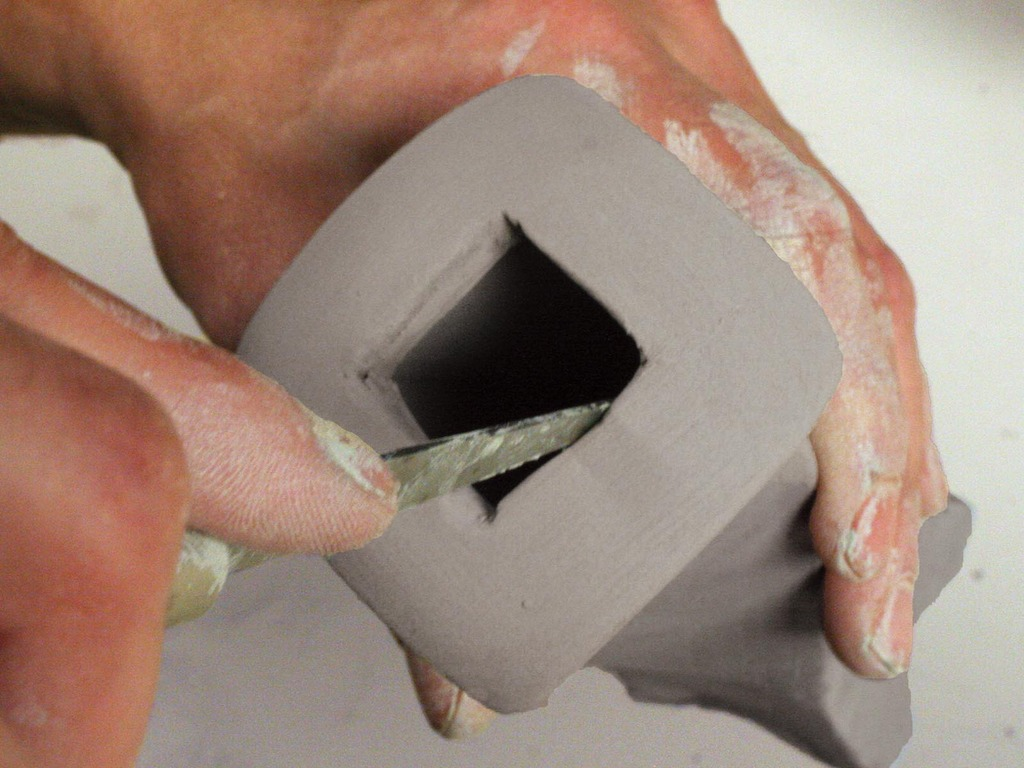
Cut a 1" square out of the center.
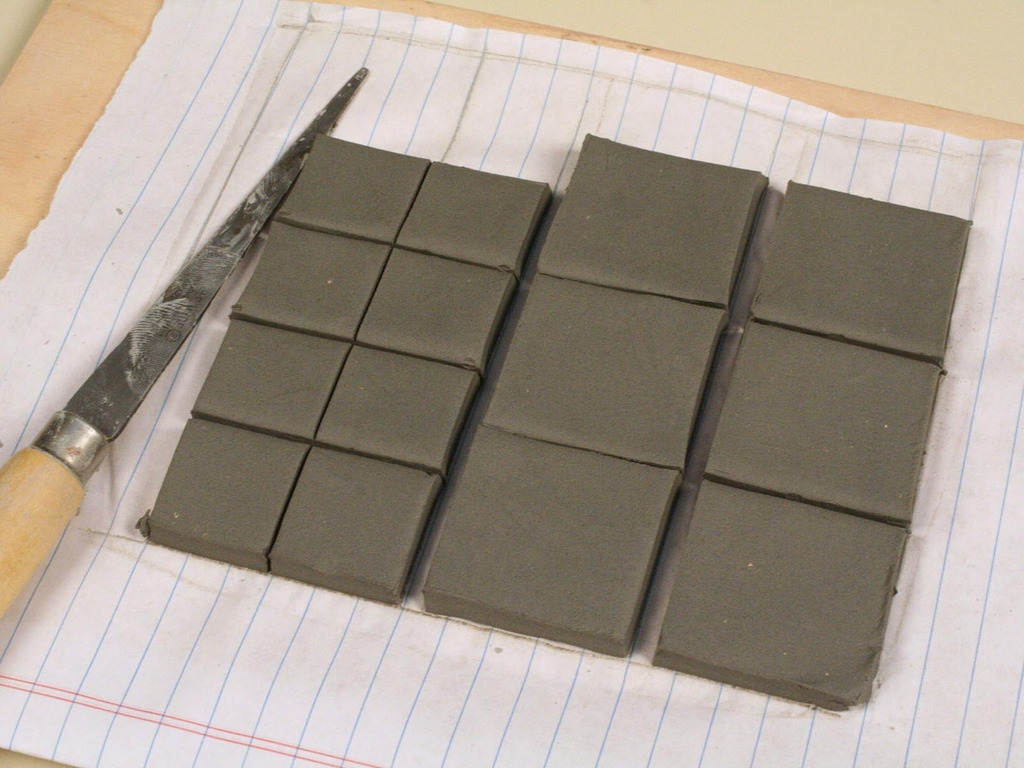
For the lid, roll out clay 1/8" thick. Cut out 1" squares and 1 1/2" squares (one of each size needed per lid).
When leather hard, slip and score one side of the 1" square center and attach it to the center of the 1 1/2" square.
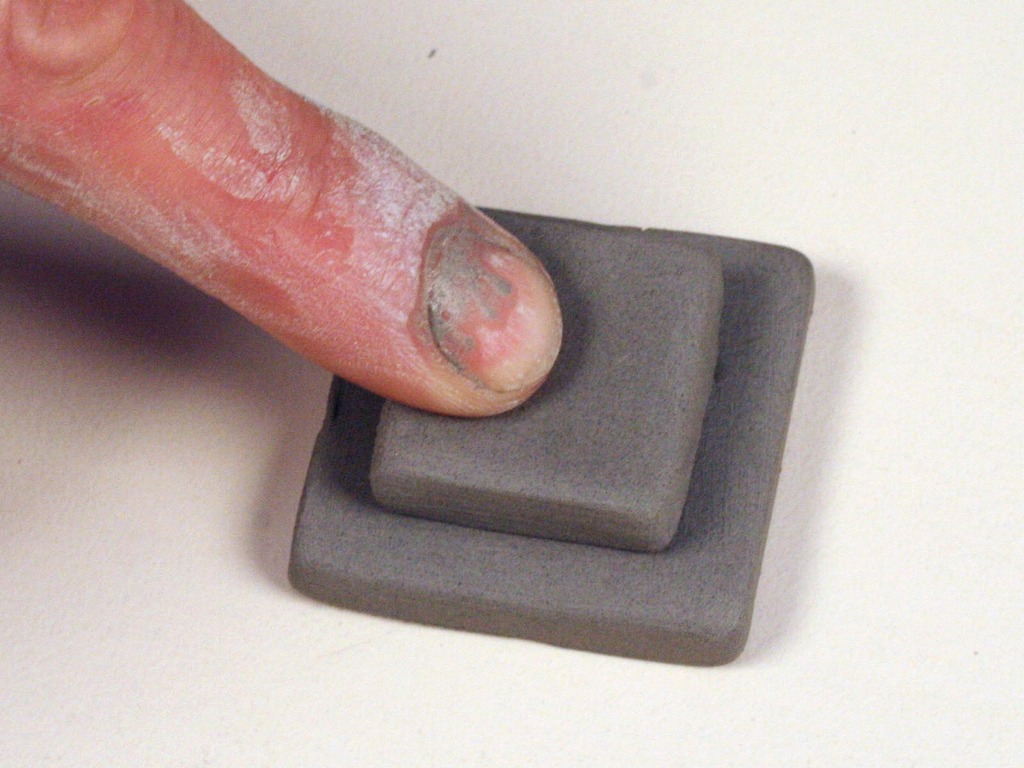
For the handle, roll a clay coil approximately 3" long tapered on the ends.
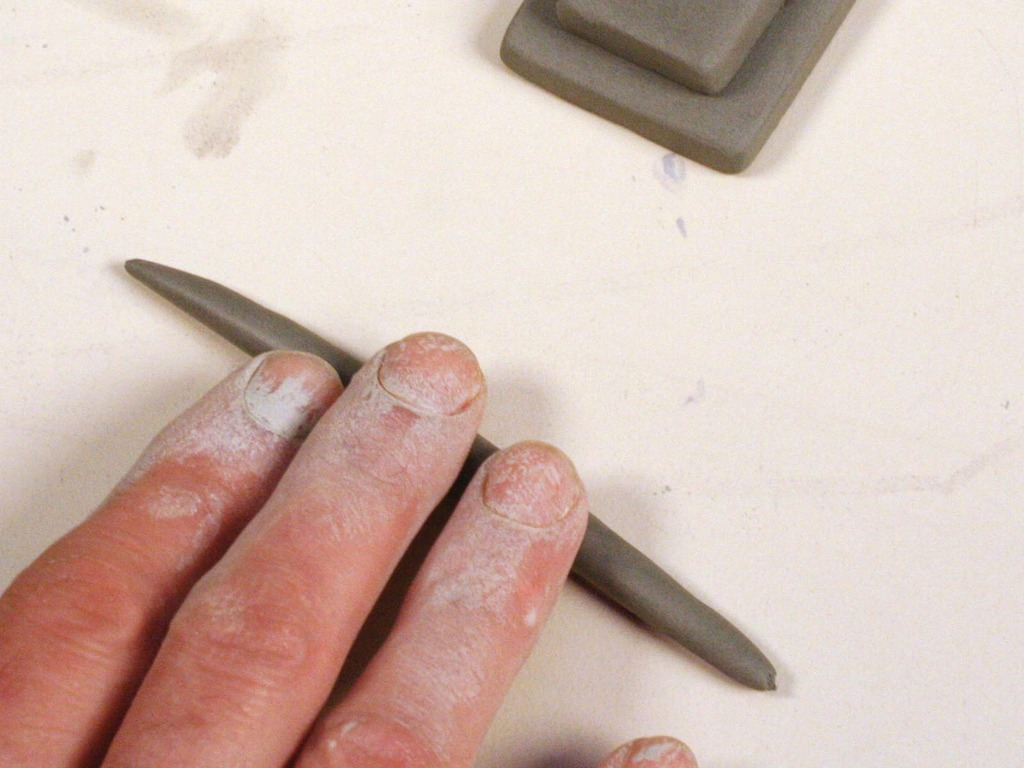
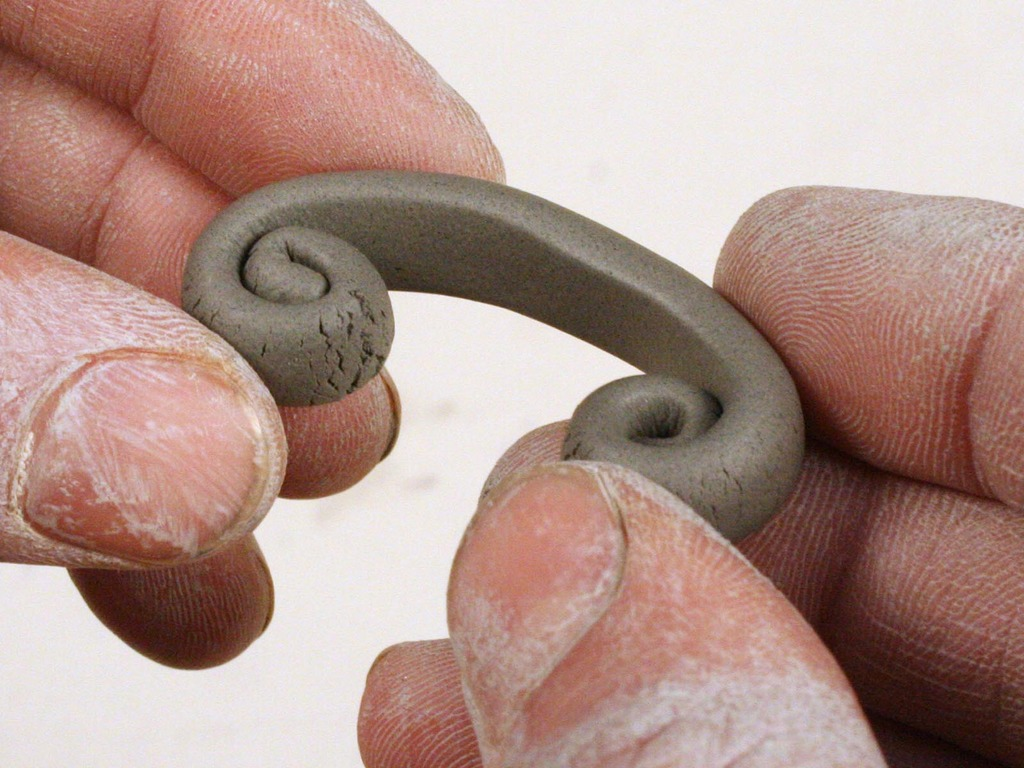
Pick up the coil and slap it down onto the table to create one flat side. Roll up each end of the coil, flat side up.
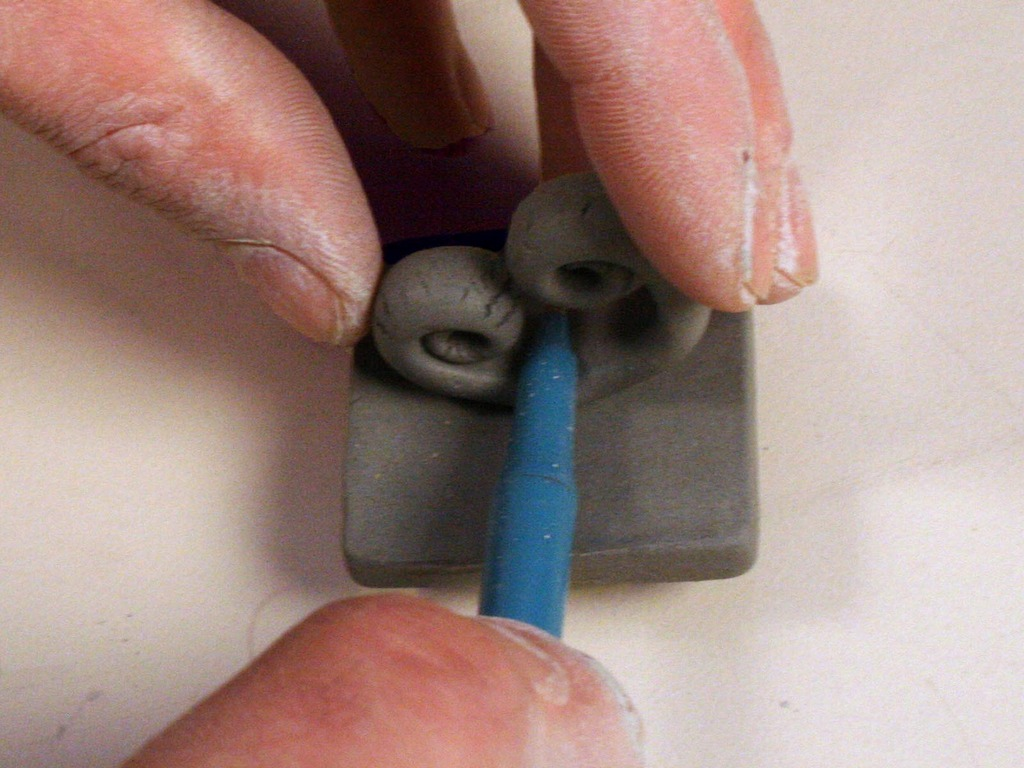
Slip and score the center of the lid top and attach the coil handle. Use a pencil or pen to press the handle on firmly.
Allow pieces to dry completely, then bisque fire to a mature Cone 04.
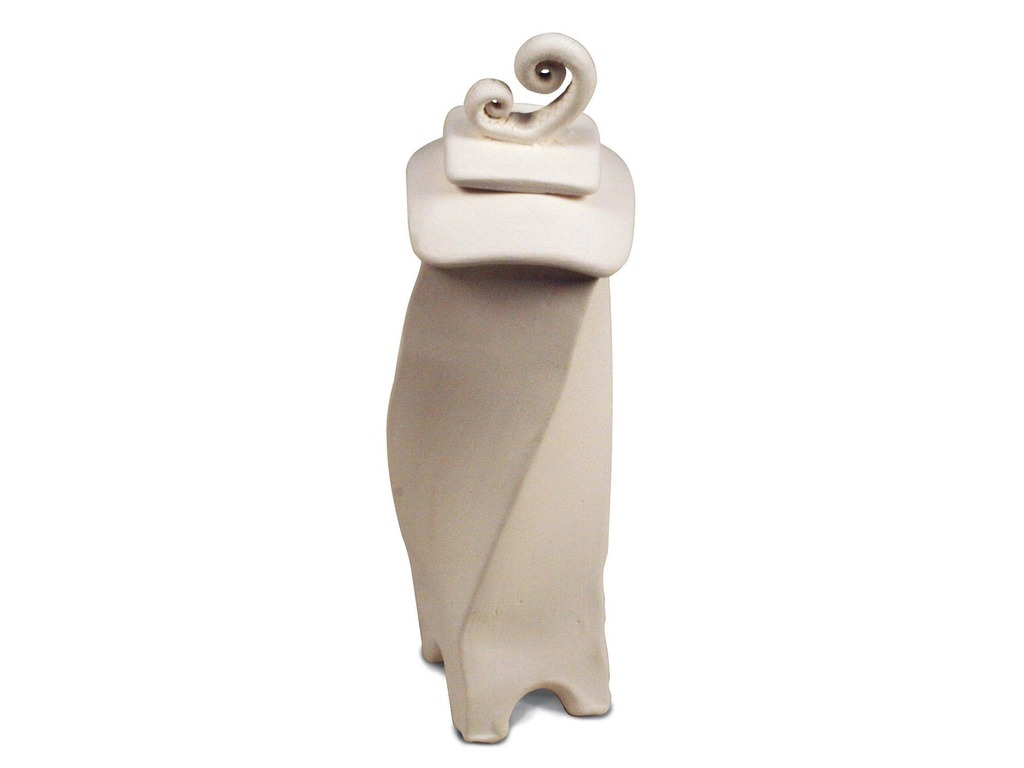
Brush on 3 coats of glaze, tapering the third towards the base of the piece. Wipe all glaze off the feet so they will not stick to the kiln shelf. Glaze fire to Cone 05.
Note: Use Kiln Shelf Wash on your kiln shelves to prevent sticking. Do not fire with the lids on the vessels or they will stick together.