

Weathered Sign
Make a decorative sign for your home or garden!


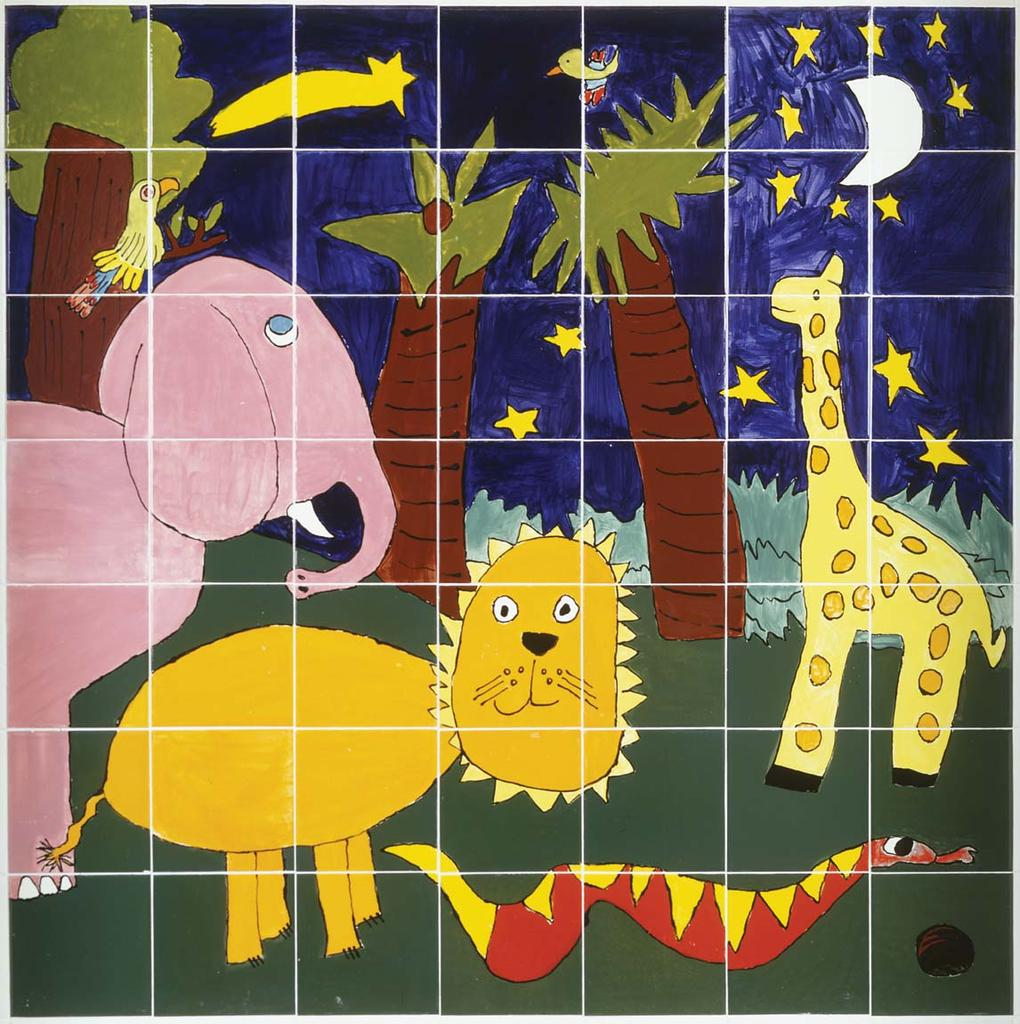
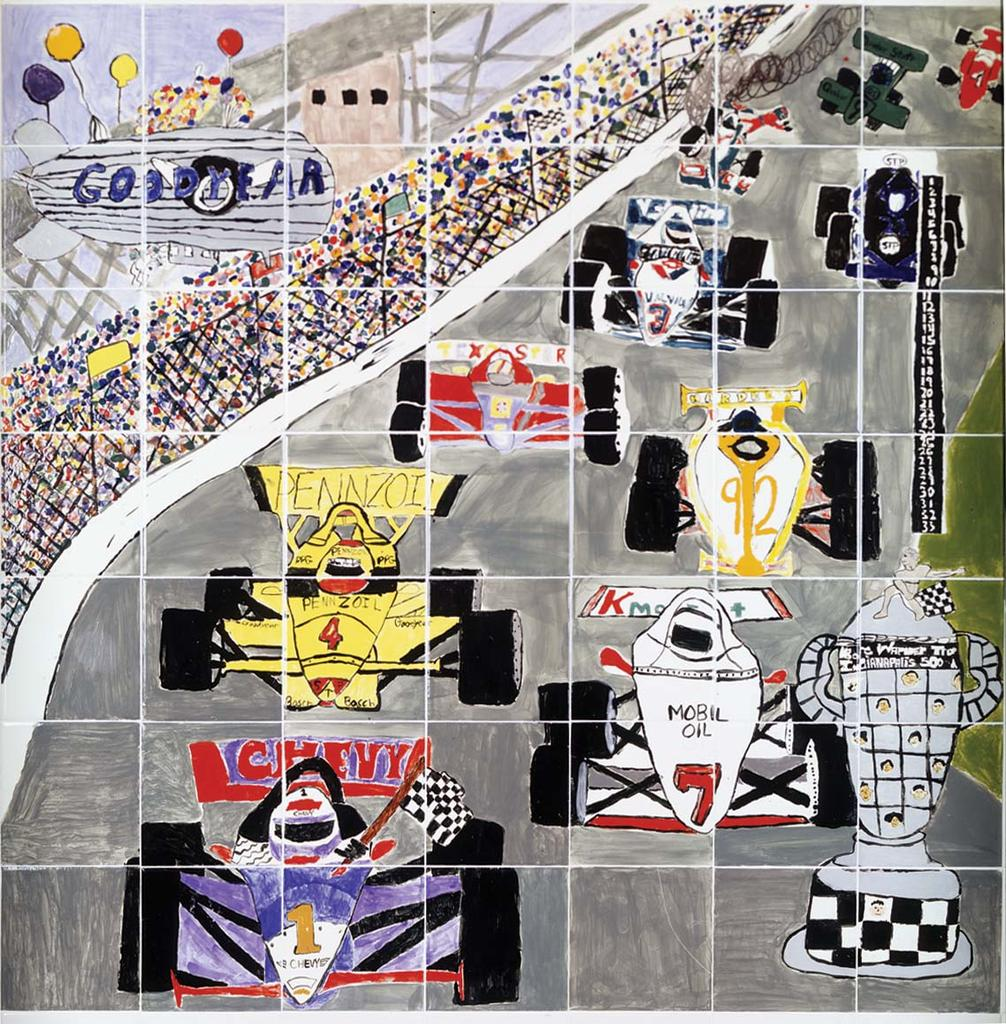
The art teacher should talk to students about what they will be creating, explaining the physical and production differences between a painted mural and a ceramic mural. Examples of murals should be shown.
Depending on the subject that has been chosen for the mural and, if illustrations are available, students should be shown examples of work with similar themes and styles by famous artists. For example, present art reproductions of works by Rousseau for the jungle theme; works by Seurat, Moillet, and Lawrence for the circus; works by various Impressionist artists for flower gardens; and selected famous portrait paintings for a theme that involves faces and people.
Using the theme of the mural as a focus, classroom teachers and the art teacher should work together to design lessons and provide support materials, so that students have a thorough background understanding of the subject. For example, science lessons can be planned on the study of outer space or undersea life; social studies lessons can focus on local history or a famous local landmark; writing lessons can be designed with various aspects of the circus as the subject; and ecology and “saving our rain forests” lessons can be inspired by a jungle theme.
Note: Although most pottery in Ancient Greece was thrown on a potters wheel, for this project we're using coil-building.
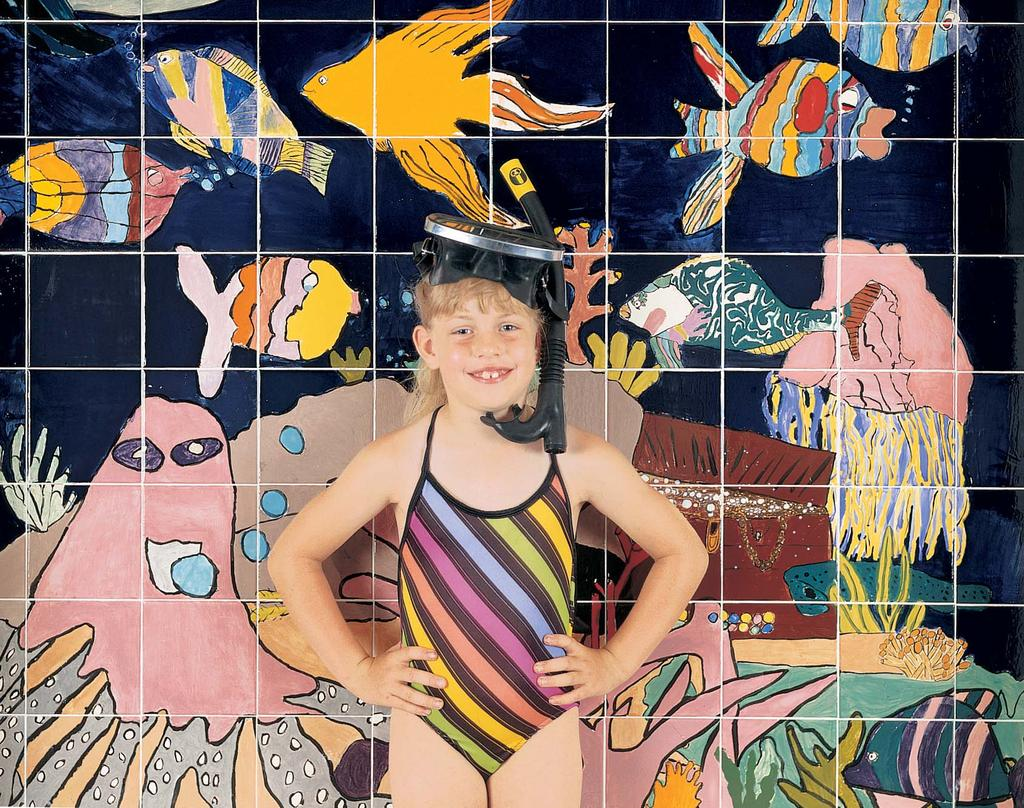
Have students draw individual drawings on uniform pieces of paper of different aspects of the larger mural. For example, for the jungle animal mural have different students draw different animals, have some draw trees and plants. Encourage personal ideas and perspectives.
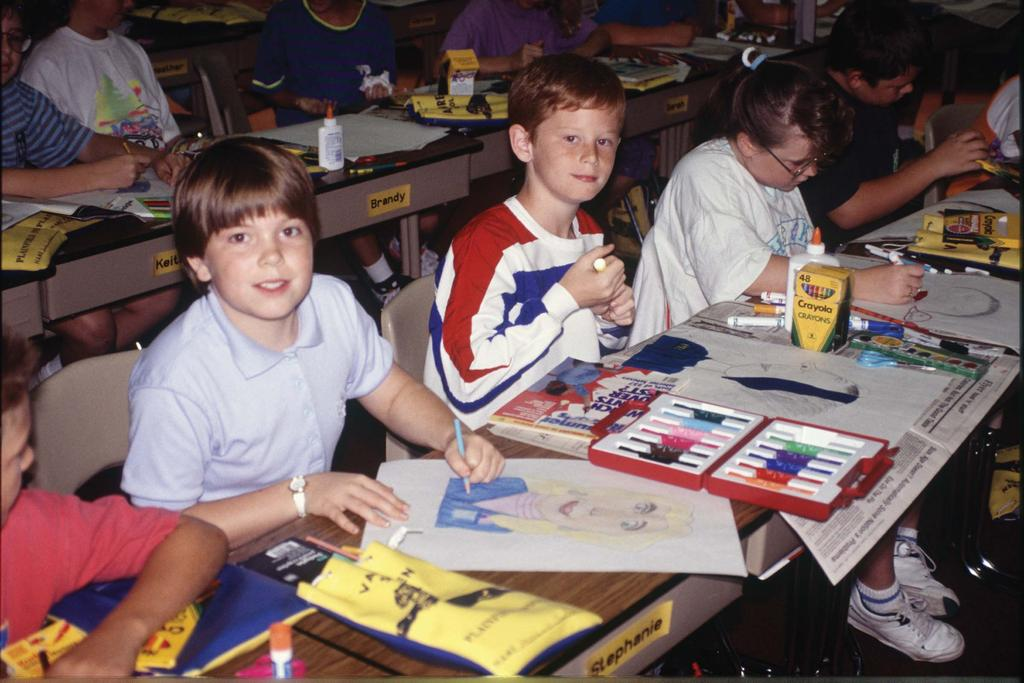
Using an opaque projector, project the art work onto a large piece of white craft paper to the desired size of the finished mural. Compose the many drawings into the scene desired and trace them on the large paper.
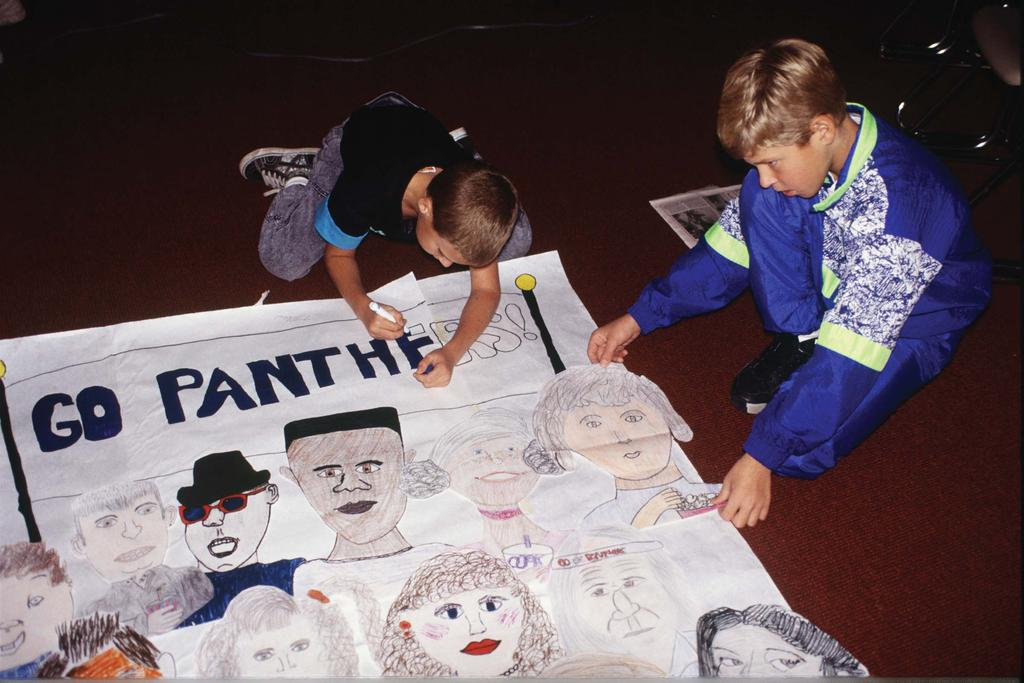
Have students color the enlarged picture with crayons to indicate specifically what colors all areas will be. Seeing the mural colored will give you the opportunity to modify or change colors, as necessary, before working with the tiles and underglazes.
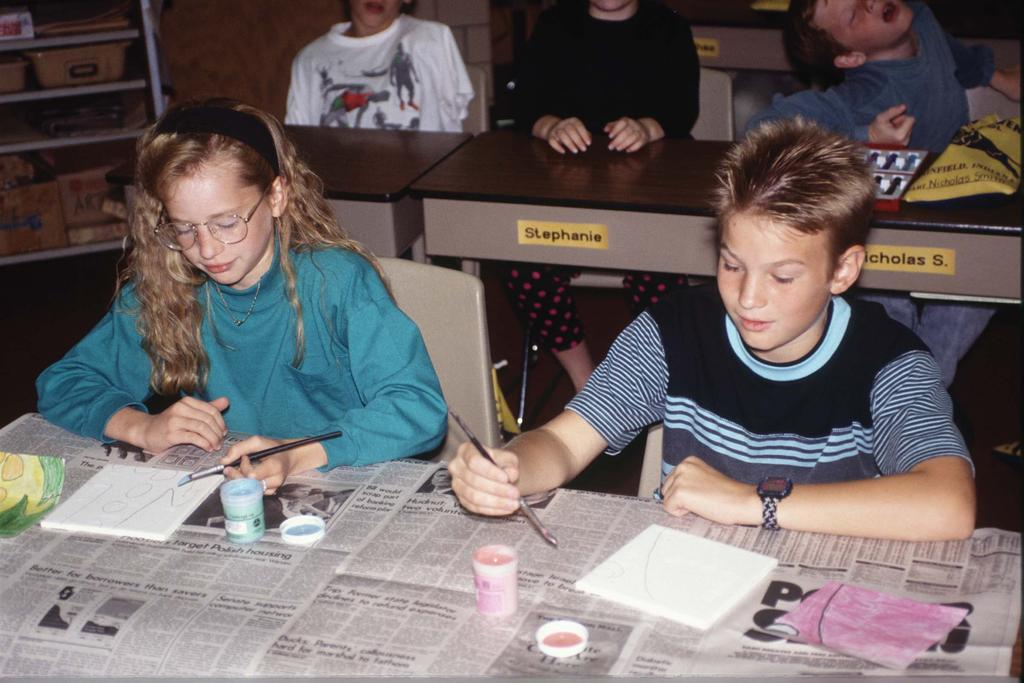
Use underglazes to create the picture or design on the tiles. They are safe and easy to use and may be applied with a brush or plastic syringe. Underglazes do not move or bleed when fired. AMACO® underglaze colors change slightly when fired; Velvets do not. Both become deeper in value when fired with a clear glaze over them.
Using underglazes, the students then paint the tiles just as the paper squares have been colored. For opaque coverage, apply 3 coats of underglaze.
A plastic syringe with black underglaze is then used to outline and detail the drawings. 9. The teacher should then airbrush the entire surface with a clear glaze and fire the tiles to cone 05. 10.Tiles should be installed by a professional tile installer. For added effect, use 2″ cap white commercially glazed border tiles around the mural as a frame.
Clear glaze can be applied by pouring it over the tiles in one of two ways to collect glaze run off:
1. Place the tile inside a bucket on top of a glass bottle (or any suitable object that keeps the tile above the bottom).
2. Hold the tile in your hand over a bucket. Remove glaze from the edges and bottom of the tiles with a wet sponge. Glaze collected in the bucket can then be re-used. Clear glaze can also be brushed on with three even coats applied in different directions, making sure each coat dries before subsequent applications.
NOTE: If brushing, it is best to fire the underglazed tiles first before application of clear glaze. This will eliminate smearing caused by dampening the unfired underglaze surface. Then brush on clear glaze and fire again to Cone 05.
Load kiln in the afternoon and fire at setting 2 (low) throughout the night. The next morning, turn the kiln up in stages and fire to cone 05. This means the kiln will shut off during the school day, so someone will be present to monitor the crucial part of the firing.
If you fire by this time schedule, you won’t have to make late night trips to the school to check the kiln. Approximately 60-80 6″ x 6″ tiles can be starched and fired in a 22″ x 27″ chamber kiln.


