Weathered Sign
Make a decorative sign for your home or garden!


 Play Video
 Play Video
 Play Video
Introduce the Three Cups book and explain the concepts of saving, spending and giving money.
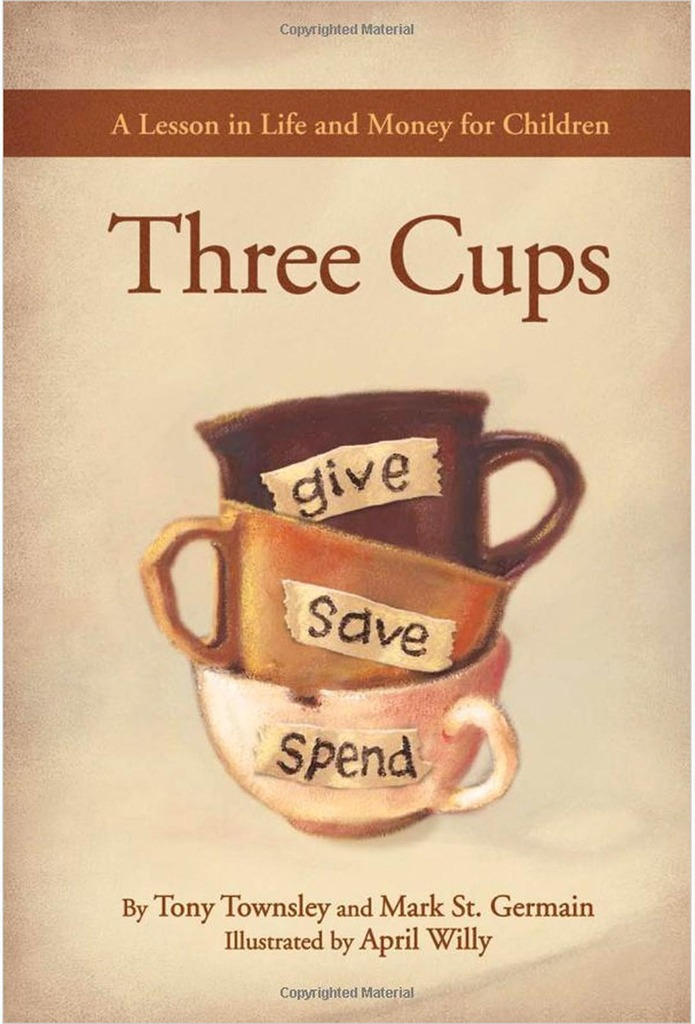
Have students make sketches of the three cups they will make to represent each of the ways to manage their money. How could these cups differ to represent the actions of saving, spending and giving?
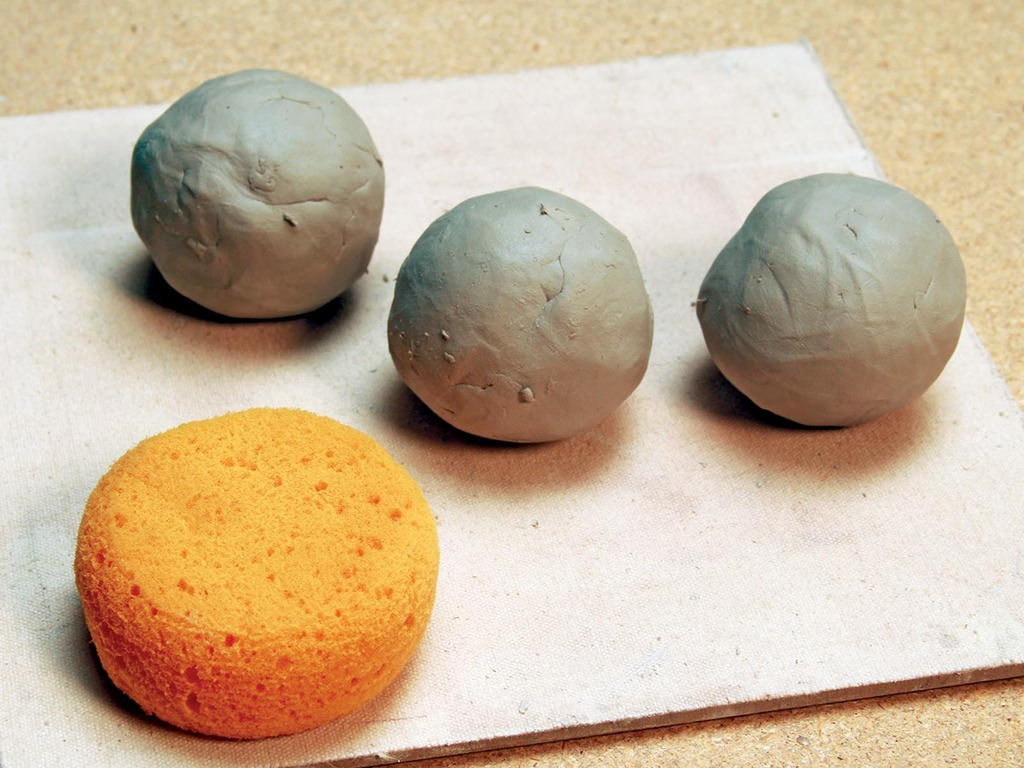
To create each cup, students should begin by pinching off a fistful of moist clay and rolling it into a sphere that is the size of a tangerine. (Tip: to make cups that are the same size students should start off with spheres that are the same size). For tutorial on pinch pots, go to our pinch pot lesson.
Start by holding each sphere in the palm of the less dominant hand and inserting the thumb from the dominant hand 2/3 of the way in to create an opening.
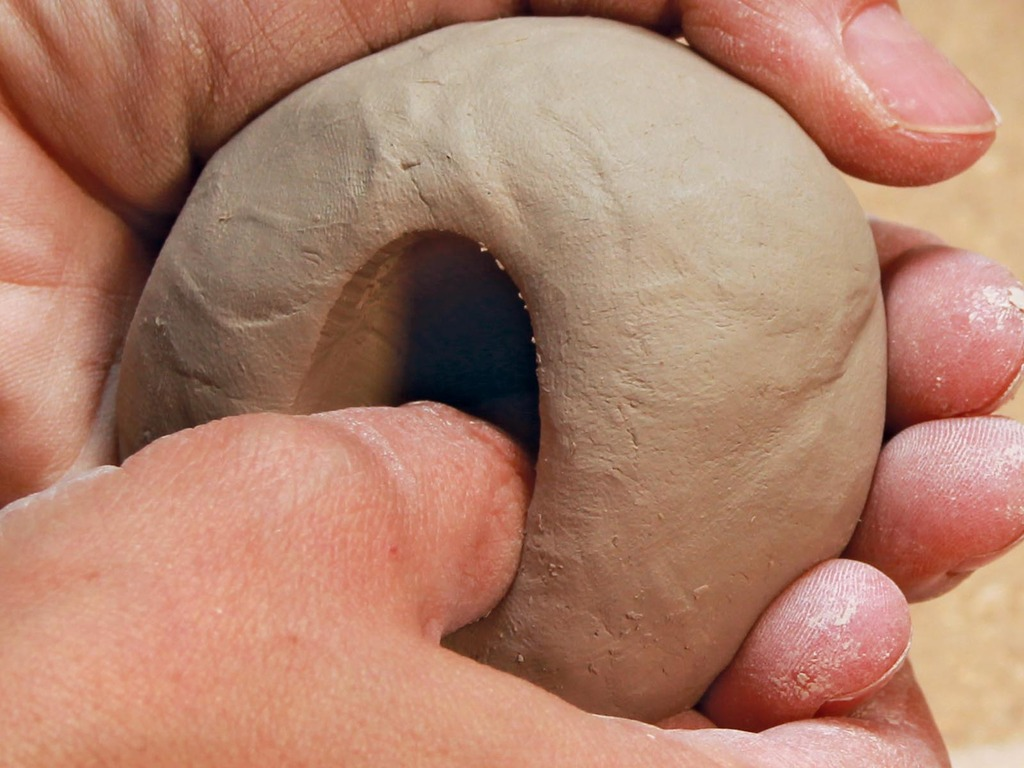
The pinch pots are formed by gently pinching the clay walls while rotating the sphere to even out and thin the walls of the pot.
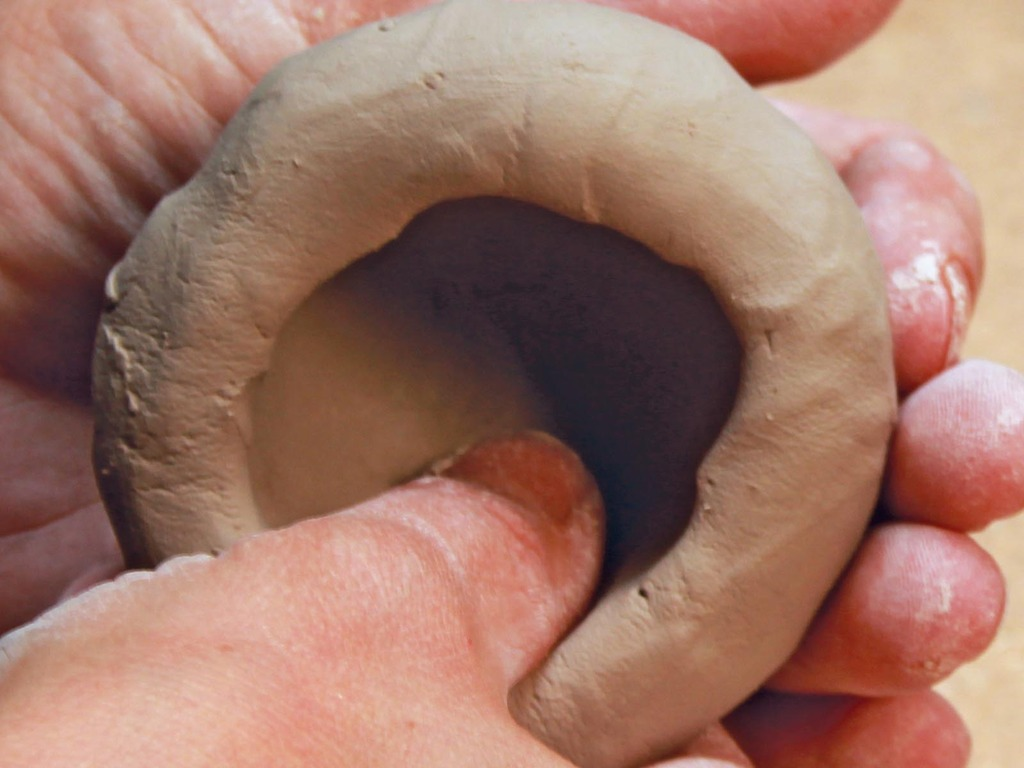
Pressure should be consistent and any cracks should be smoothed by rubbing across them as soon as they form. If the clay begins to crack as soon as the pinch pots are started, then it may be too dry. To moisten, add water to the clay in the bag or wrap spheres with moist towels and allow time for the water absorption (approximately 15 minutes) before working with the clay.
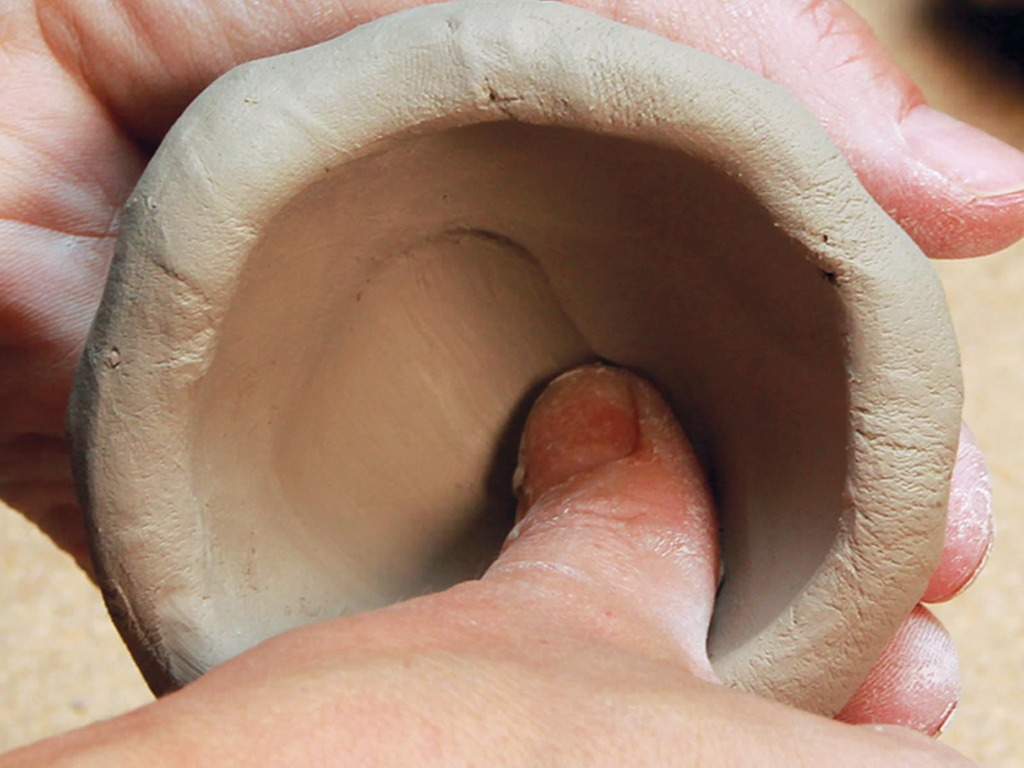
A “foot” or base may be added by rolling an even coil (snake) of clay of the same consistency as the pinch pot and attaching it as follows: measure the desired length of the coil, cut and attach its ends together to create a ring.
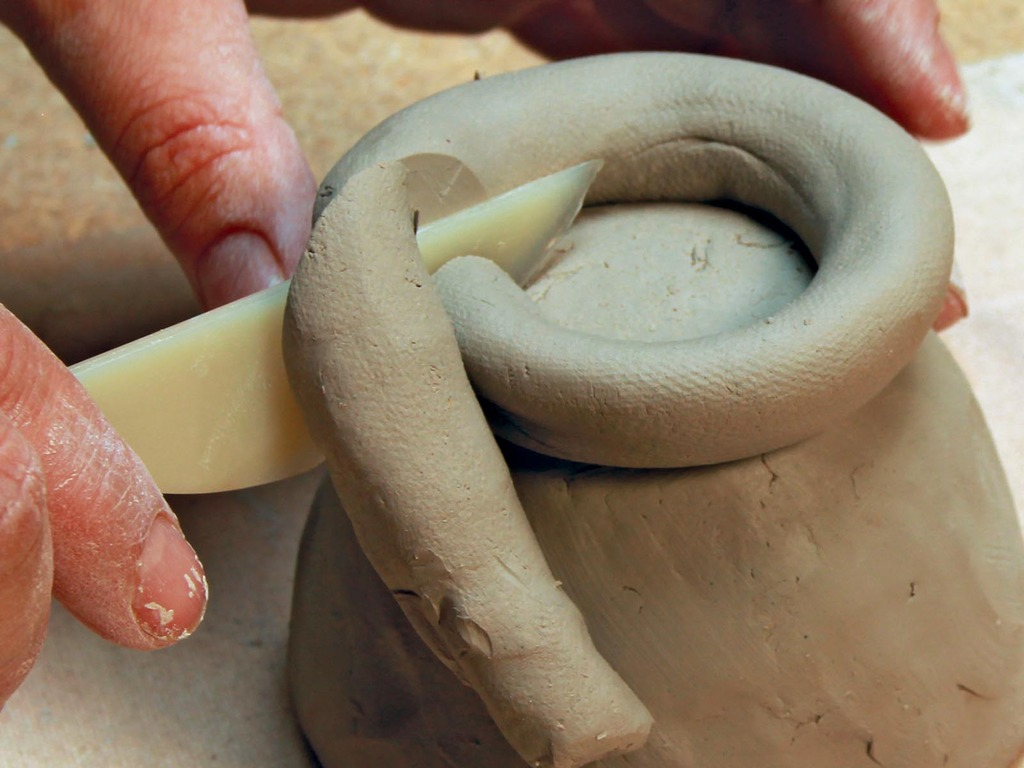
Score the top surface of the ring and base of the coil pot, then add a bit of vinegar or slip and press the cup onto its base.
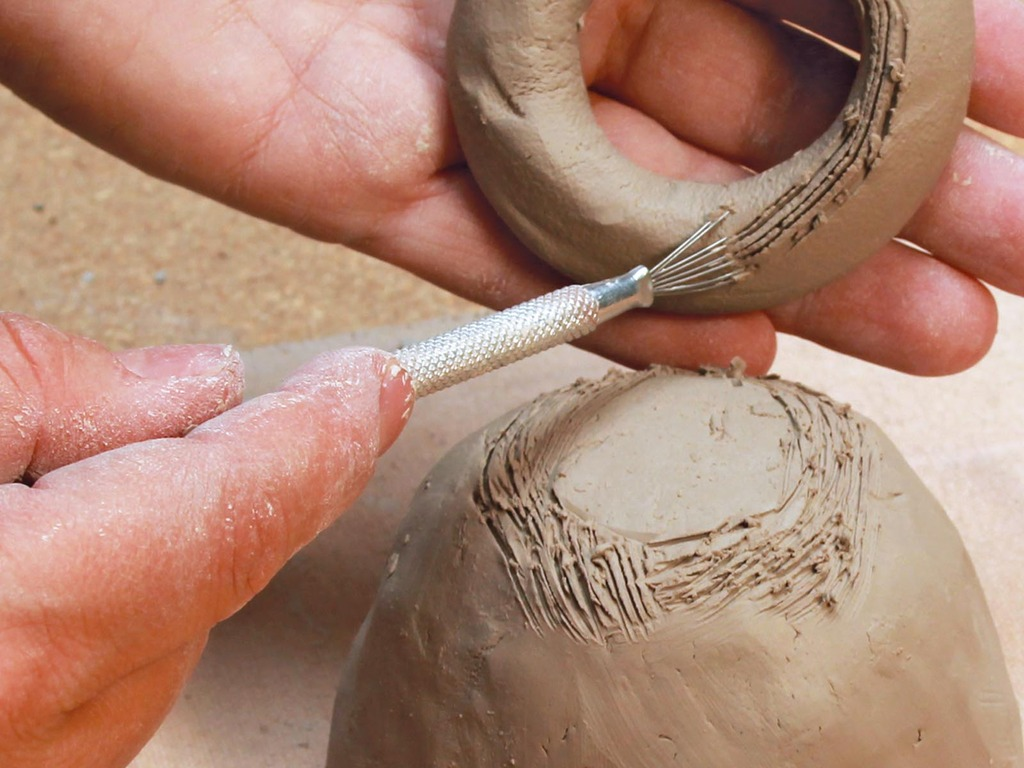
Alternately, the foot may be formed by compressing and flattening a smaller sphere of clay and attaching it to the base.
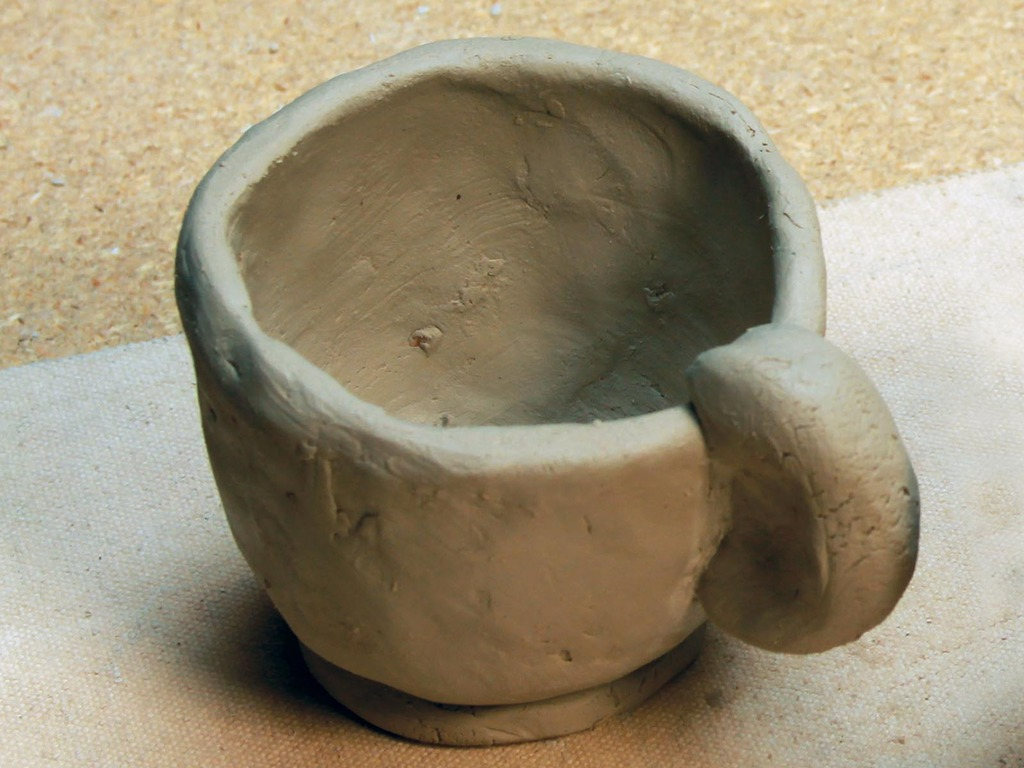
A cup handle may be formed by making a shorter and thicker coil, scoring each end, then pressing it against the cup.
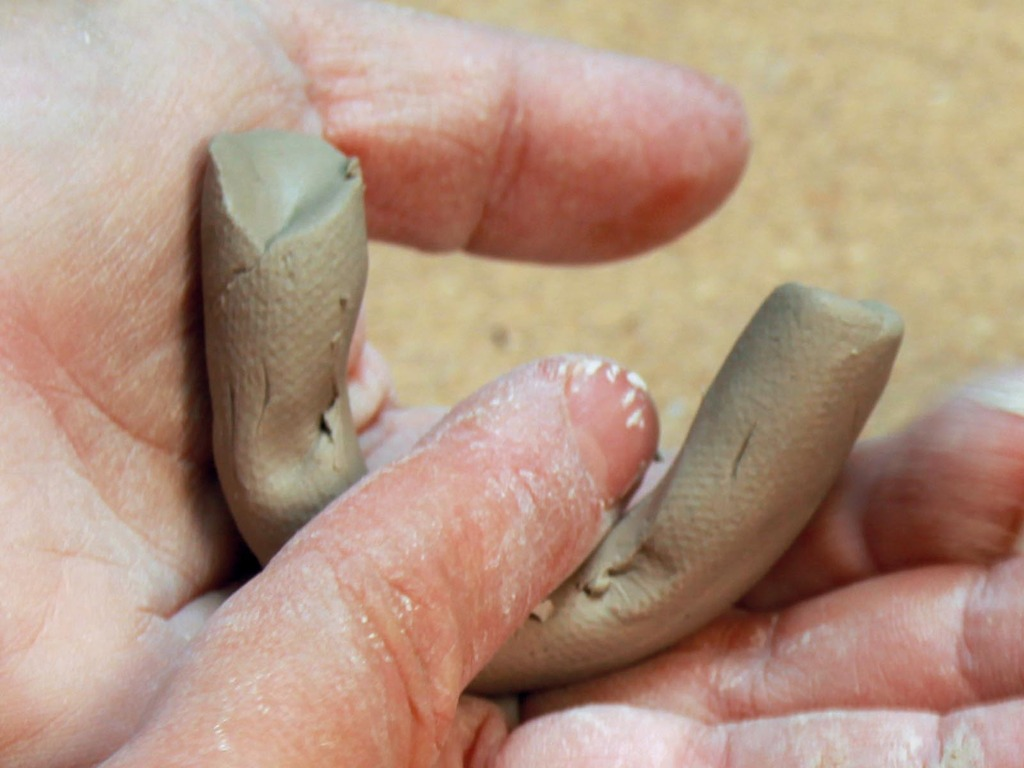
Note: handle openings should be large enough to allow at least one finger to pass through after the clay shrinks slightly during the drying stage, but short enough to be self-supporting. The handle shown here is not open but can be held by pinching.
To make a saucer, students should create another tangerine-sized sphere and press it with the palm to flatten to a circular disk. A foot can be created and attached to the top of the disk using either of the two methods in step 7 or 8. This will later be flipped and become the base of the saucer.
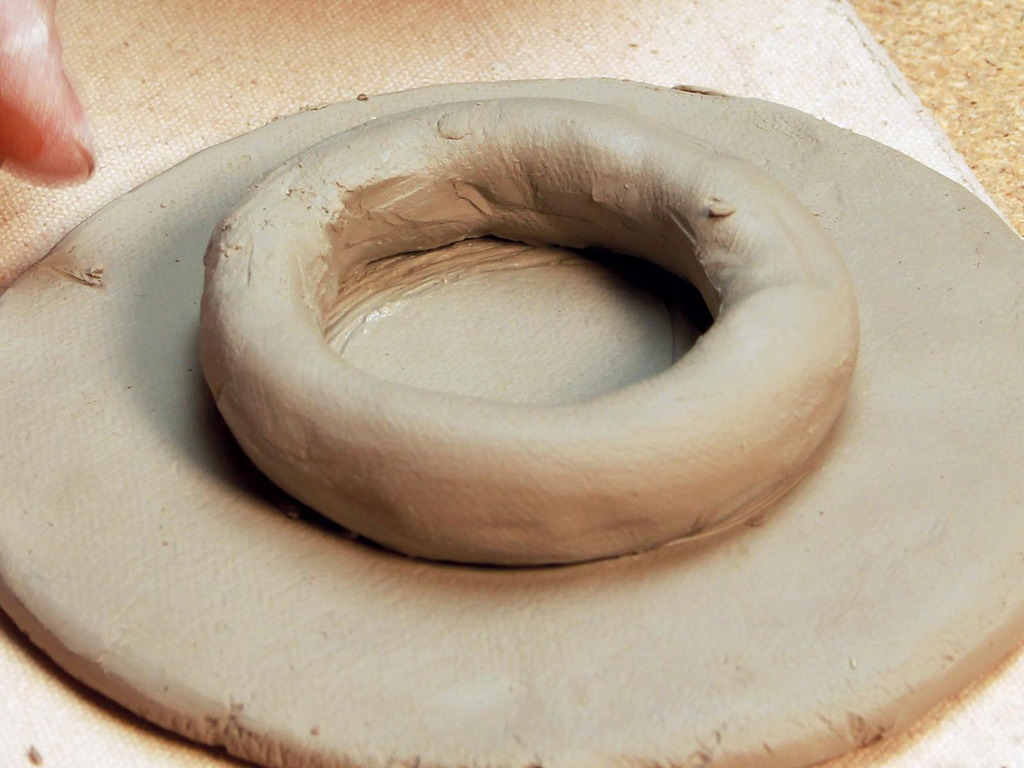
The edge of the saucer may be shaped by lifting slightly and pressing in the center to create angled walls, or by pinching to create a ripple (similar to pie crust).
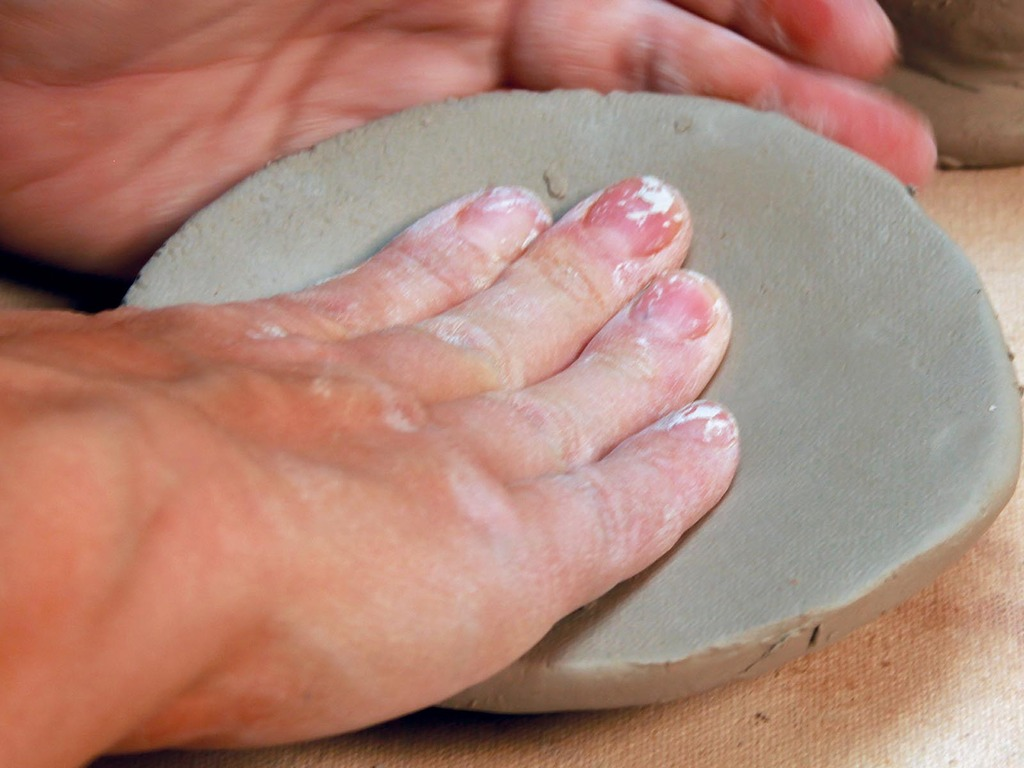
Cover each student’s cup and saucer with plastic to allow them to set up overnight and even out in moisture, then allow them to dry completely uncovered before bisque firing to Cone 04.
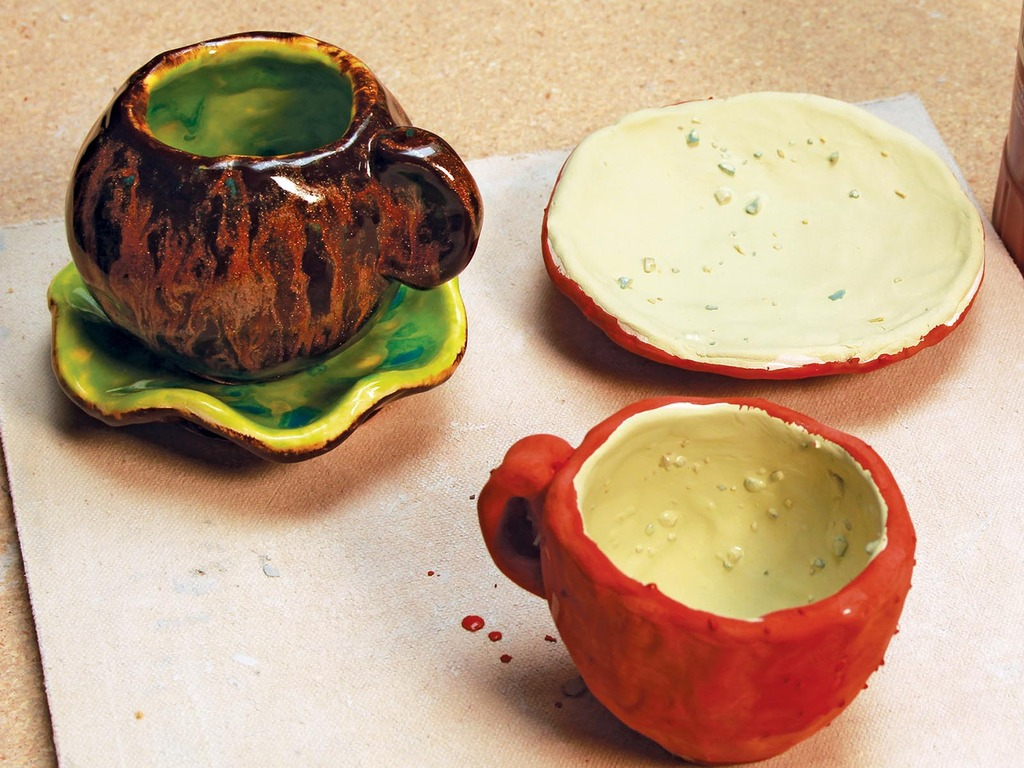
After bisque firing, apply AMACO® low-fire, dinnerware safe Crystaltex glazes by brushing three even coats and allowing each coat to dry to the touch before applying the next one. The Crystaltex (CTL) glazes have pre-fired chunks of glaze in them that create bursts of color upon firing. These crystals may be placed as desired during the application process. They add an element of surprise as the results vary with each application/firing.
NOTE: The base of the cup and saucer should BOTH be left unglazed so that they may EACH be set down and fired on the kiln shelves separately.
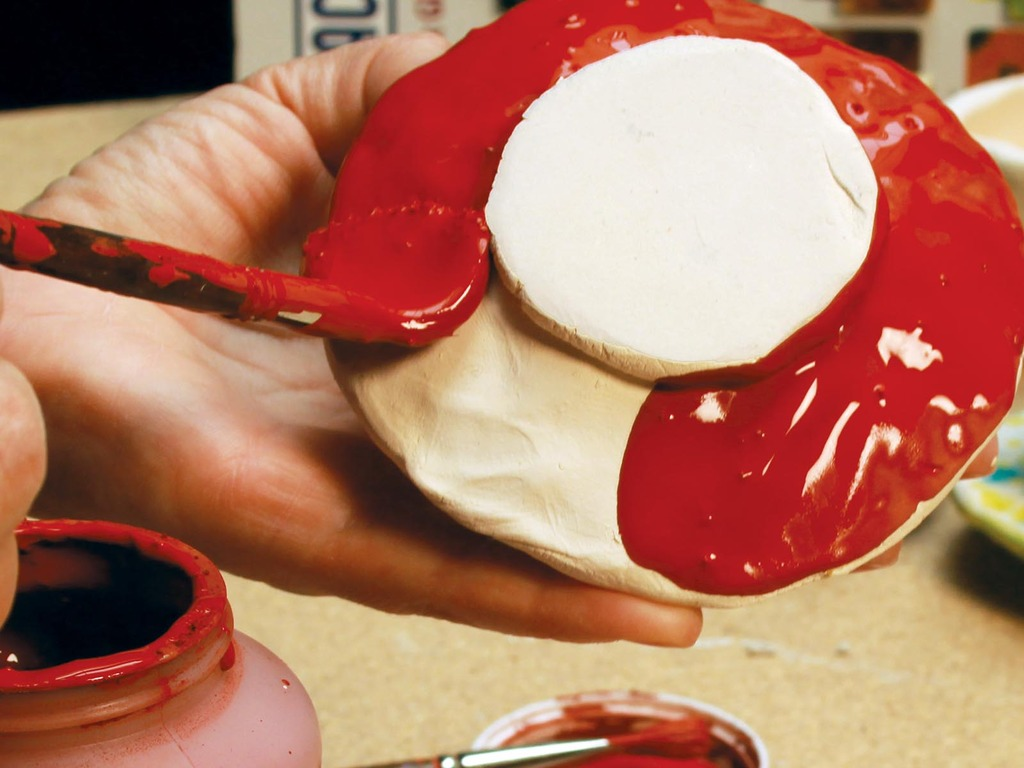
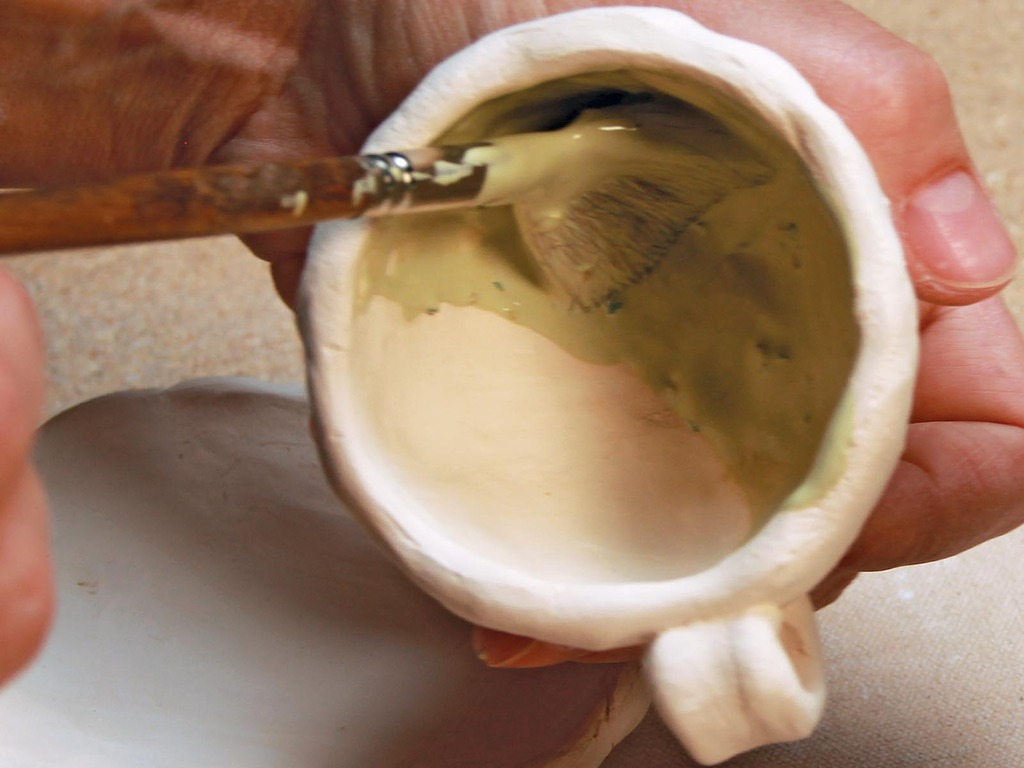
Glaze fire to Cone 05 at medium speed.