

Weathered Sign
Make a decorative sign for your home or garden!


Introduce the project with visual images representing patterns from one or more of the cultures listed above. The patterns can be found on many different types of artwork from the cultures. Examples could include: pottery, clothing or textiles, and jewelry.
Discuss with the students what inspired the different elements in the patterns. Many of the images or symbols represented in the patterns come from nature. Native plants and animals have been an inspiration for artists throughout history. Many of the patterns have geometric as well as organic shapes.
Discuss with the students the difference between the two types of shapes. Older students could be encouraged to research the different cultures and find examples of symbols or designs that were unique to that culture.
Roll out 3/8" thick slabs of air-dry clay by using a slab roller or rolling pin and slats of wood. Remember to rotate the slab a quarter turn between each pass with the rolling pin (this will ensure that the slab is evenly rolled in both directions).
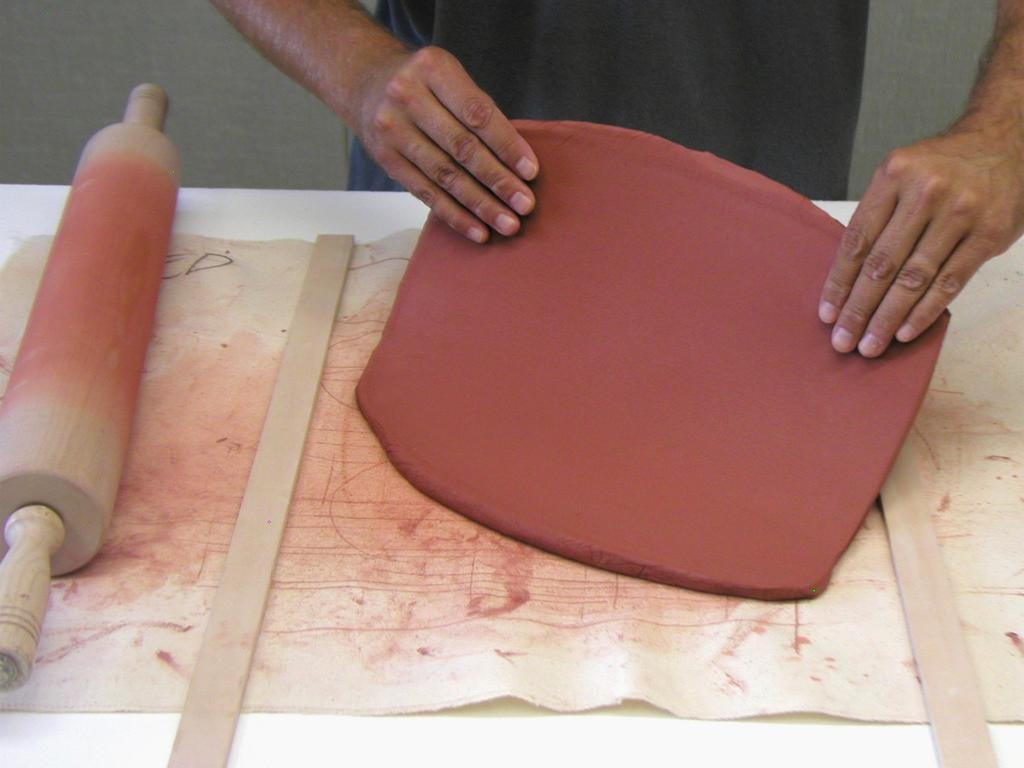
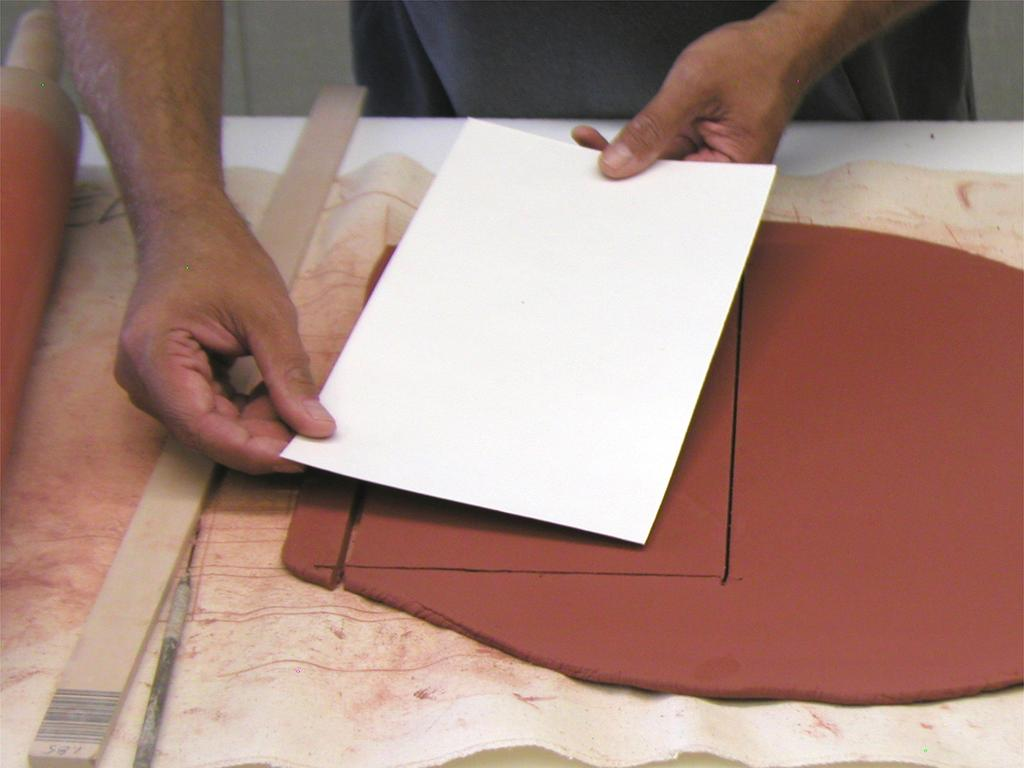
Using a template, cut a rectangular shape from the slab. Short form = 3" x 11", medium form = 5" x 11", and tall form = 6" x 11". Save enough of the remaining clay slab to create the bottom.
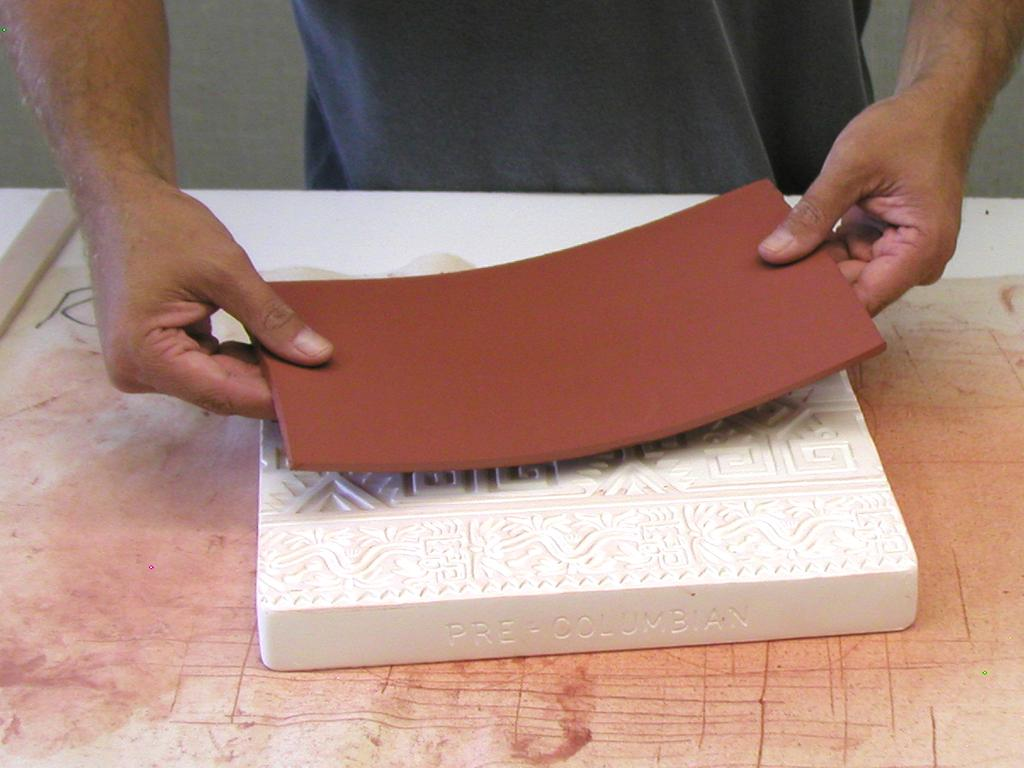
Smooth out any unwanted canvas texture with a metal or flexible clay rib. Select area of texture mold that you want to use and place clay over that area.
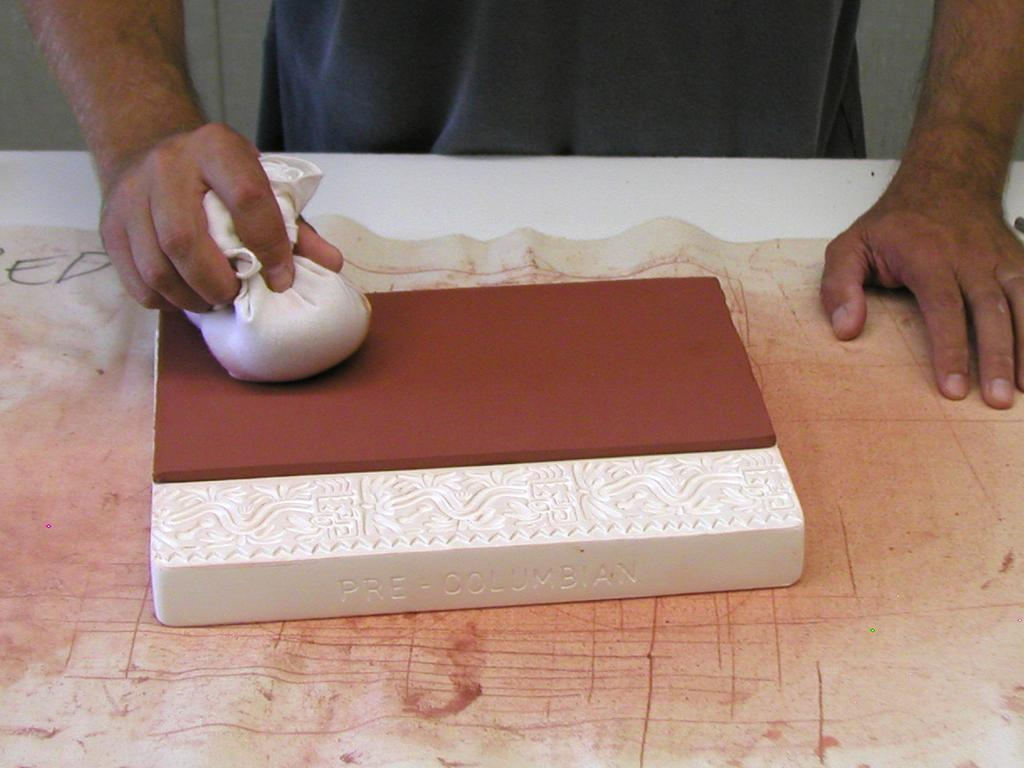
Firmly tamp clay onto mold using a sandbag. This will help to impress all of the texture and keep the clay from moving when rolled with the pony roller.
Use the pony roller to firmly roll the clay onto the texture mold.
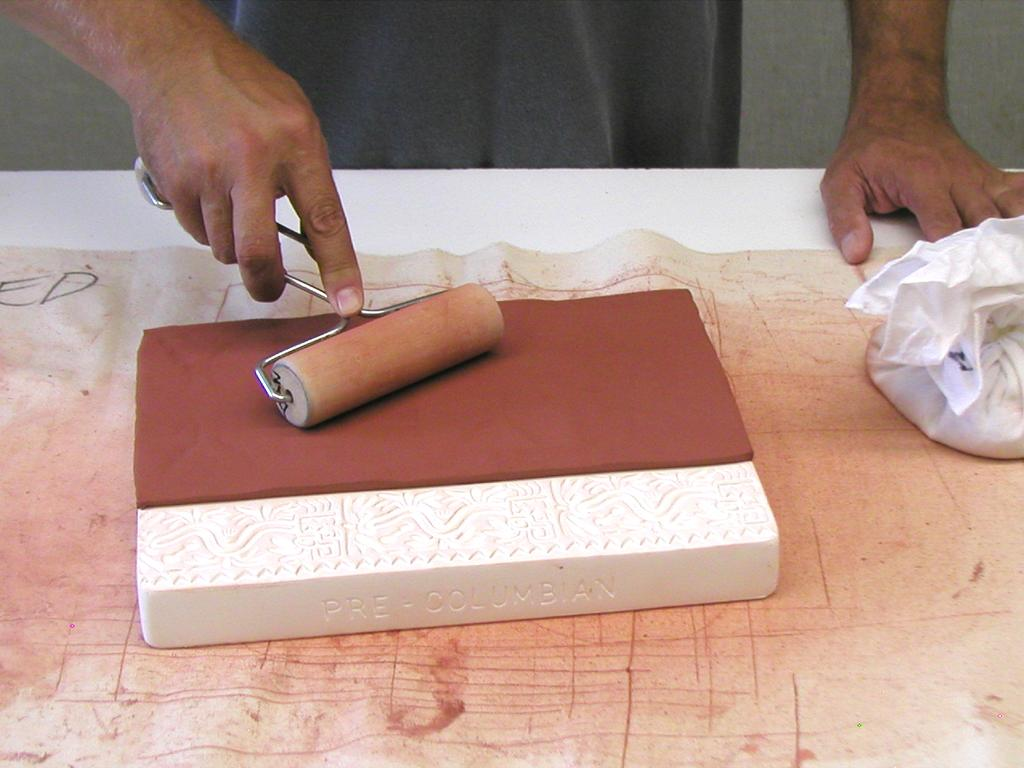
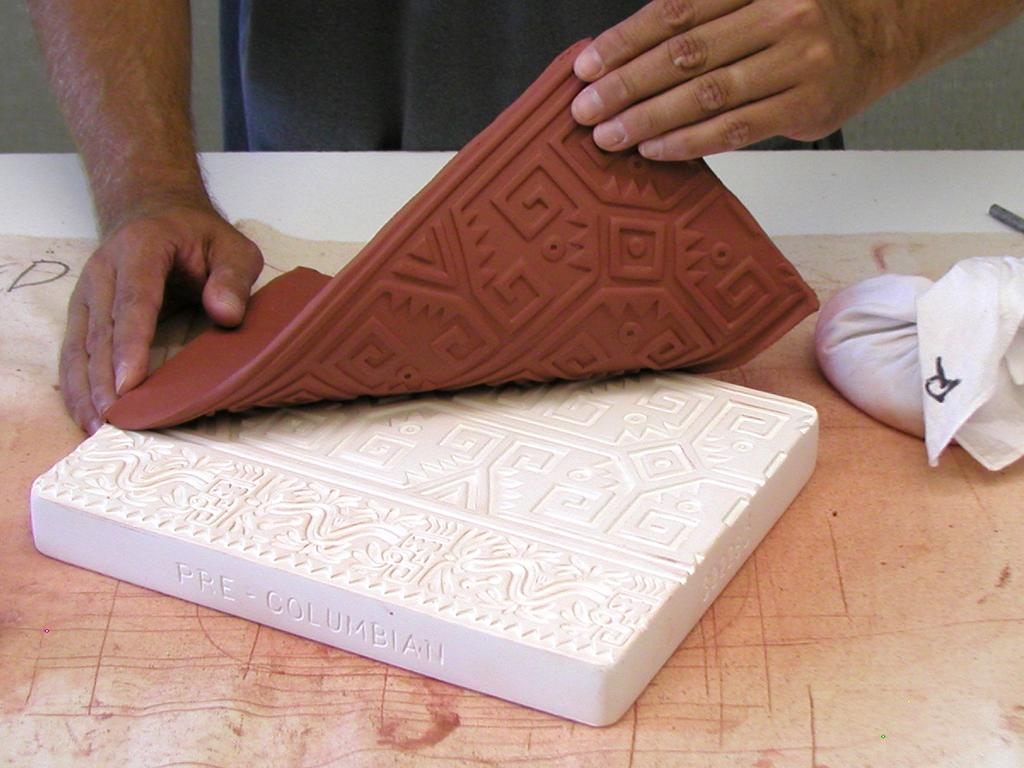
Carefully lift the clay off the textured slab mold.
Wrap a piece of paper around cardboard tube and secure with tape. Tip: Do not tape the paper to the tube because it will prevent the tube from being easily removed.
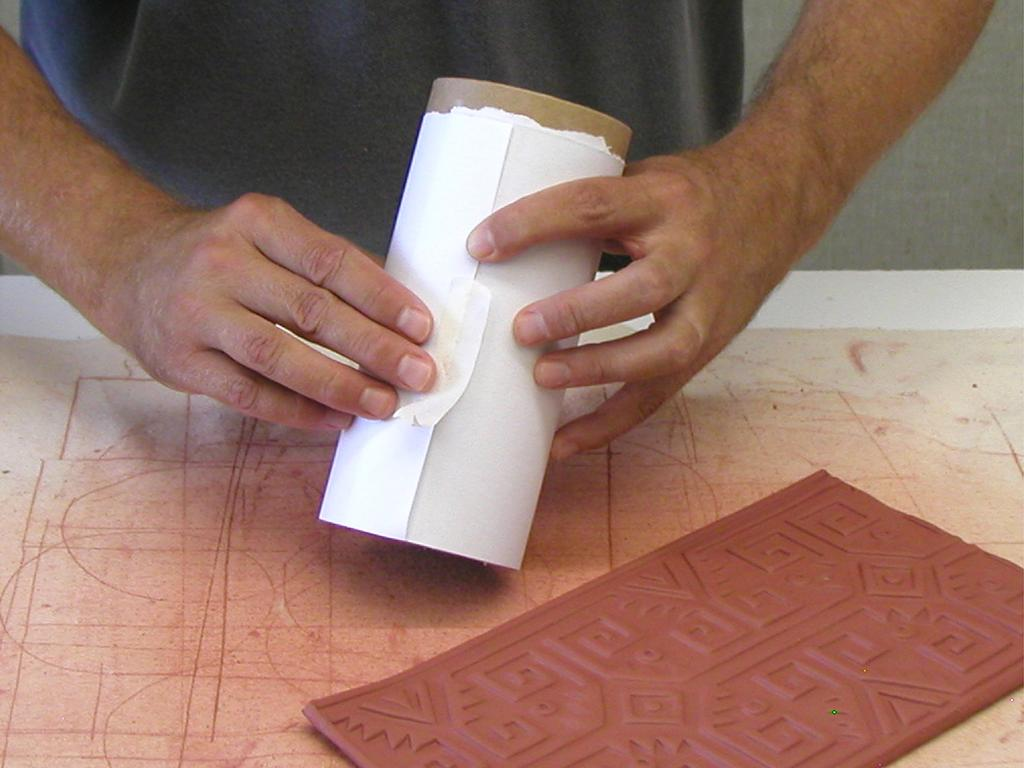
Turn the slab texture-side down and line up the bottom edge of the tube with the bottom edge of the clay.
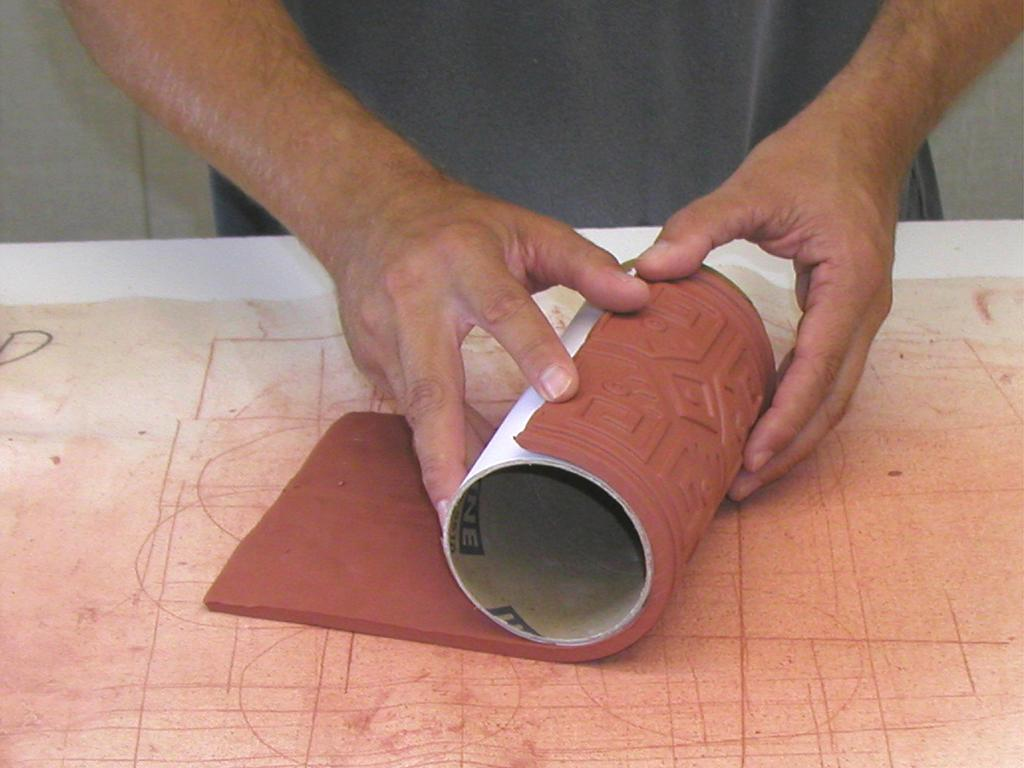
Lift edge of clay and roll clay around the tube and stand cylinder up.
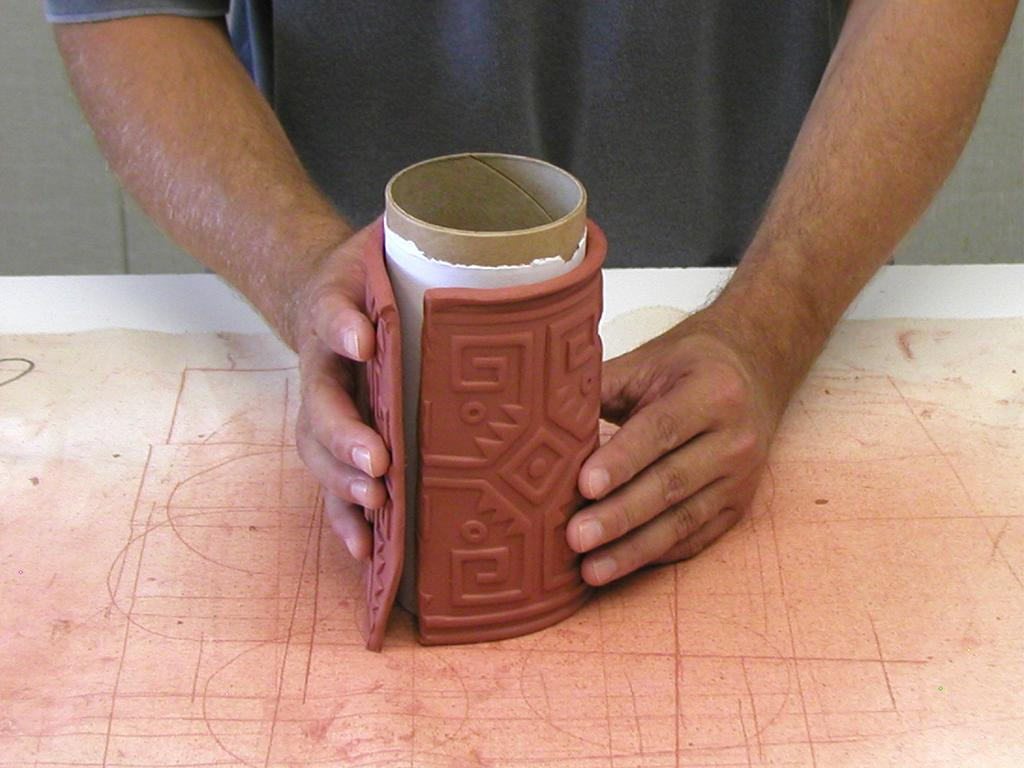
Use slip or water when joining the two ends to insure that the seam will stay together. Gently overlap the two ends to create the overlapping seam.
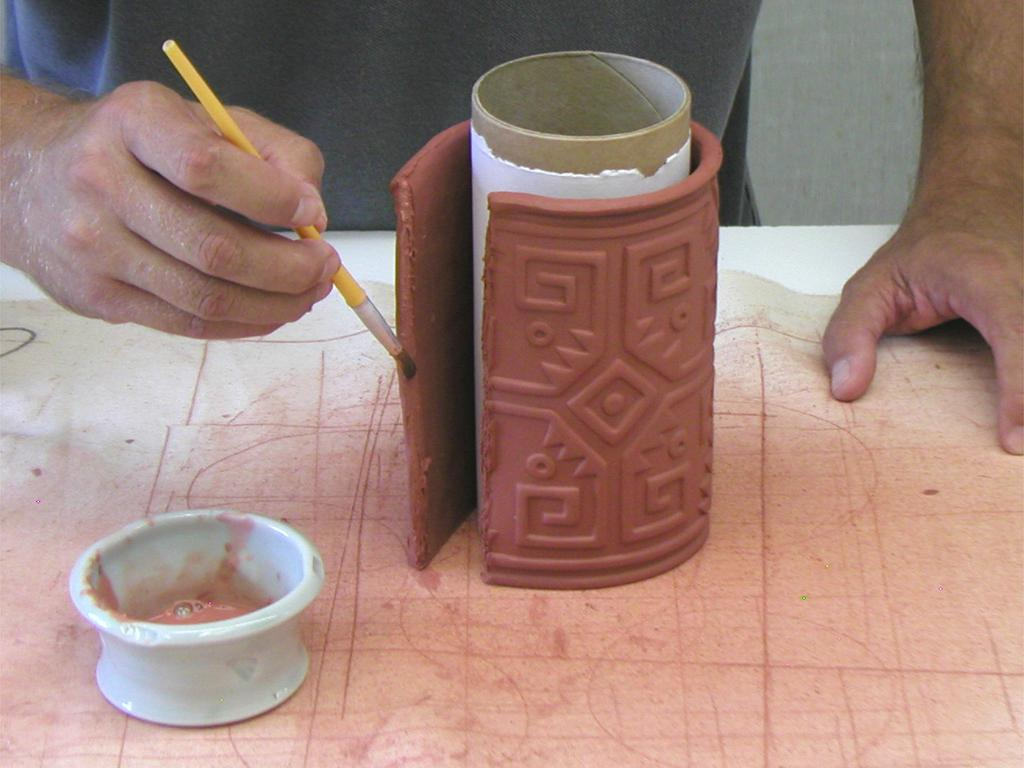
Gently overlap the two ends to create the overlapping seam. Press the seam together taking care not to distort your pressed texture.
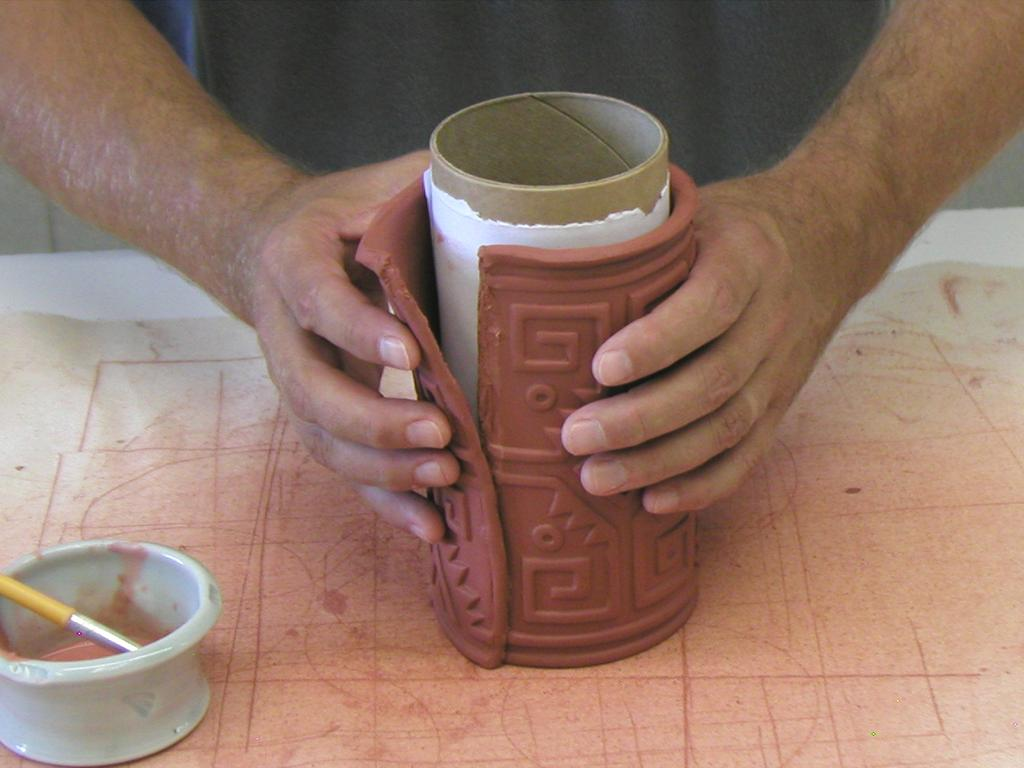
Slip the cardboard tube out of clay cylinder and remove the paper as well.
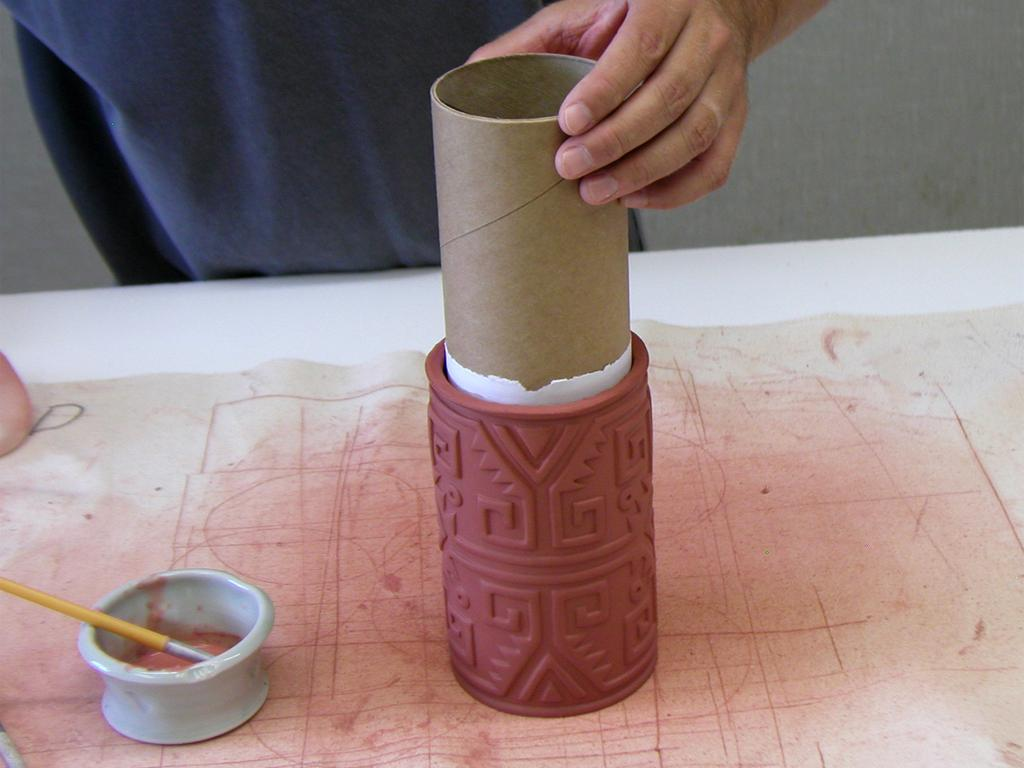
The clay cylinder can be left round or it can easily be formed into an oval by placing your hands on opposite sides of the cylinder and gently pressing in on the sides. Rotate the cylinder 180 degrees and repeat the process to even out the oval shape.
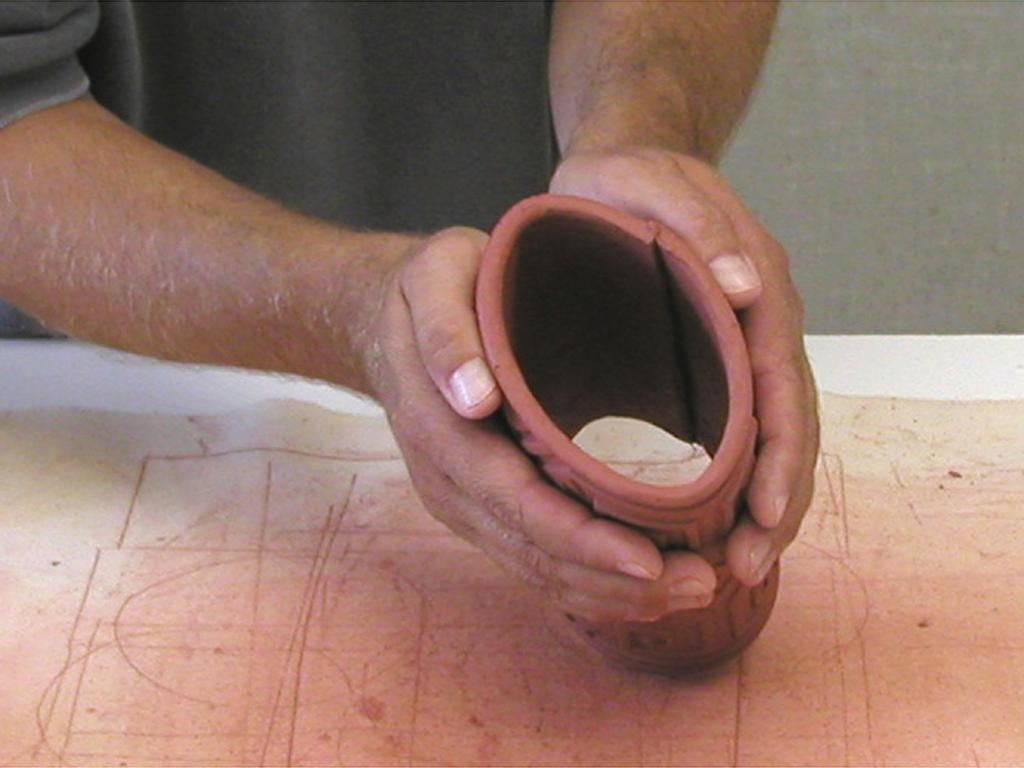
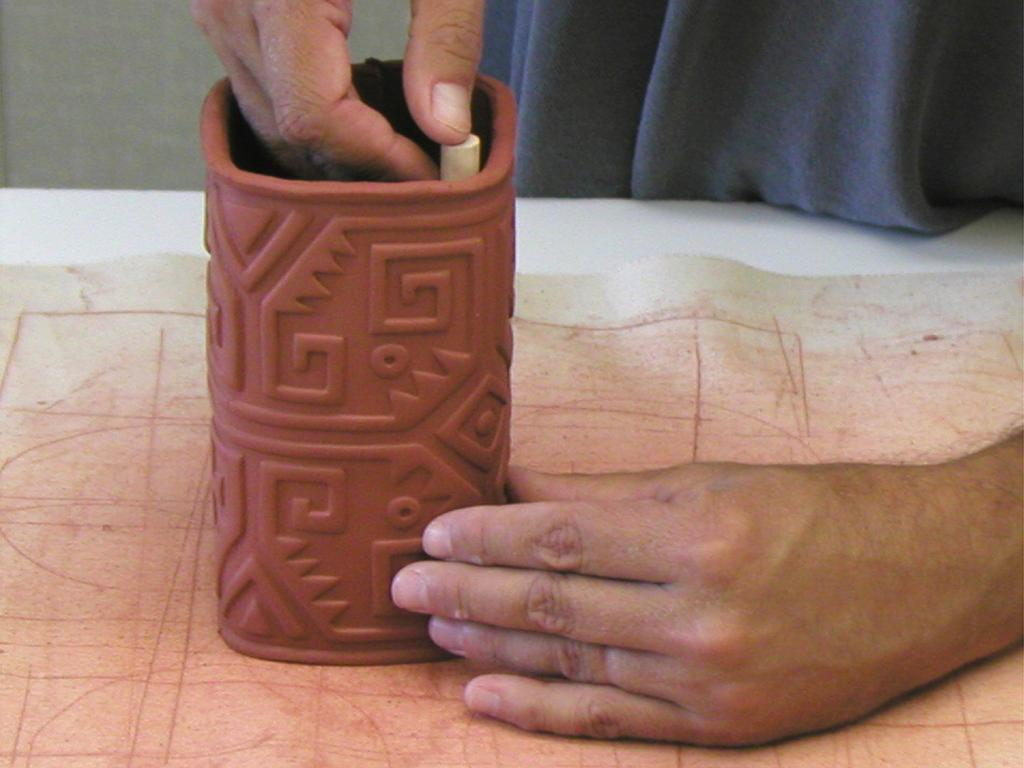
The square shape begins like the oval form. Once you have the oval shape press out from the inside with dowel or paintbrush handle in the center of the large curve to create additional corners.
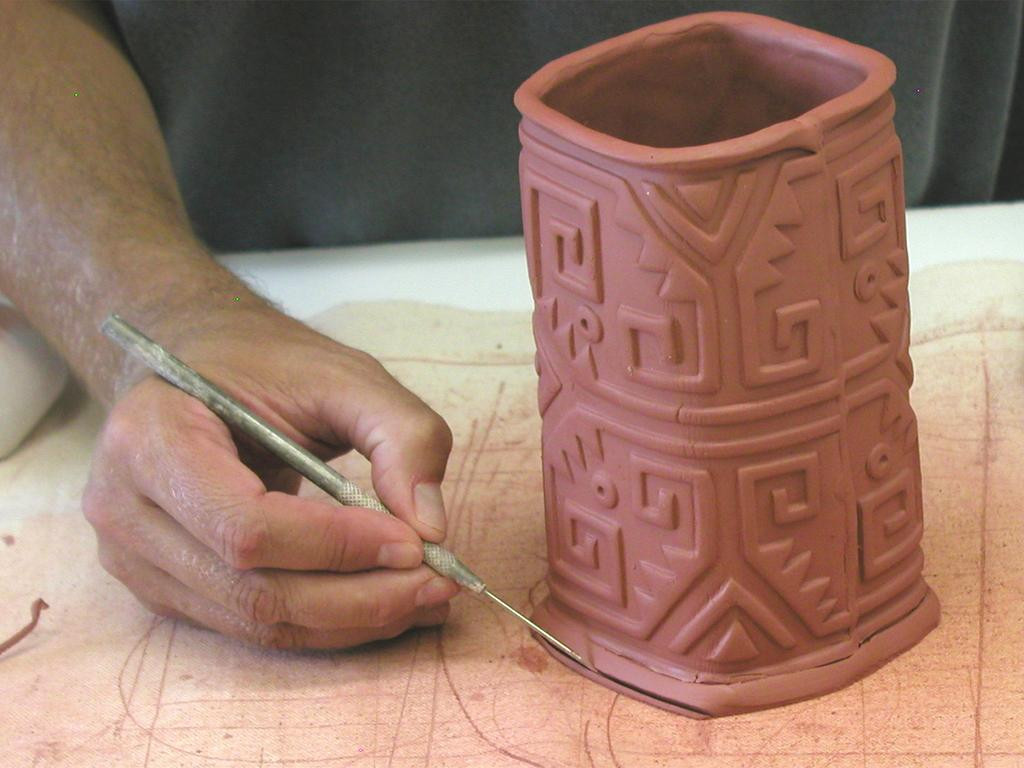
Place cylinder on remaining clay slab and lightly trace around cylinder to mark where you will need to score the clay. Use the scoring tool to score inside the mark that you just made.
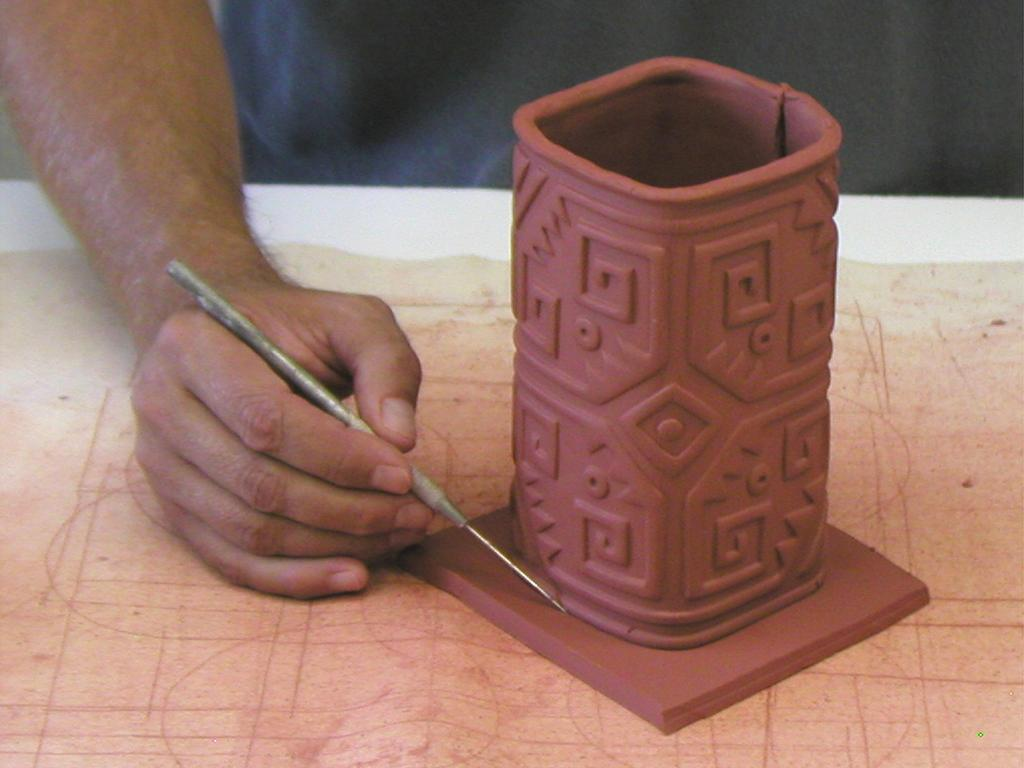
Score the bottom of the cylinder and use slip or water to join the two pieces together.
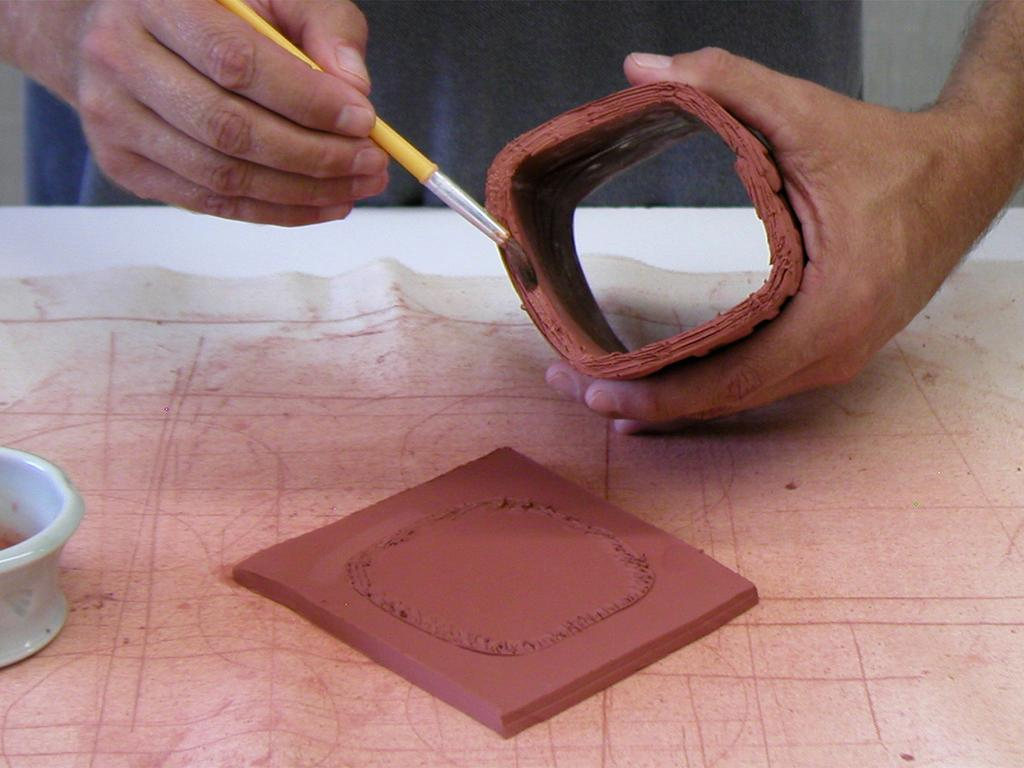
Place cylinder on remaining clay slab and lightly trace around cylinder to mark where you will need to score the clay. Use the scoring tool to score inside the mark that you just made. Score the bottom of the cylinder and use slip or water to join the two pieces together.
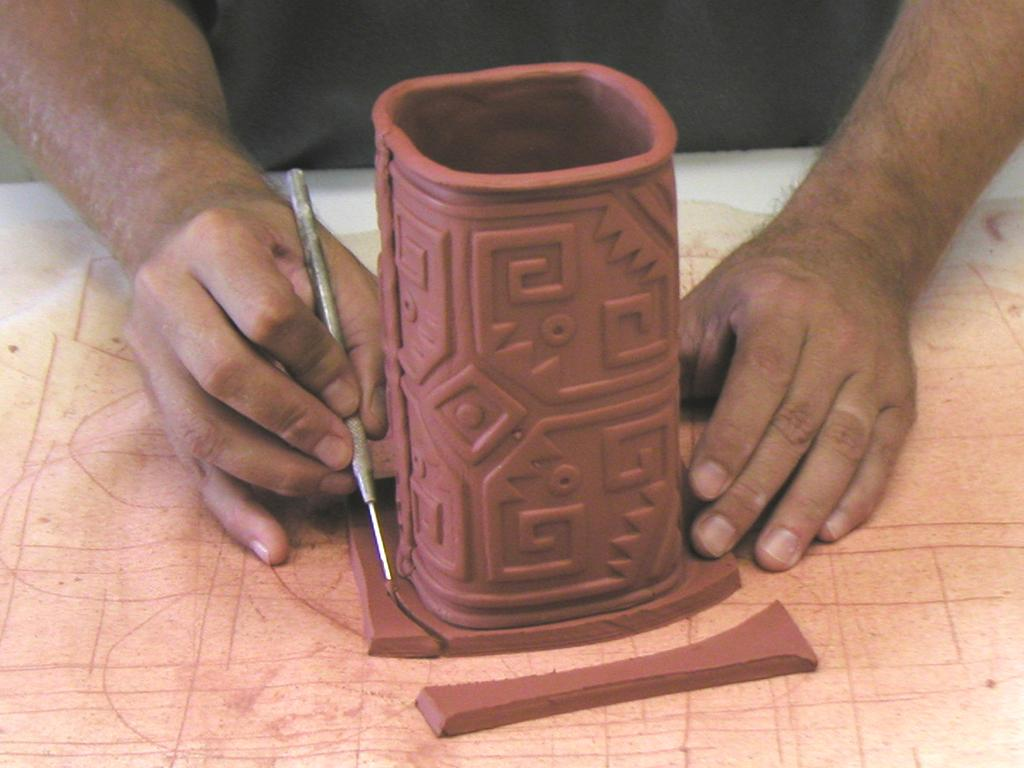
Back cutting at a 45 degree angle will create a shadow under the cylinder and it can also give it a more finished look.
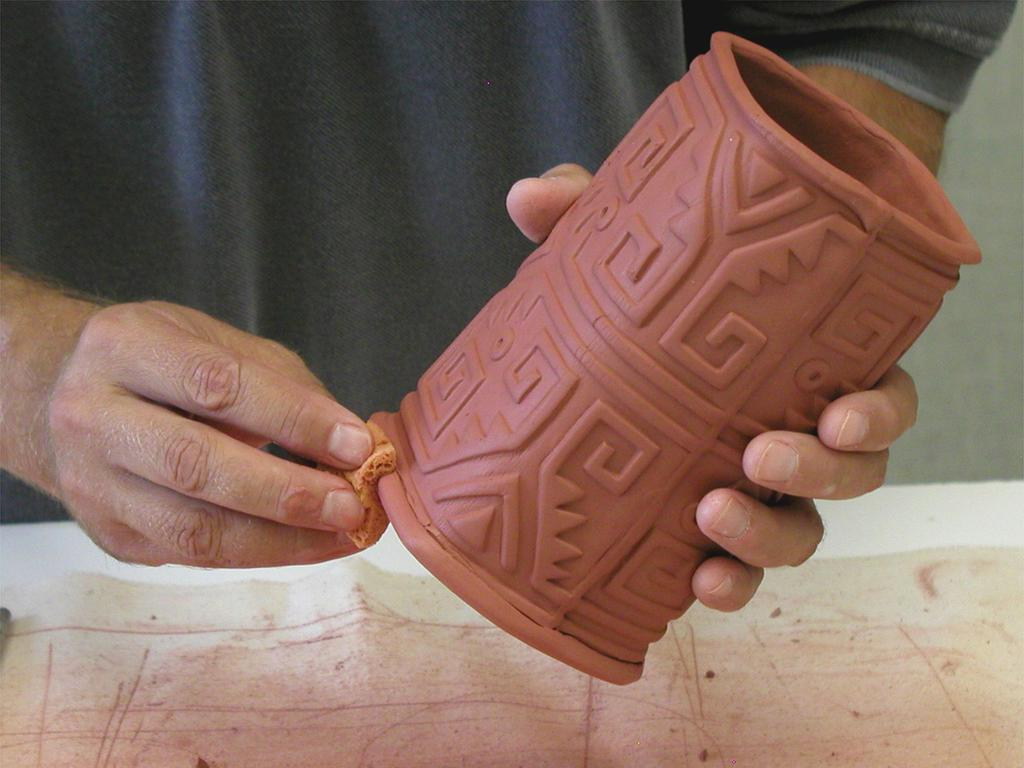
A slightly moist sponge can be used to smooth out the top and bottom edges of your piece.
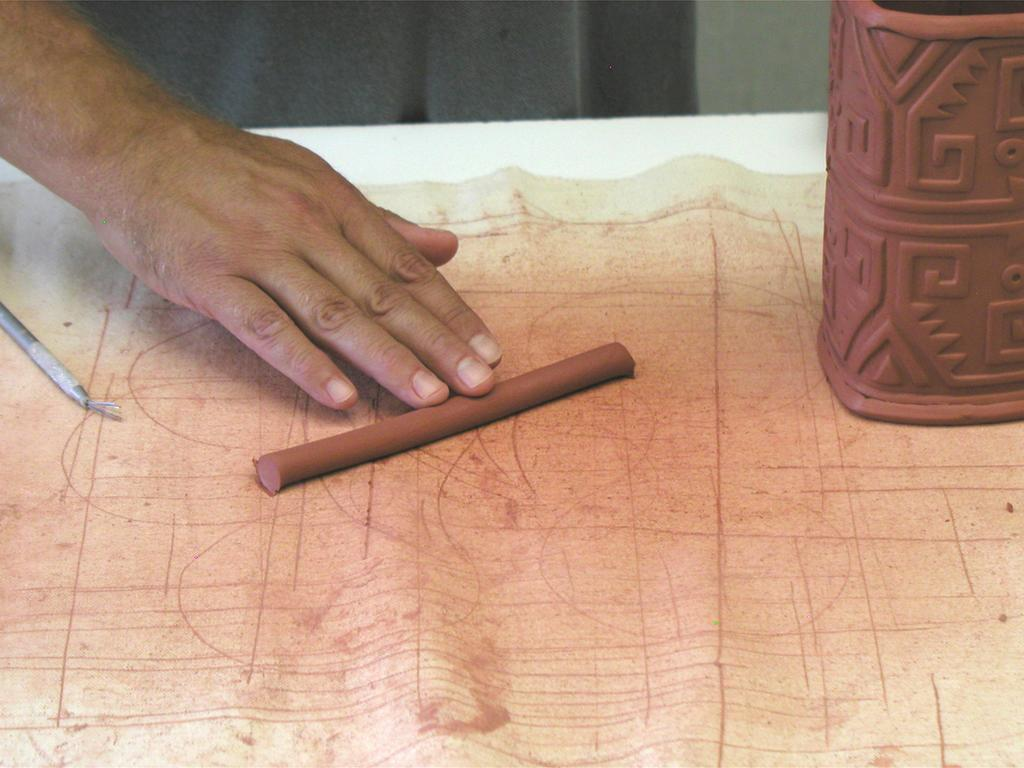
Simple lug handles are created by rolling out two small coils (about 3/4" long) and placing a slight bend in the middle to create a “U” shape. Attach handles to the side of cylinder remembering to score and use slip or water to bond the clay together.
Use your thumb and fingers to firmly press the lug handles onto the cylinder. This will also leave an impression in the handle.
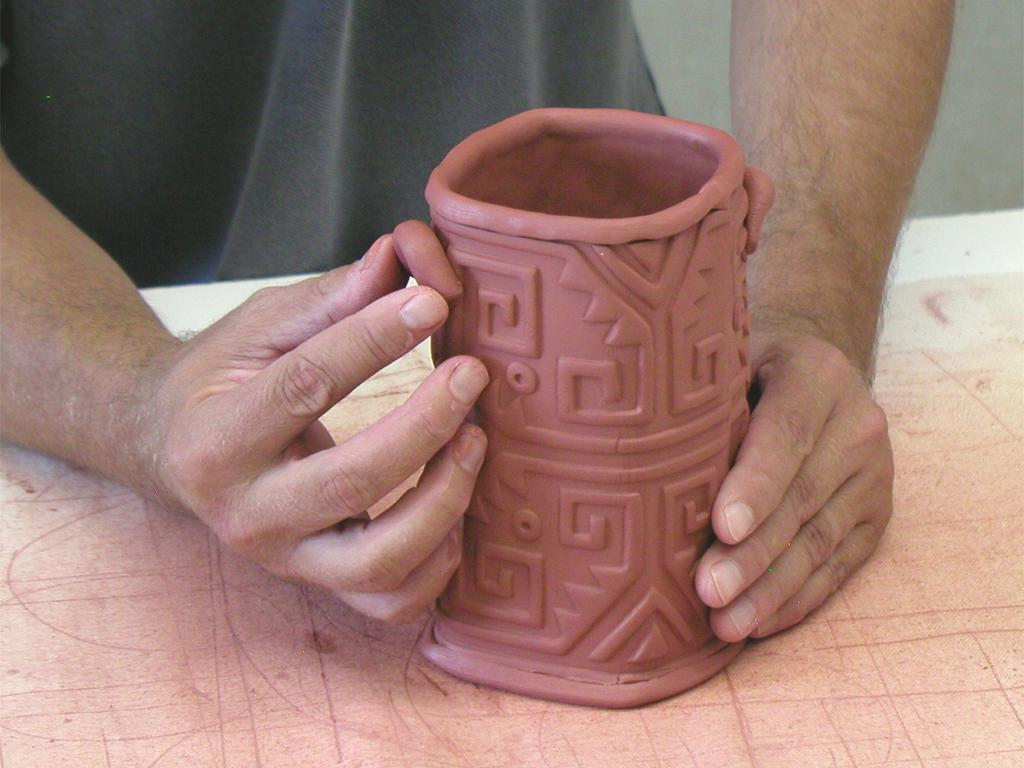
Allow the clay to dry until it is no longer cool to the touch. The air dry clay can then be painted with a variety of different paints. Try painting clay with a base coat of black acrylic paint then use Rub & Buffs to highlight the textures.
If using a ceramic firing clay such as AMACO® No. 67 Sedona Red Clay, allow to dry, then bisque fire to Cone 04. Glaze if desired and fire to recommended temperature on glaze jar label.


