Plant Stakes
Make decorative plant stakes for the garden!


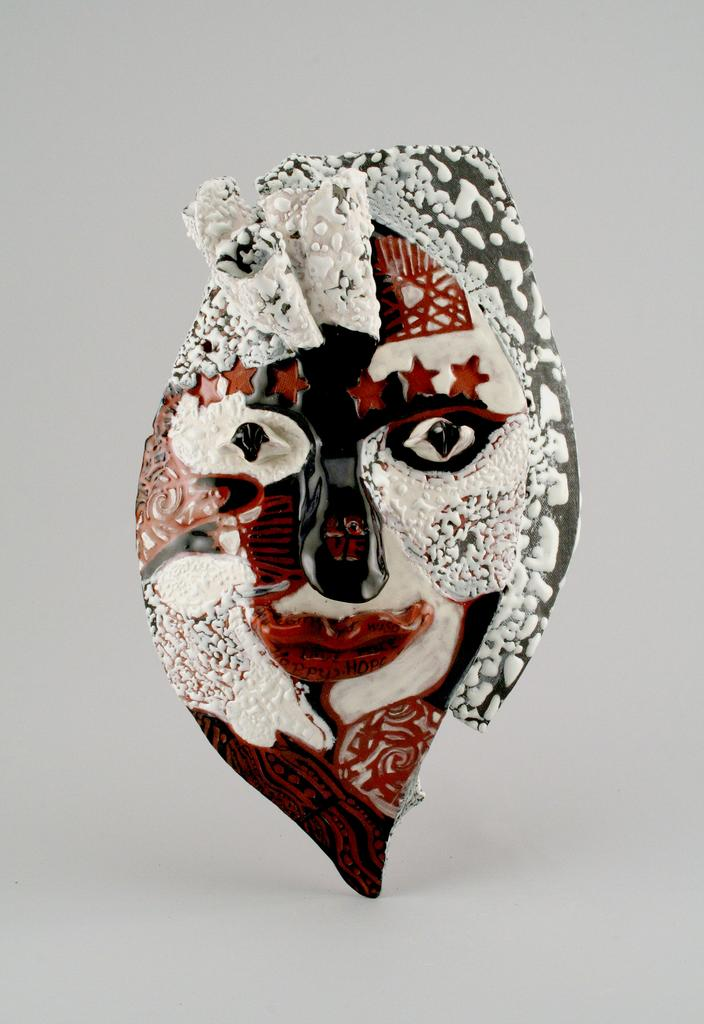
Each student will create the shape of the mask.
The next student adds AMACO® Velvet Underglazes in color bands across or down the mask to cover 50% of the clay.
The next student sgraffitos/draws into the clay with a sharp edged wooden tool in order to scratch off clay for a design, pattern or illustration.
The next student removes parts of clay with a wooden tool.
The next student adds parts of clay for depth and dimension, which can include texture created by molds or plates.
Use paper plates as a mixing palette. Have students select their color schemes by placing a dollop of each desired TP glaze color onto their plate.
The next student brushes on different color(s) of AMACO® Velvet Underglazes on top of existing color(s).
The next student creates eyes
The next student again sgraffitos (scratches color to reveal color beneath).
Back to the original artist. (At a worktable for 4, the student who originated the mask should now have it in his or her hands for the third and final time). Final changes/additions can be made. NOTE: Can add more of the same steps to accommodate more students or accomplish rotations.