

Weathered Sign
Make a decorative sign for your home or garden!


Show other types of three-dimensional faces and figures such as African masks and Egyptian mummy cases. Discuss with students how all these different art forms depict the human face. Discuss how they are similar and how they are different. Help students to understand the importance of showing feelings and emotions when portraying the human face.
Explain the differences between two- and three-dimension in art. Explain that a painted portrait is two-dimensional and that a sculpture is three-dimensional because it has depth, because it is meant to be viewed from all sides.
Explain to students that their “portraits in clay” are to be portraits of real people, with real emotions — not cartoon figures. Ask them to choose someone they know well — mother, father, teacher, friend, or themselves. Explain also that the faces they create must show some emotion — happiness, anger, love, surprise, fear, sorrow. Discuss what parts of the face show these different emotions and what needs to be done in creating the face to portray the different emotions.
Have students draw sketches of the portraits or self-portraits they wish to create in clay. If they are doing self-portraits, have them look in a mirror; if they are doing portraits of someone else, have them look at that person or use a photograph. Remind them that the portrait must depict an emotion and to include the facial features necessary to show that emotion.
Give each student a pear or light bulb shaped form to use as an armature and have them cover the form carefully with plastic wrap.
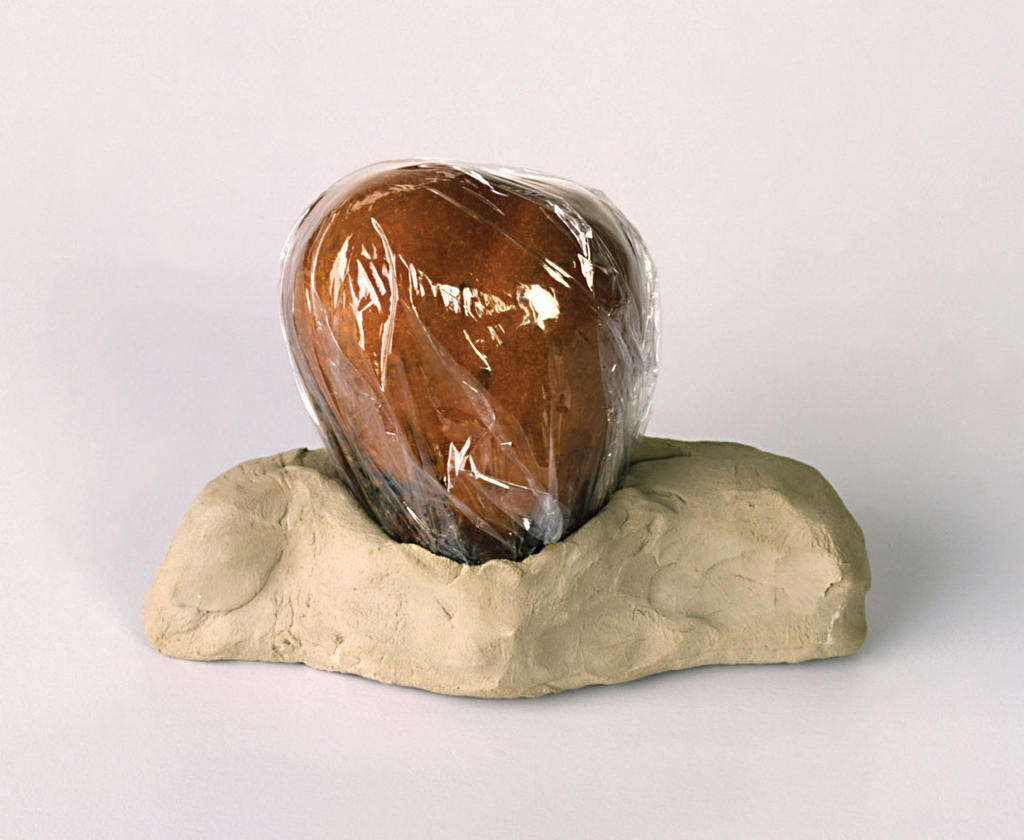
Using small amounts of clay, the students should make “clay biscuits”—round, flat, pancake-like forms approximately 1/8” thick. These “biscuits” can be made by hand, or rolled out with a small rolling pin.
Beginning at the base, the students should attach the biscuits to the form, overlapping clay, covering the entire form. As each biscuit is added, it should be smoothed out, until the entire form is covered and ready for sculpting.
Show students how to create eyes using thumb prints for eye sockets and small balls of clay for eye balls, a nose using three balls of clay, a mouth using small coils, and chin and cheeks using small balls of clay. Have students shape neck and shoulders.
Be sure students understand how to smooth these additions into their heads so that they become part of the total sculpture. Encourage them to experiment while the clay is wet and workable. While the clay is wet, they can change and rework the faces until they are happy with the results.
Have students, using a clay tool, scoop out clay in a round circle on underside of base (shoulders) until they reach the pear or armature. Have the students scoop out just enough clay around the base of the pear to allow for release at a later stage. Wrap sculptures loosely in plastic to allow them to dry to a somewhat leather hard stage. How tightly you wrap the sculptures will depend on how slowly or quickly you want them to dry.
At the next art class, students will perform “brain surgery” on their almost leather hard sculptures. Using a needle tool, students will cut off the top of their clay heads just above the eyes. When the top of the head is removed, students should push gently on the bottom of the pear (through the hole in the base they made previously) and pop the pear out. This may take two students—one to hold and pull on the pear and the other to push.
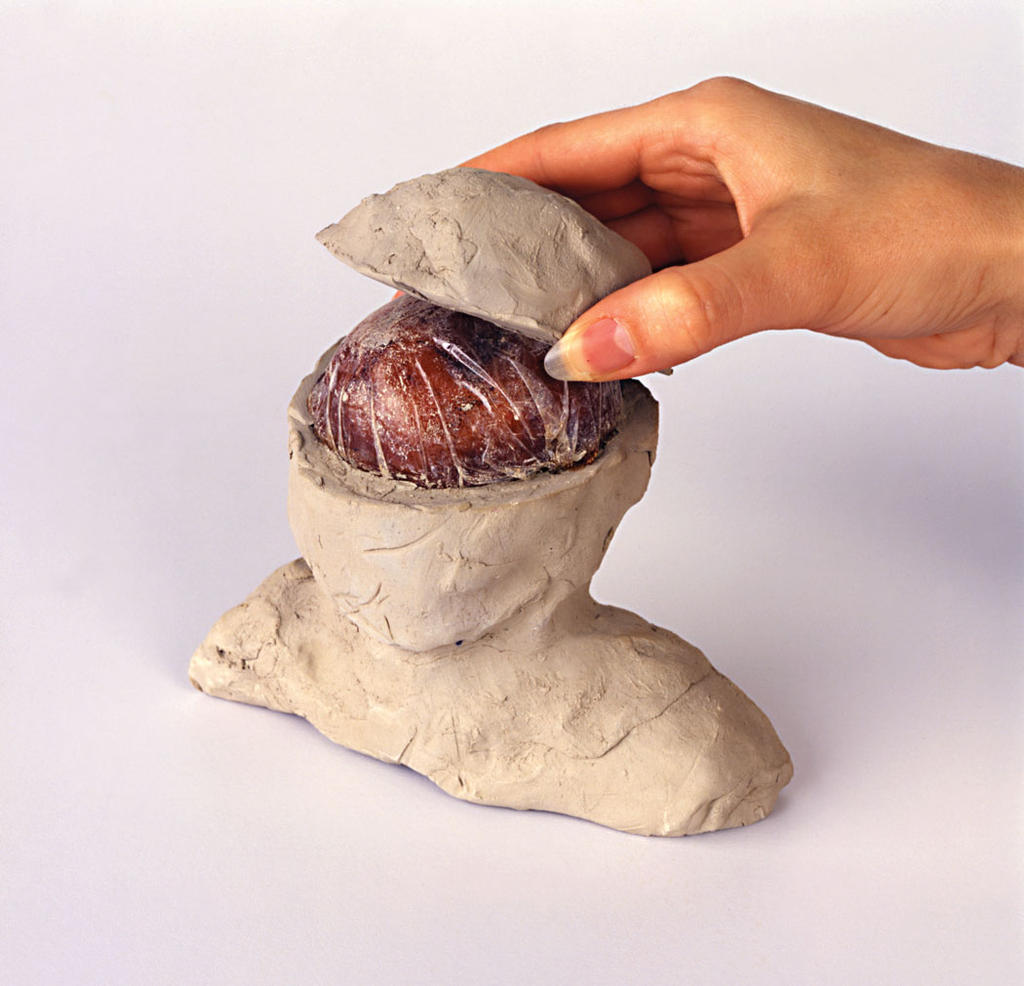
The top of the head must now be reconnected. Students should score both edges and apply slip before putting the two parts together. Apple cider vinegar is excellent to spray on the edges before connecting, because it prevents future cracking while drying. Students should very gently smooth out the line, remembering that there is no longer a form inside the sculpture to support it or to resist too much pressure. Remind them that the hair will cover the “scars from the brain surgery.”
Using the small hand extruders and very wet clay, the students should make the hair. Attach the hair to the head using apple cider vinegar. Encourage students to be creative. At this time, students should make ears for their heads and attach them using scoring, slip, and cider vinegar.
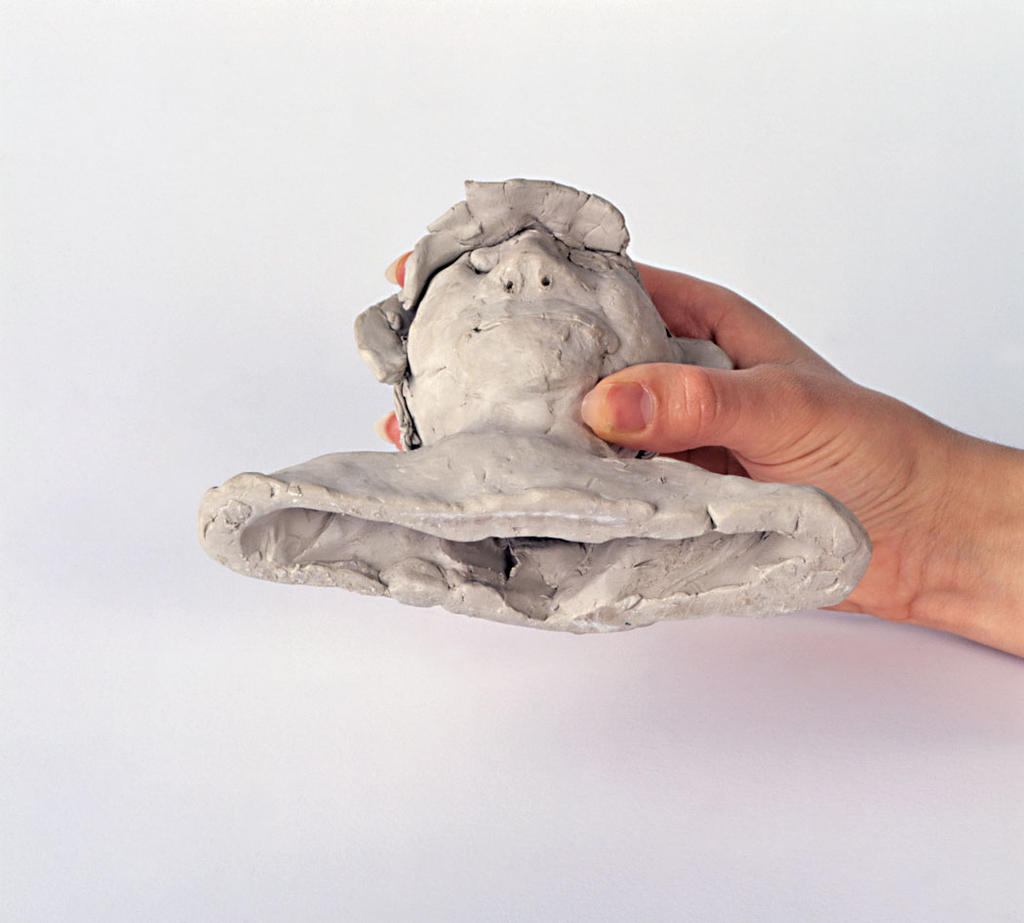
When the sculptures are totally dry, bisque fire them to Cone 04.
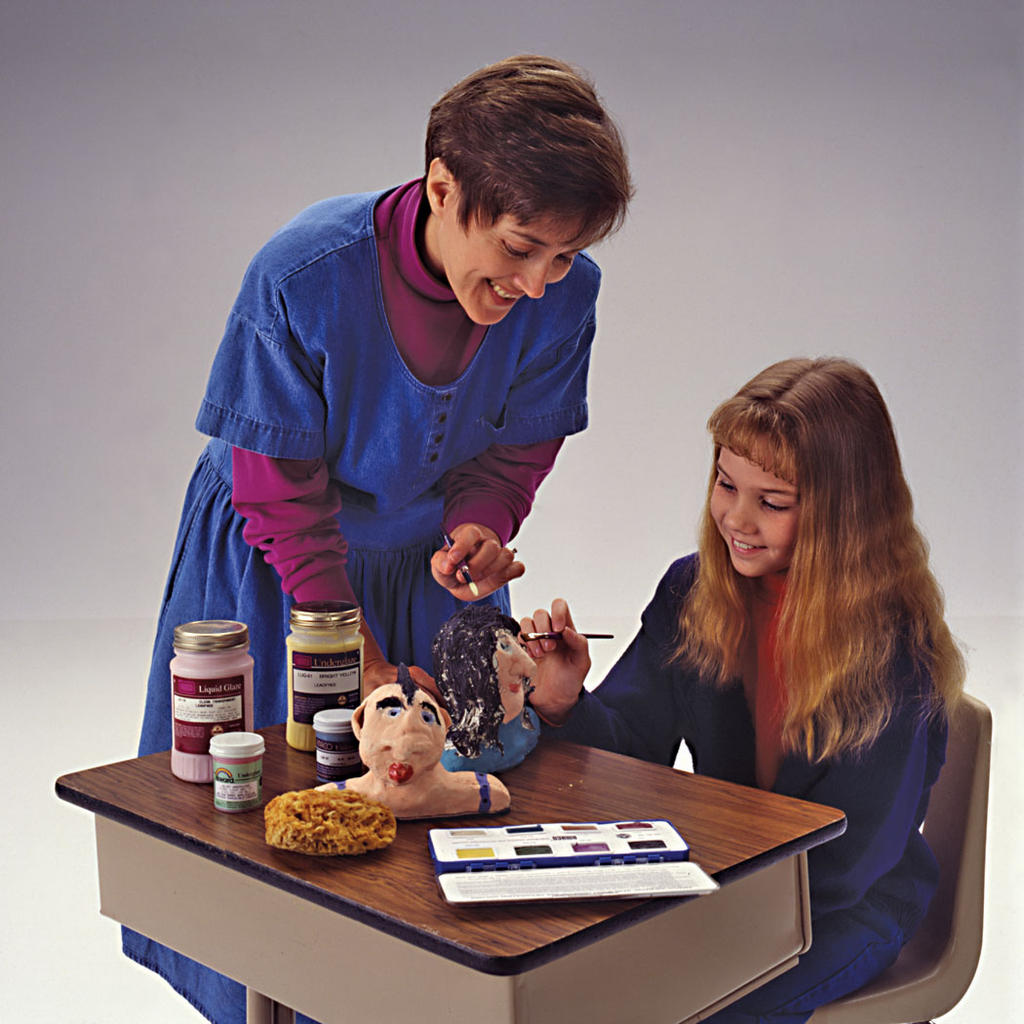
Have students decorate the heads with underglazes and Velvets. Be sure to have students paint the skin, eyebrows, all parts of the eyes, lips, and clothes. Adding a gloss glaze is optional at this stage.
Fire the heads a second time to Cone 04.
Creating clay heads can focus on other themes besides emotions. Students can create clay portraits of historical figures they are studying in social studies; African masks, Egyptian mummies, or multi-cultural themes. Consult with the classroom teacher to find out what is being studied and how this art project can coordinate with classroom activities and vice versa.
This technique can be modified to make animal heads, as well.


