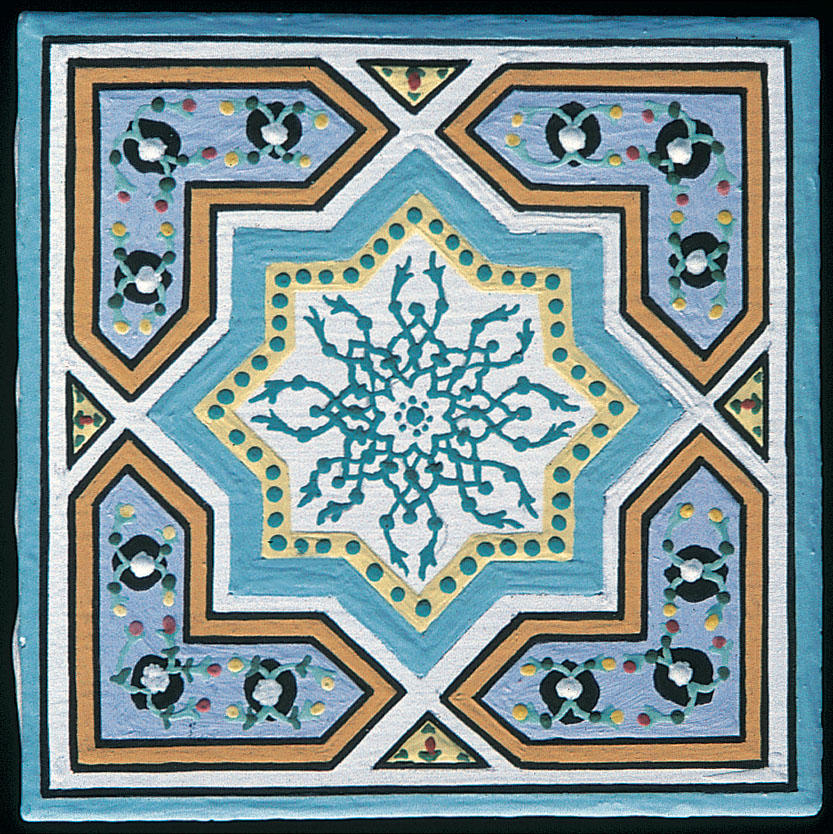
Plant Stakes
Make decorative plant stakes for the garden!


An overview of various types of tiles should be presented with an emphasis on Persian tiles. Explain the various artistic and architectural uses of tiles and the history of Persian tiles. Show students examples of tiles.
Explain that Persian tile designs were not usually created by the tilemaker, but rather by design specialists. The tilemaker expanded the designs to fit the working space — a wall, a floor, a roof. The designs were repeated over and over; each tile had just a small part of the overall pattern. Tile design like carpet design is both a craft and an industry that evolved in Persia over centuries. Small specialty firms all over Iran employ very talented artisans to design and make carpets, tiles, pottery, brass work, woodwork, and fabric. These are very complicated, very beautiful art forms, and the craft is studied and learned by one generation after another. The designs and techniques aren’t taught at universities, but passed on by masters to their apprentices. Designs can be original creations or copied from photographs or books. The designs must then be altered, revised, and changed in size to accommodate the size of the tile composition one plans to make.
Explain the two techniques presented in this lesson plan — tile painting using underglazes and tile painting using the majolica process.
Younger students should use the patterns found in this lesson plan. More advanced students may wish to make their own patterns. A class may wish to create a group project.
Patterns included with the lesson download can give your students ideas for creating a design. Students may follow this technique to create their own patterns. Floral, animal, bird, and geometric patterns are typical of Persian tiles.
If students are going to make multiple tile compositions, designs must be created with the exact number of tiles in mind. If the piece will be four tiles, the original design should be 12 inches by 12 inches. The design should accommodate the four-tile composition.
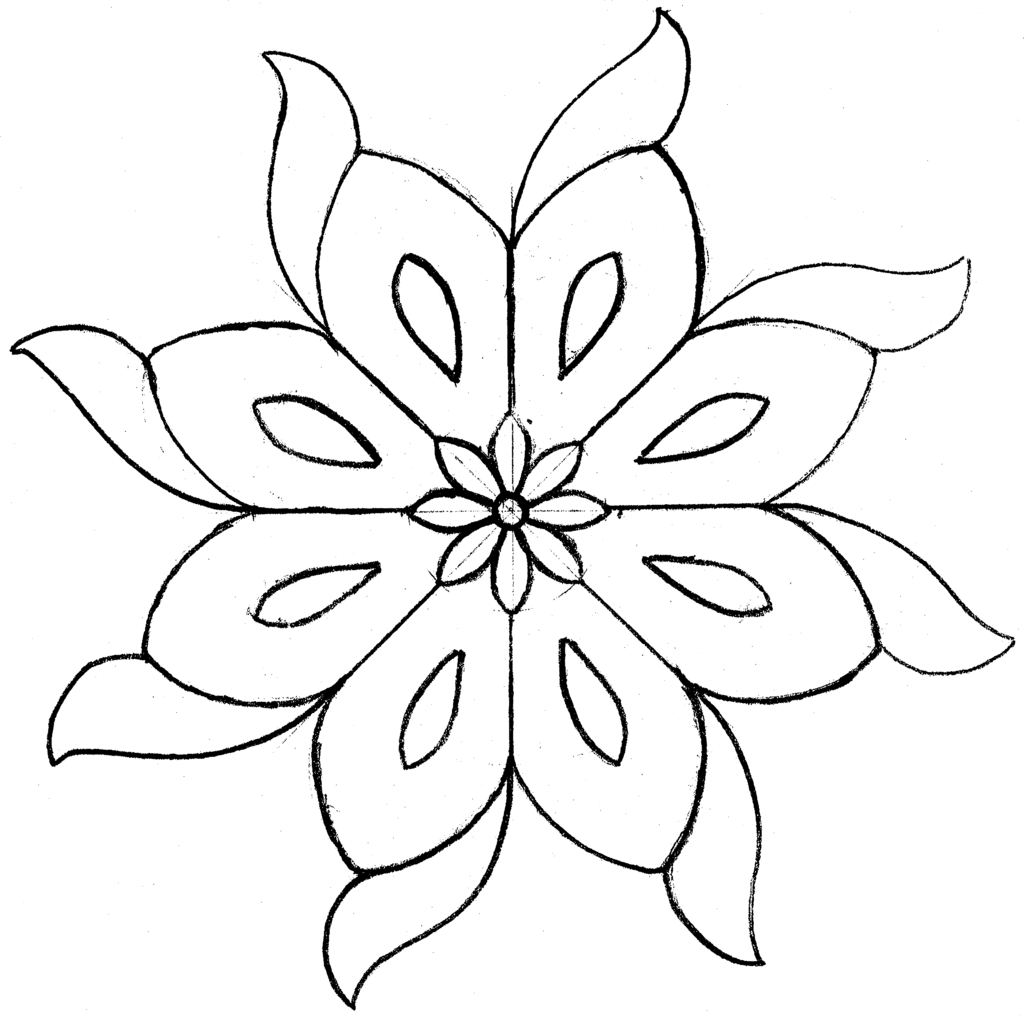
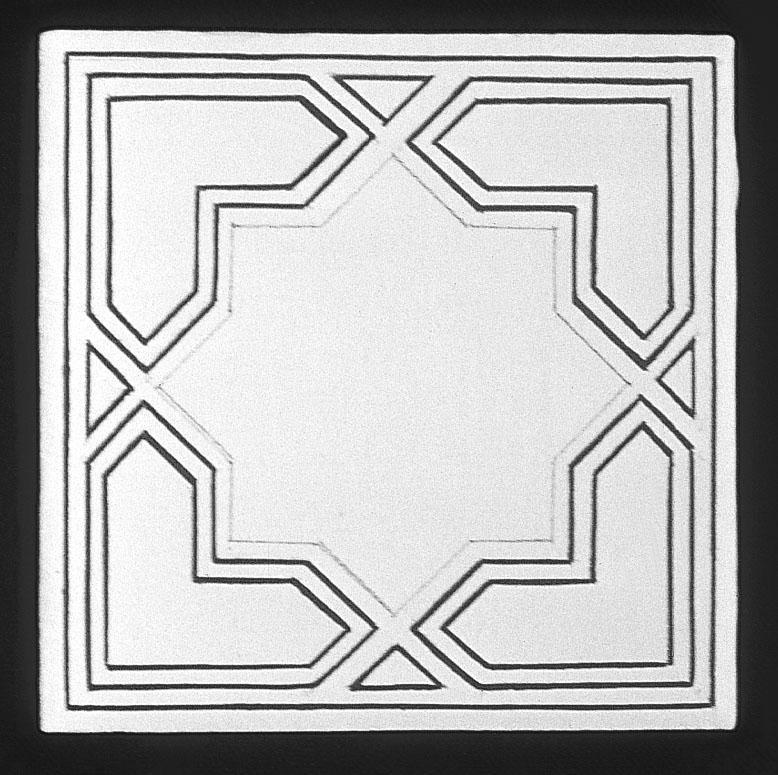
Using six inch unglazed bisque tiles, students transfer or trace the design onto the tiles with carbon paper. Use black Velvet underglaze and other colors to paint the outline of the carbon tracing.
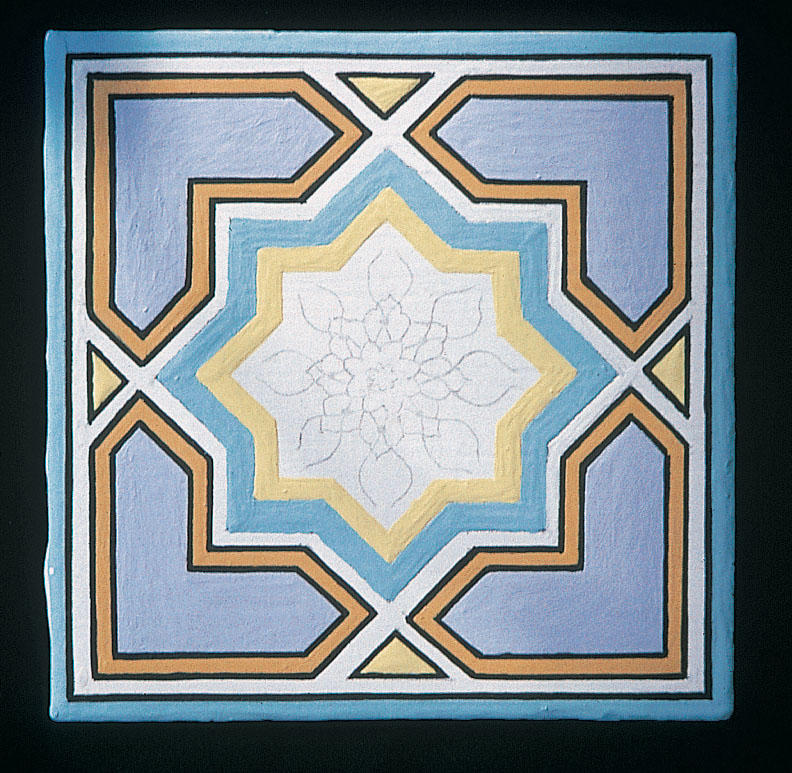
Fill in each area of the design, each color, using two or three coats of underglaze or Velvets for complete coverage. Go over the outline again to make sure that all the lines are precise thickness. Check all the colors for complete, solid coverage.
When the tile is complete and the underglazes completely dry, apply at least two coats of clear glaze. Wait for each coat to dry before applying the next coat. The tiles are fired to cone 04 .