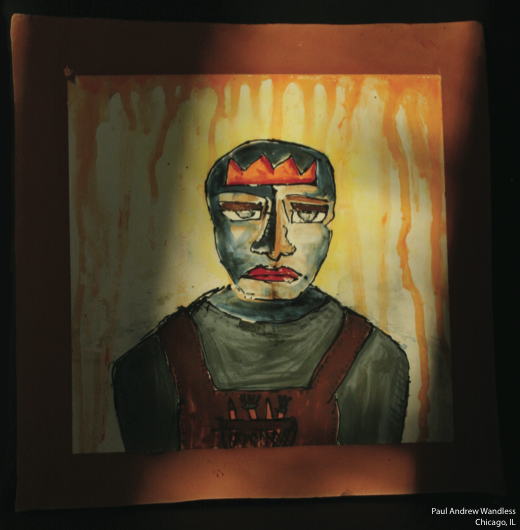
Plant Stakes
Make decorative plant stakes for the garden!


Mask out the print area on the plaster slab with tape.
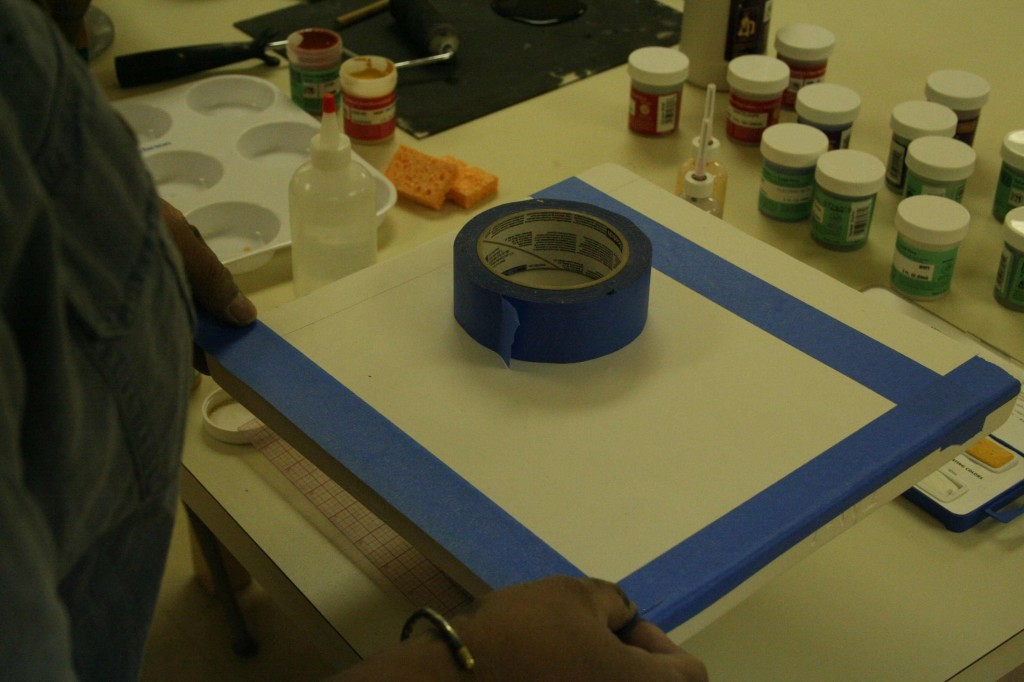
Sketch the outlines of your design, keeping in mind that the image and any text will be reversed in the transfer process. The first few prints won’t look exactly the way you expect until this way of drawing becomes more comfortable for you.
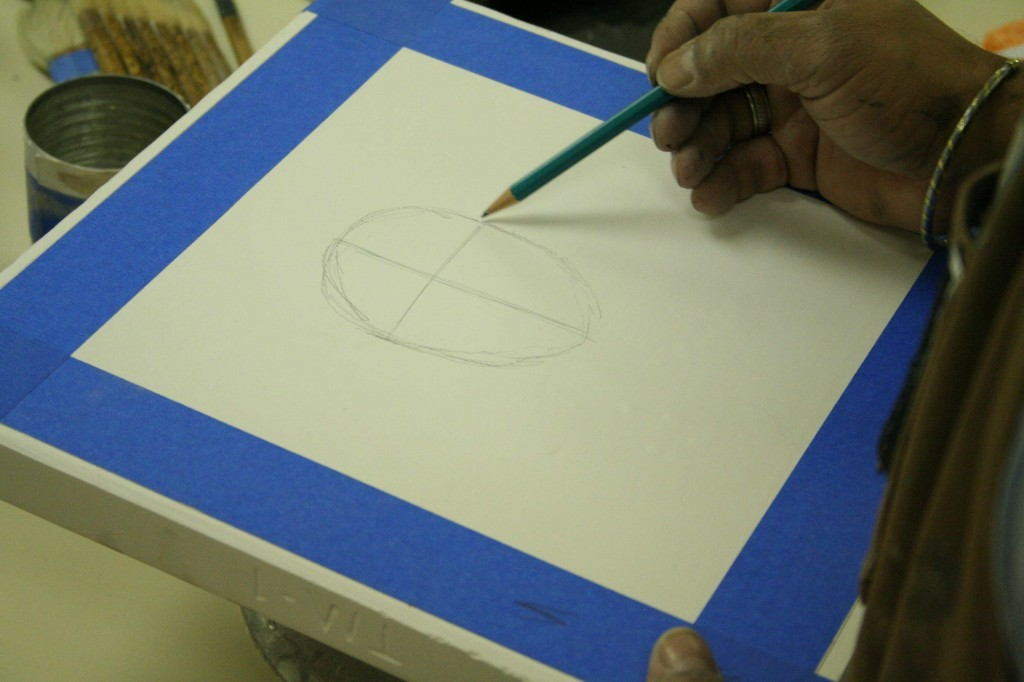
Use AMACO® Underglazes in squeeze applicator to create permanent outlines. You can use water to erase or soften your outlines. Unwanted pencil lines can be erased with a damp sponge. They will also burn out during firing if not erased.
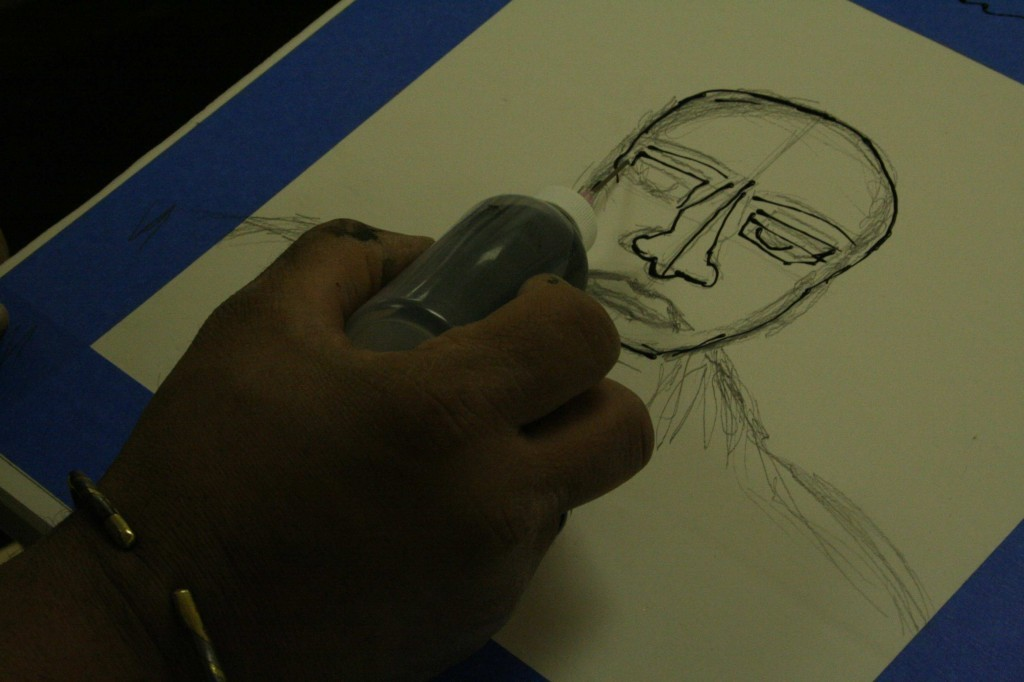
Use AMACO® Semi-Moist Underglazes to shade as you would with watercolors. Because you’re working in reverse process here, these shadings will be the blush of skin tones on the image’s surface when transferred.
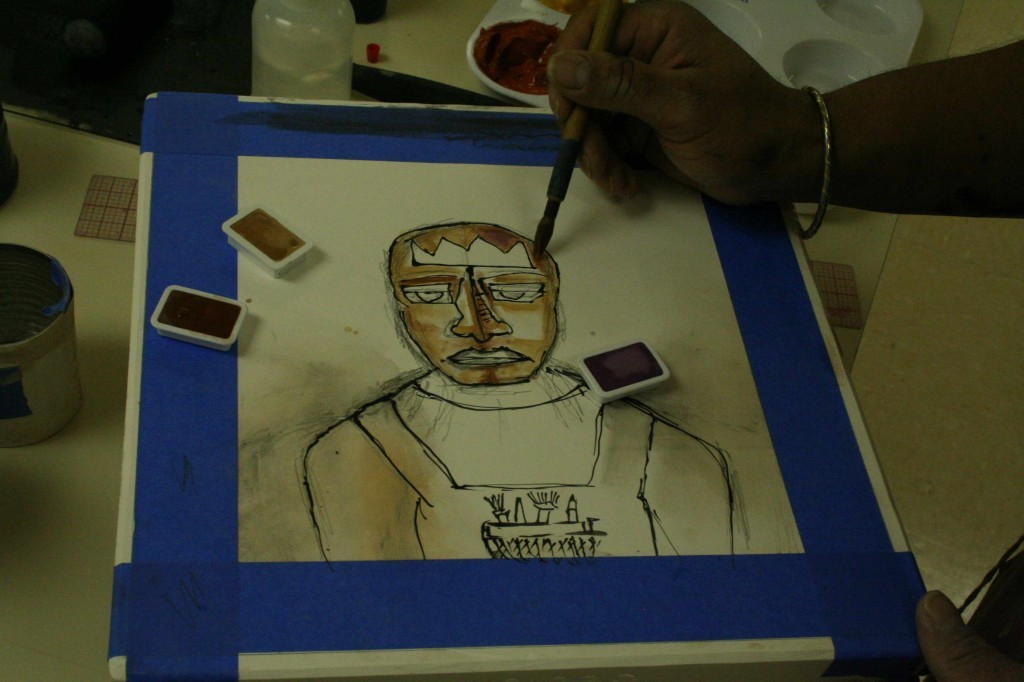
Apply the background colors for the figure.
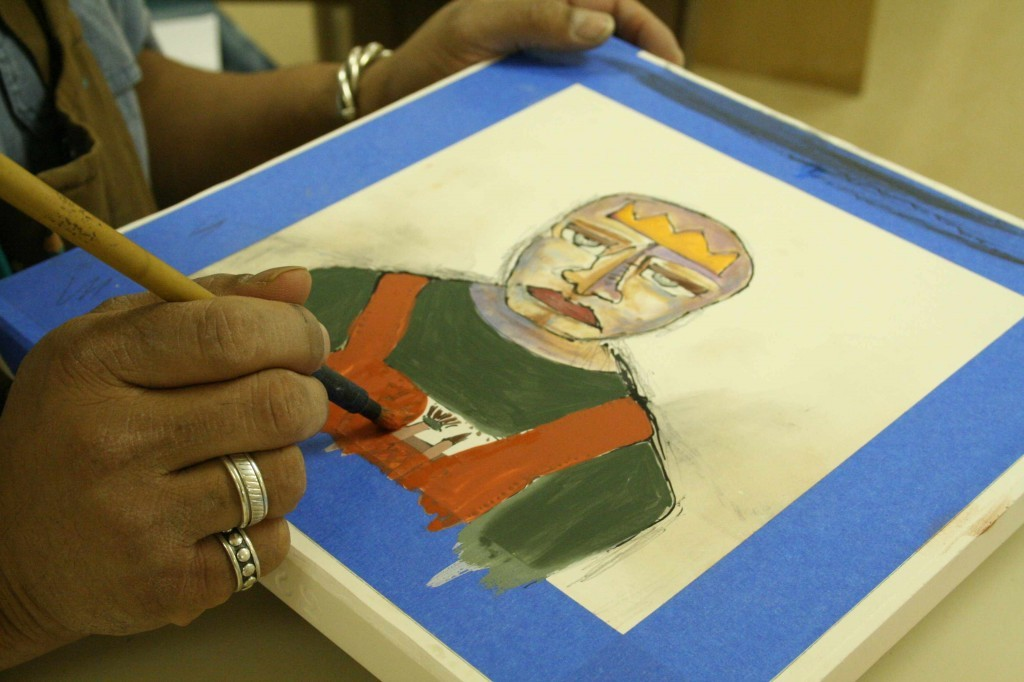
Background colors are complete.
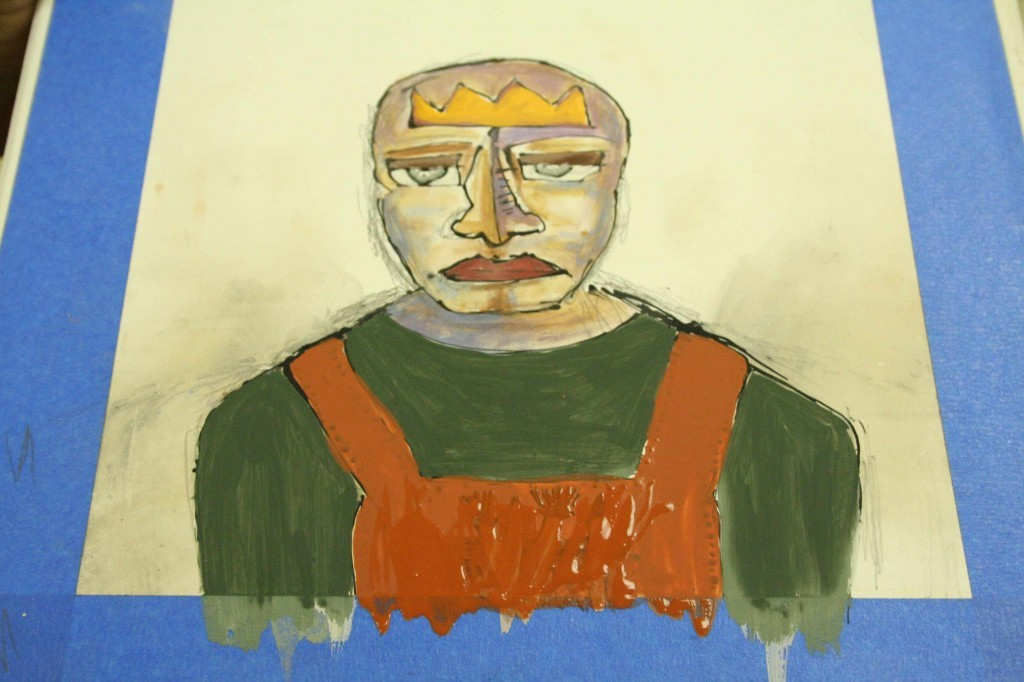
Apply face background.
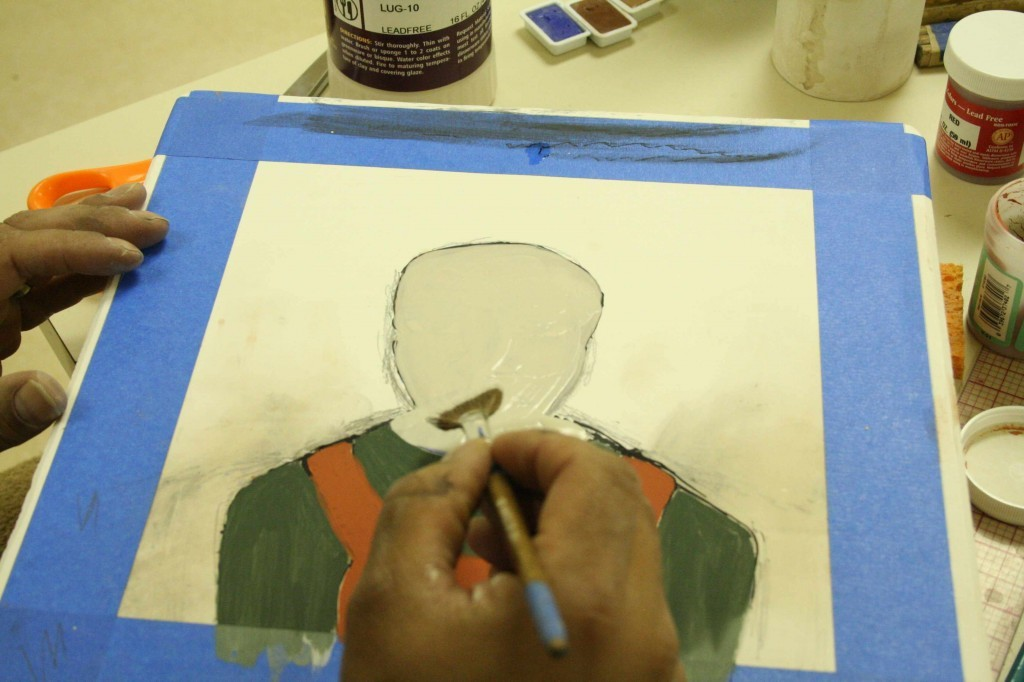
After the front image is complete, create the backdrop behind the figure and around head.
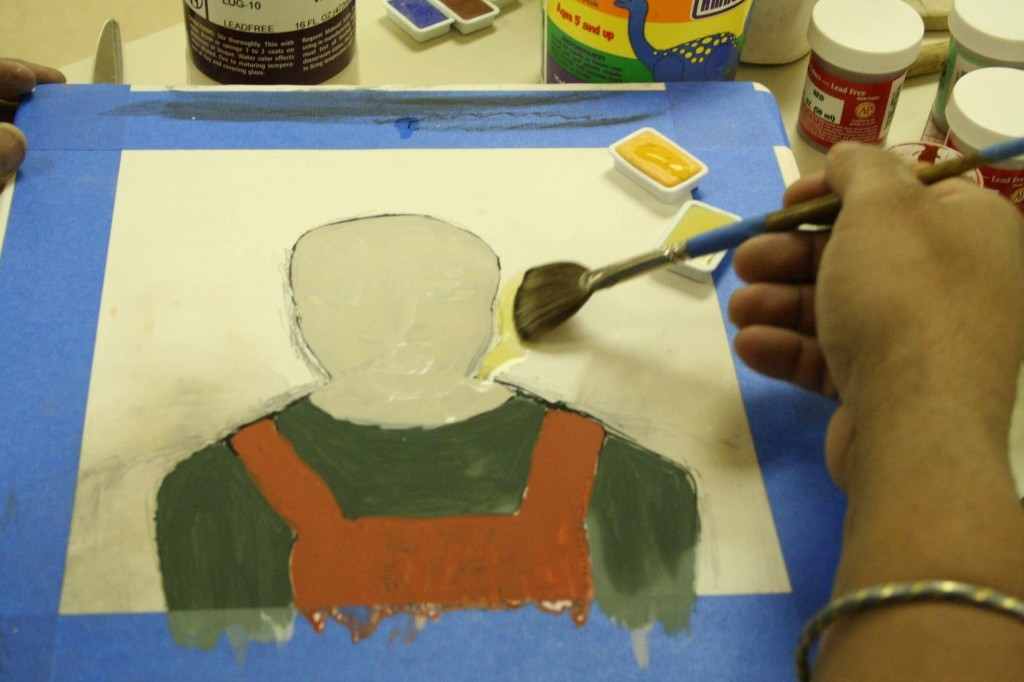
Moisten and let the color run to create the flowing backdrop.
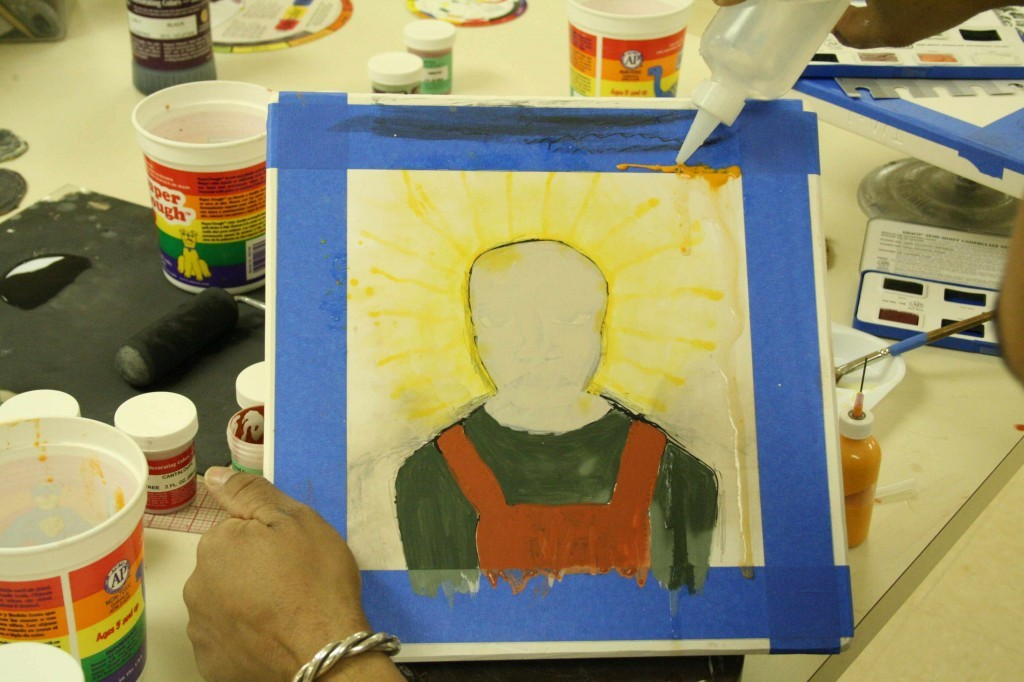
Adding and darkening the flow of underglazes; adding more complexity to the flowing background.
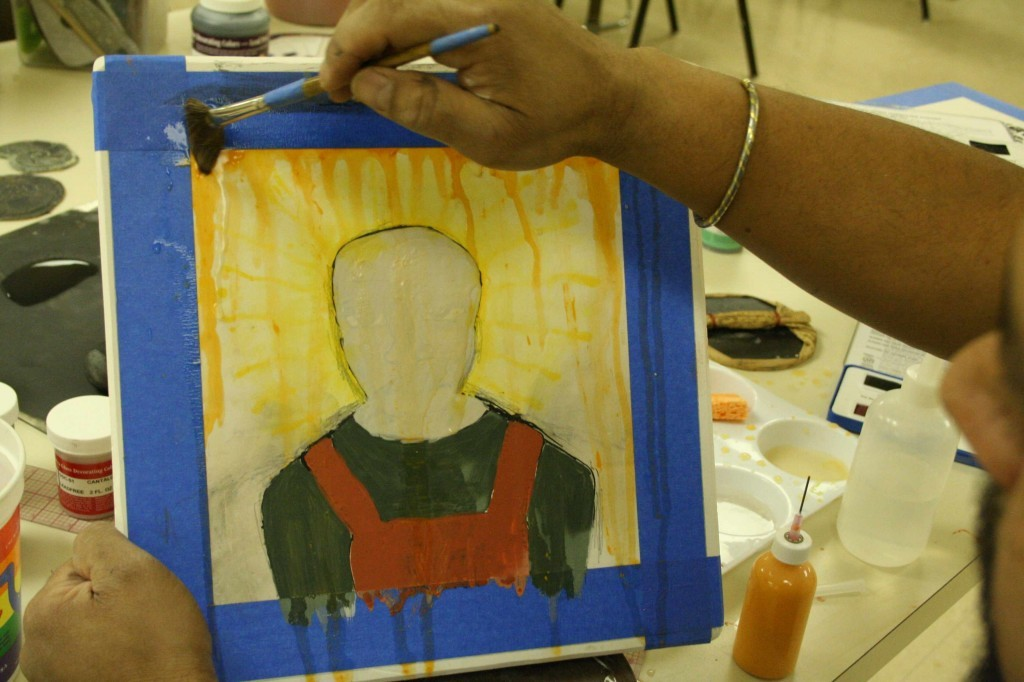
Add another layer behind or over that flowing color by first removing the tape masks and then cleaning the borders where there was some run-off. Remove overpainted tape borders.
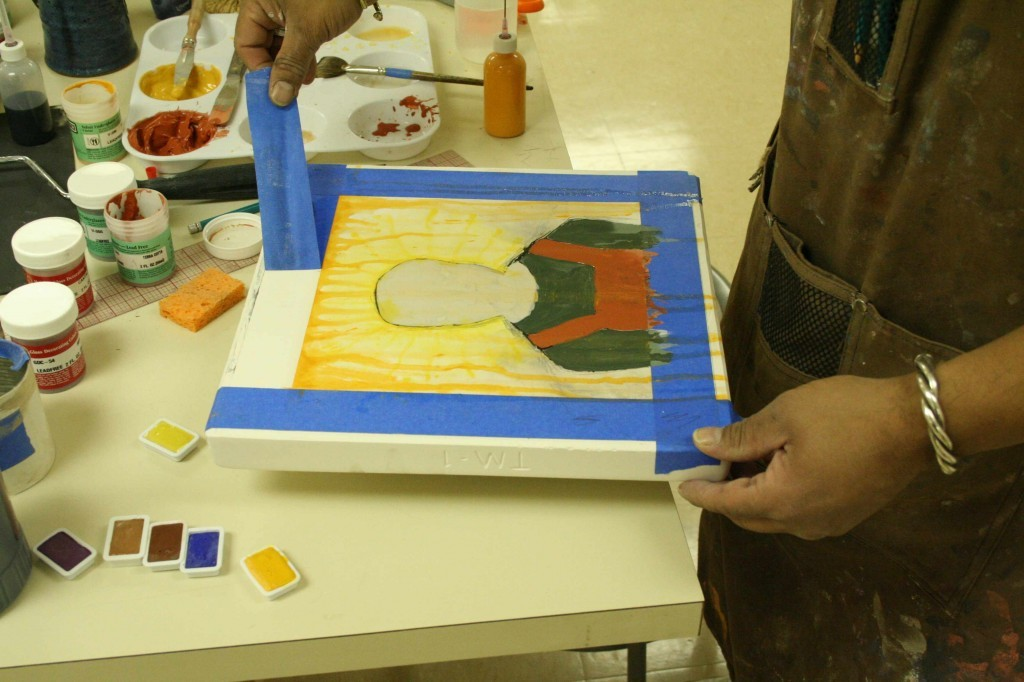
Clean up the borders.
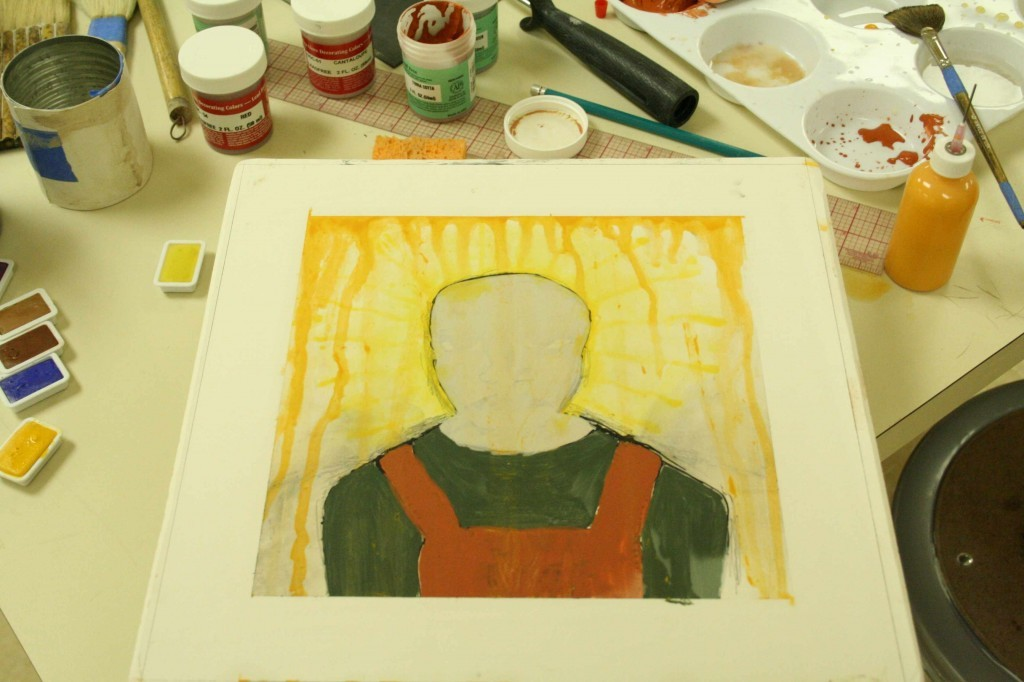
Place fresh tape borders for slip application.
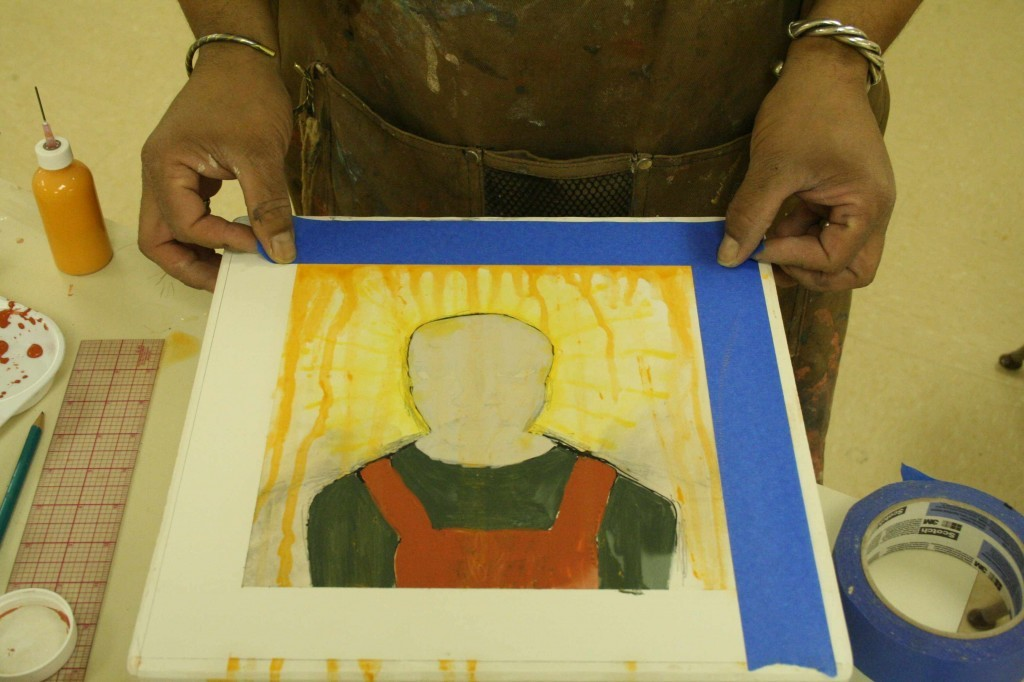
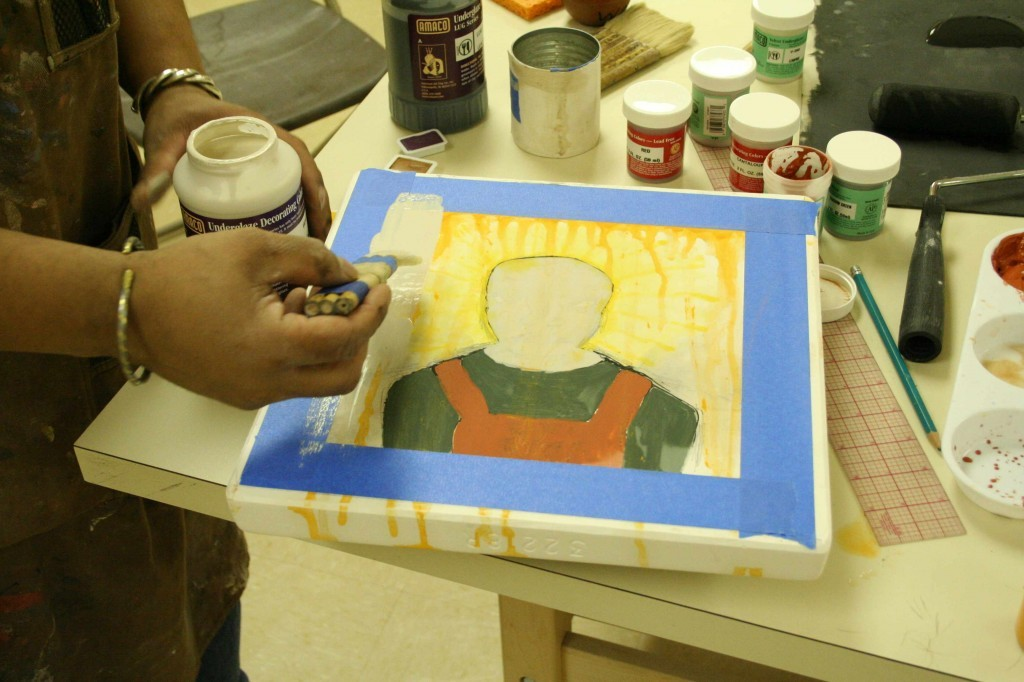
Apply White Underglaze to the background behind figure and flowing halo. The layering behind the portrait figure helps to create an illusion of dimensionality.
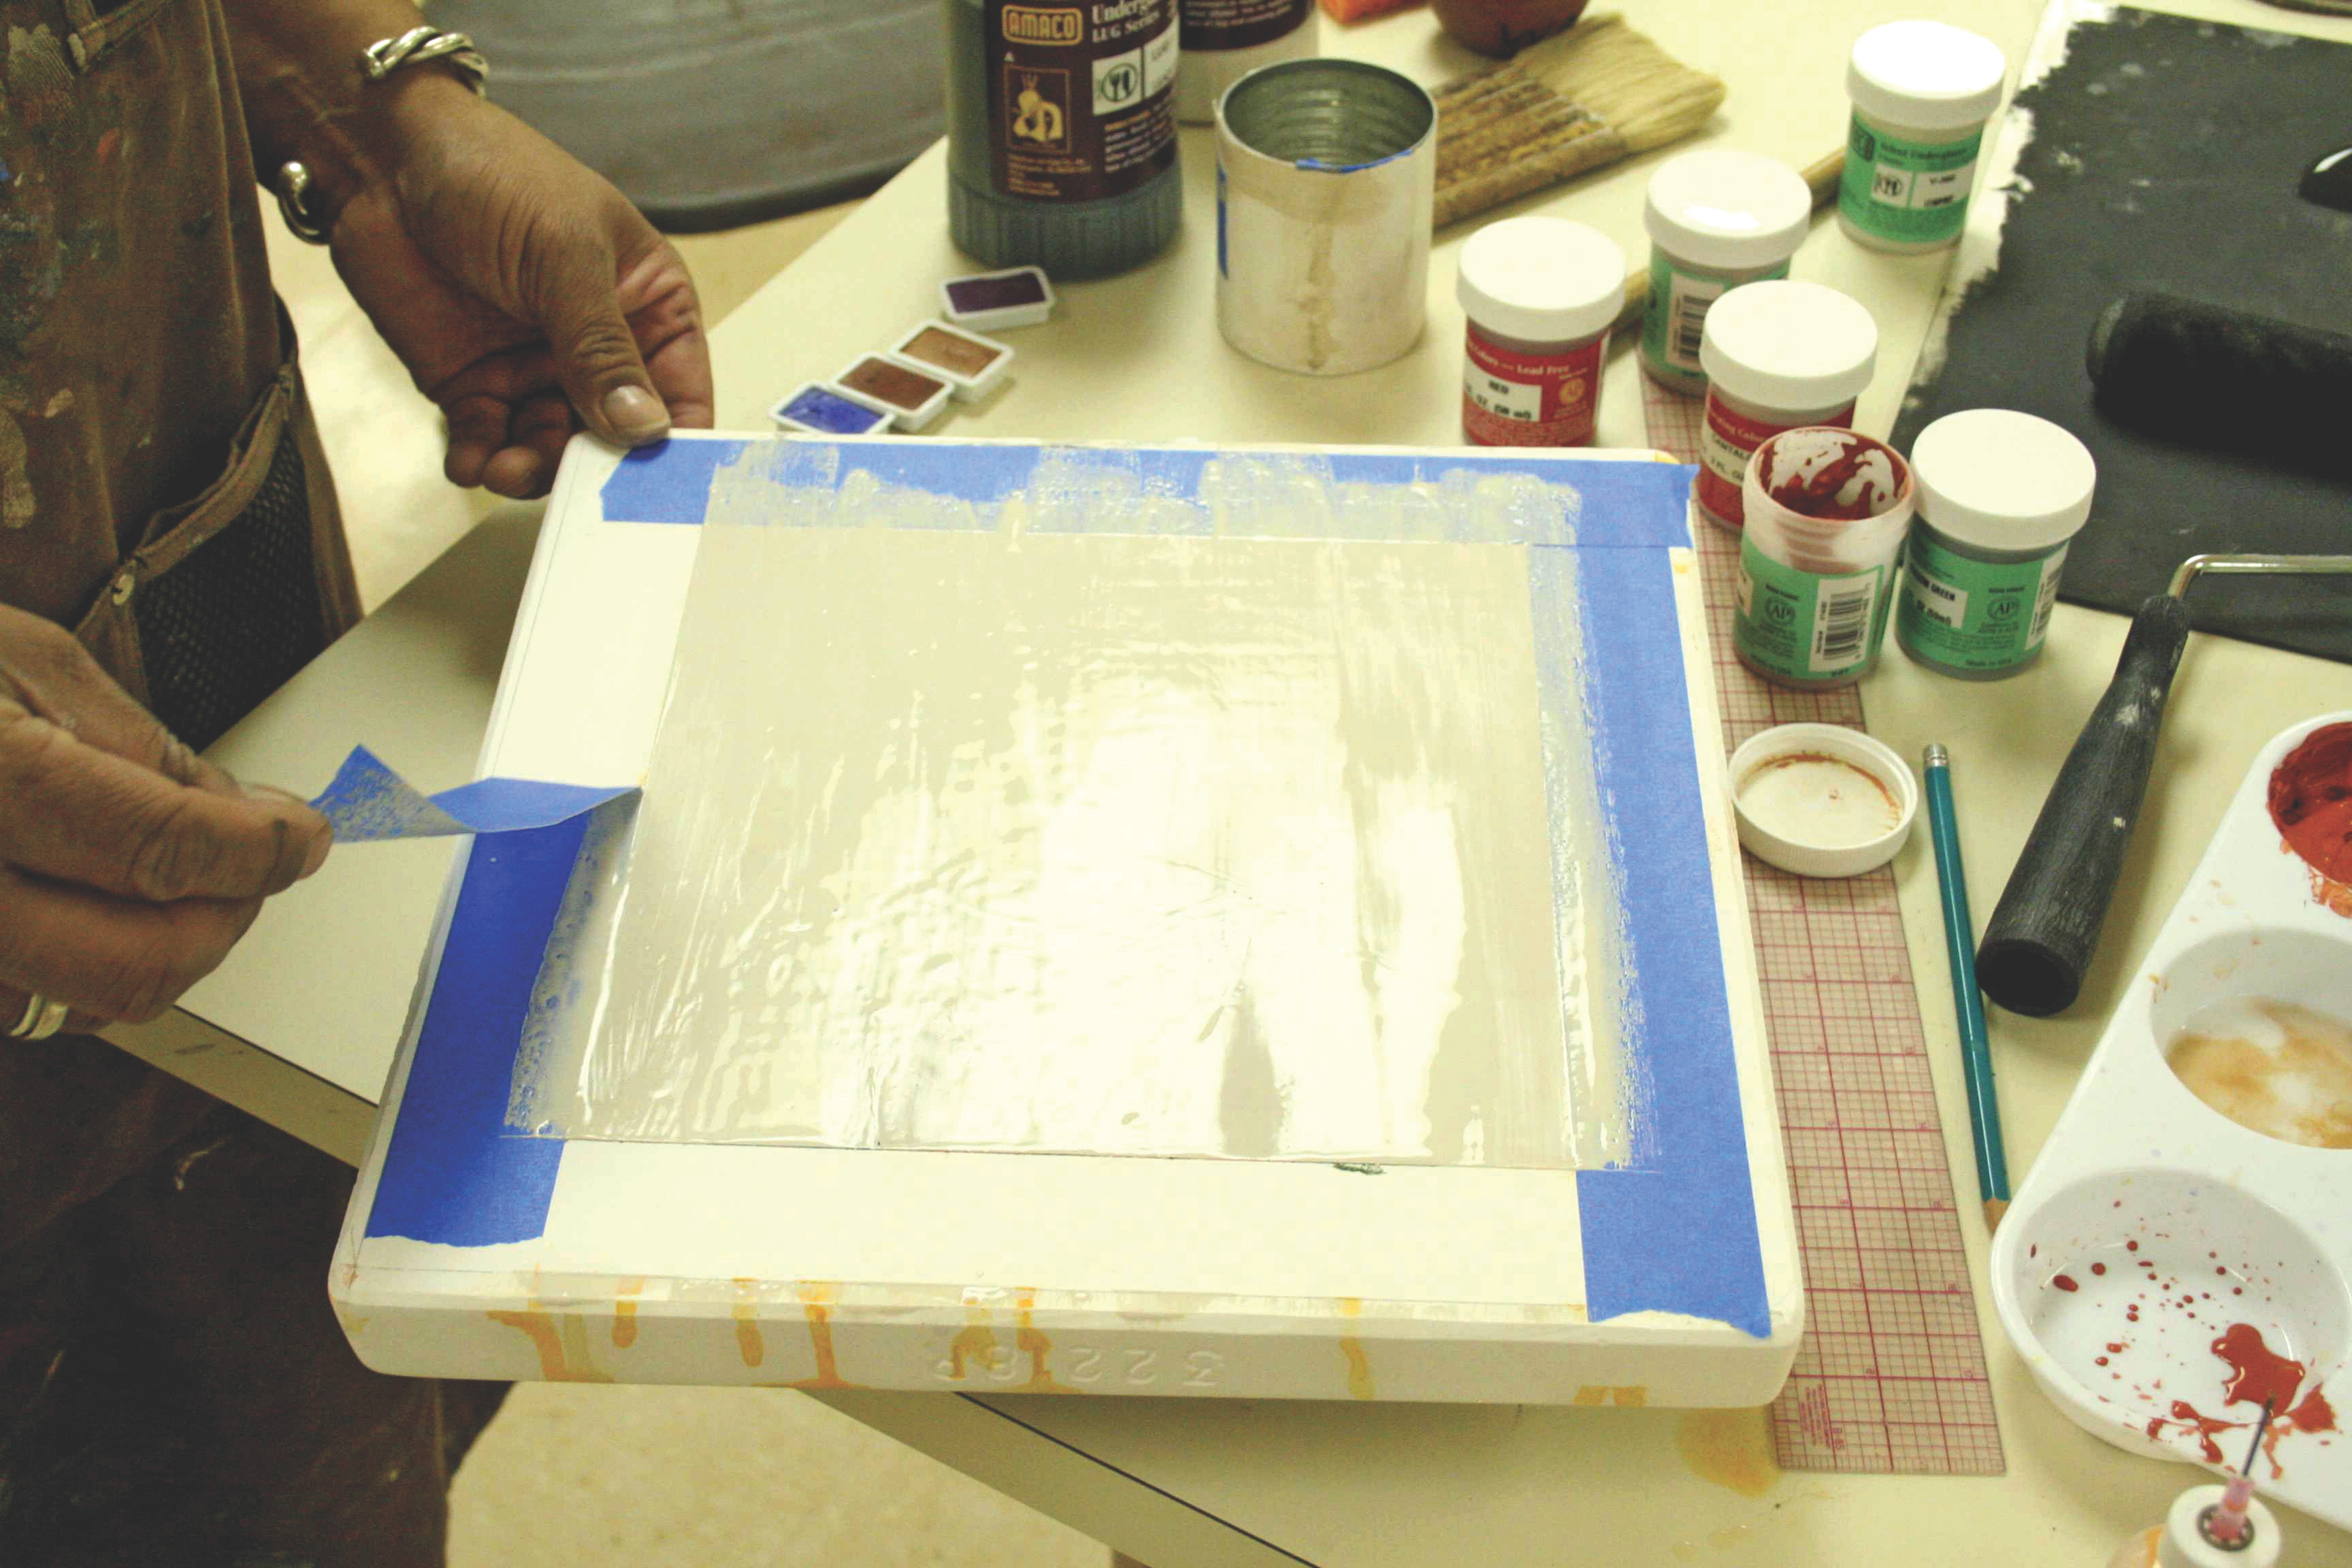
Now the image is complete and you can remove the tape borders.
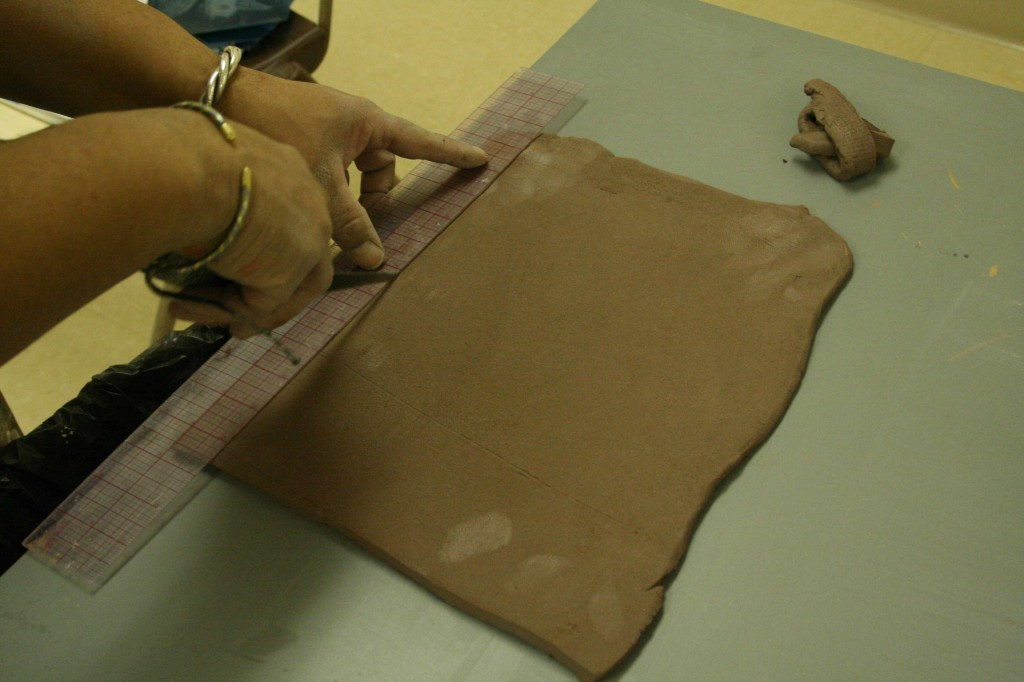
Once the image is complete and is dry to the touch, create a clay dam that works as a mold box for the casting slip to be poured and firmed up to create the clay print. To make this clay dam, roll out a clay slab approximately 3/8 of an inch thick and cut into 1″ strips.
As individual pieces are built and arranged, have your students carefully slip and score the scene together.
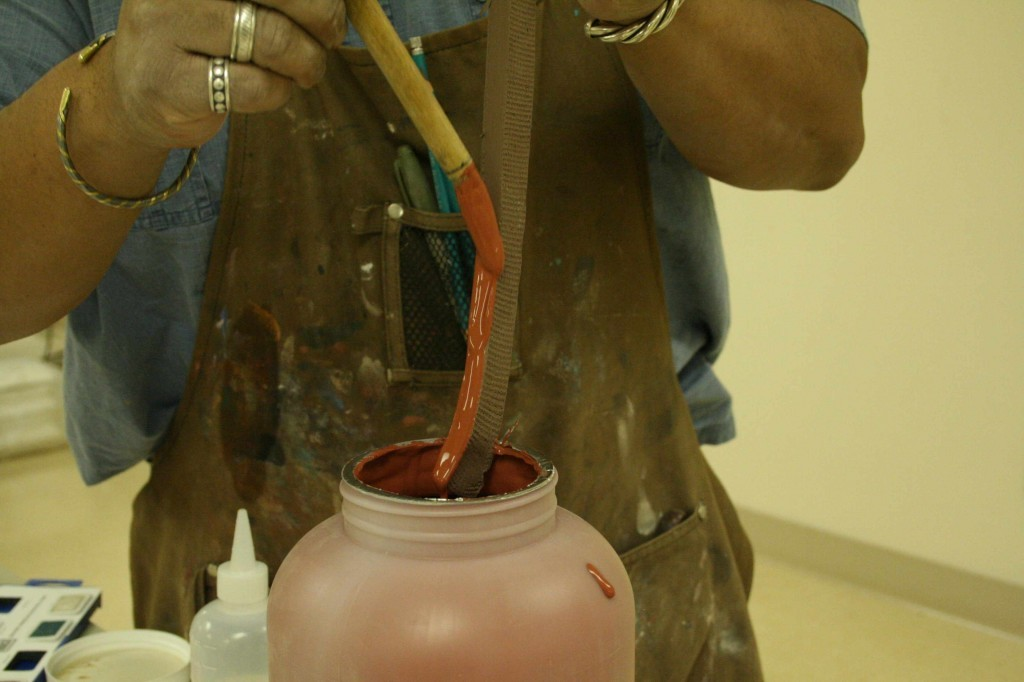
Apply slip to the adhering edge by brush casting slip (same slip as you’re going to use to pour the image) onto the edge of the clay strip.
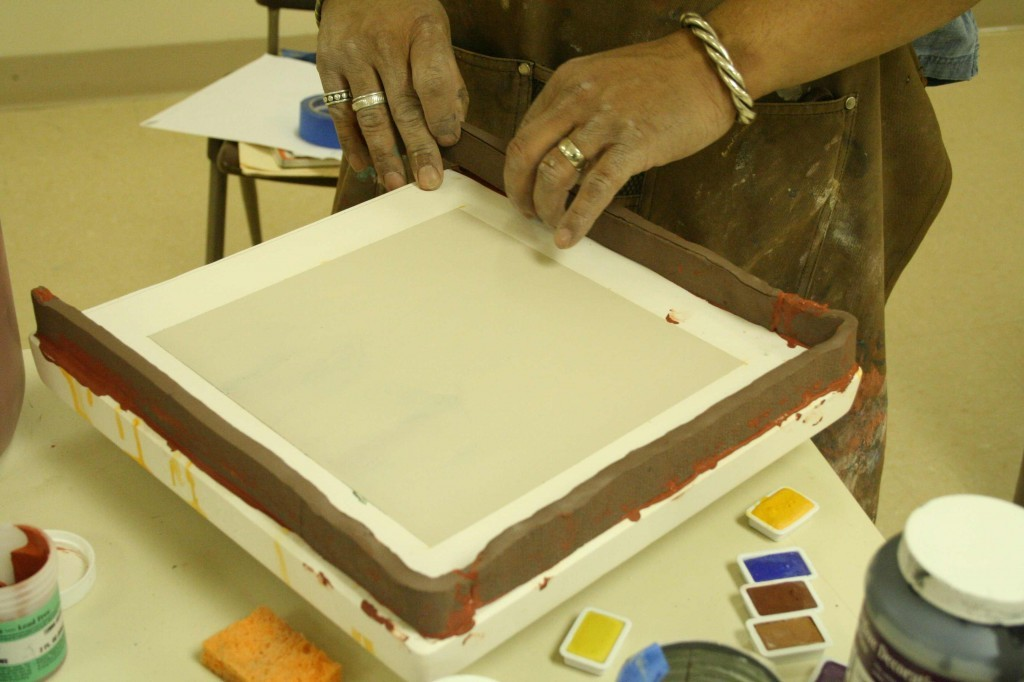
Make the wall around the slab by attaching it to the surface of the plaster slab around the image.
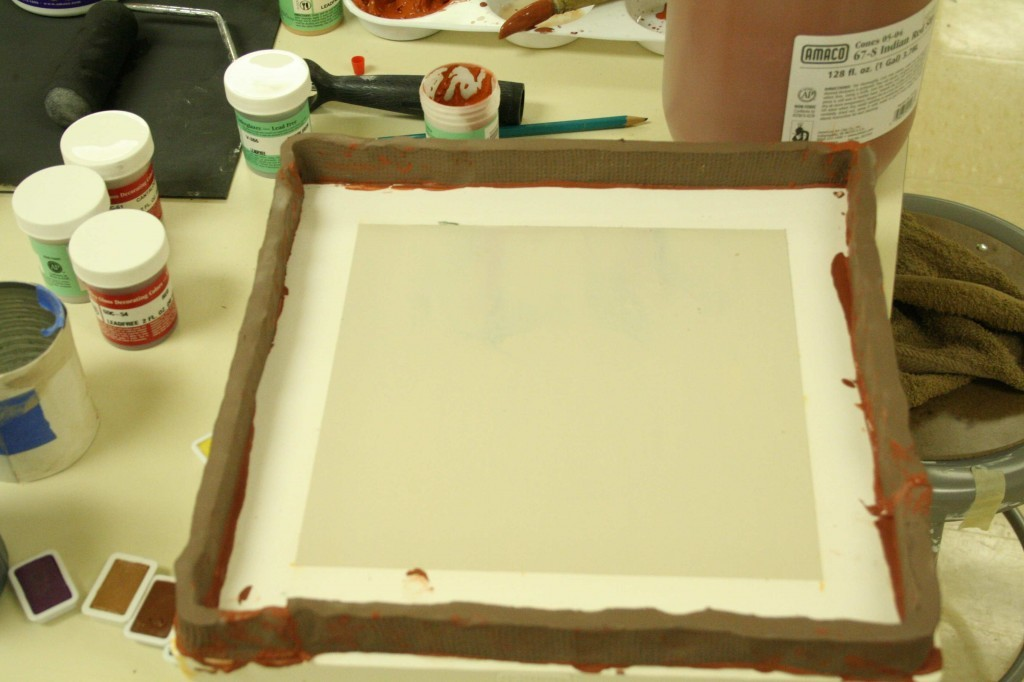
Pour casting slip over the image to desired thickness. Start at one end and work your way over to the other side. If the casting slip is thin, it will level out on its own. If the casting slip is a little thick, you’ll need to level it out with a spreader.
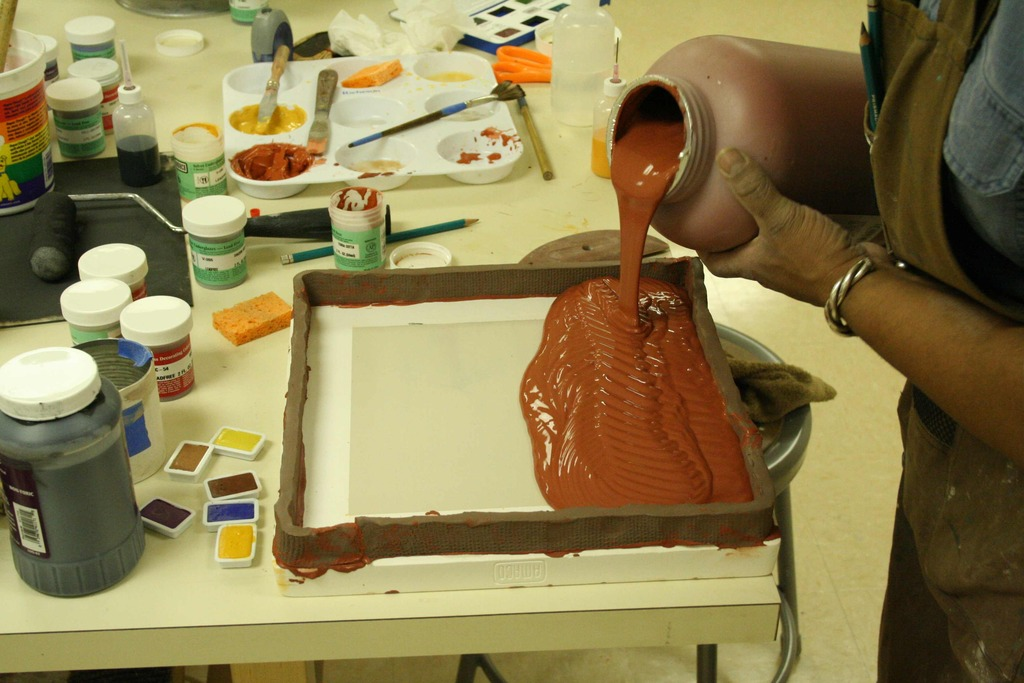
Allow the casting slip to harden for about 15 minutes. When firm to the touch, cut off the clay walls, check to see if it is strong enough to remove.
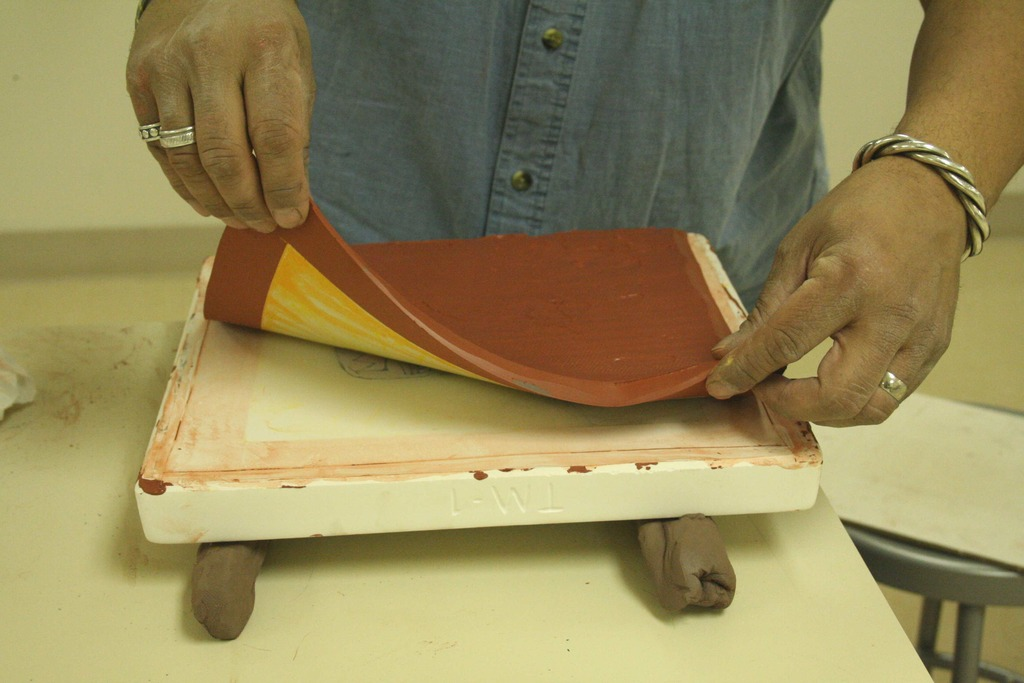
Place a piece of plastic cling wrap on back of clay print and then a piece of cardboard. Carefully flip it over and remove the plaster bat. The clay print can continue to dry on the piece of cardboard. Drywall or a wooden board work just fine as well.
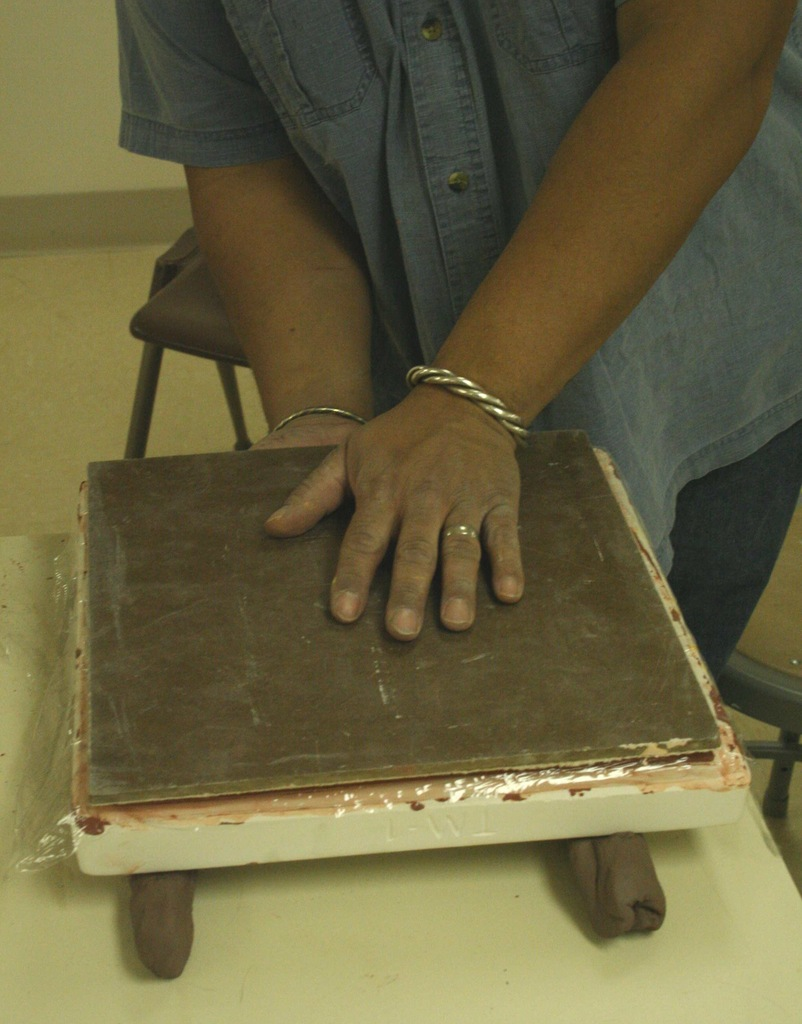
Allow to dry and fire as recommended for casting slip.