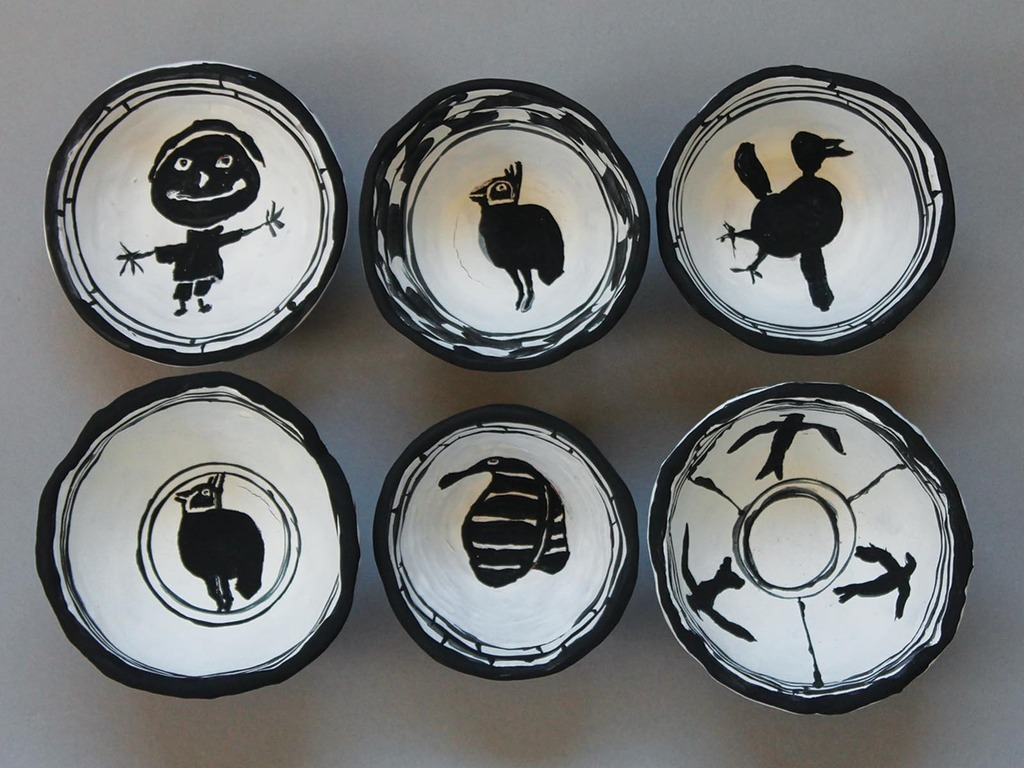
Plant Stakes
Make decorative plant stakes for the garden!


 Play Video
 Play Video
 Play Video
Roll coils of clay and shape a medallion of clay for the base and begin to attach coils.
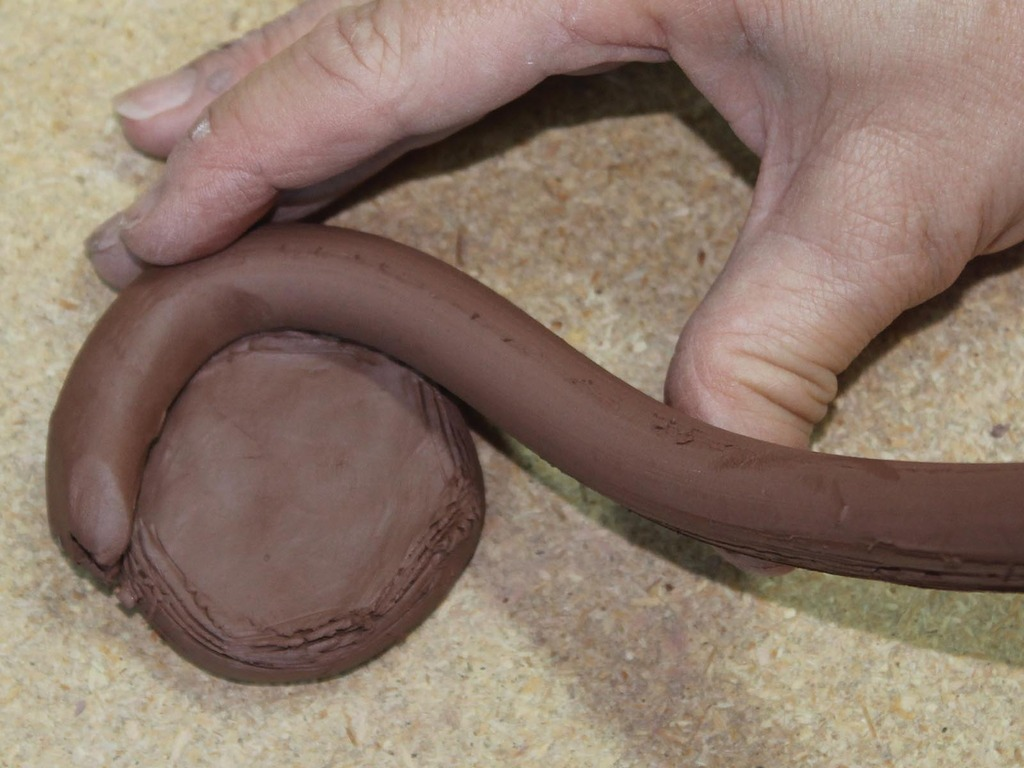
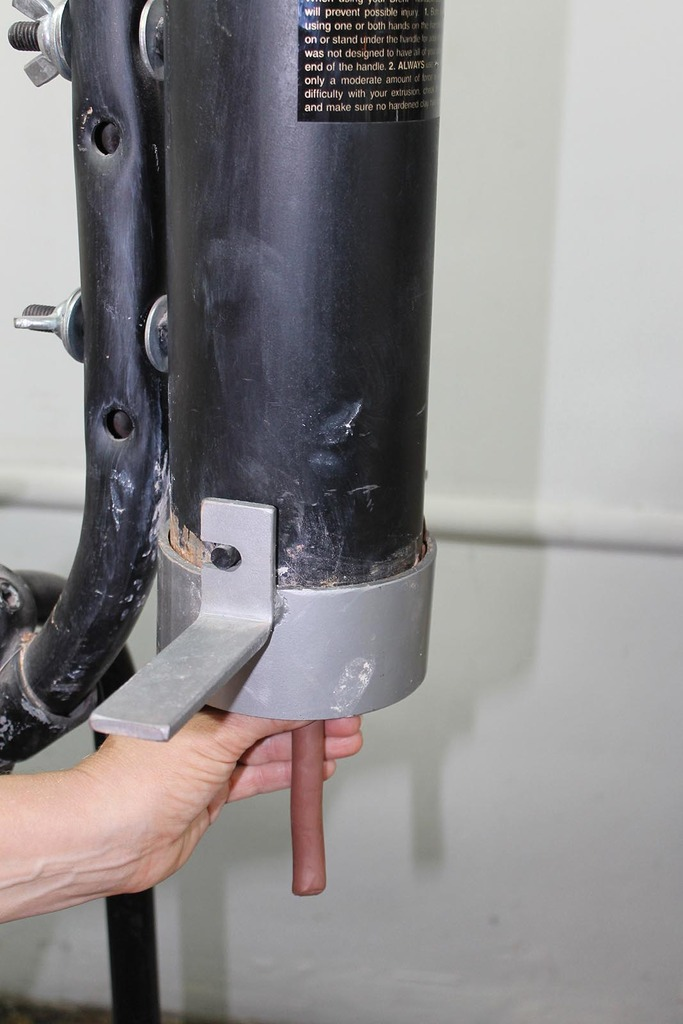
Use a brent® Clay Extruder for coils of clay instead of rolling coils.
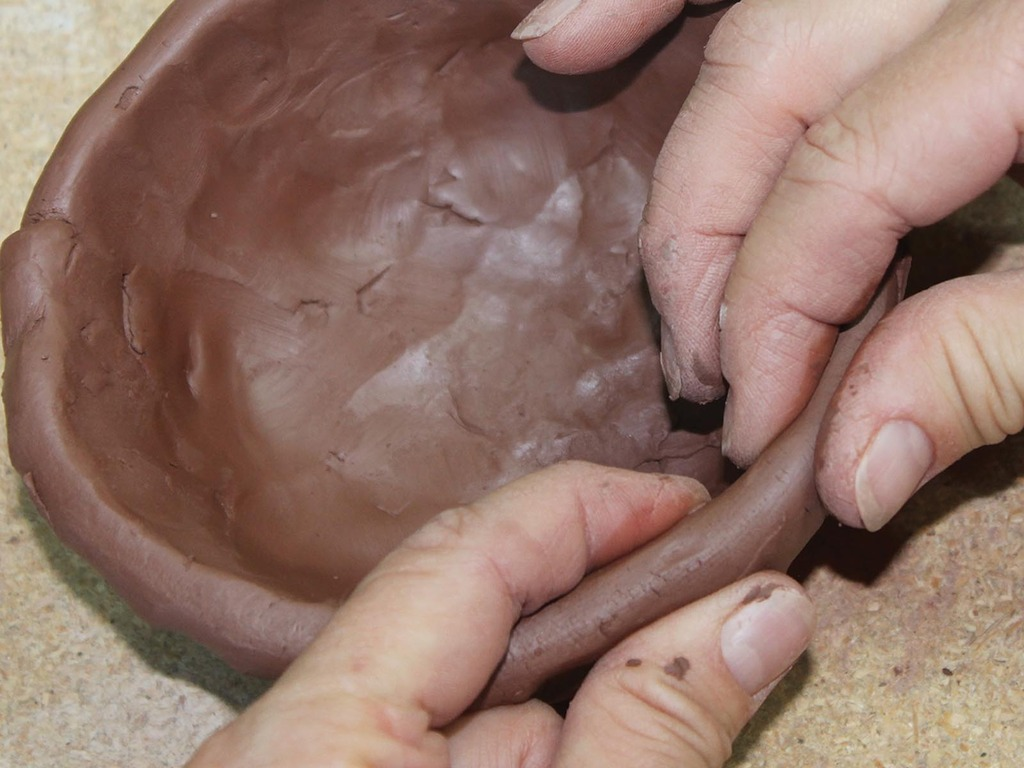
Continue making coils and attaching them by scoring and gluing with vinegar.
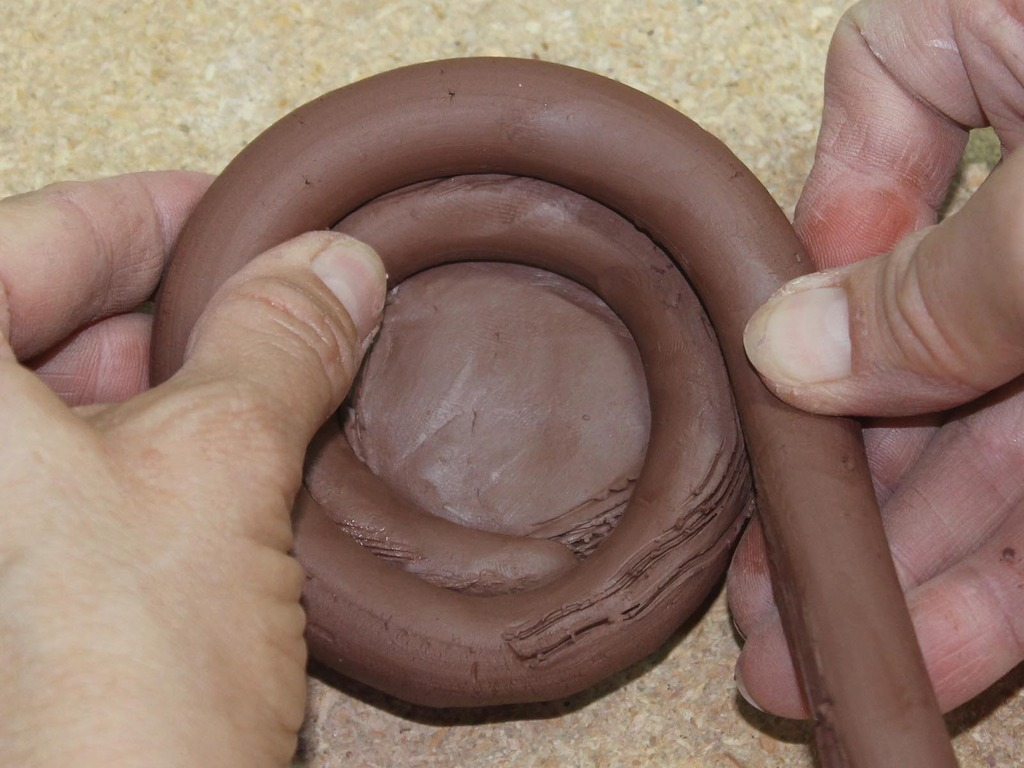
Continue scoring and using vinegar as glue with each added coil.
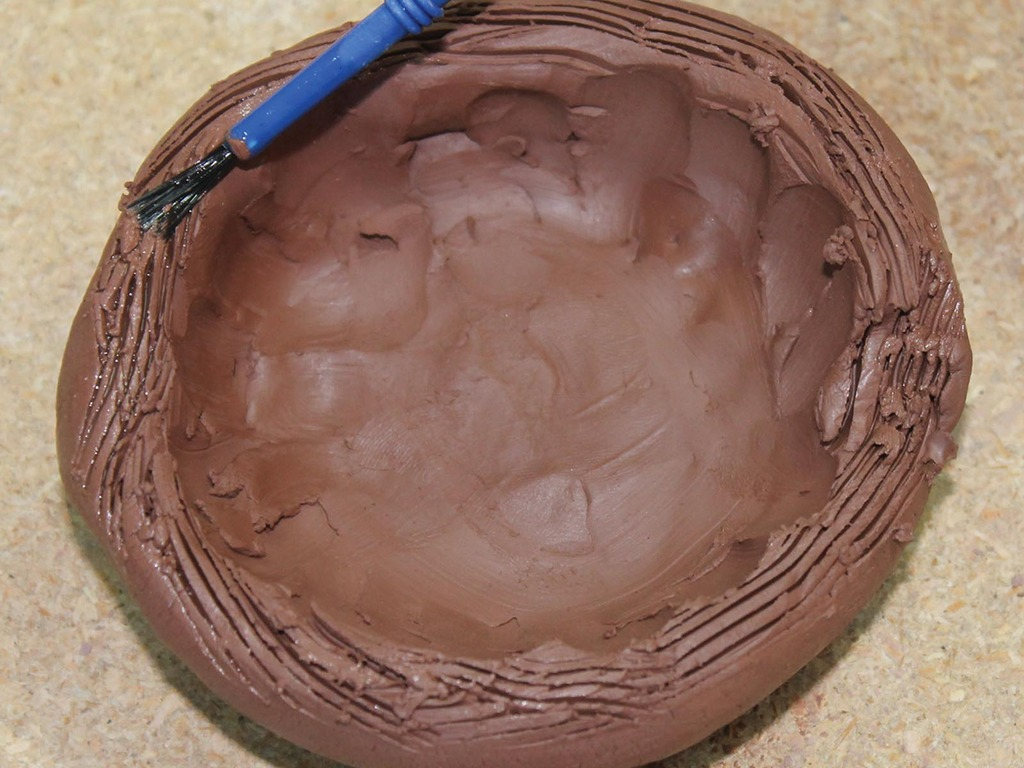
Smooth coils to attach and to create surface to decorate.
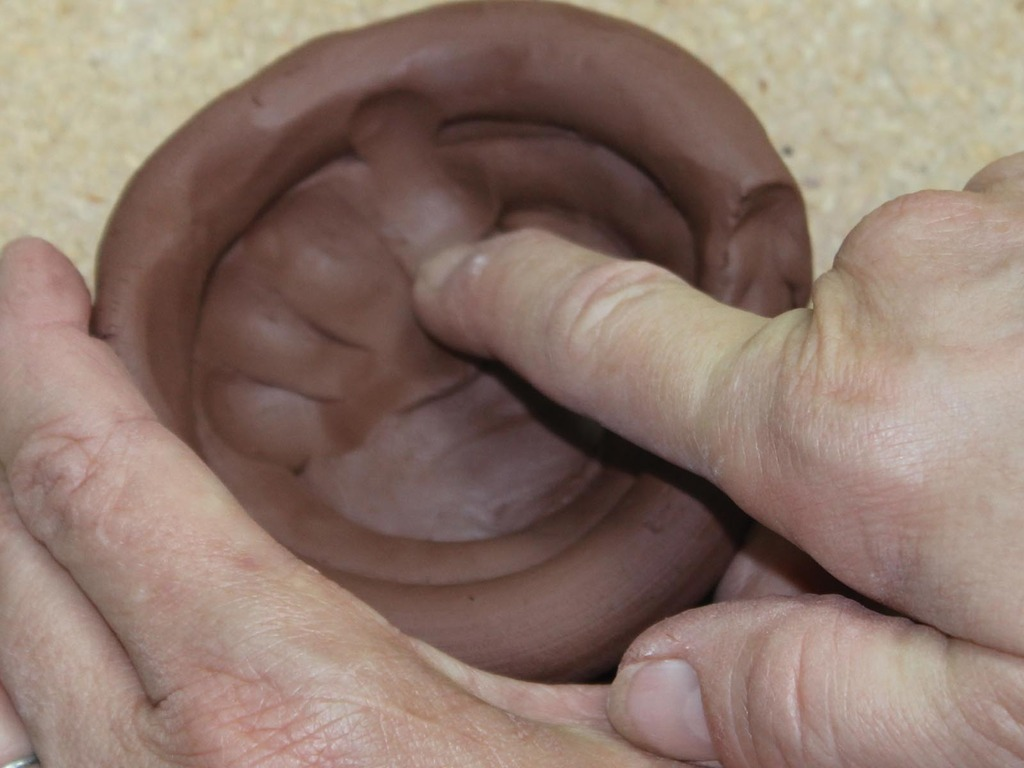
Add coils until the bowl is approximately 5 inches across by 3 inches high.
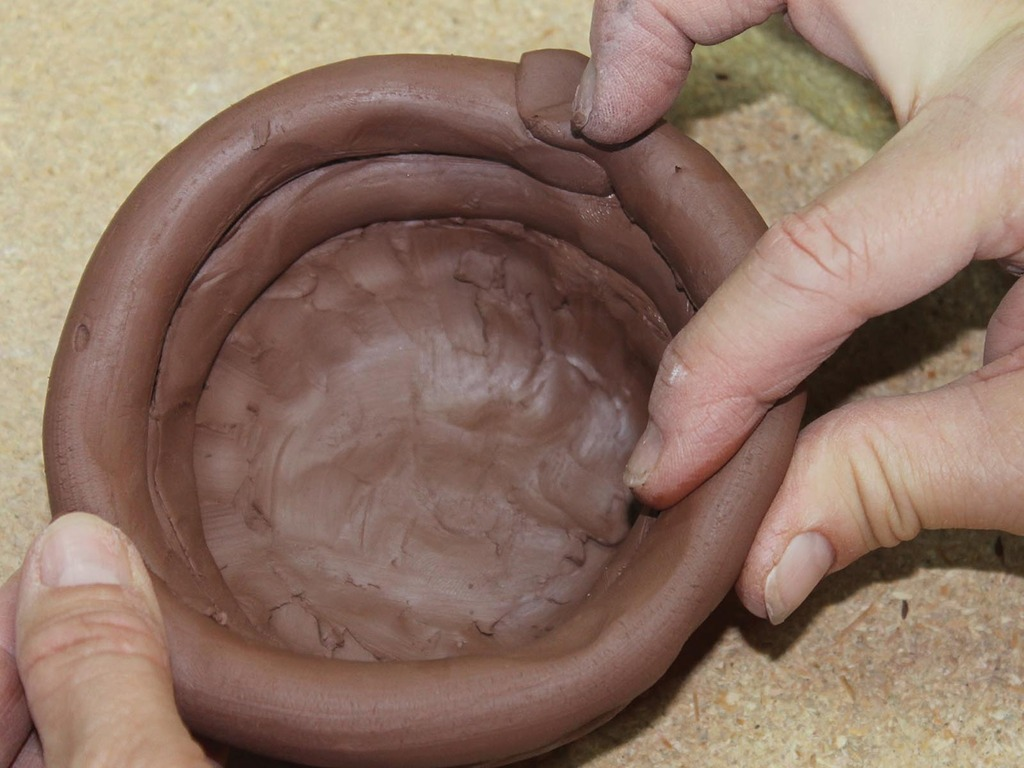
Smooth coils on inside.
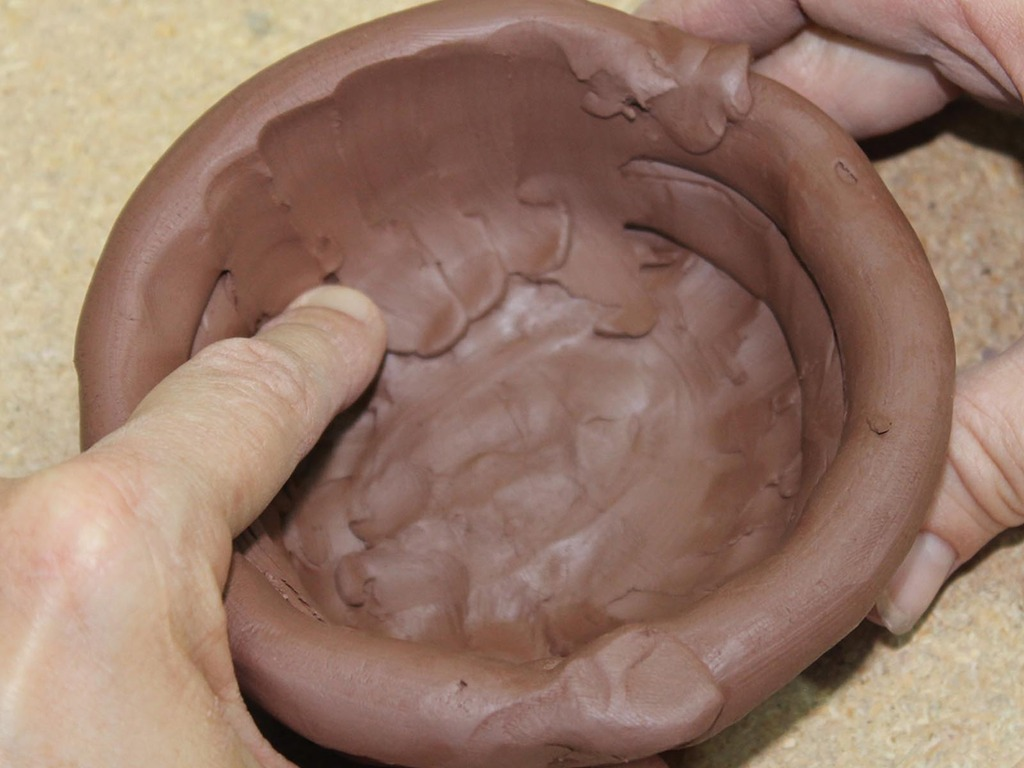
Smooth coils on outside
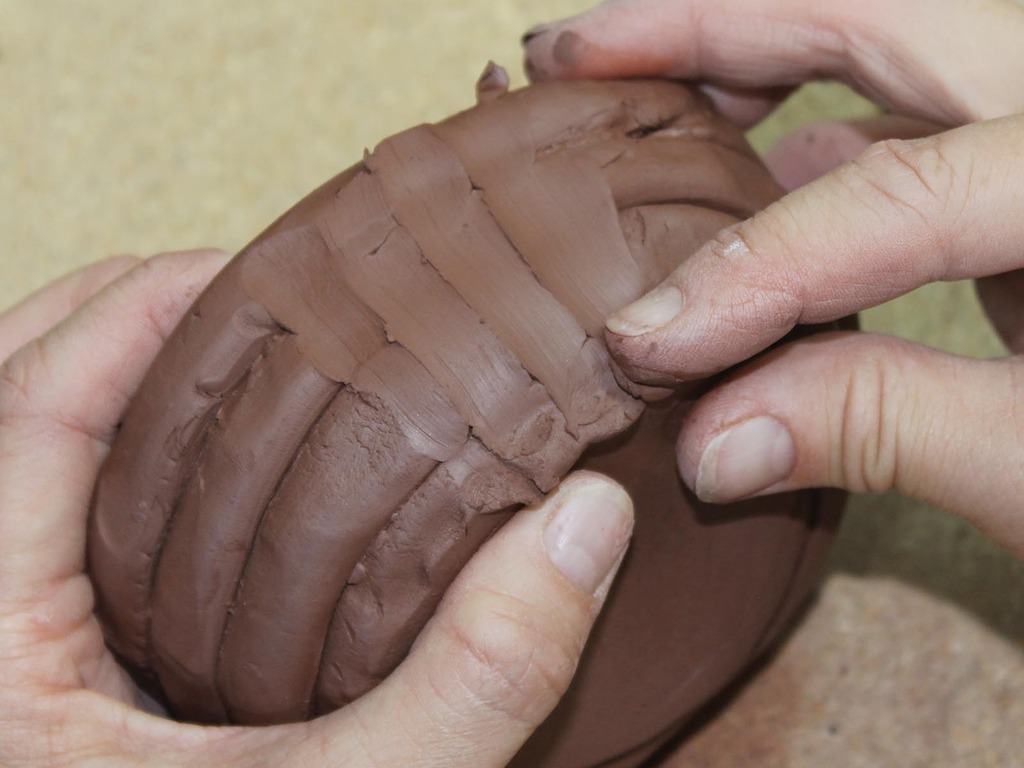
Smooth and compress rim.
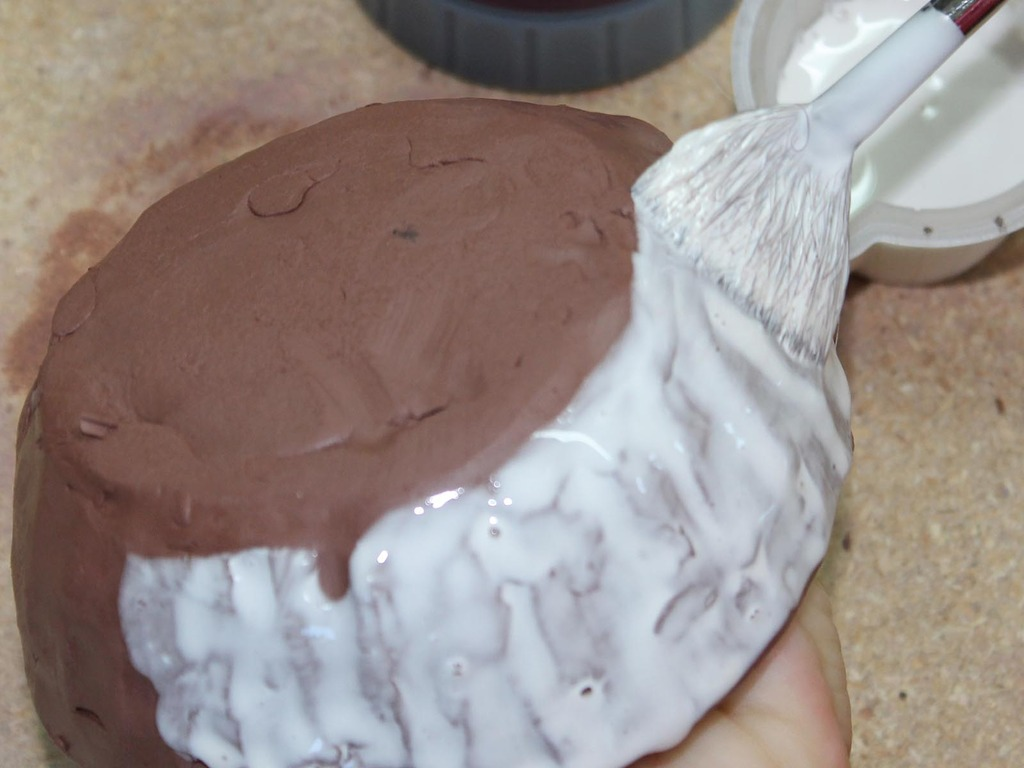
Paint white underglaze on outside and inside of red clay bowl and let dry. This step is not needed if using white clay.
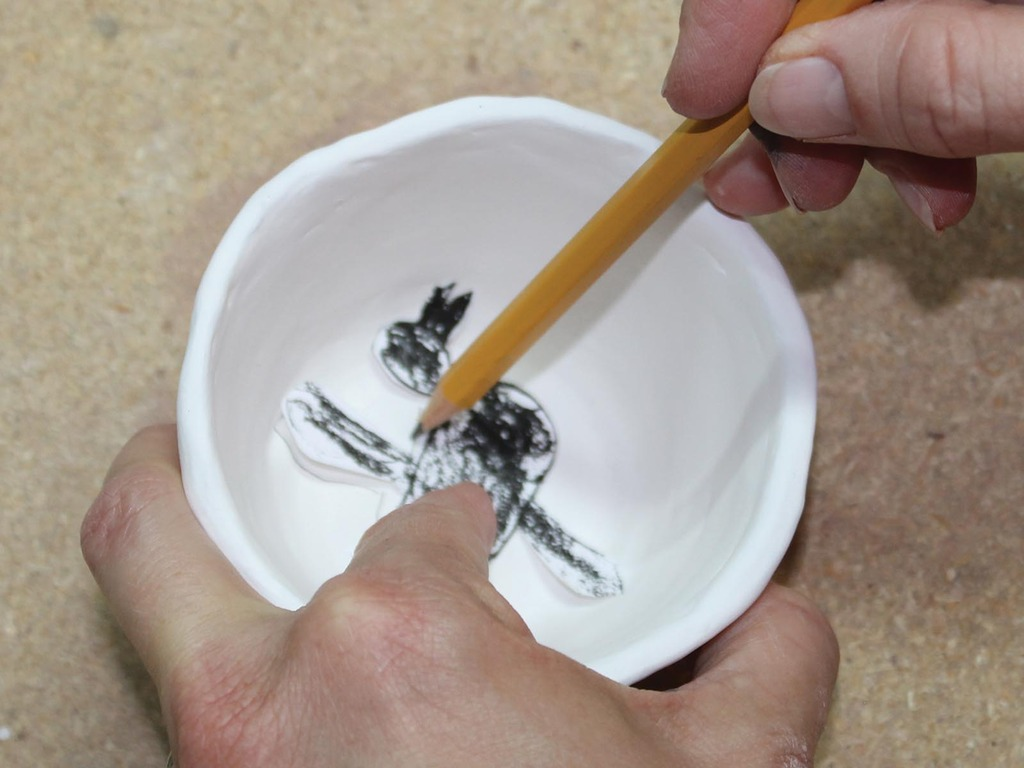
Cut out sketched design and trace using a pencil (pencil line will fire out).
Paint black underglaze using a detail brush.
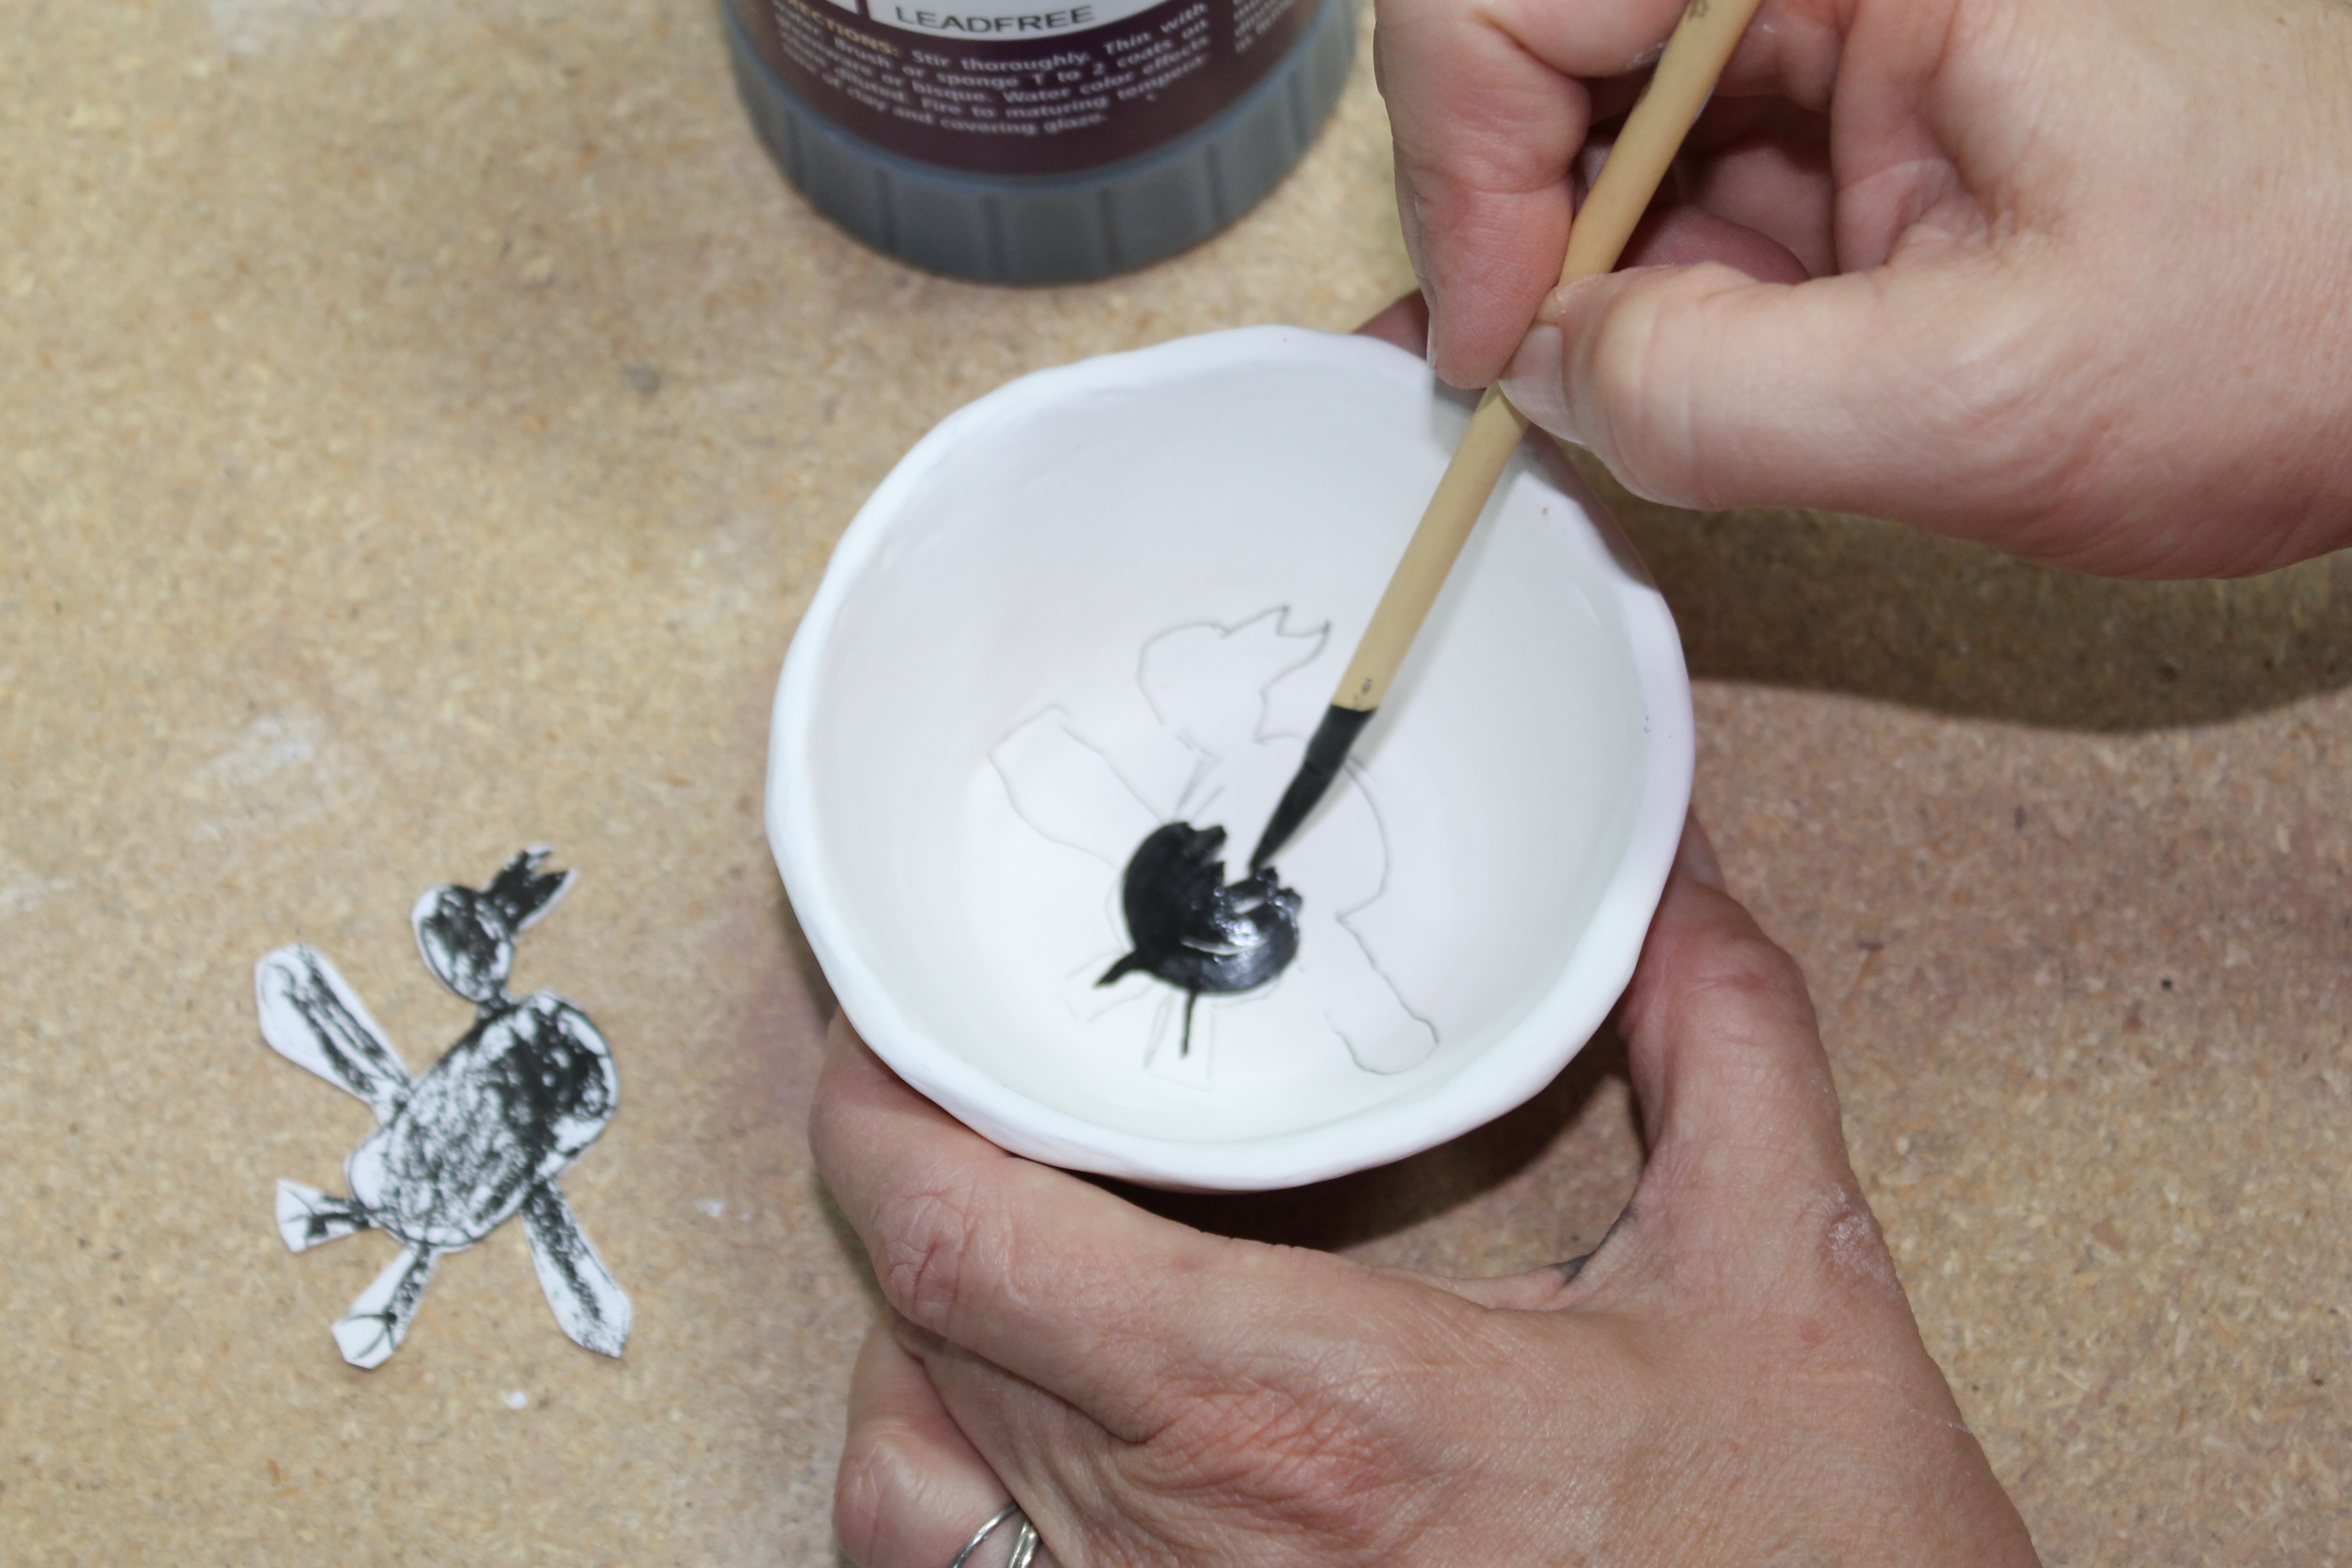
Paint black underglaze using a detail brush.
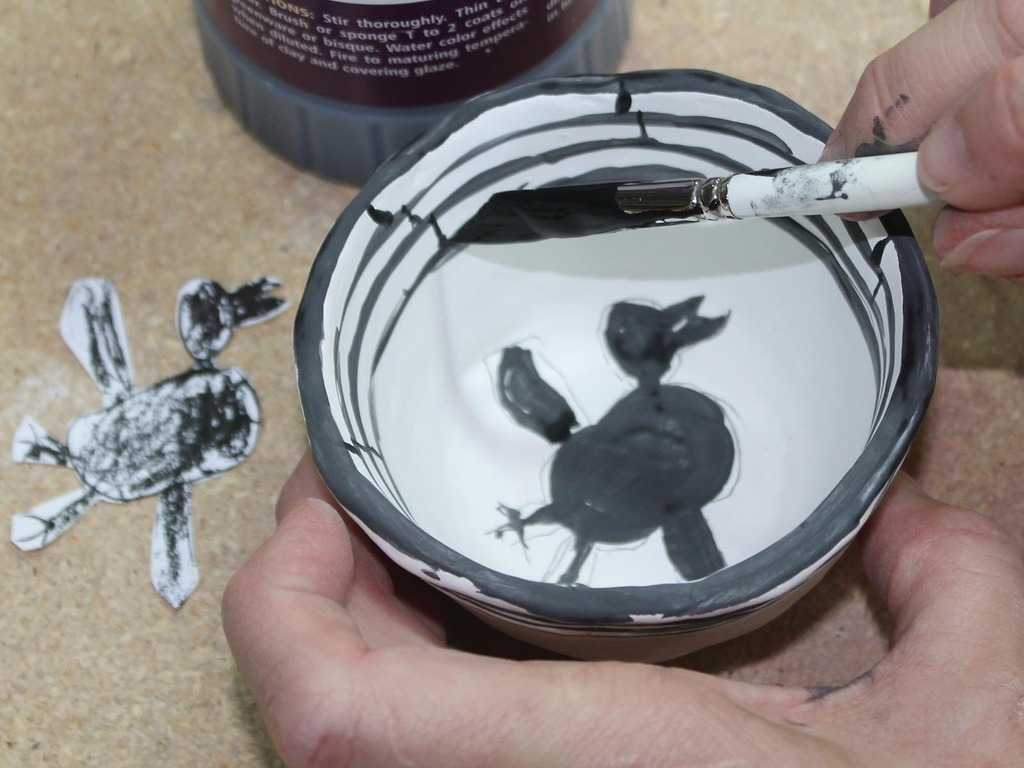
Make sure underglaze and clay is completely dry before firing to Cone 04. Mimbres decoration bowl could be finished here. For functional, food safe bowl, brush LM-10 Transparent glaze onto bisque fired bowl and do a low fire glaze firing.