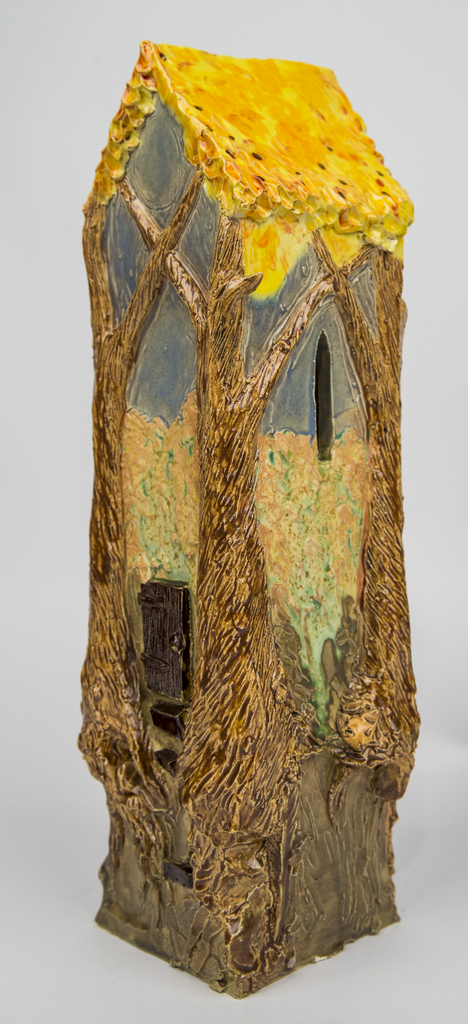
Plant Stakes
Make decorative plant stakes for the garden!


 Play Video
The student should research the history of architecture and the significance and variety of dwellings. The student can research the use of the house as a symbol in sculpture, painting, drawing and ceramics. Artists whose work could be presented are: Robert Arneson, Christine Federighi, Han Dynasty tomb figures, Jack Earl, David Stabley, Jan Richardson, Jennifer Bartlett and Joel Shapiro, among others. The student could also research the use of humor and cartoon-like illustration in the fine arts showing artists such as Roy Lichtenstein, Claes Oldenburg, Keith Haring, Stuart Davis and Red Grooms. The teacher should explain to students how to compose imagery on a three-dimensional surface, as opposed to compositions on a flat surface (i.e. a piece of paper or canvas). The imagery should wrap around the piece, instead of students focusing on each panel (or wall) of the house as separate.
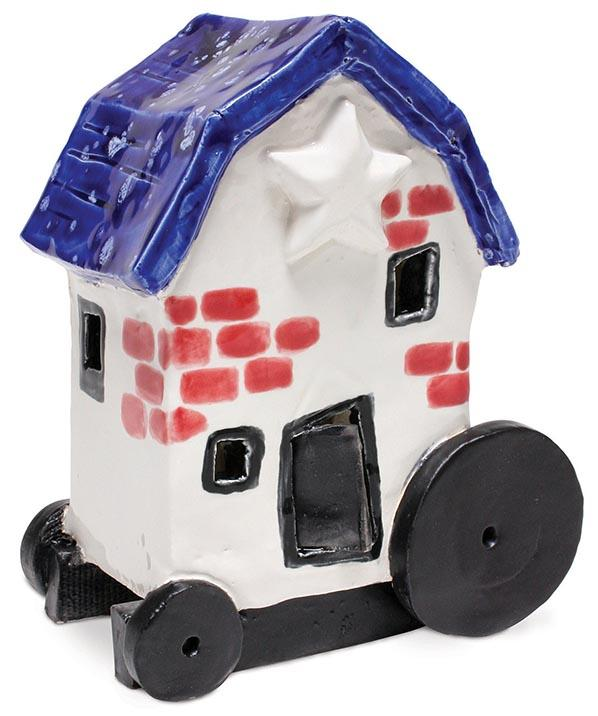
Ask students to draw what kind of house structure they want to make. What will be the shape of the front and back wall and what will be the shape of the side wall? What does the rooftop look like? How many windows does the house have? Does the house have one or two doors? Is the house in the city, the countryside or by the ocean? Are the people or animals that live in it there or are they gone for now? Following their sketch, have students draw the shape of their front wall and one side wall on poster board (card stock or newspaper). Houses should be no more than 8" tall or wide. Draw one side of the roof, then cut out all shapes from the poster board.
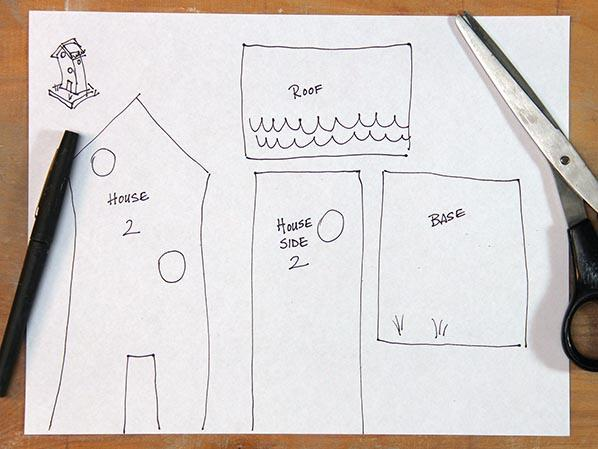
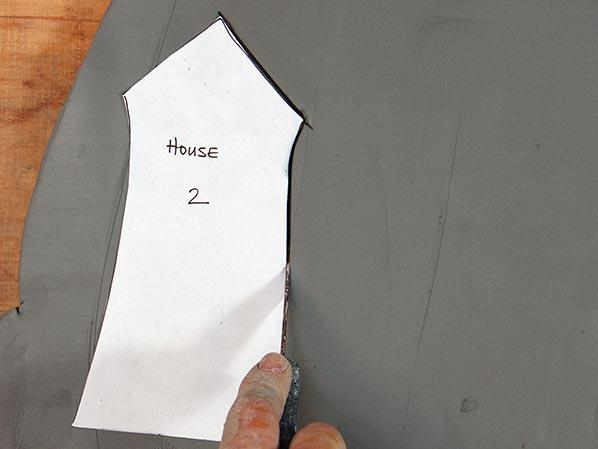
Use slab roller or rolling pin with thickness strips to roll a slab of clay 1/4" thick. Place templates on clay slab and cut the clay. Flip the templates over on another part of the slab and cut the clay for the back, second roof half and other side of the house. Cut out a base for the house. Layer cut slabs between several sheets of newspaper, then wrap in plastic. Let sit over night on a flat surface. The newspaper will aid in pulling moisture from the clay, so the slabs will be firmer for building the house. Clay should be soft enough to join but firm enough to stand up without support.
Miter the sides using a knife or bevel cutter for invisible seams.
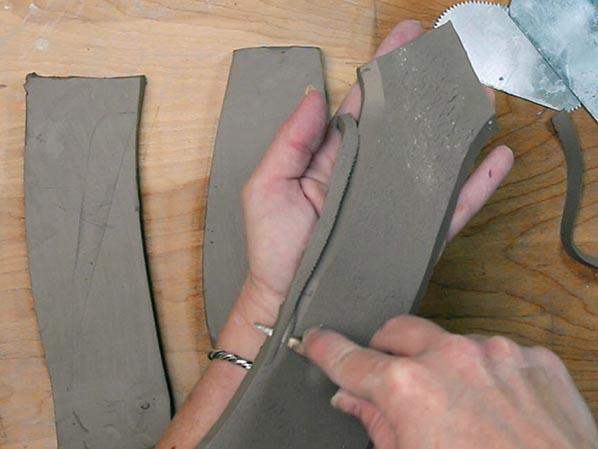
Score all surfaces which will attach to each other. Apply slip or vinegar to both surfaces.
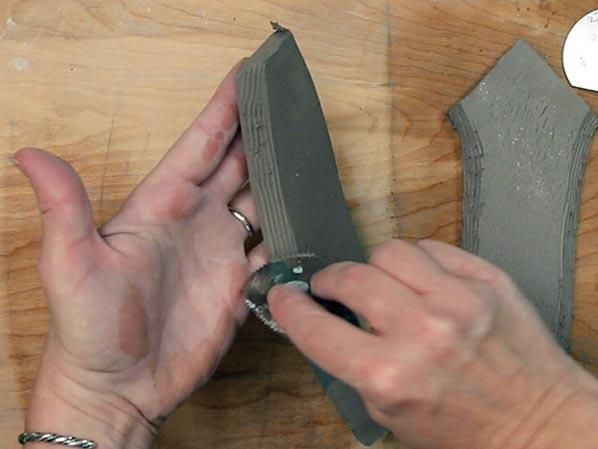
Press together firmly. Continue constructing your house in this manner.
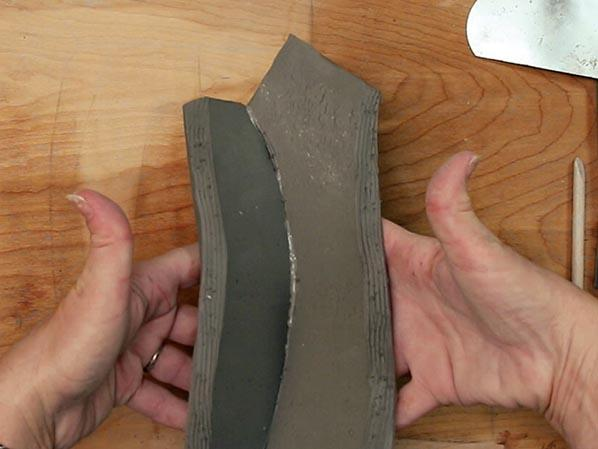
As you build, use a wood tool to “stitch” the seams on the inside of the form and press a thin damp snake of clay into each seam. Smooth inside seams.
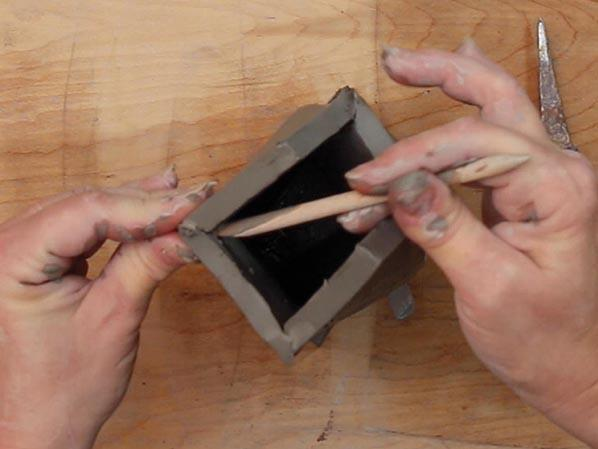
Smooth outside edges with a tool or sponge.
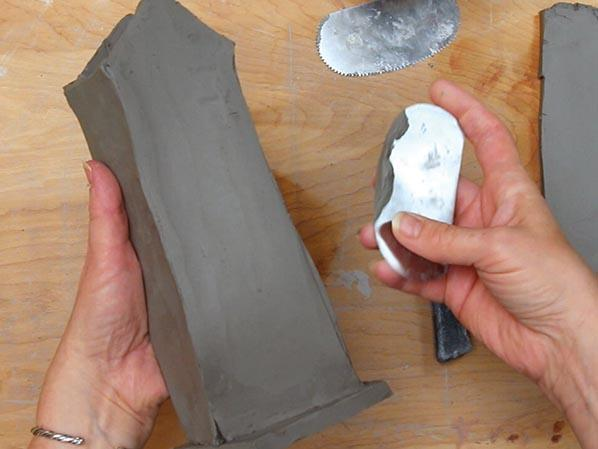
Attach the roof with the score and slip method.
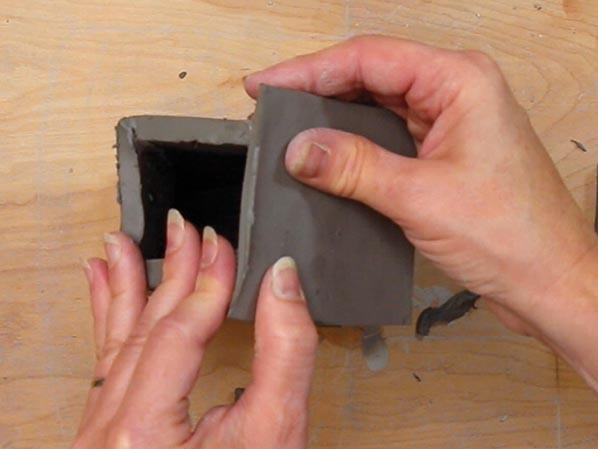
Roof can be textured before or after attaching to house. Photo shows roof being textured after being attached to house, using a potters trimming loop tool.
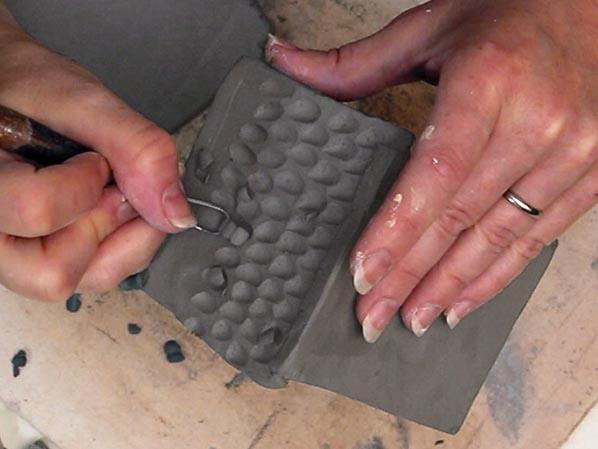
Once structure is complete, cut out windows and doors. Doors can be made from the clay cut out and reattached. Allow to dry slowly until bone-dry, then bisque fire to Cone 04.
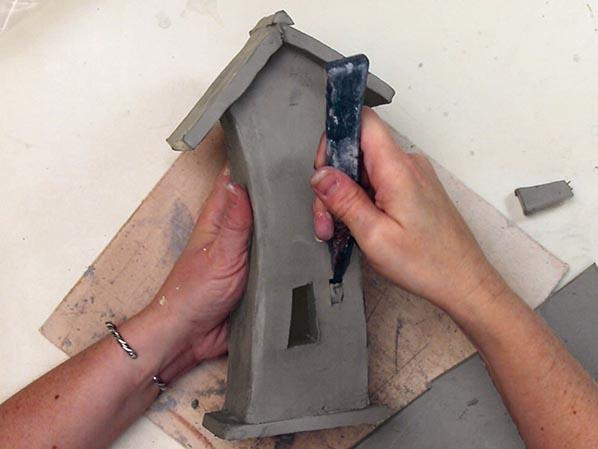
Have students draw a setting where their house exists. The setting can be the city, sky, beach, outer space or even the inside of the house. Encourage students to think with humor and beyond traditional ideas. Remind them to continue the image all the way around the house.
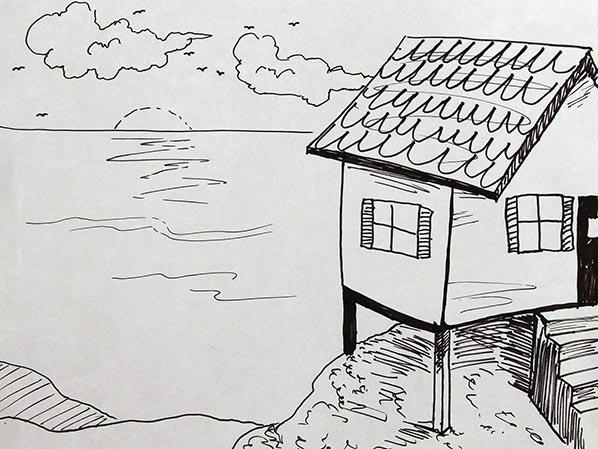
When the piece is fired and cooled, have students draw their setting onto the bisque. Apply 3 coats of glaze or underglaze to resemble the setting of your house. Velvet Underglazes and Teacher’s Palette glazes are formulated to be stable and mimic their fired result, this makes them an excellent choice for illustrative work.
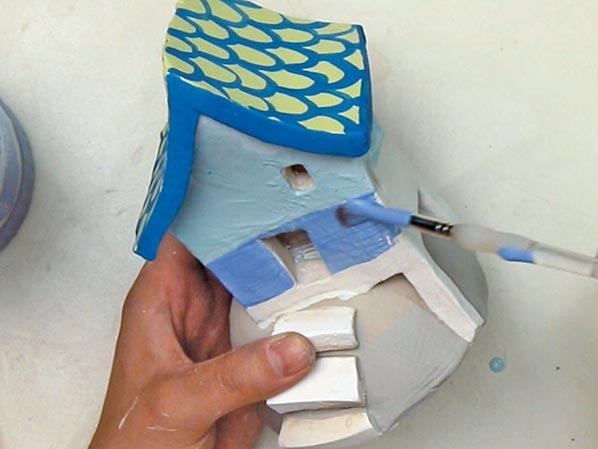
Structural elements that don’t have imagery can be brushed with glazes appropriate to the effect the student wishes. For example, textural surfaces are enhanced with the LT (Textured Alligator) and ST (Stone Texture) glazes. Glaze fire to Cone 05.
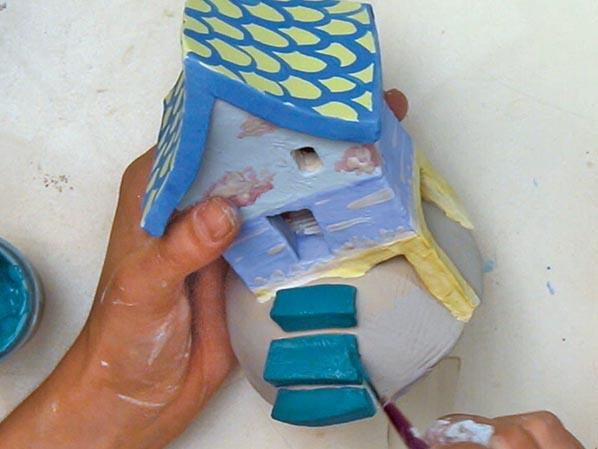
Instead of using underglaze and glaze to make imagery, have students use the textures and forms of the house to give a sense of the setting for the house.