Weathered Sign
Make a decorative sign for your home or garden!


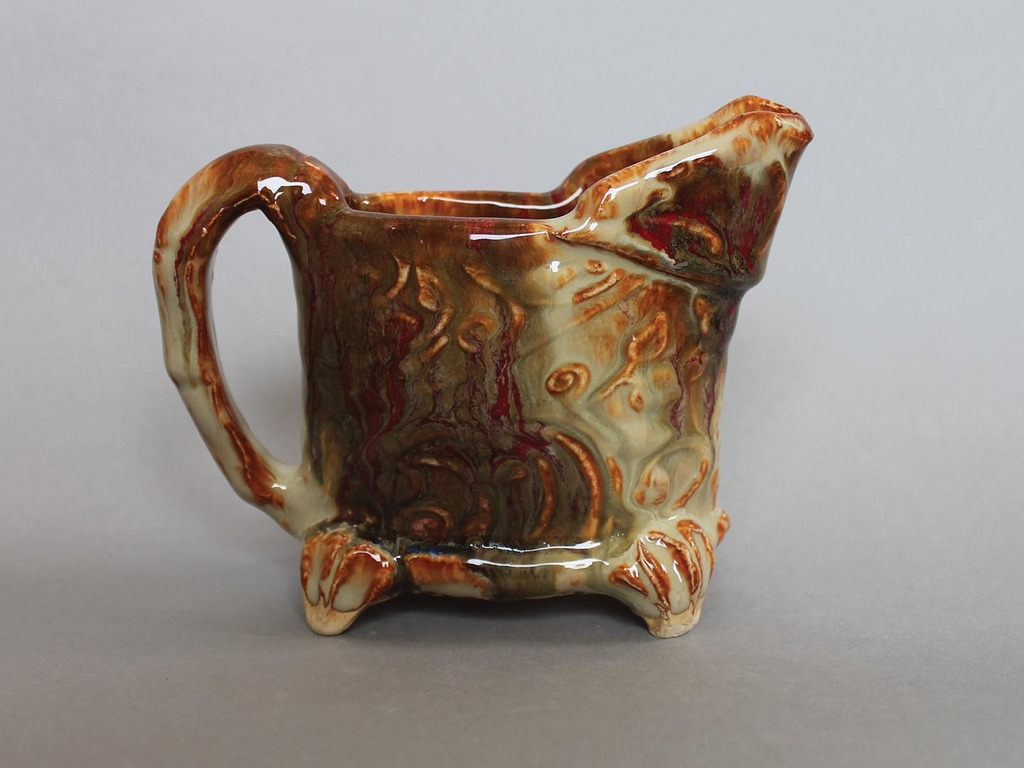
Design and sketch pitchers: 3 to 4 inches tall (including spout and feet) x 4 to 5 inches wide (including handle).
Cut templates from sketches on paper
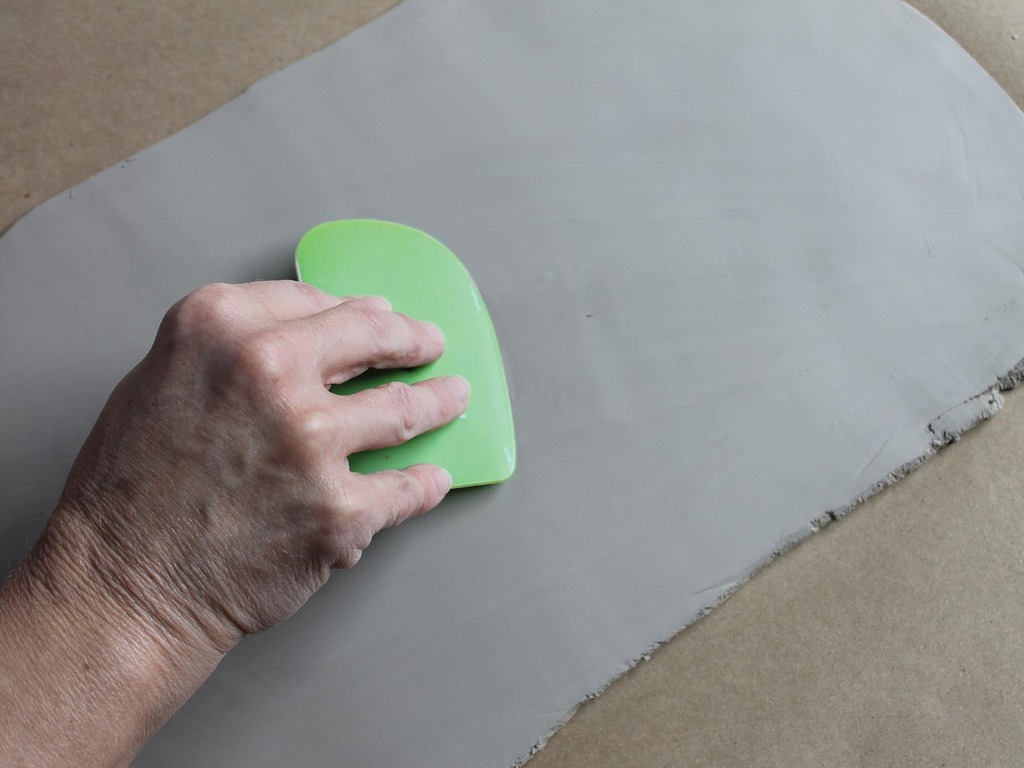
Roll slab, smooth and compress with plastic rib.
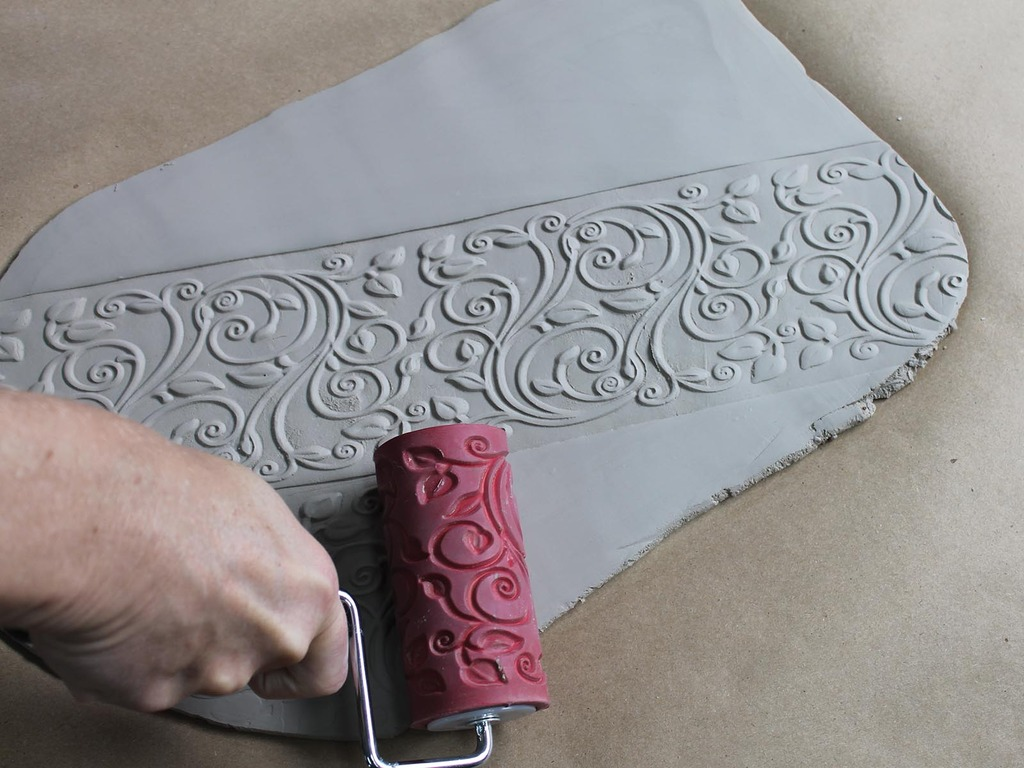
Press texture into slab using a texture roller, stamps, or press slab into texture molds.
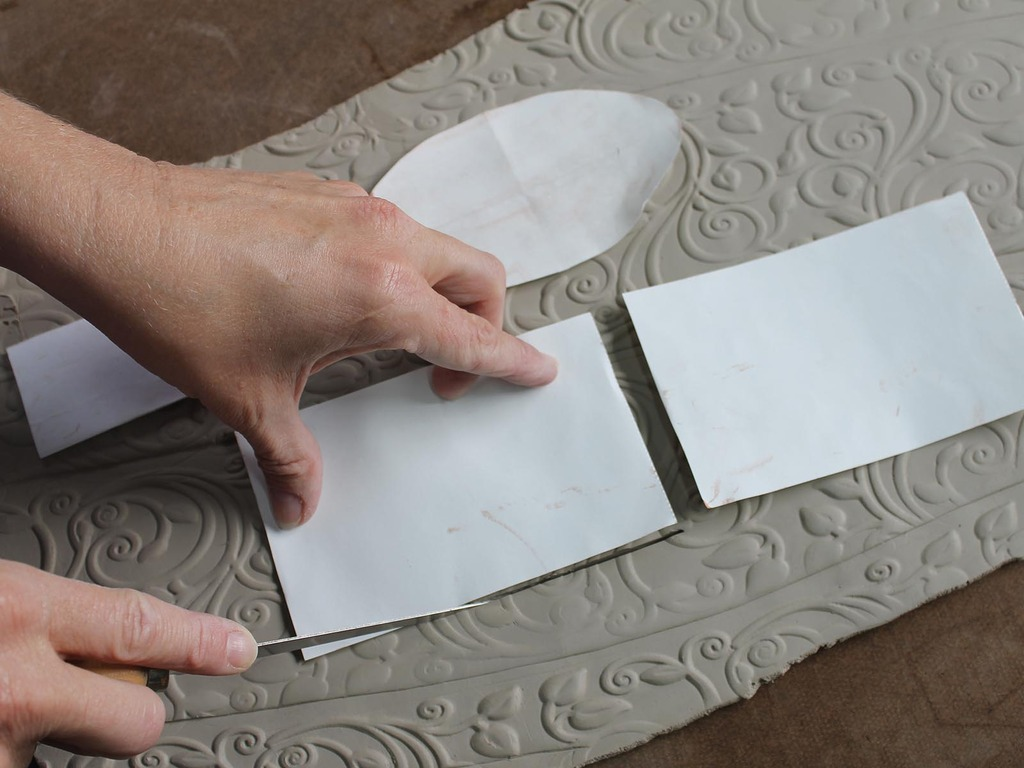
Use paper template to cut out parts of pitcher. There are four parts to a basic pitcher: two sides (squares), one base (oval), and one spout (rectangle).
Score sides at the ends to join, using a scratch tool, fork, etc. where the parts of the pitcher connect.
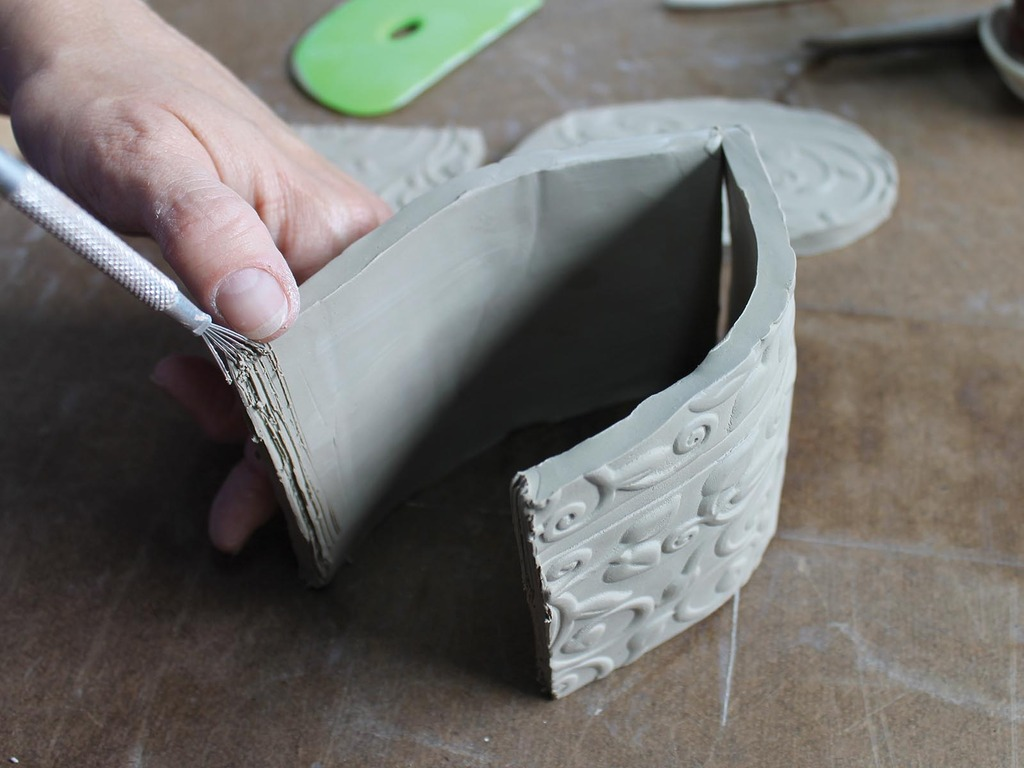
Paint on small amount of vinegar (used instead of slip for the glue) on scored places and attach.
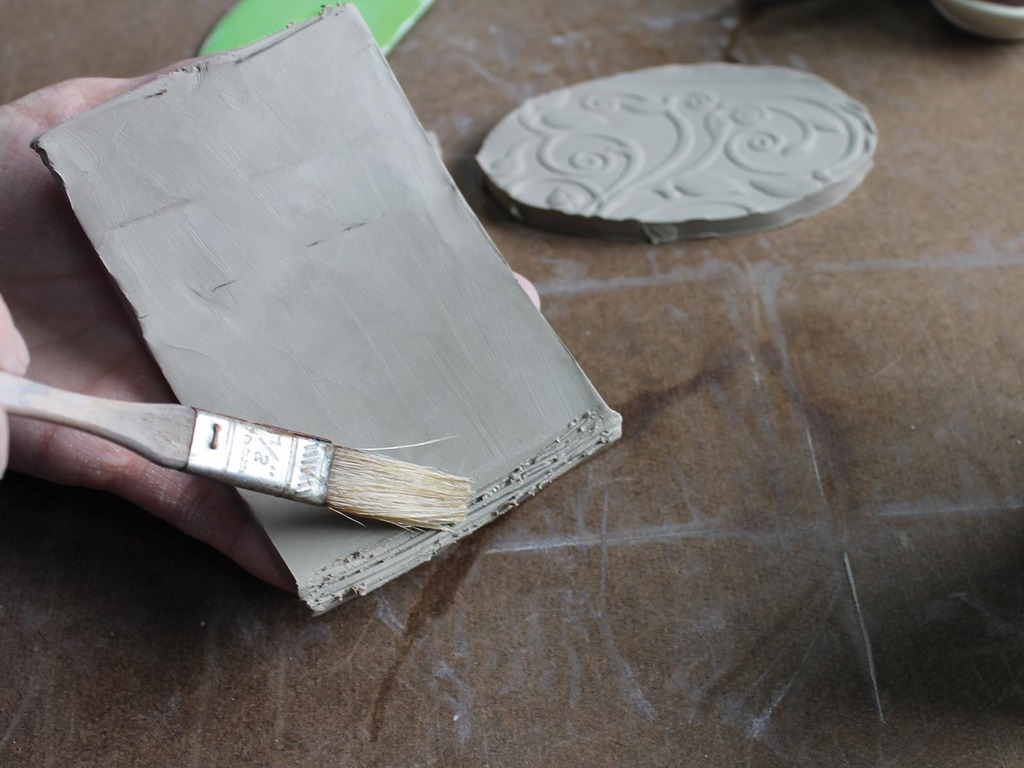
Reinforce seams with coils of clay, press and smooth gently.
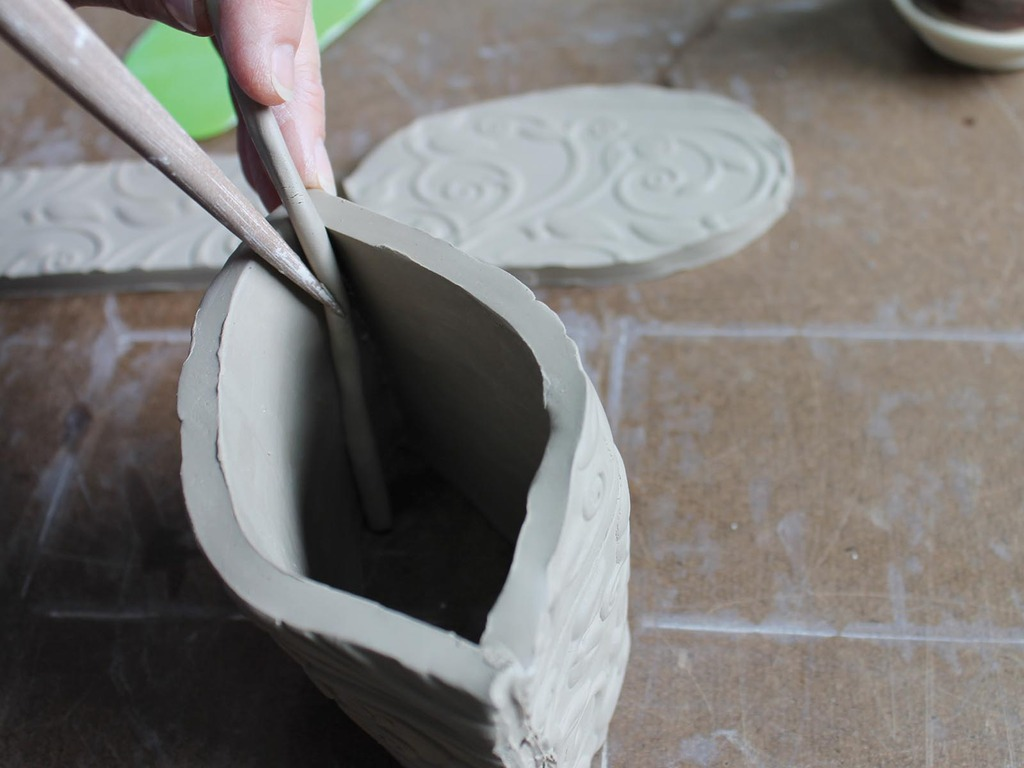
Score, paint on vinegar, and attach base to sides of pitcher. Press base to sides.
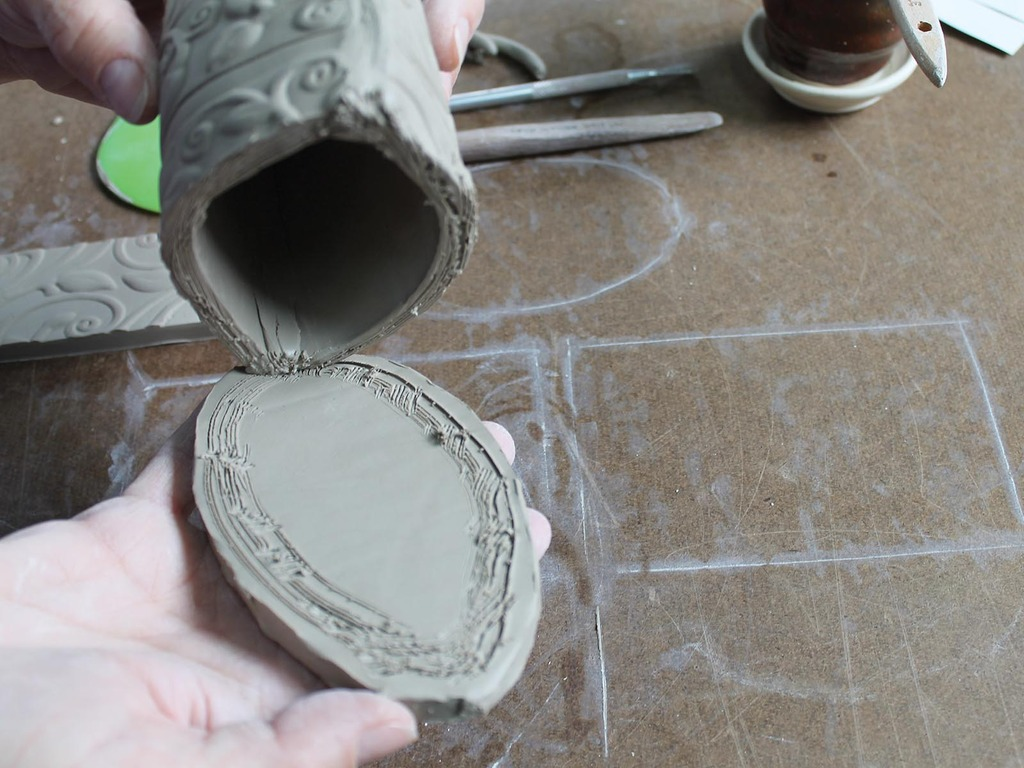
Seal both inside and out to secure attached areas for a functional pitcher.
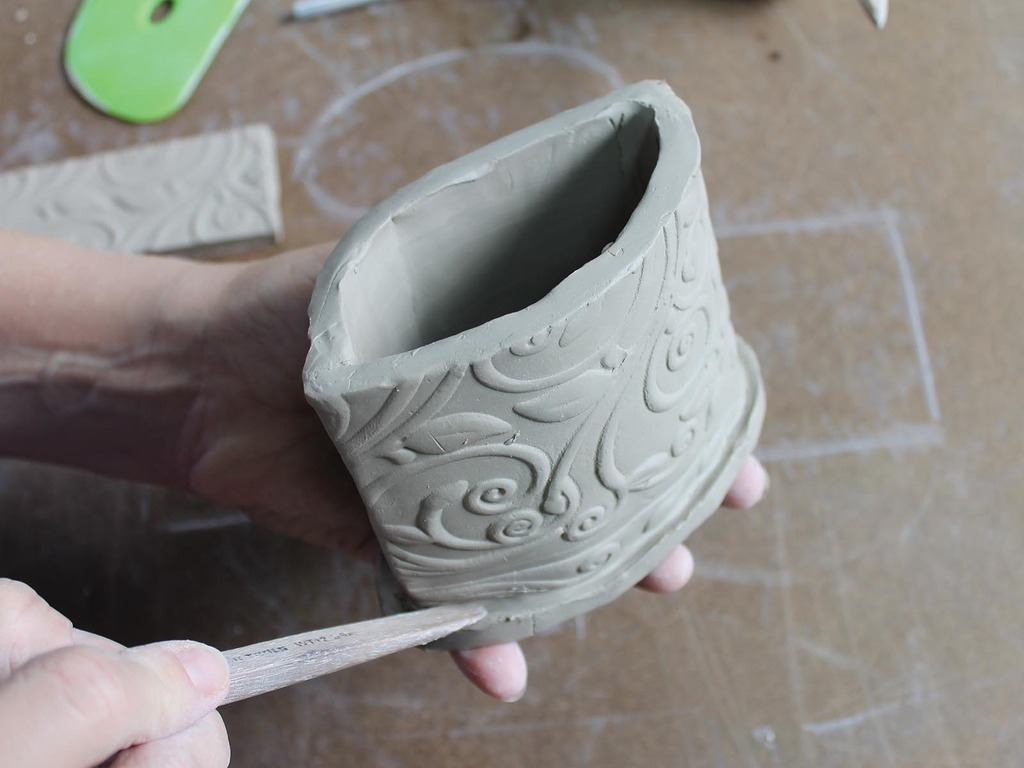
Size up the spout and decide exactly where to place. Mark outside where spout goes.
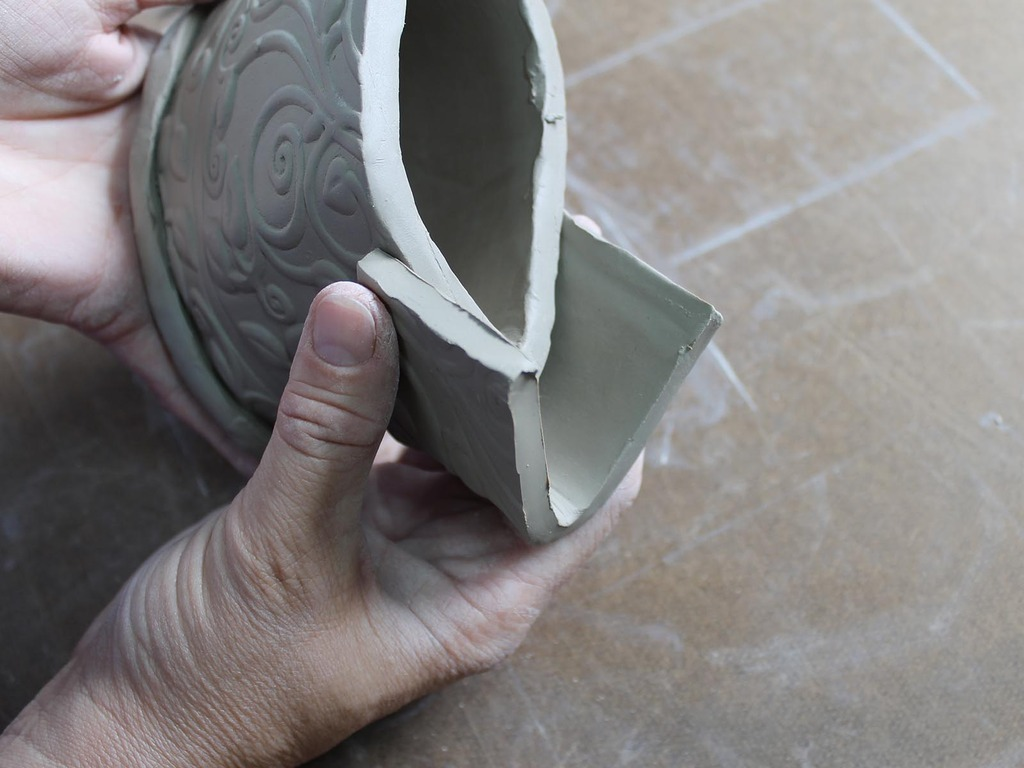
Cut along mark.
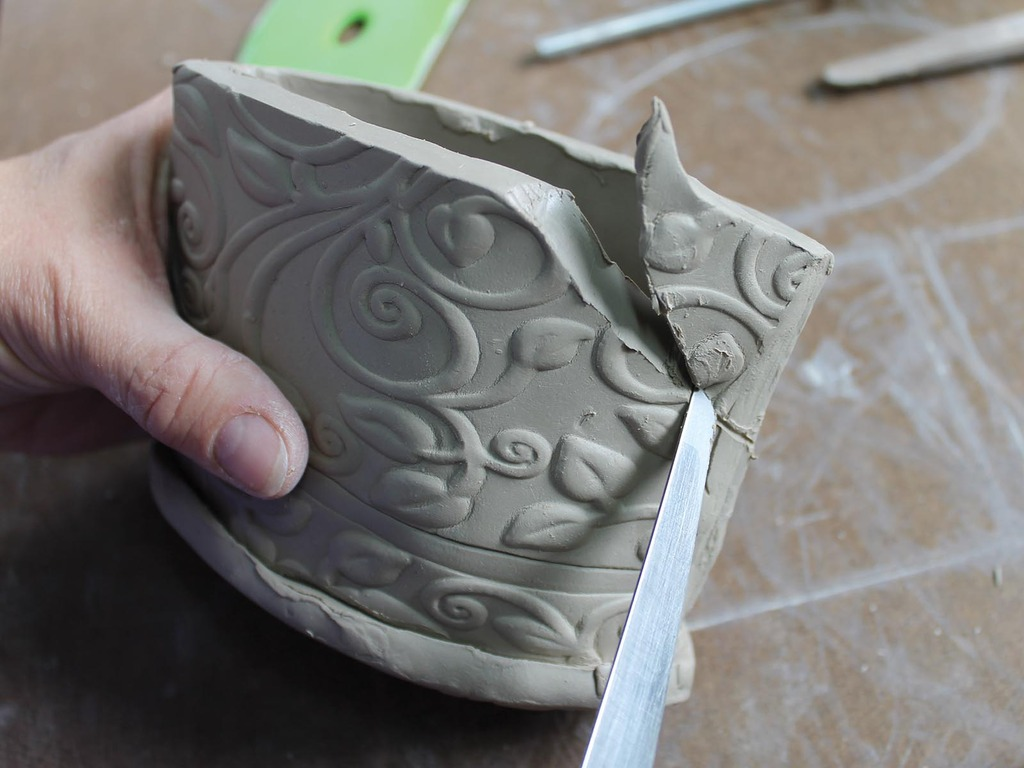
Score, paint on vinegar, and attach spout. Smooth interior of spout carefully to connect and enhance pouring capabilities.
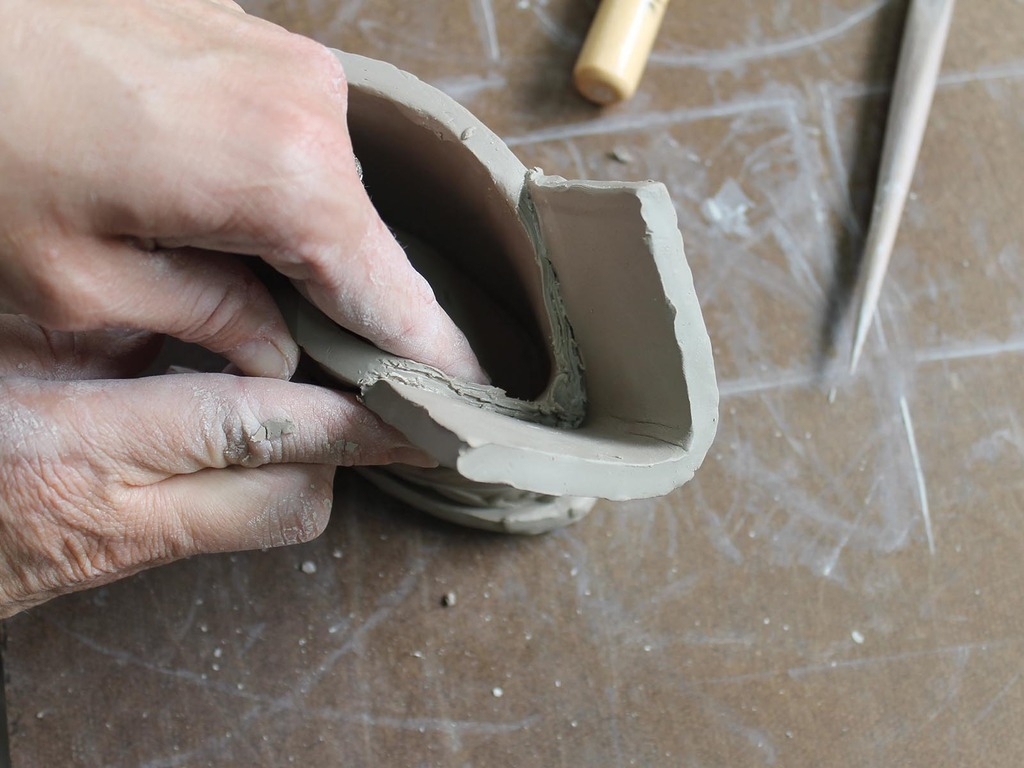
If desired for design, cut corners off top of spout.
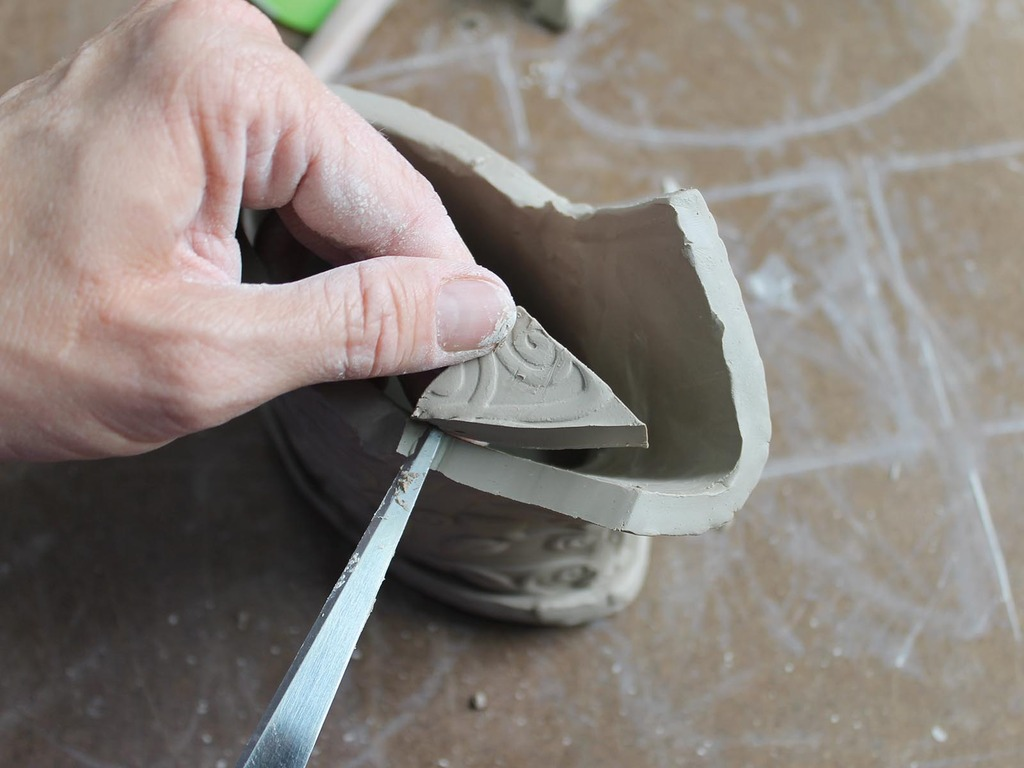
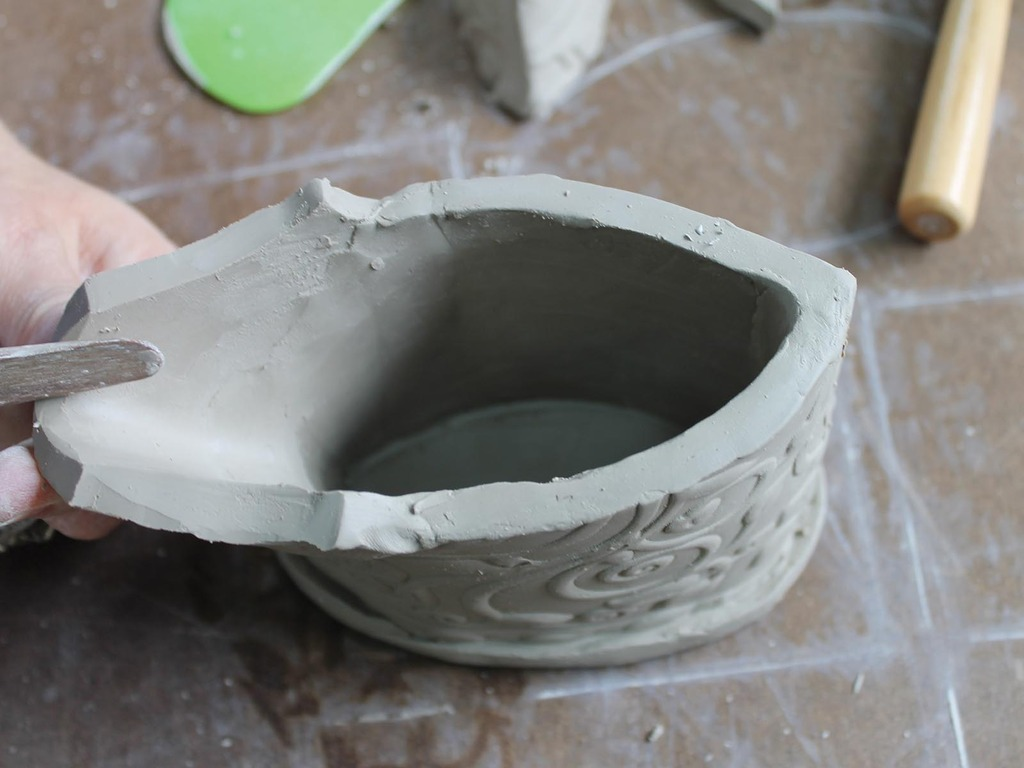
Smooth end of spout for pourability.
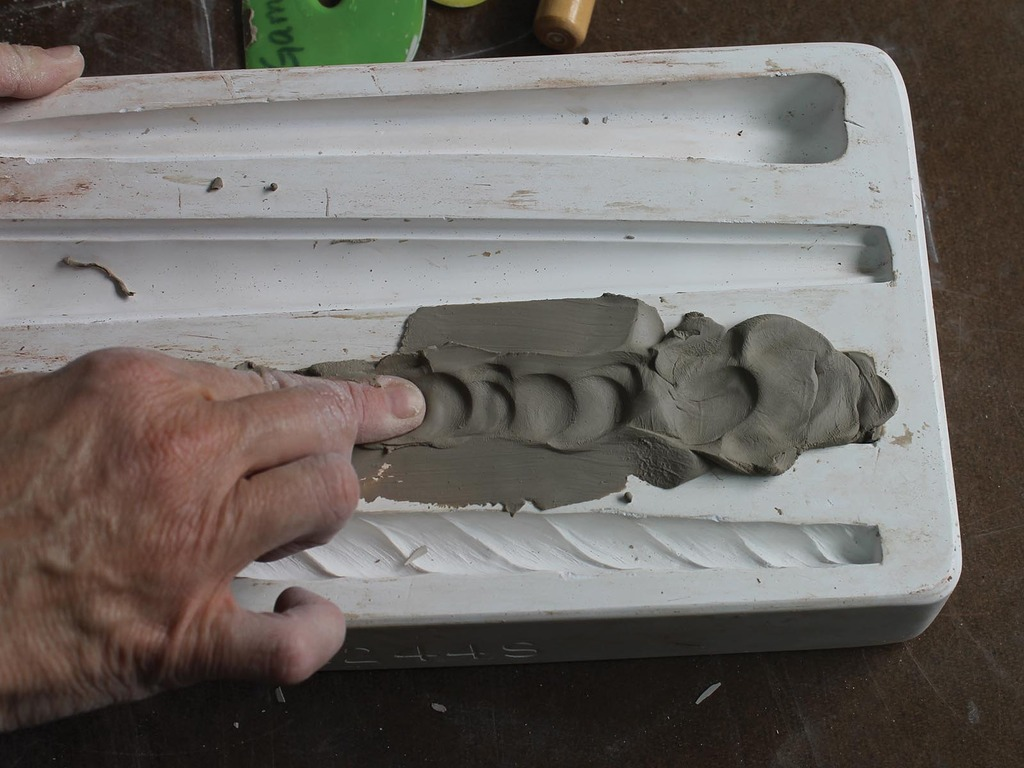
Press the amount of clay needed into the handle sprig mold. Press and repress clay into mold.
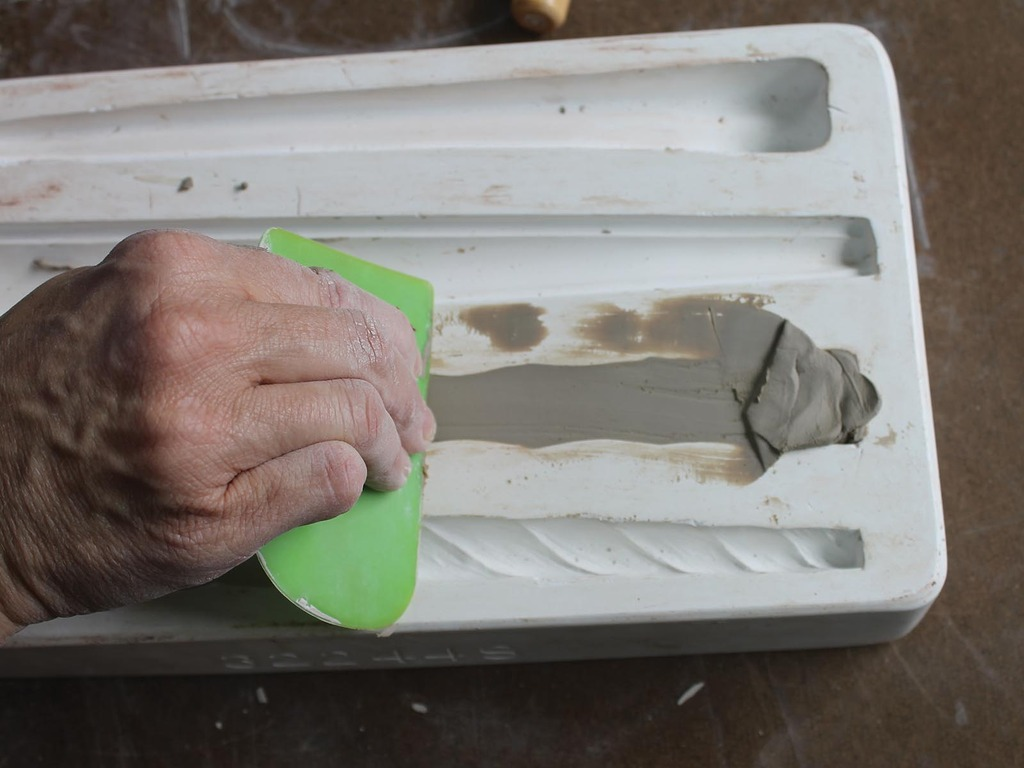
Smooth to flatten, from the center out, with a rubber rib.
Roll a small clay coil and then flatten one end. Wet flat end with a bit of water, attach to clay at one end.
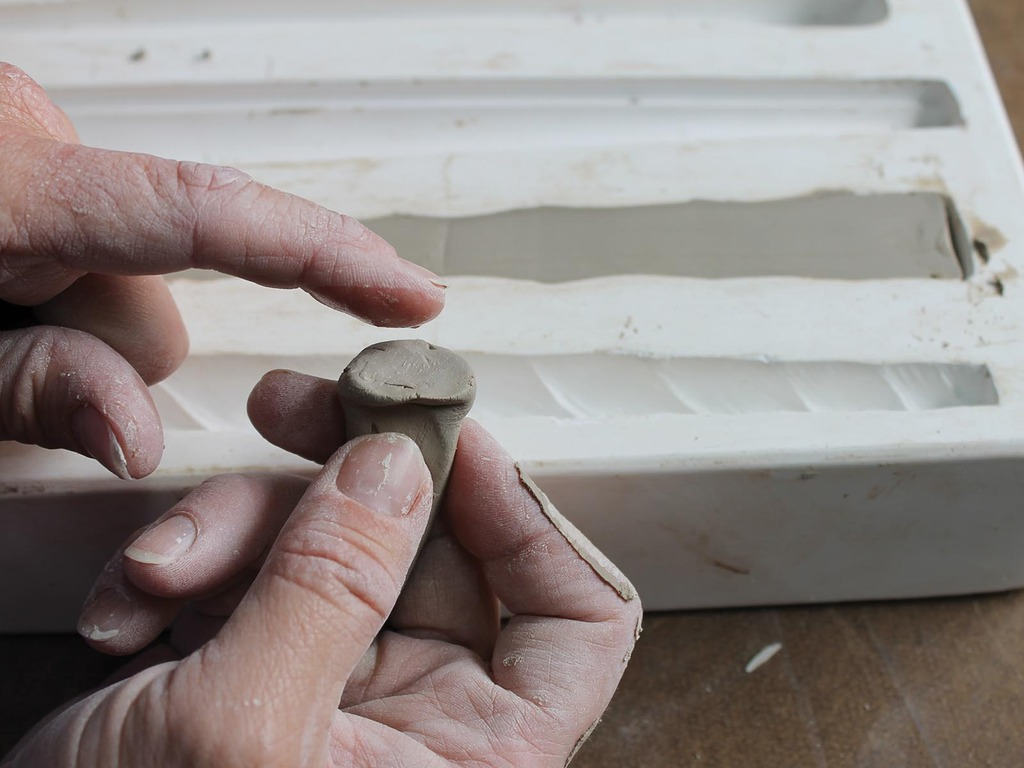
Lift up and quickly remove small clay coil. Shape ‘handle’ into a “C” for attaching after feet are attached.
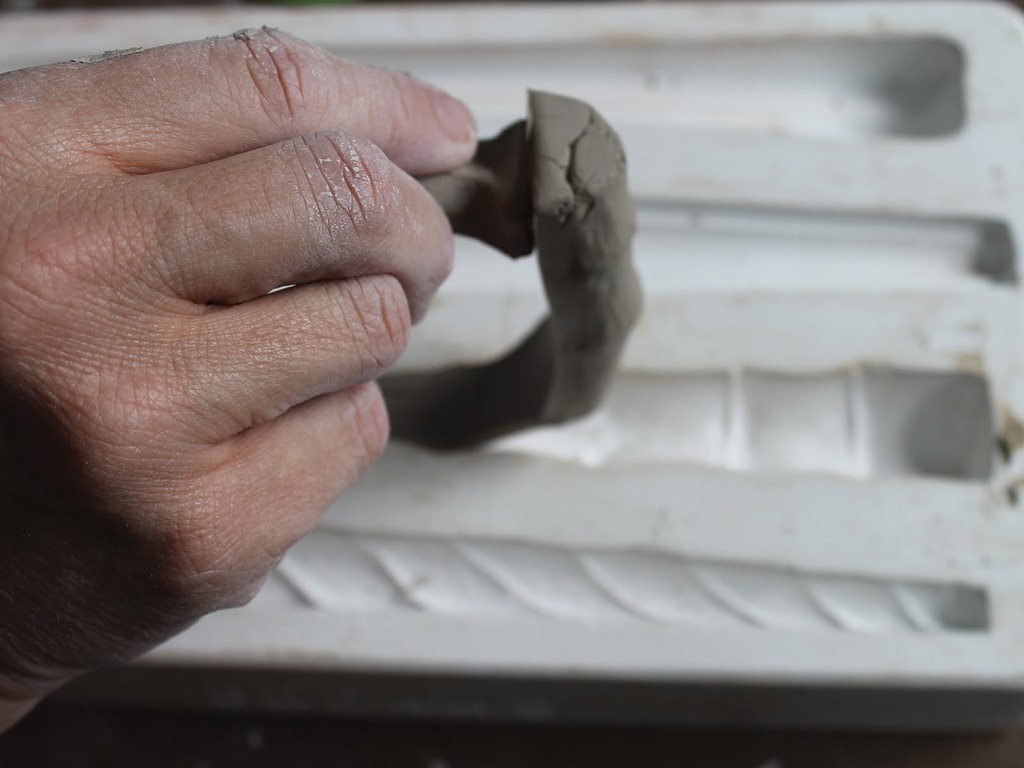
Make feet from sprig mold using same technique as handle.
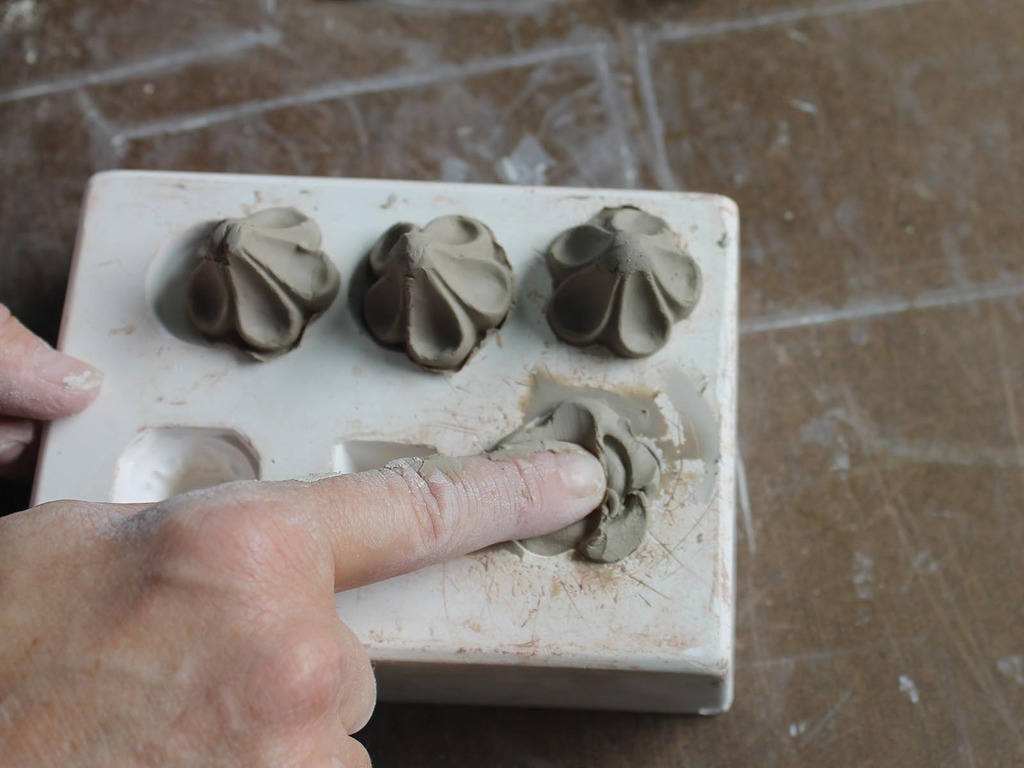
Attach feet with larger half of foot wrapped gently around and up the outside of the base. Point bottom of feet up and smooth connections using wood smoothing tool.
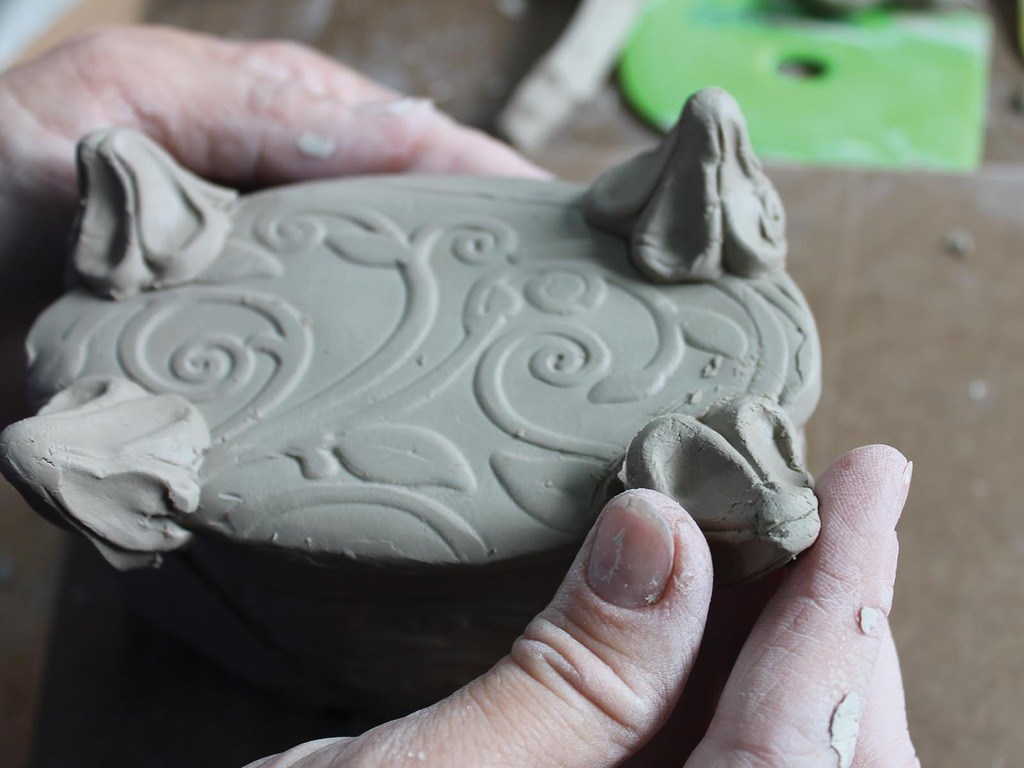
Attach handle and if desired, more decorative sprigs.
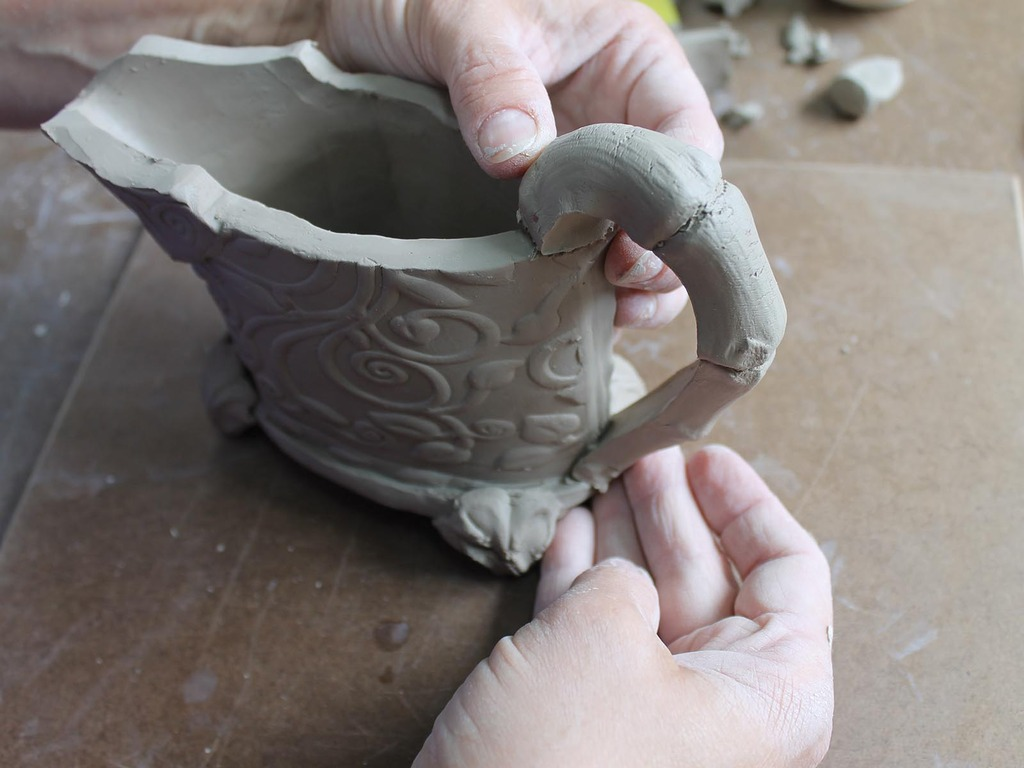
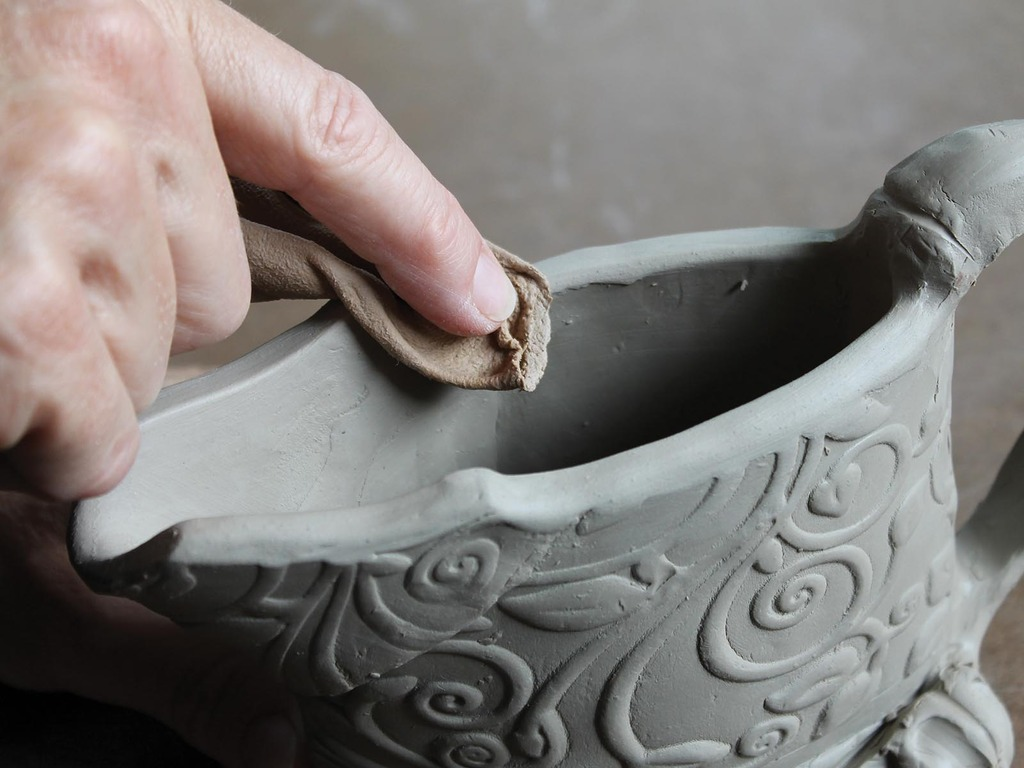
Smooth rim and spout with chamois and fingers.
Slow dry with plastic draped over pitcher for 24 hours. Remove drape of plastic and continue drying until bone dry. Bisque fire pitcher to Cone 04 and finish by applying final glaze decoration. Glaze fire. Pitchers can be made with low fire (Cone 04) clay or mid/high fire (Cone 5/6) clay. Match glaze to clay type, Cone 04 clay with Cone 04 glaze, etc. Decoration on wet and leather hard clay can be done with Velvet underglazes before the bisque fire.