Weathered Sign
Make a decorative sign for your home or garden!


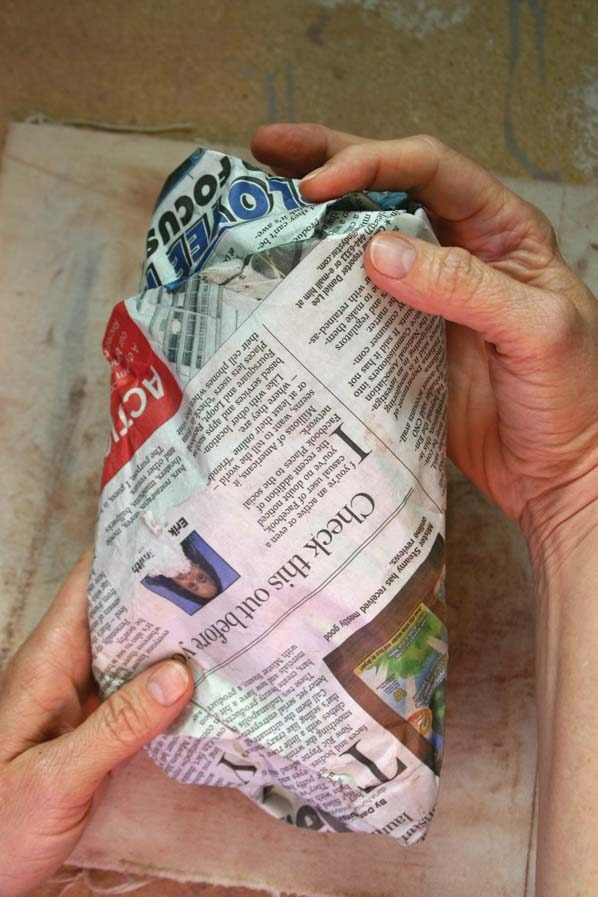
Make a ball of newspaper to use as a hump mold (about the size of a grapefruit).
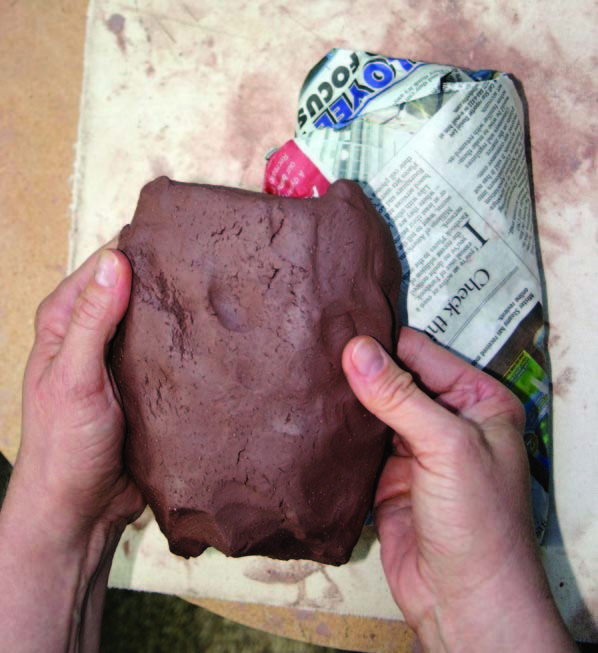
Cut generous pieces of the Terra Cotta clay off the clay block for each participant.
Make a mask! No tools! Your fingers and hands are your greatest tools.
Do not put eyes or a mouth on your mask.
You have 5 minutes to make this mask.
The mask needs to be the same thickness everywhere, about 1/2" thick.
No water – push the clay together if you need to add something.
At five minutes STOP! Then ask the participant to pass their mask on their board to the person on their right. They have 5 minutes to work on their mask in front of them. Don’t forget ears and hair!
At five minutes STOP! Ask them to pass it one to their right once more. Then announce they have 5 minutes to work on their mask.
At five minutes STOP. Ask them to pass their mask two people to the left, which brings back their original mask which they may or may not recognize.
Give them 10 minutes to work on their mask.
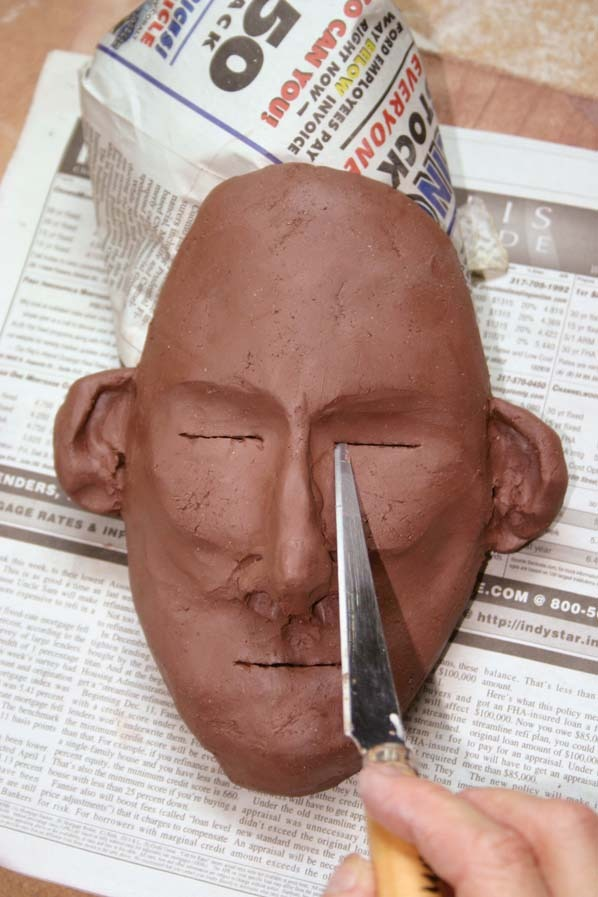
With a fettling knife, cut straight lines through the clay horizontally, across the middle of the socket area, to create the size of an eyeball. At the middle of where the mouth should be, cut a horizontal line through the clay to create the length of the mouth.
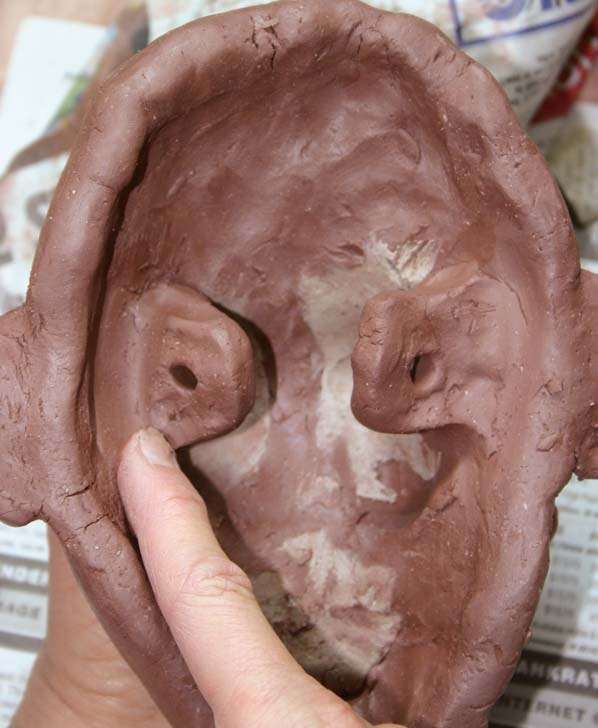
Once the lines are cut, turn the mask over and push out from behind the middle of the cuts, making space for the eyes and opening the mouth. The mouth may need some shaping and the lips may need some smoothing, depending on the thickness of the clay.
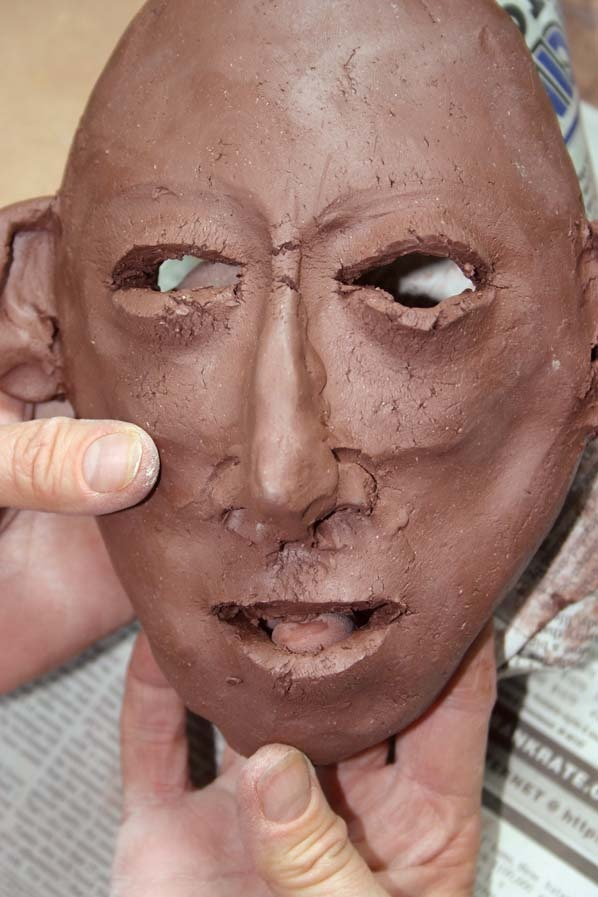
Wash the red clay from your hands.
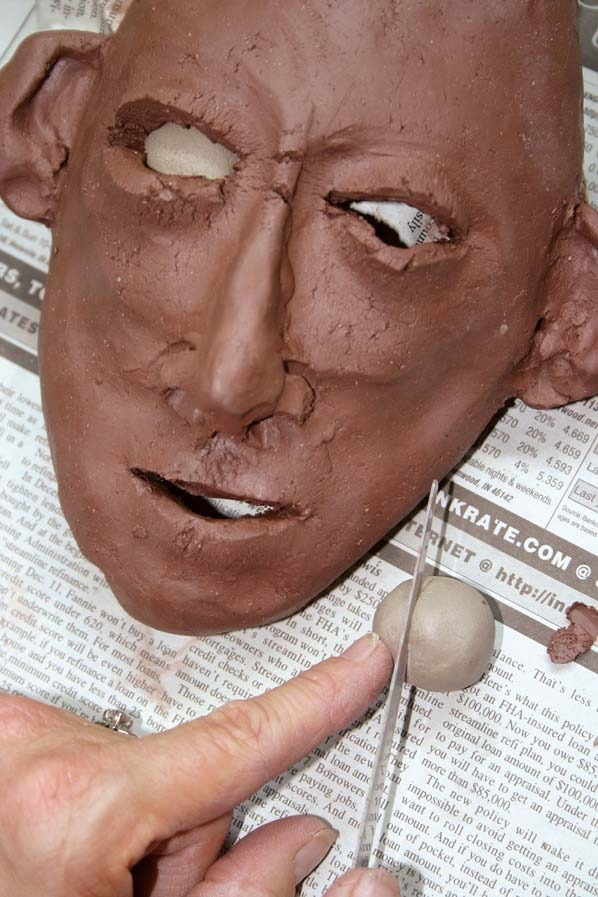
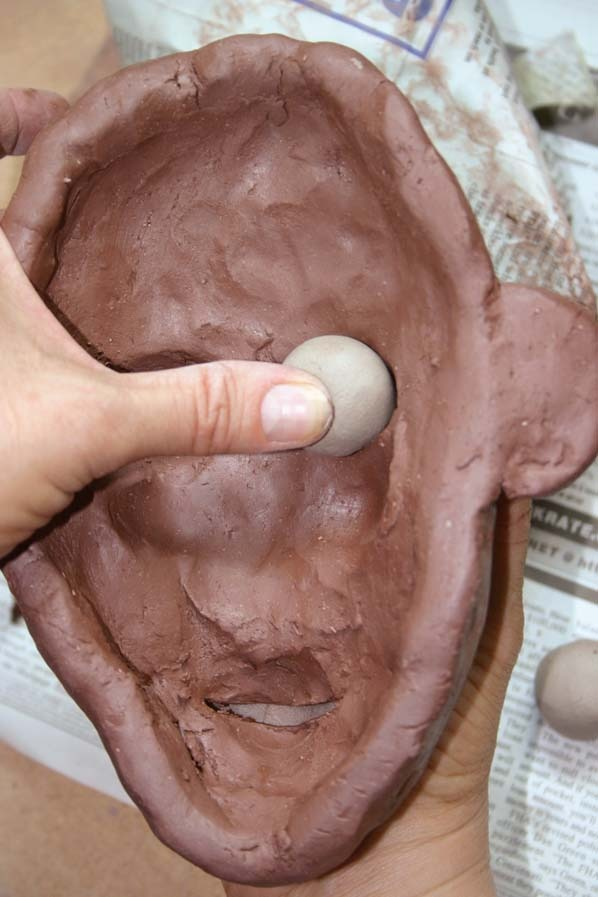
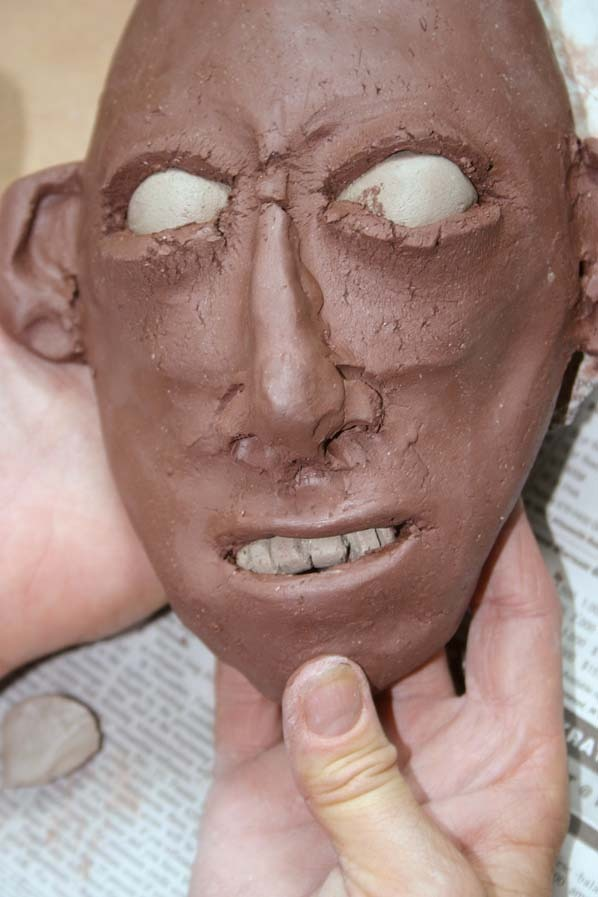
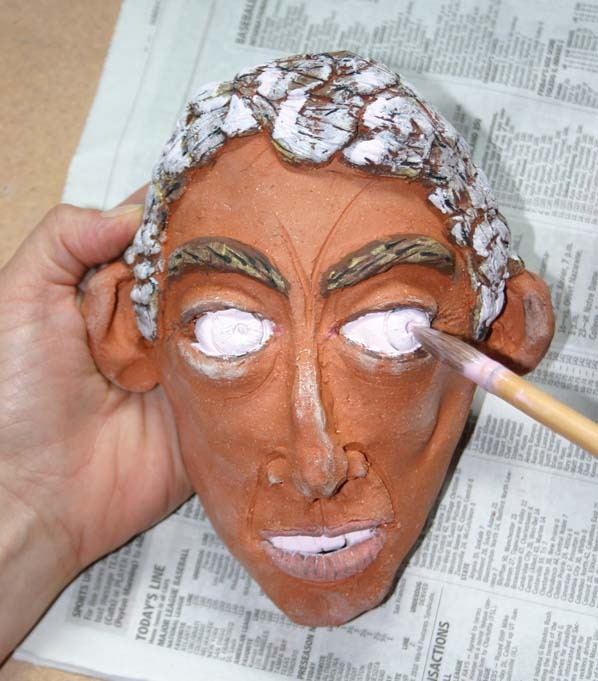
Take the white eyeballs and insert them one at a time into the opening of the eye from behind, pushing them into place and smoothing/attaching them on the back side of the mask into the red clay.
To finish the eyes, use a round piece of plastic (top of a Sharpie marker works well) to define the iris.
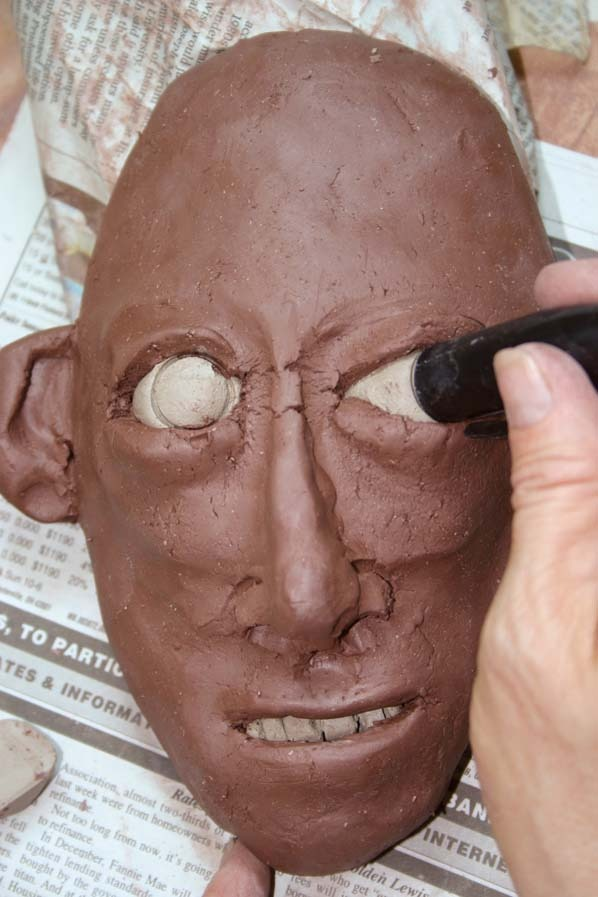
The pupil can be either carved out or, with a pen part, press another small round circle into the clay.
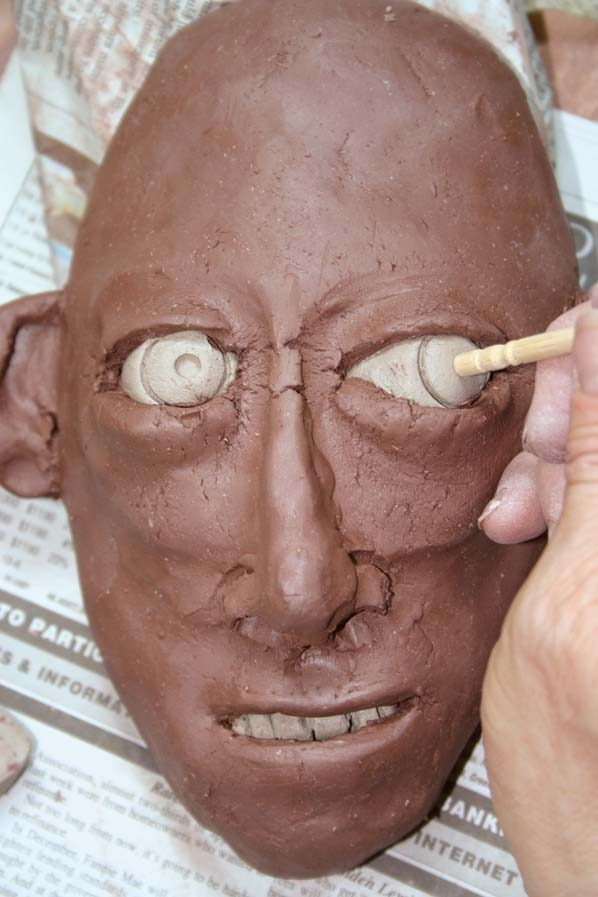
The teeth can be put in from behind and attached, making them as realistic or funny as you want. Tongues, cigars, pipes, etc. can add to the character of the piece.
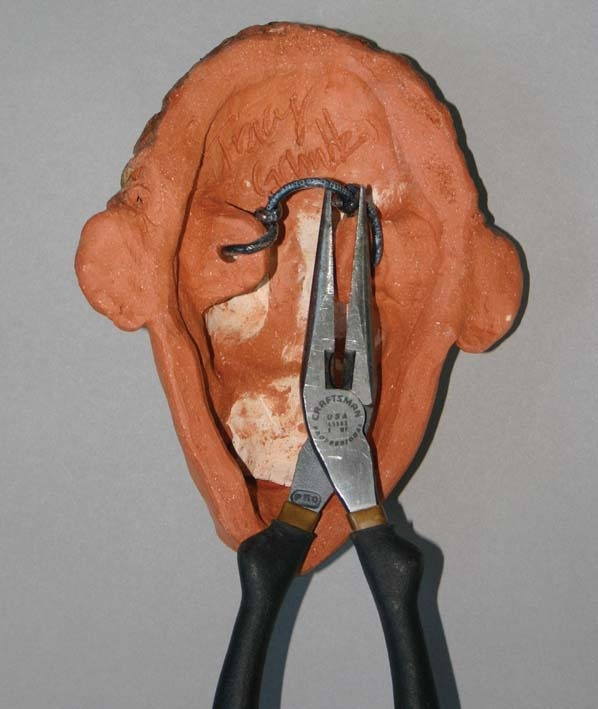
Across the back of the mask, add clay loops or holes, and connect them with a wire so mask will hang on the wall.
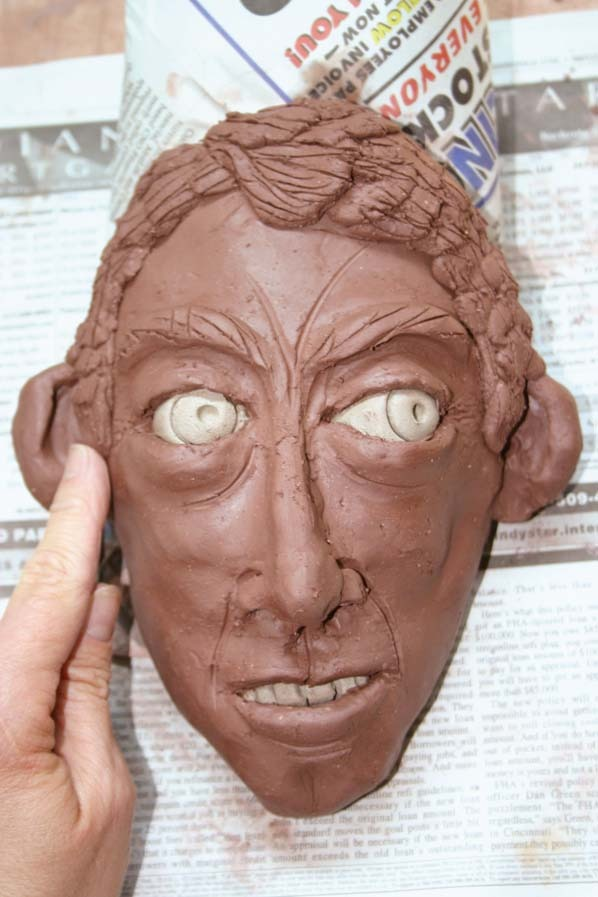
Add finishing details to mask.
Add color while the masks are still wet. Underglazes and vitreous engobes work perfectly for this. They are made mostly of clay and enable brushing onto the wet clay. They shrink with the clay as it dries without popping off. Use underglazes right out the container. Once the underglaze is on, do sgraffito work on the surface by cutting through the colored underglaze back to the red clay. Let the underglaze or engobe set up a bit and stiffen before cutting through it.
When mask is dry, bisque fire to cone 04. To distinguish mask even more, brush clear glaze on the eyes, lips, teeth and tongue and do a glaze fire to cone 05.
Attach Hanging Wire