Plant Stakes
Make decorative plant stakes for the garden!


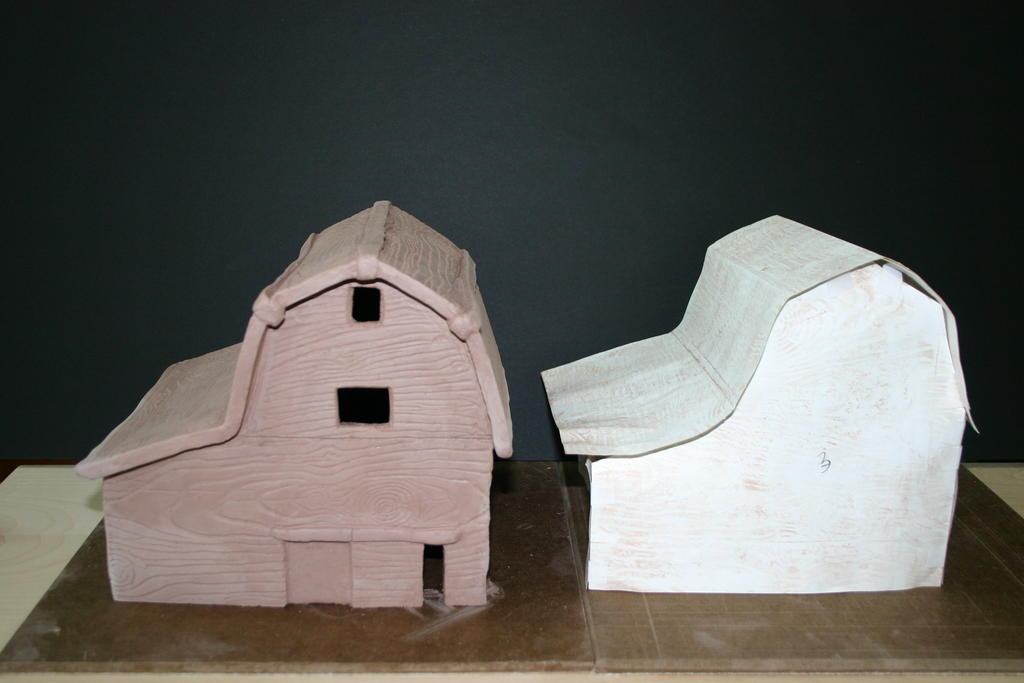
Right side—design for barn in paper
Left side—clay barn
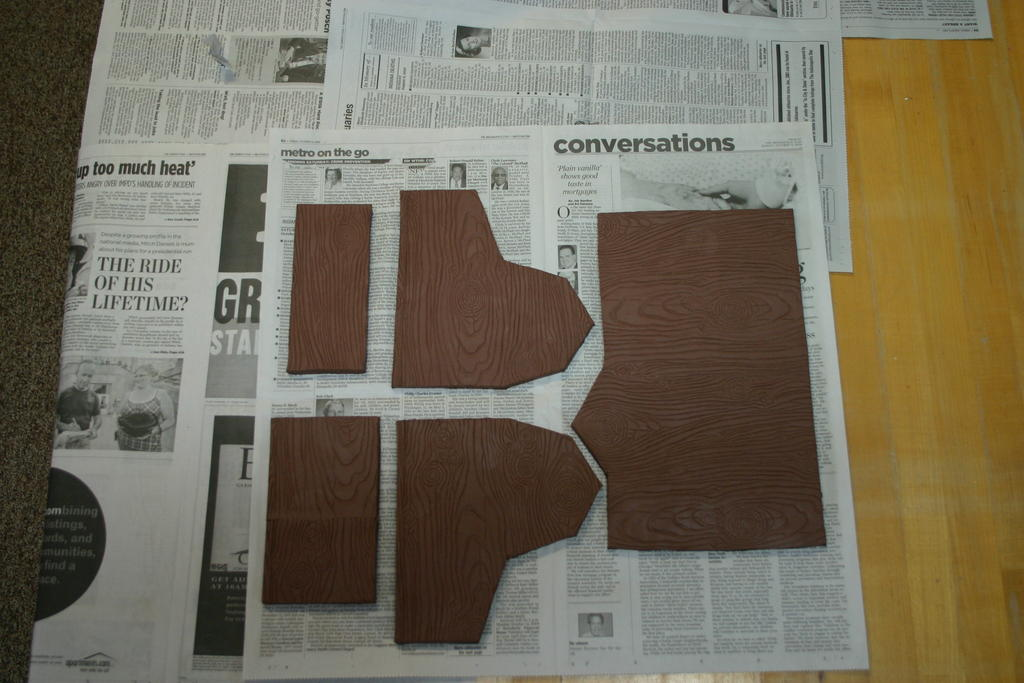
Design and construct barn out of paper and tape together to ensure fit. Then use paper as templates/patterns to cut pieces from textured clay slabs to create barn in clay.
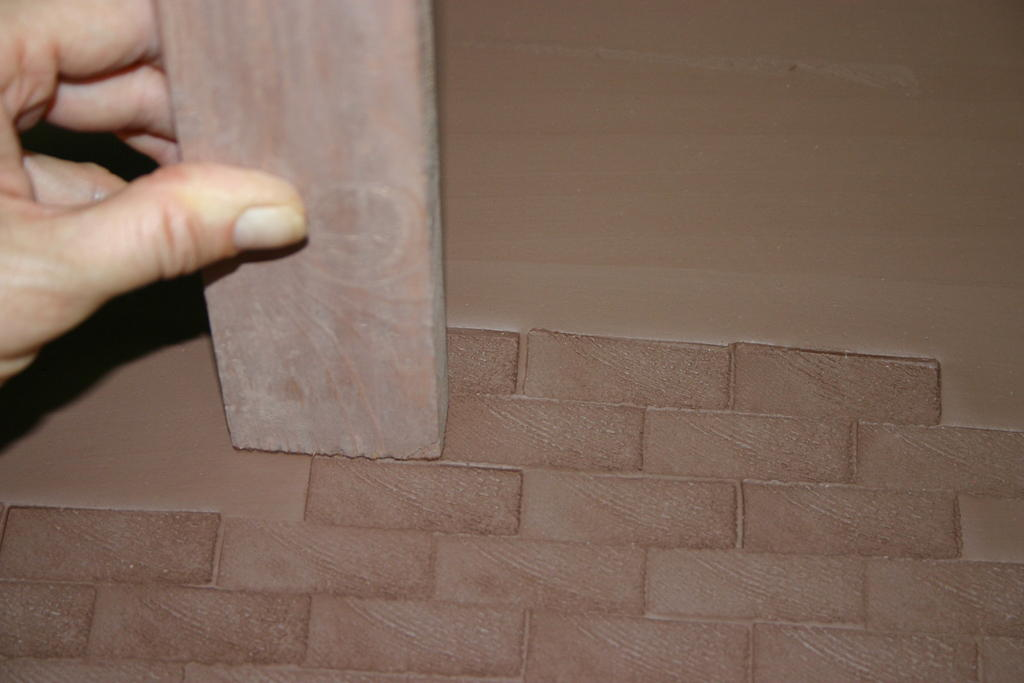
Roll slabs with a slab roller or rolling pin with a thickness of 3/8″ to 1/2″ and smooth with rib. Texture slab with pieces of wood (as pictured), stamps, texture molds, and other found objects. Be creative and find some good textures to use on slabs.
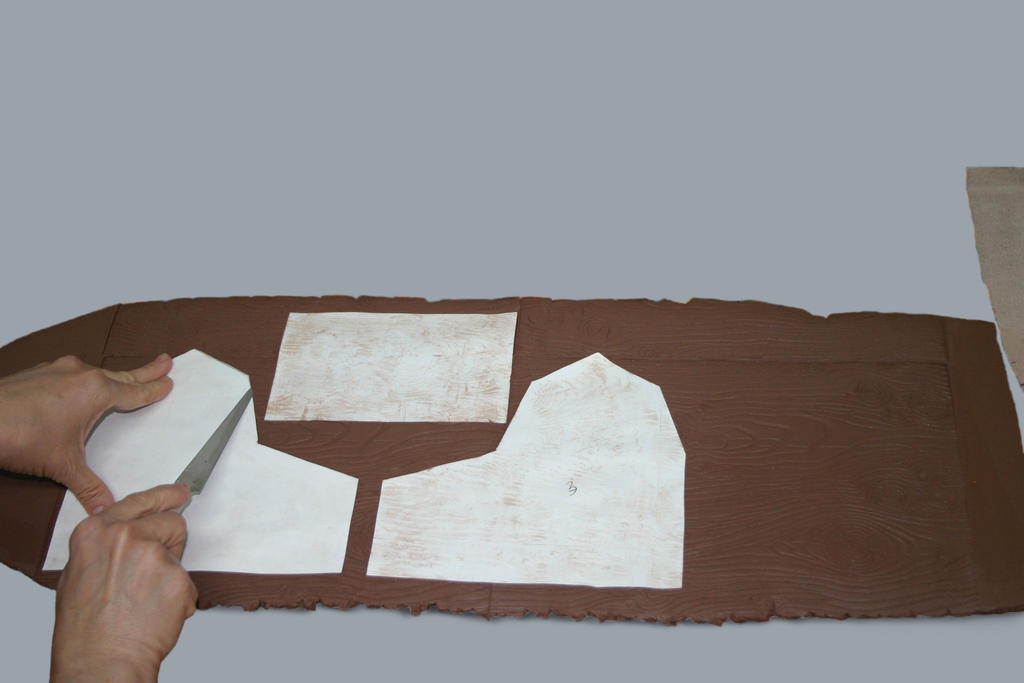
Place paper templates/patterns on textured slabs and cut using a fettling knife or a cutting tool. Make sure the clay slabs are stiff enough to hold shape when putting walls and roof together. Design roof large enough for over hang on all sides of barn.
Sides, ends, and roof of barn. The slabs should be stiff enough to assemble but pliable enough to apply texture. Plan on using approximately five pounds of clay per student.
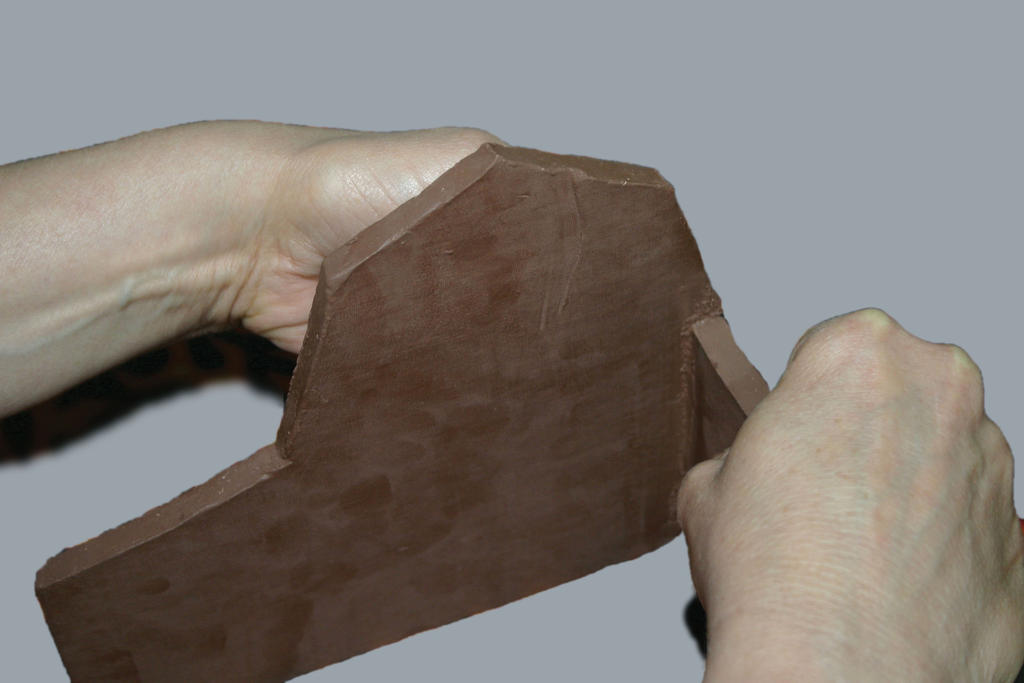
“Raise” build your barn. Score where parts are to be attached with a scoring tool, fork, or toothed rib. Connect using vinegar to moisten scored area only and press together. Add roof design details of clay strips to cover any cracks in the clay that may appear when bending clay to attach roof.
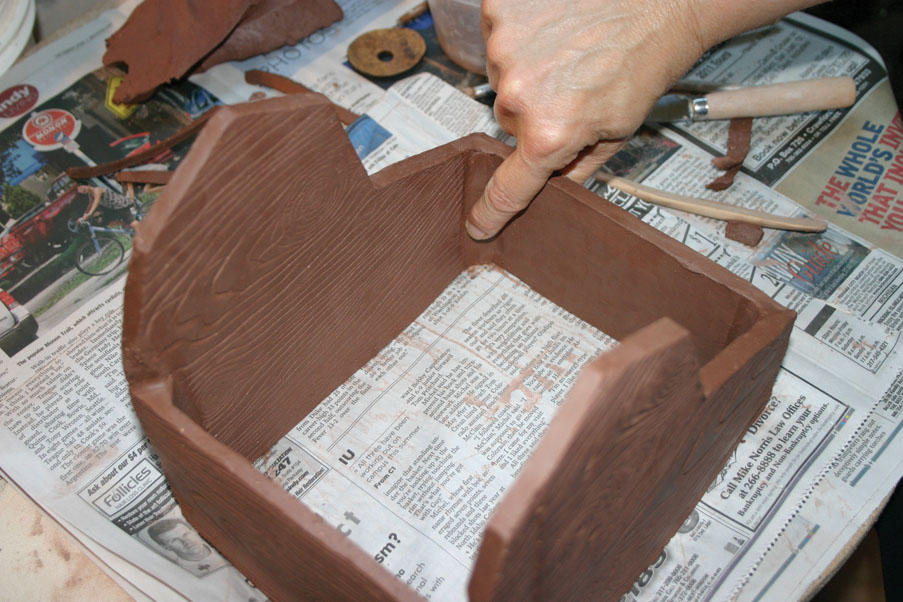
Secure connection with a coil and smooth with finger.
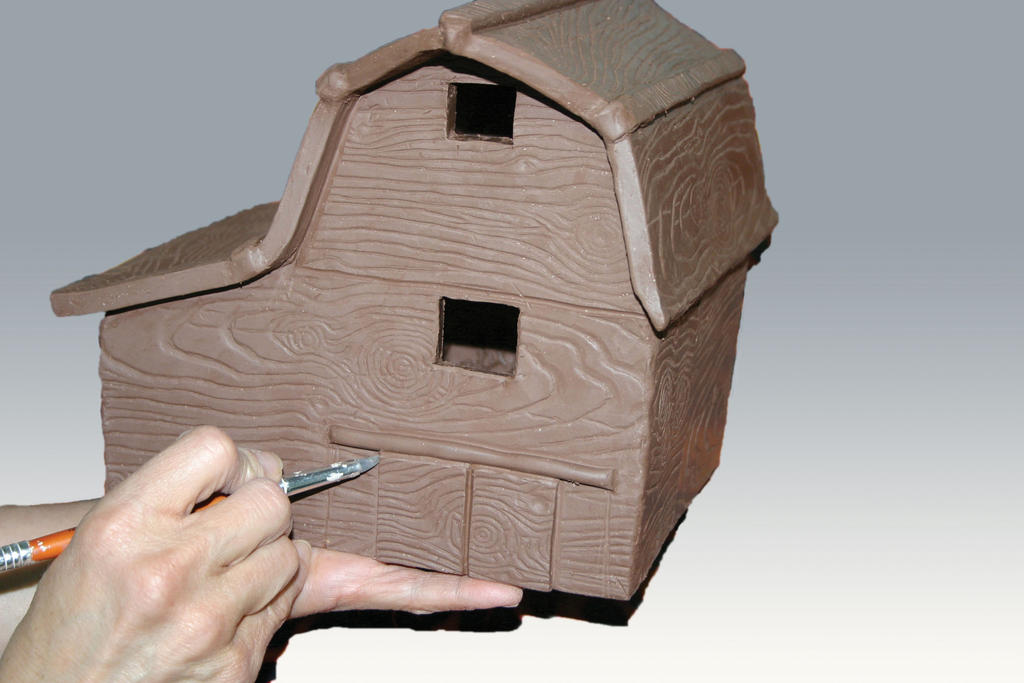
Finish barn by adding details–cutting out doors, windows, etc.
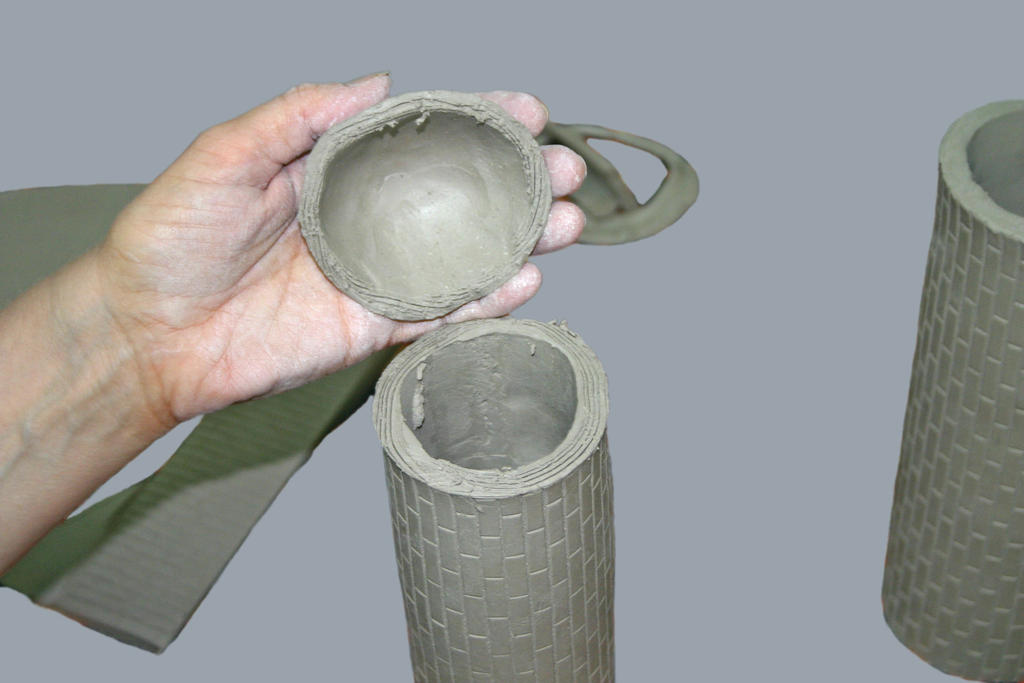
Cut silo and silo roof from textured slab. Heights and widths of silos can vary. Many silos are taller than barns.
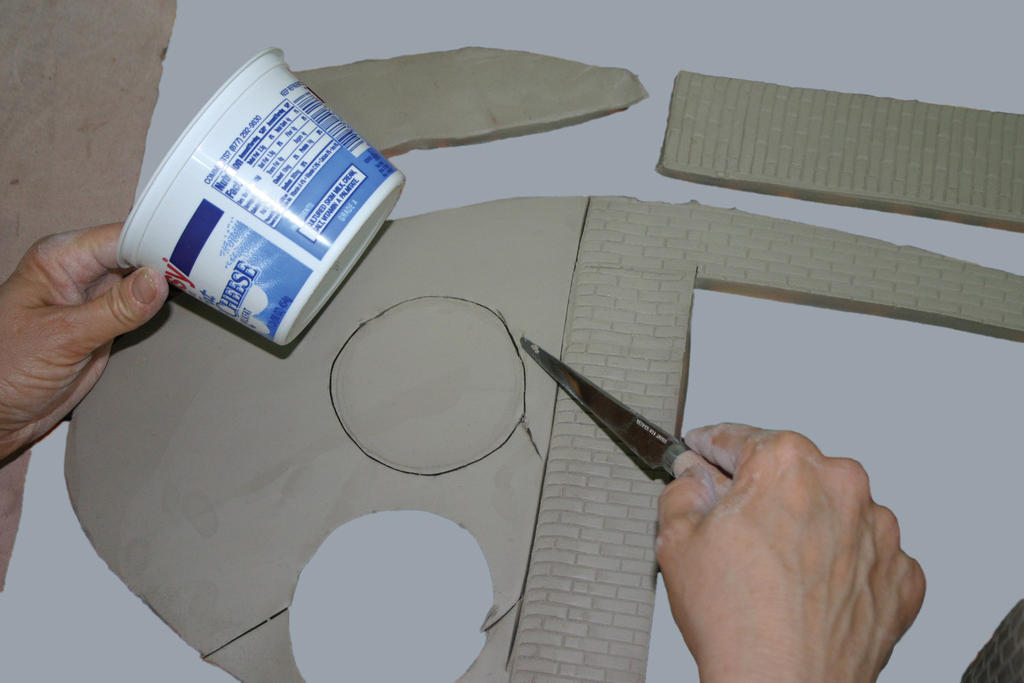
Roll Silo and cut thru on a diagonal for a clean edged seam.
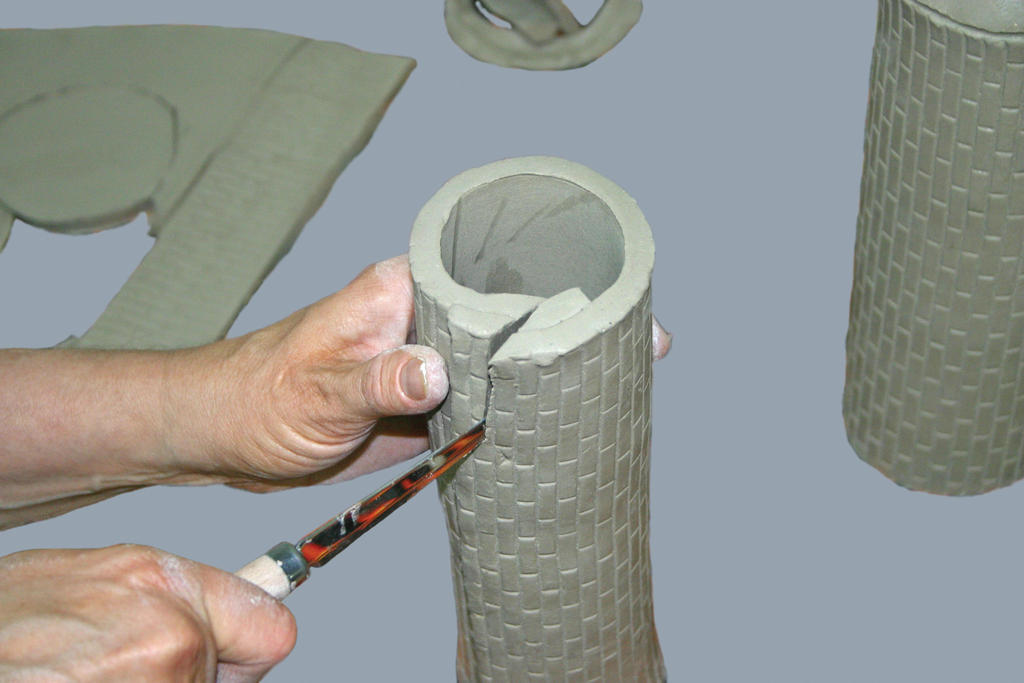
Score area and connect using vinegar to moisten scored area only.
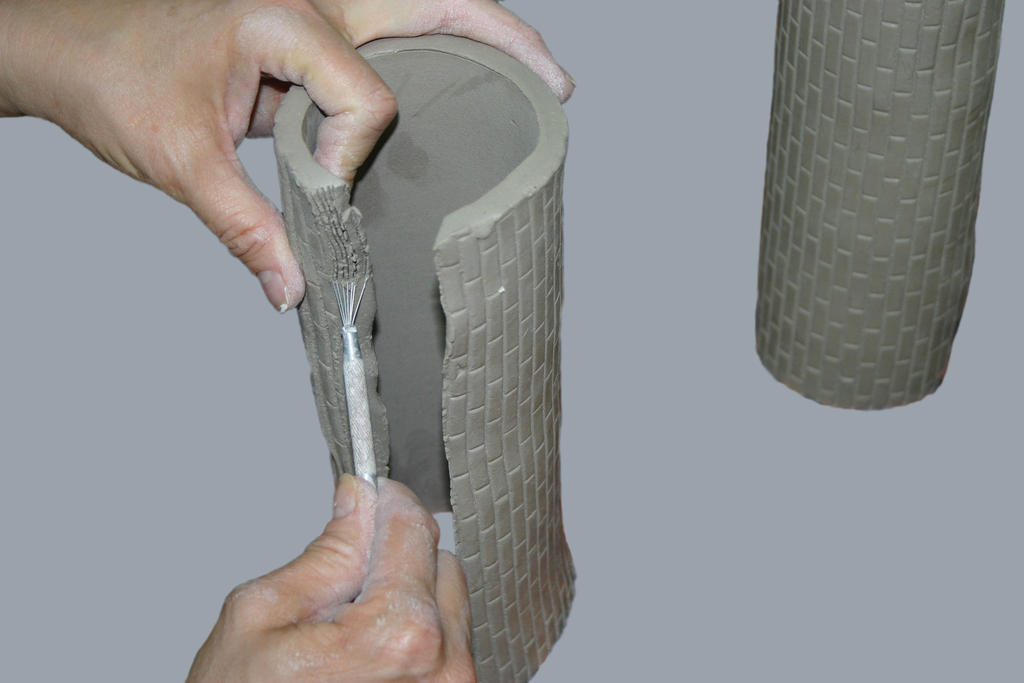
Press together and gently smooth to maintain texture.
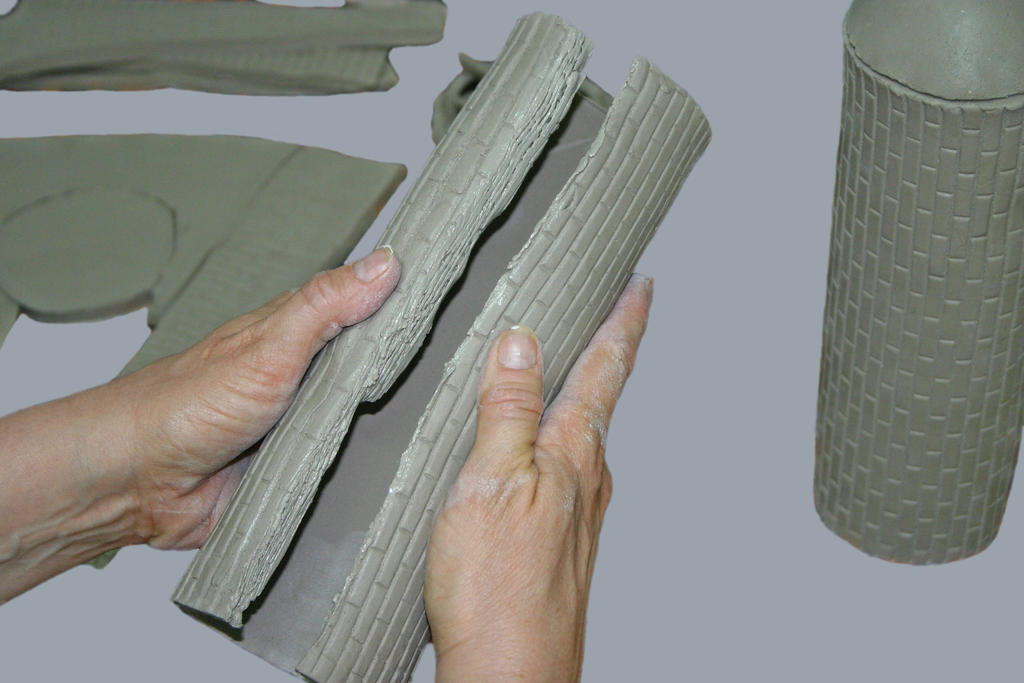
Curve silo roof into a dome shape, then score top of silo and roof, moisten with vinegar, attach and smooth.
Bisque fire to Cone 04.
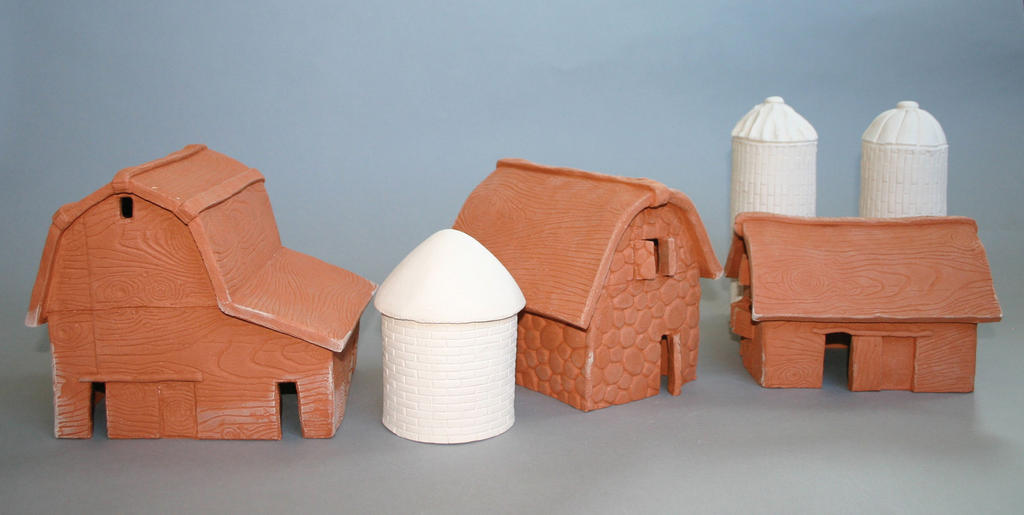
Brush on one to two coats of underglaze.
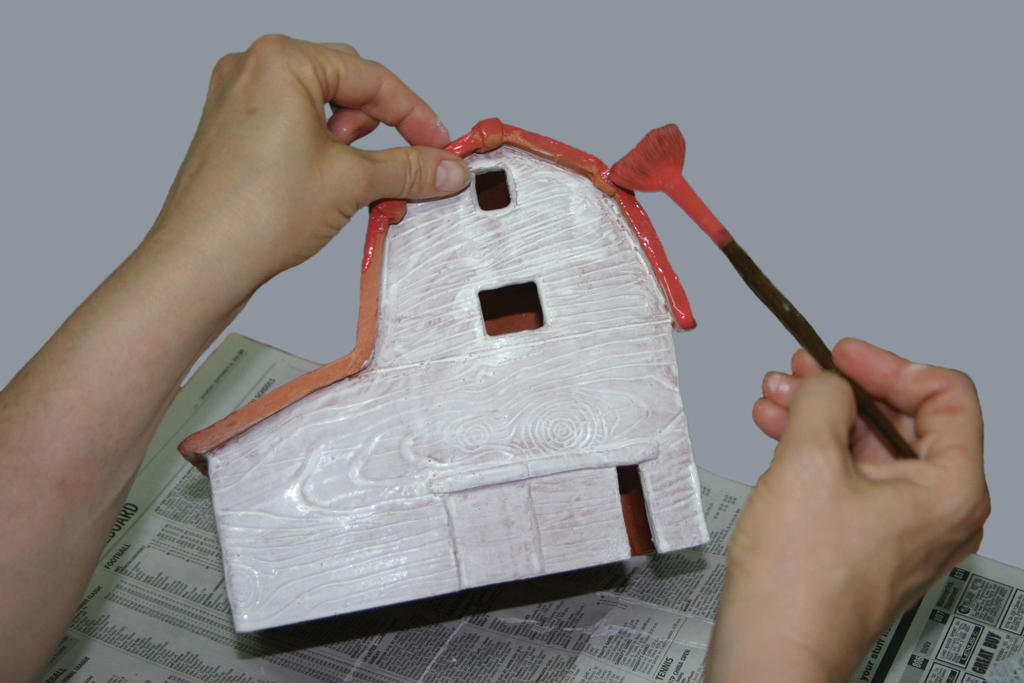
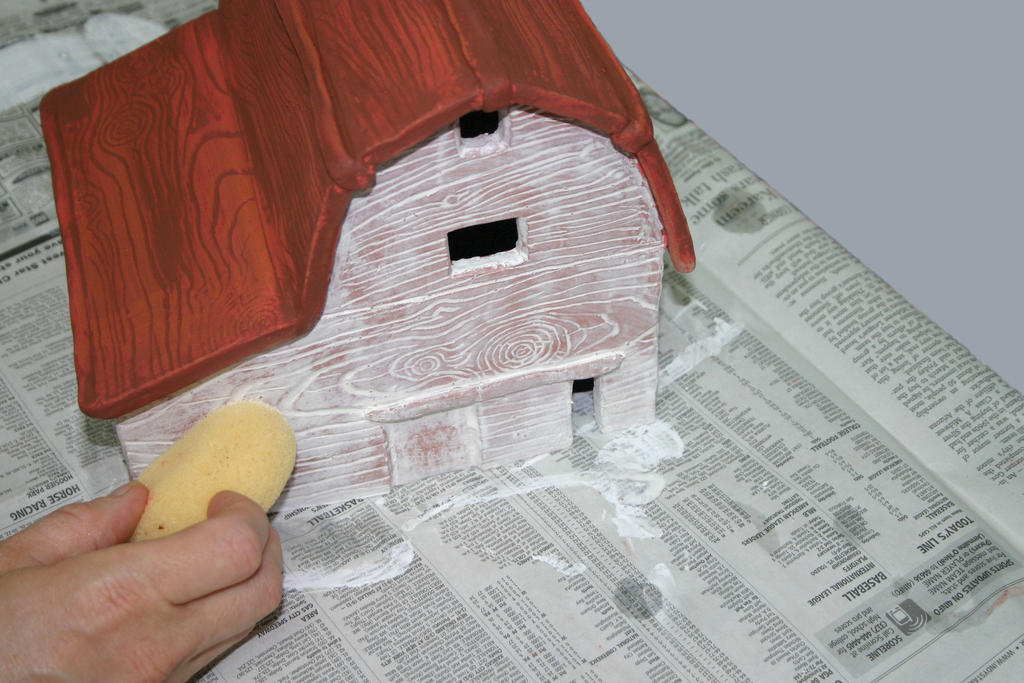
If textured, lightly wipe some of the underglaze off, the barn and silo, with a damp sponge. Use a bucket of water nearby and rinse sponge in bucket when necessary. Other low fire glazes can be used as an alternative or in addition to the matt finish of the underglazes.